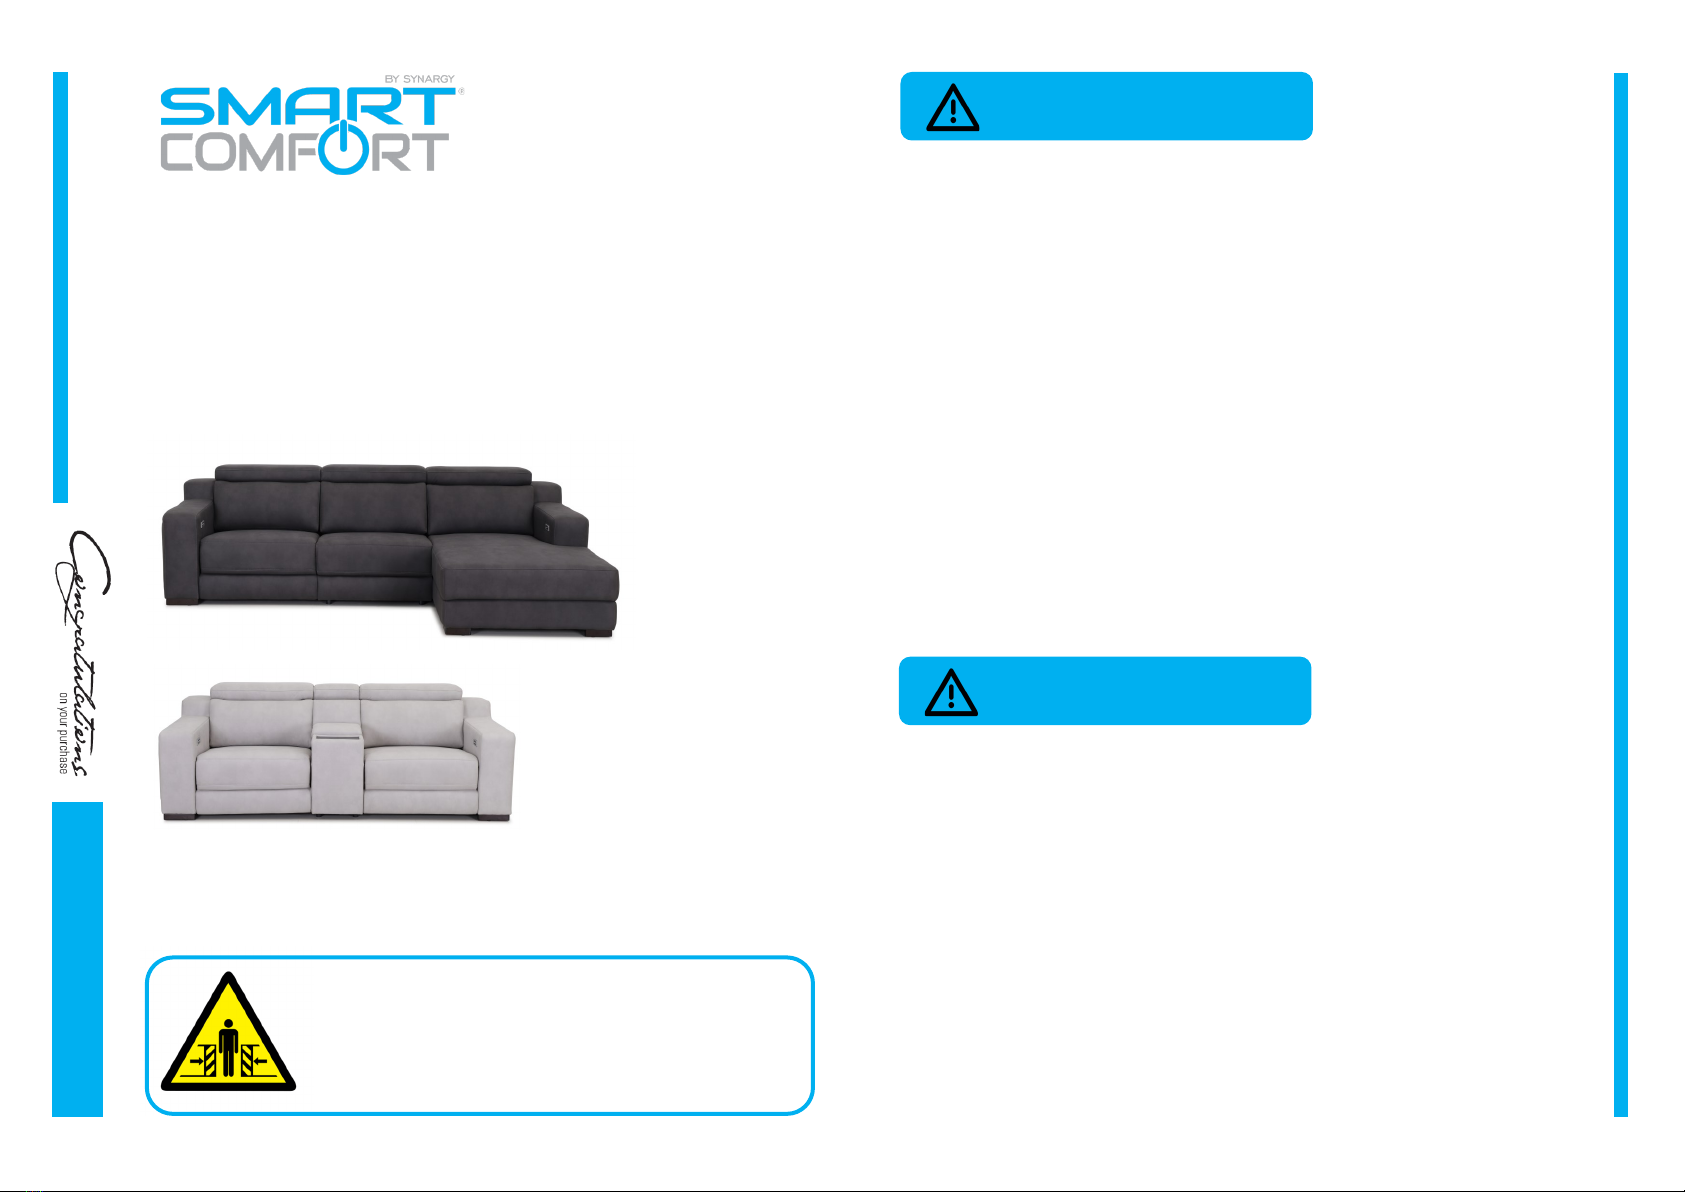
Model: 281610
Assembly Instructions
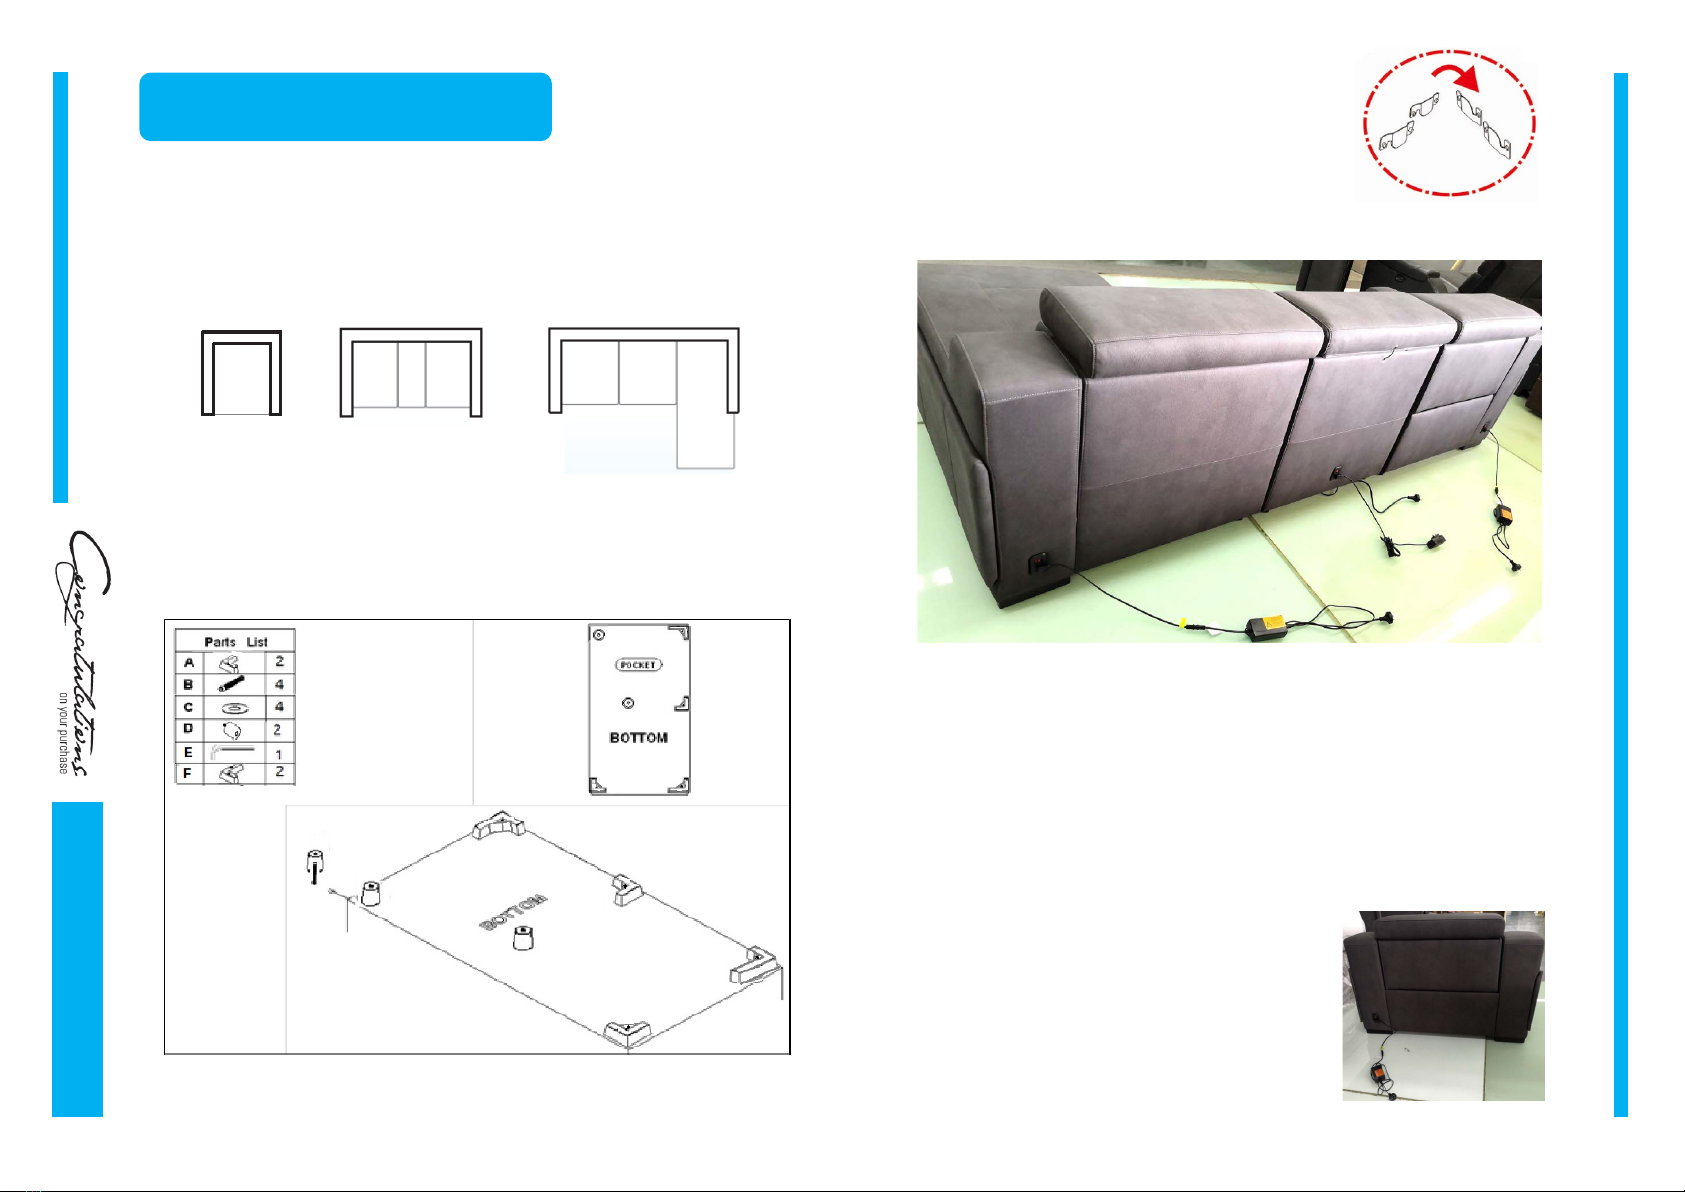
ASSEMBLY INSTRUCTIONS
SAFETY INSTRUCTIONS
Please read these instructions carefully before operating.
• Ensure there is no person, animal or item obstructing the area under the footrest before operating this product.
• Improper use or installation may result in the risk of fire, electric shock and/or injury. We assume no liability for
any eventual damages caused by improper use or inappropriate handling, or by any other non-compliance with the
instructions in this manual.
• This product is not intended for use by persons (including children) with reduced physical, sensory or mental
capabilities, or lack of experience and knowledge, unless they have been given supervision or instruction
concerning use of the product by a person responsible for their safety.
• Children should be supervised to ensure that they do not play with the product.
• This product contains moving parts. Keep fingers, hair and body parts well clear from moving parts. To reduce the
risk of injury, keep children and pets clear of the product when in use.
• Do not sit or place additional weight on the arms, back or open footrest.
• This product is very heavy. Only move this product by lifting the main body. Never drag by the footrest, back or arm
rest.
• Return this product to the full upright position to stand safely and prevent a tripping hazard.
• Do not operate this product if damage is visible in any form.
• Do not modify or use unauthorised substitute parts.
• This product has been designed and intended for indoor residential use only. It is not suitable for commercial or
outdoor use.
• This product is not intended to be used as part of a health care plan. Consult your medical professional before
operating if you are taking medication or have physical limitations.
• Do not exceed the maximum 120kg weight limit for this product.
ELECTRICAL SAFETY
Please read these instructions carefully before operating.
• Never force the back or footrest to close faster than the electric motor.
• Before commencing cleaning or maintenance, ensure this product is disconnected from the power outlet and the
back is in the full upright position.
• Disconnect this product from the power outlet before moving.
• Cease operation and disconnect from the power outlet if you ever detect a burning odour or smoke coming from
the product.
• Do not operate this product if liquid spillage occurs on or around it. Disconnect from the power outlet and allow
product to completely dry before reconnecting.
• Do not operate the power functions or charge station with wet hands.
• Check the condition of the power cord, electrical cords, transformer, plug and connector on a monthly basis. Do
not operate if wear is visible.
• Ensure the power cord, electrical cords and transformer are clear of moving parts and not trapped underneath
the base.
• Position the power cord to minimise a tripping hazard.
• Never attempt to open or disassemble electrical components.
• We recommend the use of a surge protector (not included).
WARNING! ENTRAPMENT OR CRUSHING RISK
Ensure there is no person, animal or item obstructing the area under
the footrest before operating this device.