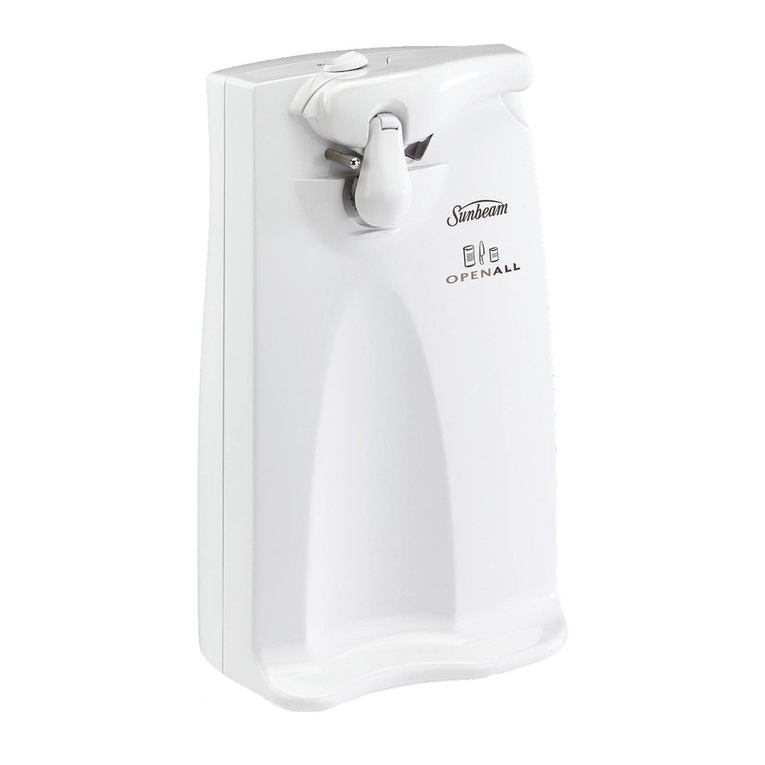
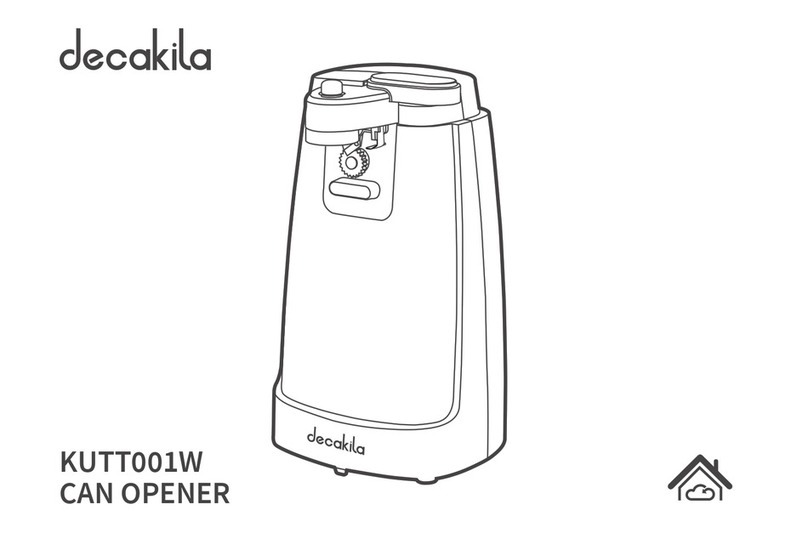
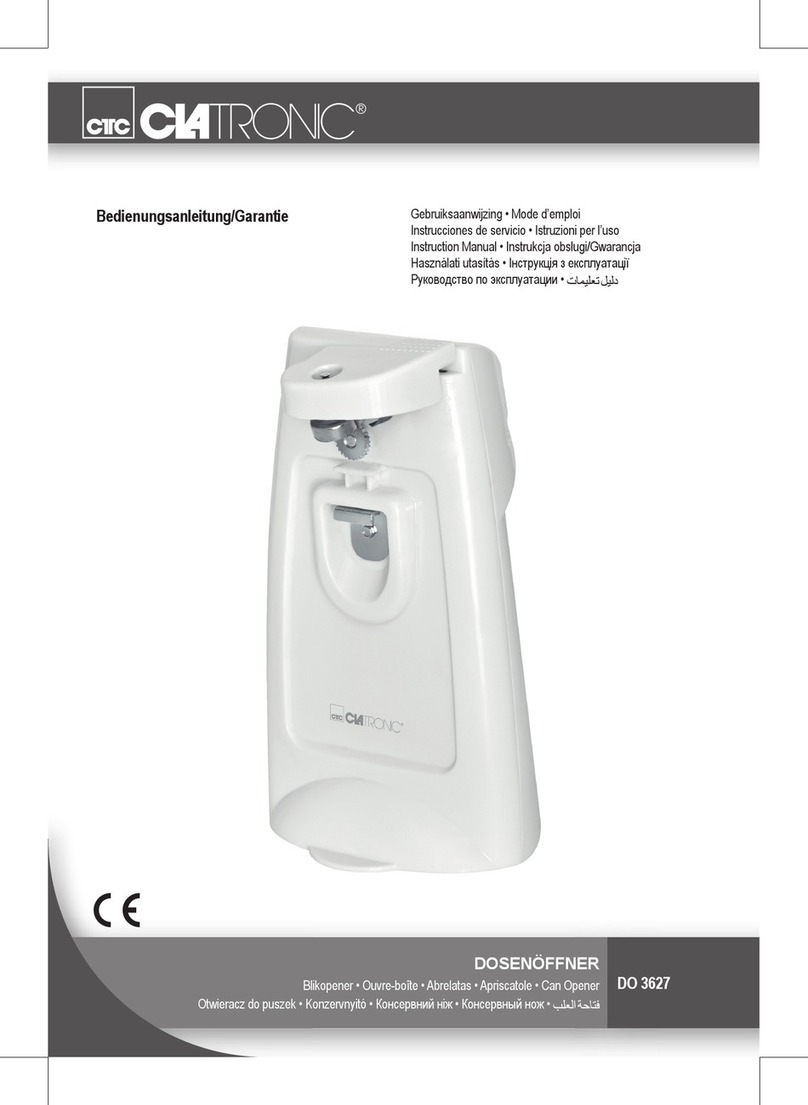
Sunbeam OpenAll CA2800 User manual

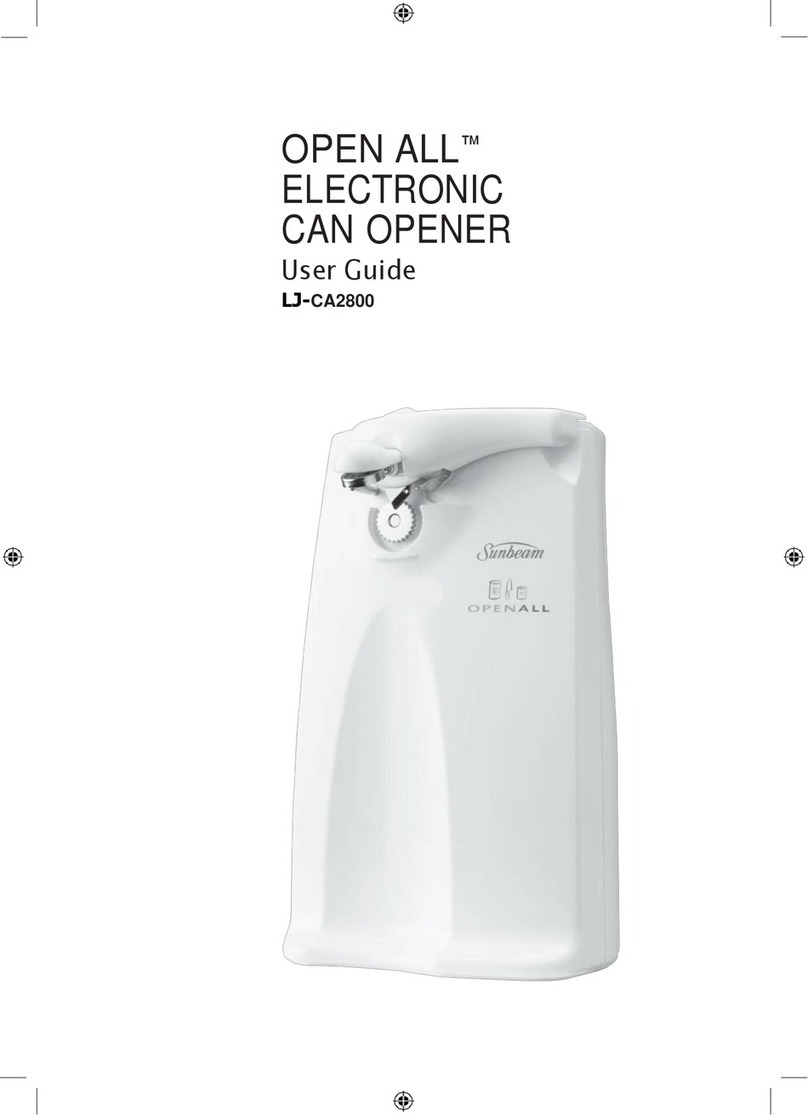
OPEN ALL™
ELECTRONIC
CAN OPENER
User Guide
Need help with your appliance?
Contact our customer service team
or visit our website for information
and tips on getting the most from
your appliance.
Australia | visit www.sunbeam.com.au
phone 1300 881 861
mail Units 5 & 6, 13 Lord Street,
Botany NSW 2019 Australia.
New Zealand | visit www.sunbeam.co.nz
phone 0800 786 232
mail Level 6, Building 5,
Central Park,
660–670 Great South Road,
Greenlane, Auckland.
Sunbeam Corporation Limited | ABN 45 000 006 771
Sunbeam Corporation is a division of GUD Holdings Limited.
Sunbeam is a registered trademark.
‘Open All’ is a trademark of Sunbeam Corporation.
Made in China to Sunbeam’s specification.
Due to minor changes in design or otherwise,
the product you buy may differ slightly from the one shown here.
Approved by the appropriate electrical regulatory authorities.
©Copyright Sunbeam 2015.
04/15
CA2800
Australia
www.sunbeam.com.au
1300 881 861
Units 5 & 6,
13 Lord Street,
Botany NSW 2019
Australia
New Zealand
www.sunbeam.co.nz
0800 786 232
Level 6, Building 5,
Central Park,
660-670 Great South Road,
Greenlane, Auckland
New Zealand
CA2800_17EM1.indd 1 4/18/17 3:52 PM

BREKKY AND
BANQUET
User Guide
Need help with your appliance?
Contact our customer service team
or visit our website for information
and tips on getting the most from
your appliance.
Australia | visit www.sunbeam.com.au
phone 1300 881 861
mail Units 5 & 6, 13 Lord Street,
Botany NSW 2019 Australia.
New Zealand | visit www.sunbeam.co.nz
phone 0800 786 232
mail Level 6, Building 5,
Central Park,
660–670 Great South Road,
Greenlane, Auckland.
Sunbeam Corporation Limited | ABN 45 000 006 771
Sunbeam Corporation is a division of GUD Holdings Limited.
Sunbeam is a registered trademark.
‘Brekky and Banquet’ is a trademark of Sunbeam Corporation.
Made in China to Sunbeam’s specification.
Due to minor changes in design or otherwise,
the product you buy may differ slightly from the one shown here.
Approved by the appropriate electrical regulatory authorities.
©Copyright Sunbeam 2014.
9/14
PU6400
Australia
www.sunbeam.com.au
1300 881 861
Units 5 & 6,
13 Lord Street,
Botany NSW 2019
Australia
New Zealand
www.sunbeam.co.nz
0800 786 232
Level 6, Building 5,
Central Park,
660-670 Great South Road,
Greenlane, Auckland
New Zealand
Sunbeam’s Safety Precautions 1
Safety Precautions for your Open All 1
Features of your Open All 2
Using your Sunbeam Open All 4
Care and Cleaning of your Open All 6
Contents
1
If you have any concerns regarding the performance and use of your appliance,
please visit www.sunbeam.com.au or contact the Sunbeam Consumer Service Line.
Ensure the above safety precautions are understood.
Sunbeam’s Safety Precautions
SAFETY PRECAUTIONS FOR YOUR
SUNBEAM OPEN ALL.
• Keep fingers well away from blade when in use.
• Use extreme care when handling blades.
• Do not place any part of this appliance in
a dishwasher.
• Use extreme care when handling off-cuts.
• Switch off the appliance and disconnect
from supply before changing accessories or
approaching part that move in use
Sunbeam is very safety conscious when
designing and manufacturing consumer products,
but it is essential that the product user also
exercise care when using an electrical appliance.
Listed below are precautions which are essential
for the safe use of an electrical appliance:
• Read carefully and save all the instructions
provided with an appliance.
• Always turn the power off at the power outlet
before you insert or remove a plug. Remove
by grasping the plug - do not pull on the cord.
• Turn the power off and remove the plug
when the appliance is not in use and before
cleaning.
• Do not use your appliance with an extension
cord unless this cord has been checked and
tested by a qualified technician or service
person.
• Always use your appliance from a power
outlet of the voltage (A.C. only) marked
on the appliance.
• This appliance is not intended for use by
persons (including children) with reduced
physical, sensory or mental capabilities, or
lack of experience and knowledge, unless they
have been given supervision or instruction
concerning use of the appliance by a person
responsible for their safety.
• Children should be supervised to ensure that
they do not play with the appliance.
• The temperature of accessible surfaces may be
high when the appliance is operating.
• Never leave an appliance unattended while
in use.
• Do not use an appliance for any purpose
other than its intended use.
• Do not place an appliance on or near a hot gas
flame, electric element or on a heated oven.
• Do not place on top of any other appliance.
• Do not let the power cord of an appliance hang
over the edge of a table or bench top or touch
any hot surface.
• Do not operate any electrical appliance with
a damaged cord or after the appliance has
been damaged in any manner. If damage is
suspected, return the appliance to the nearest
Sunbeam Appointed Service Centre
for examination, repair or adjustment.
• For additional protection, Sunbeam
recommend the use of a residual current
device (RCD) with a tripping current not
exceeding 30mA in the electrical circuit
supplying power to your appliances.
• Do not immerse the appliance in water
or any other liquid unless recommended.
• Appliances are not intended to be operated
by means of an external timer or separate
remote control system.
• This appliance is intended to be used in
household and similar applications such
as: staff kitchen areas in shops, offices and
other working environments; farm houses; by
clients in hotels, motels and other residential
type environments; bed and breakfast type
environments.
CA2800_17EM1.indd 2-1 4/18/17 3:52 PM

32
Features of your Open All
Release Button
Cutting Assembly
Support Bar
Drive Wheel
Knife Sharpener
Built in ceramic knife sharpener will ensure
that your knives remain sharp at all times.
Cord Storage
Handy cord storage keeps the
benchtop tidy by storing unwanted cord.
Lever
Blade
Magnetic Lid Holder
Stainless steel blade cutting action
Stainless steel blade allows for a smoother
cutting action.
Magnetic lid holder
Holds the lid in place during and after the
can is fully opened.
Removable lever
For easy cleaning, slide the release button
and remove the cutting assembly/lever.
Automatic operation
Simply lift the lever and position the blade
inside the rim of the can. Press the lever
down and the Open All™can opener will
automatically stop when the can is fully
opened.
CA2800_17EM1.indd 2-3 4/18/17 3:52 PM

5
Using your Sunbeam Open All
4
1. Ensure that the Cutting Assembly is
correctly positioned. (See figure 1.)
The Cutting Assembly fits into the keyhole
opening at the top of the Open All™can
opener, above the Drive Wheel. Slide the
Release Button to the right as the Cutting
Assembly is inserted, it will “click” into
position, with the release button returning
to its original position.
2. Insert the plug into a 230-240 volt power
outlet and turn the power on.
3. Hold the Lever in the upright position.
Position the can under the Support Bar
so that the rim of the can rests on top of
the Drive Wheel, tilting the can at a slight
angle towards the main body of the unit.
(See figure 2.)
4. Firmly press the Lever down. This action
will bring the blade down and pierce the
lid of the can and start operating the motor
to turn the can. Ensure the Magnetic Lid
Holder is in contact with the lid of the
can. (See figure 3.)
5. When the can begins to turn, it is no
longer necessary to hold down the Lever.
6. When the can is fully opened, the Open
All™can opener will stop automatically.
Figure 2
Support
Bar Lever
Drive
Wheel
Figure 1
Drive Wheel
Keyhole
Release Button
7. To remove the can, support the can with
one hand and lift the Lever with the
other. The lid will remain attached to the
Magnetic Lid Holder. (See figure 4.)
CAUTION: Be careful when removing the lid
from the magnet as the cut edge is sharp.
Opening dented/damaged cans:
Occasionally, badly dented cans will cause
the Open All™can opener to stall. If this
happens, grasp the dented can and guide
it through the cutting action manually until
the damaged areas are opened.
Jammed cans: To continue opening a can
that has become jammed, raise the Lever
and release the can. Begin the cutting
action again in a new position on the
can lip.
Sharpening knives: Support the Open All™
can opener on top with one hand. With the
other guide the knife through the unique
ceramic block at the back of the Open All™
can opener. Repeat this action until you
are satisfied with the sharpness of your
knife.
Figure 3
Figure 4
CA2800_17EM1.indd 4-5 4/18/17 3:52 PM

Turn the power off and unplug the cord from
the power outlet before cleaning. The Cutting
Assembly is easily removed for thorough
cleaning. (See figure 5.)
Removing the Cutting Assembly:
Raise the Cutting Assembly to its most
upright position. Slide the Release Button to
the right and slide out the Cutting Assembly.
To replace the Lever hold it vertically with the
Release Button slid to the right, gently slide
it into the Keyhole and rotate clockwise. (See
figure 5.)
Drive Wheel:
Wipe with a damp cloth to thoroughly clean,
use a small brush to remove accumulated
dirt.
Motor Housing:
Wipe over with a damp cloth.
Do not use harsh abrasives or cleaners to
clean any parts of your Open All™can opener,
as these may scratch the parts.
Do not wash any parts in an automatic
dishwasher, as the hot water temperatures
and harsh detergents may ultimately warp
and scratch these parts.
Warning: NEVER IMMERSE THE OPEN ALL IN
WATER OR ANY OTHER LIQUID.
6
Care and Cleaning Notes
Figure 5
Drive Wheel
Keyhole
Release Button
CA2800_17EM1.indd 6-7 4/18/17 3:52 PM
Table of contents
Other Sunbeam Can Opener manuals
