own AV format player . The file recorded by the camera will require this AV player
for playback.
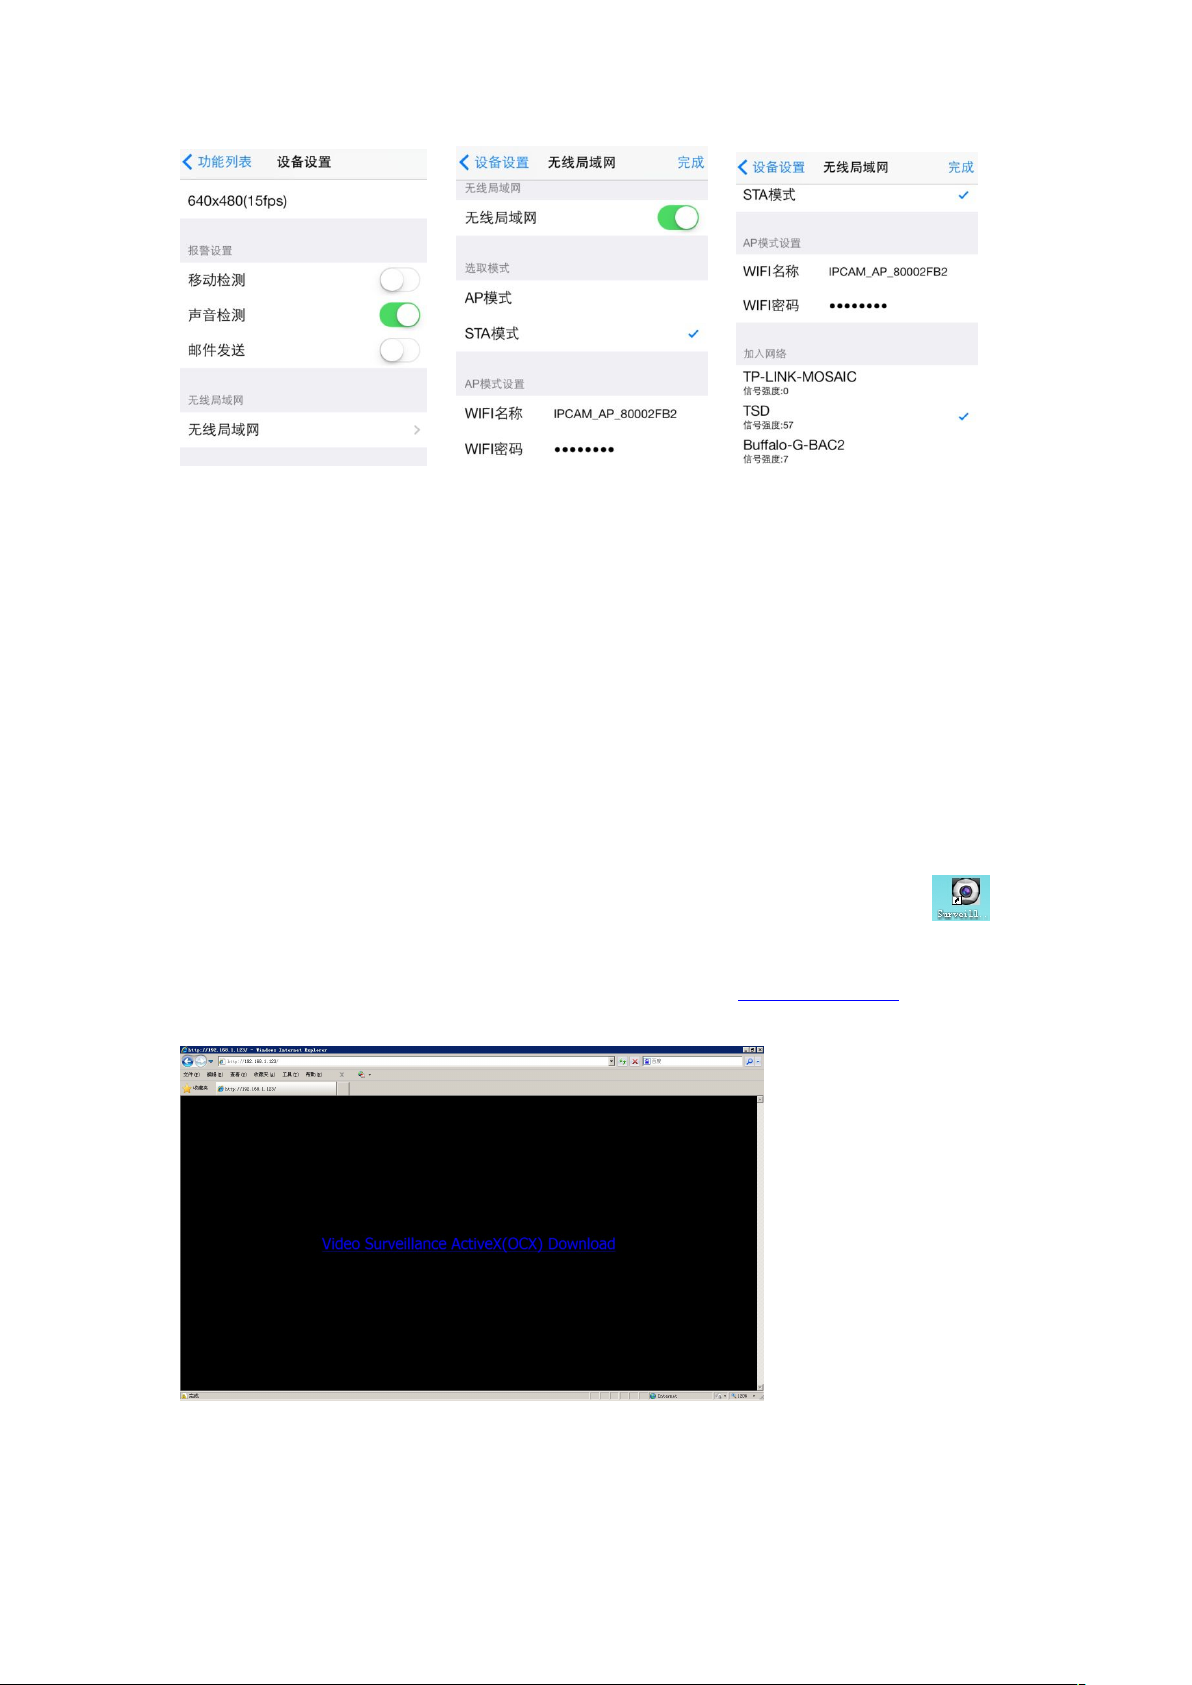
3. View Camera in the LAN: Connect the camera with the router (STA Mode). Click the
search icon at the lower right corner of the window, equipment IP address will
appear in the unused equipment list. Start the equipment by double clicking the IP
address to view the real-time picture. Click the real-time video window to show various
function keys on top of the window. Photgraph file folder can be accessed from the
“Snapshot Management” , and video file information saved on the computer can be
viewed through “Local Playback File”
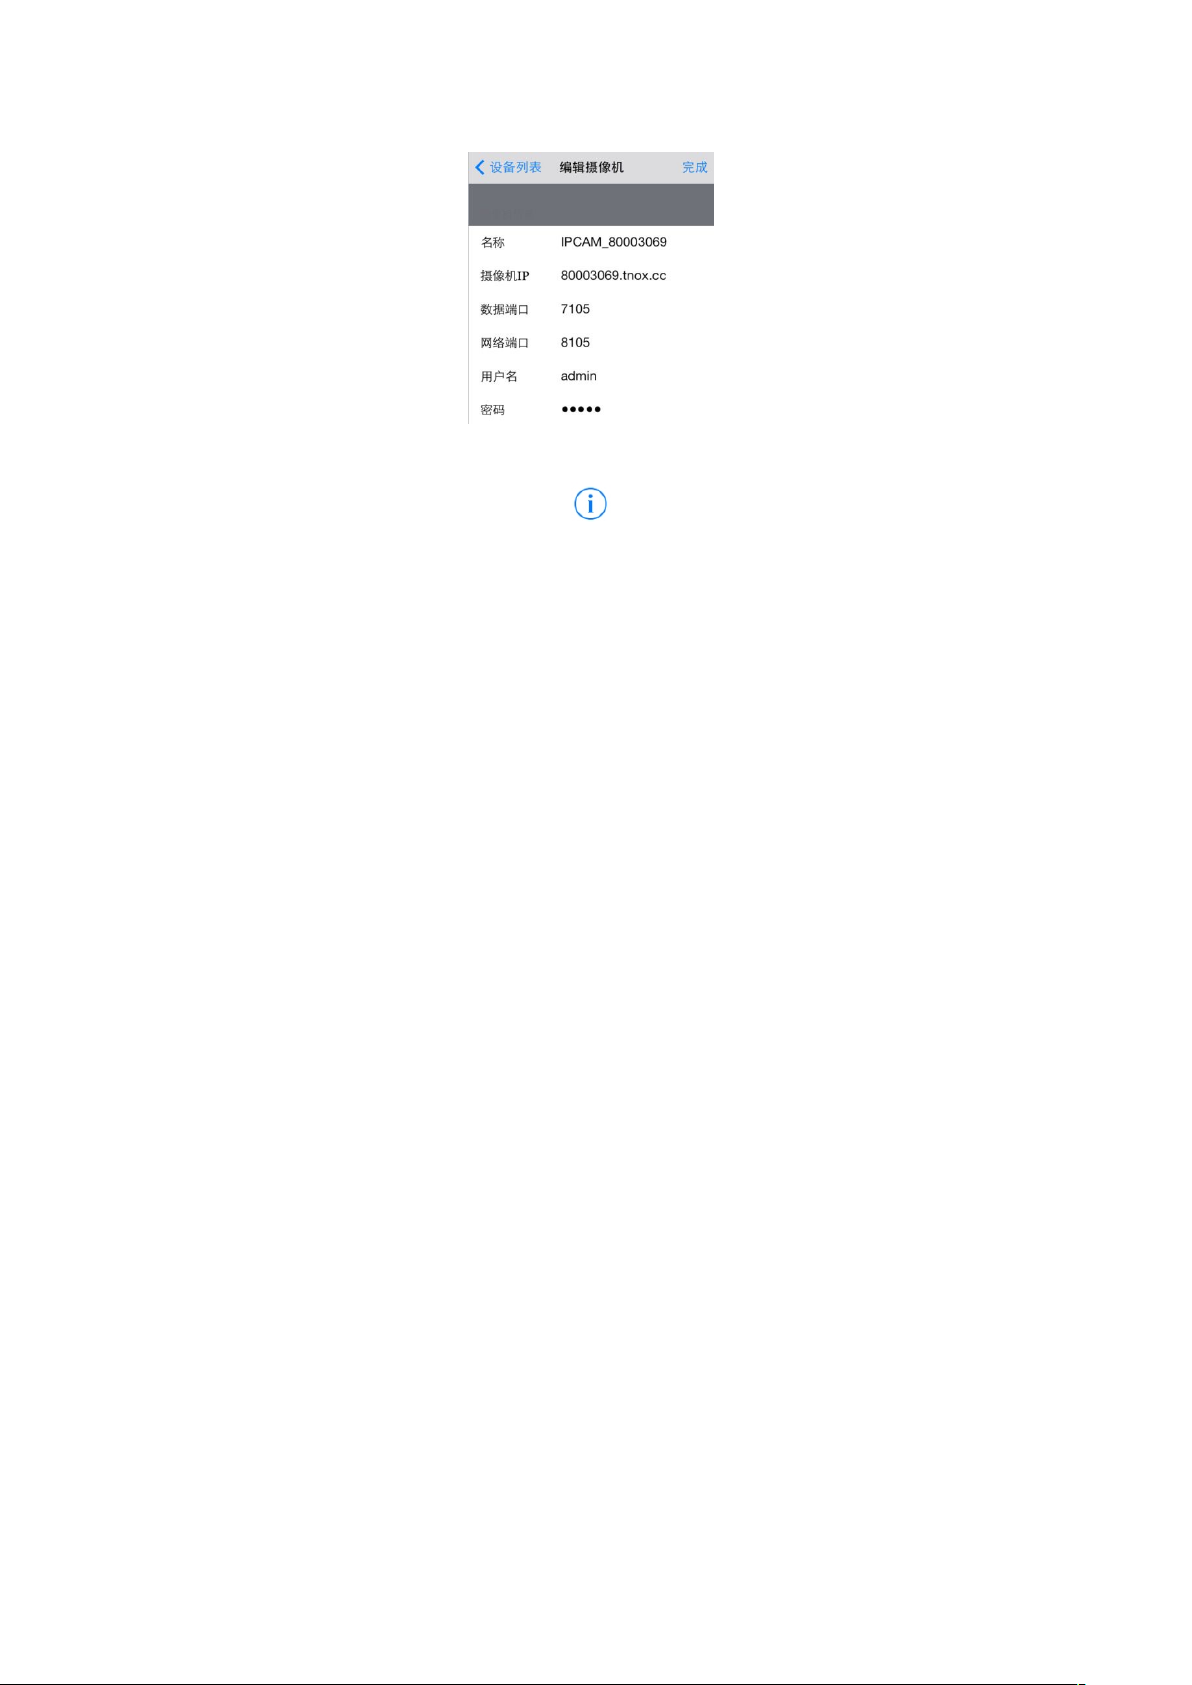
4. View Camera through Remote Network (P2P Link): The camera and the router are
connected (STA Mode). When the camera and the computer are not in the same network
environment, open the computer client, click the icon at the lower right corner to
pop up a setting window, click “Add Equipment”, select “P2P Link Mode”, input UID code
(UID code is the black text below the blue TextField in Fig. 4, which is also P2P account)
at the "Equipment Address\UID”. Input password 123456, click "Save", and then click
“Yes”. New equipment then appears in the unused equipment, and remote real-time
pictures can be viewed by double clicking the new equipment to start it.
Ⅵ. Setting of Password & Name
1. WIFI Hotspot Name and Password: Enter the page in Fig. 7 after the
mobilephone is connected with the camera. WIFI hotspot will be a new name
when searching for the camera after WIFI name is revised. The revised
password of the original password 12345678 of WIFI must be 8 figures. The
camera will restart after revision. If the new password setting is less than 8
digits, the camera will remain the original password. If “Unable to add” is
prompted when trying to re-add the WIFI hotspot after the password is revised,
then the hotspot must be “deleted” or “ignored" before searching and adding
hotspot.