6
INSTALLATIEHANDLEIDING
WAARSCHUWING
Controleer de gasslang minstens één keer per maand en tijdens het verwisselen van de
gasfles. Als de slang tekenen vertoont van scheuren, barsten of andere beschadigingen
dient deze te worden vervangen door een slang van dezelfde lengte en kwaliteit.
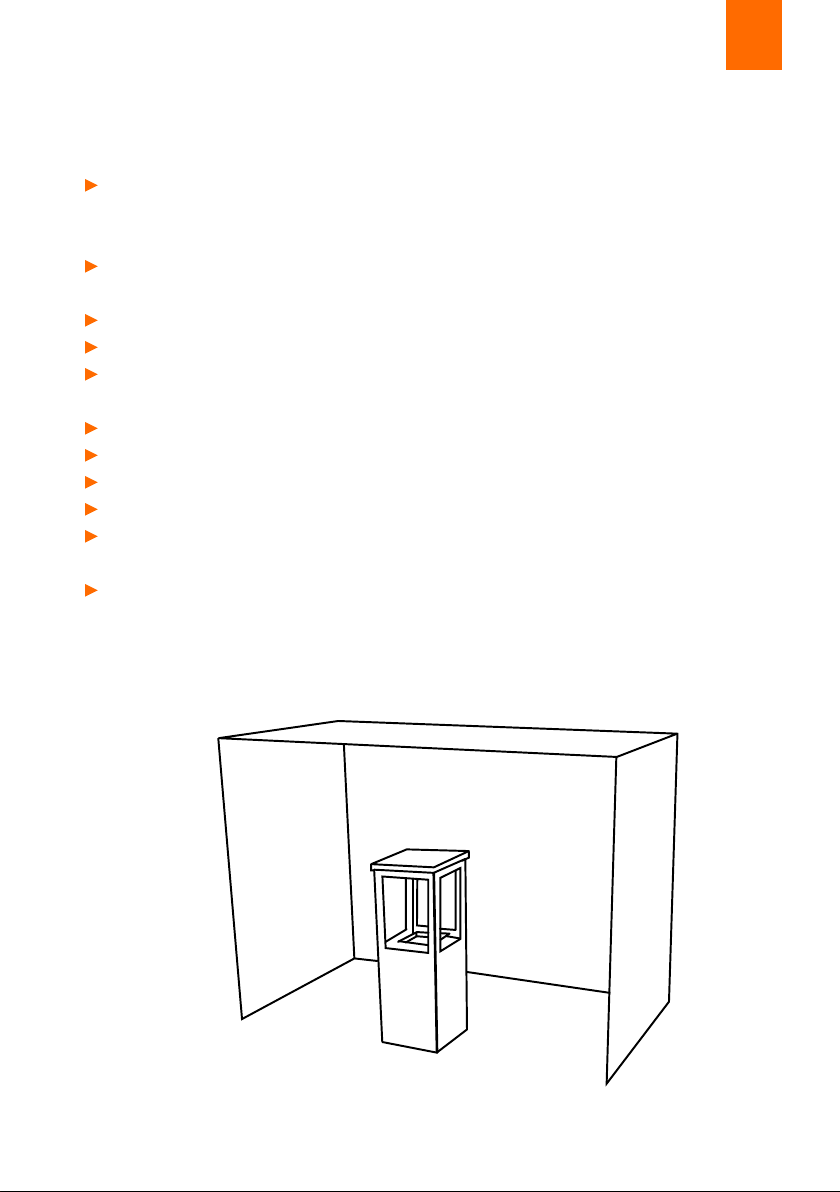
VOLG DEZE STAPPEN MET DE ILLUSTRATIES ACHTERIN
Let op: Raadpleeg uw verkooppunt indien u hulp nodig heeft met aansluiten van de haard.
STAP 1
Bevestig indien gewenst de wielen. De juiste
montagevolgorde vanuit de onderzijde
is: Bout – Wieltje – Marino – Sluitring –
Veerring – Moer. Gebruik de meegeleverde
steeksleutel voor het aandraaien.
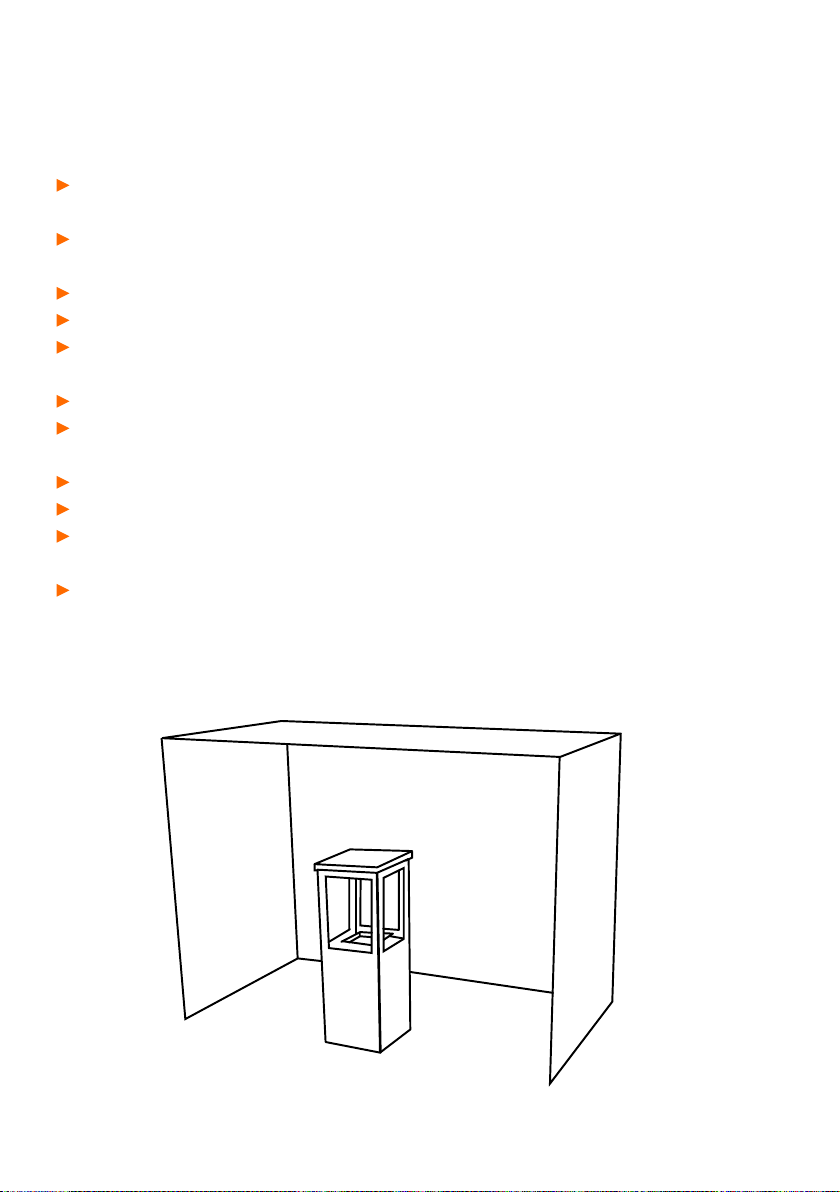
STAP 2
Verspreid de meegeleverde stenen
gelijkmatig over het branderbed. Let hierbij
op dat geen fijn steengruis in de brander
terecht komt.
Monteer de bovenkant van de Marino
met de meegeleverde schroeven met
een kruiskopschroevendraaier (niet
meegeleverd).
Sluit de drukregelaar (30mbar) aan op de
gasfles (maximaal toegestane vulling is 10,5
kg) met een goed passende (verstelbare)
steeksleutel. Handvast aandraaien is niet
voldoende en heeft lekkage met potentieel
zeer gevaarlijke situaties tot gevolg.
Verwissel de gasfles alleen in een goed
geventileerde ruimte en uit de buurt van
kaarsen, sigaretten en andere
ontstekingsbronnen.
Laat de gasfles altijd rechtop staan. Breng de
gasslang niet in contact met scherpe
voorwerpen of randen die de slang kunnen
beschadigen. Zorg ervoor dat de slang niet
geknikt is.
Controleer alle aansluitingen op lekkage door
alle gasverbindingen te bevochtigen met
sop of gaslekzoekspray. Er is sprake van een
lek indien luchtbelletjes ontstaan door de
sop of gaslekzoekspray.
STAP 3 STAP 4
STAP 5 STAP 6