
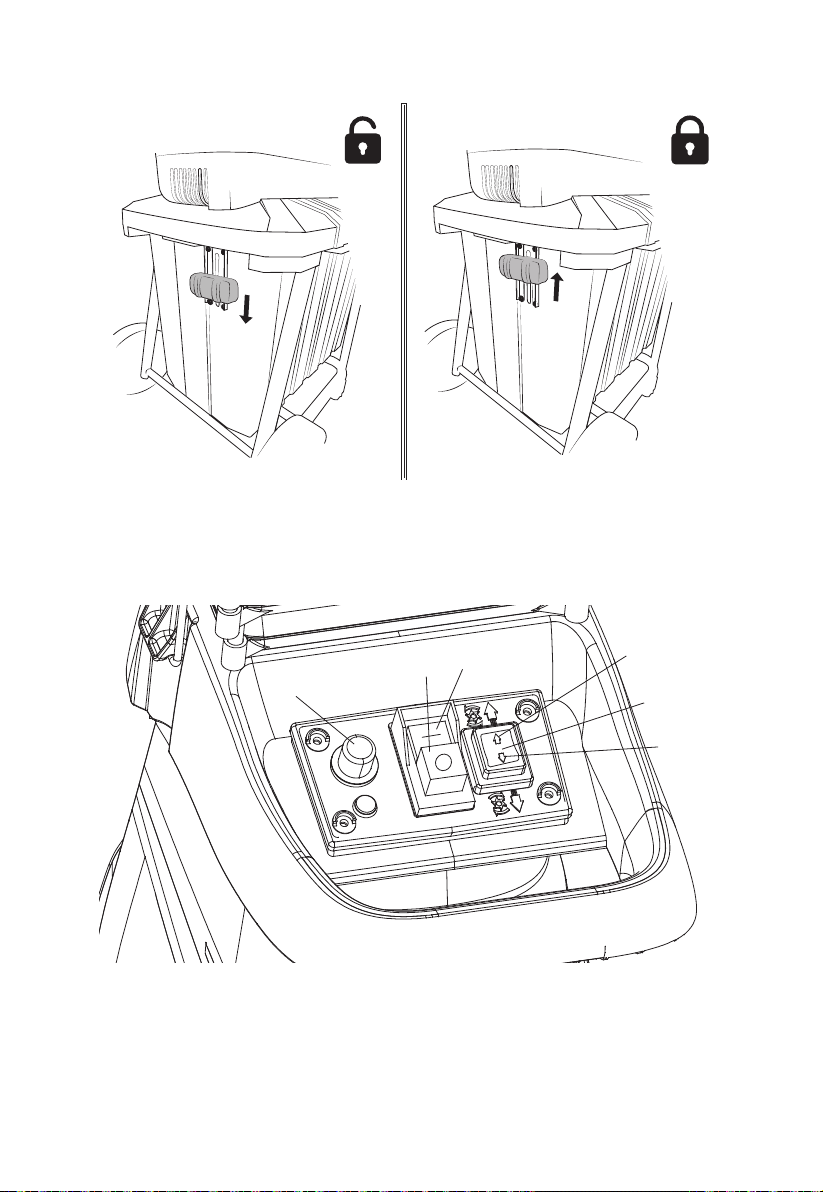
Stopping: (See Fig. 7)
Push the I/O switch to “O” to turn the garden shredder off.
If the wood chipper is blocked when it is working, please press the three-way switch to the
"stop" position (the middle part of the three-way switch) immediately, and then press the
reverse switch, then push the I/O switch to “O” to turn the garden shredder off after taking the
blocked branches out. See Fig. 7.
2. Overload protection. See Fig. 7
Your garden shredder is designed with overload protection. If the shredder is clogged during
shredding, the overload protection will cut the power automatically to protect your shredder.
Wait at least 1 minute before restarting by first pressing the reset button and then the I/O
switch.
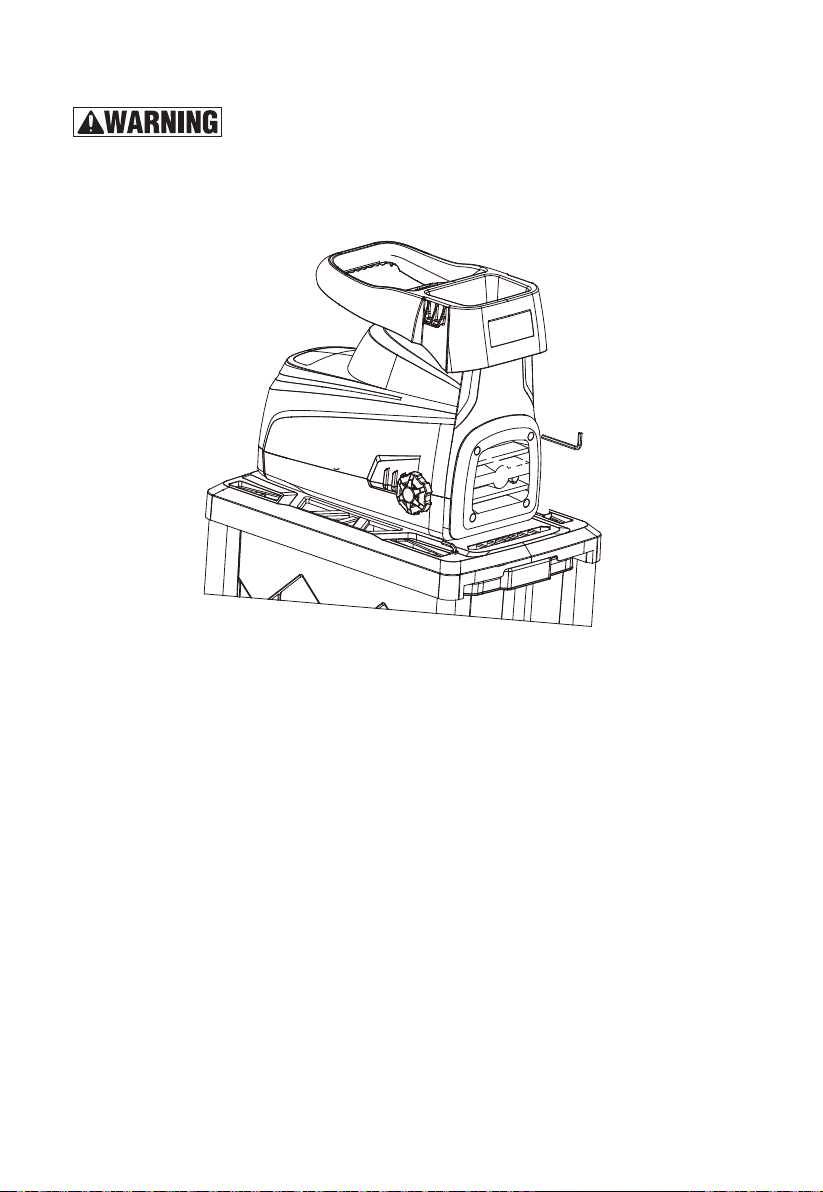
3. Blades.
The blades on the rotary plate are reversible. For quality and safety reasons, we recommend
that only identical replacement blades be used should it become necessary to replace them.
Any problems, please contact our SuperHandy customer service by 1-866-493-0524 for
assistance.
4. Shredding material:
Before starting, ensure that the feed inlet is empty.
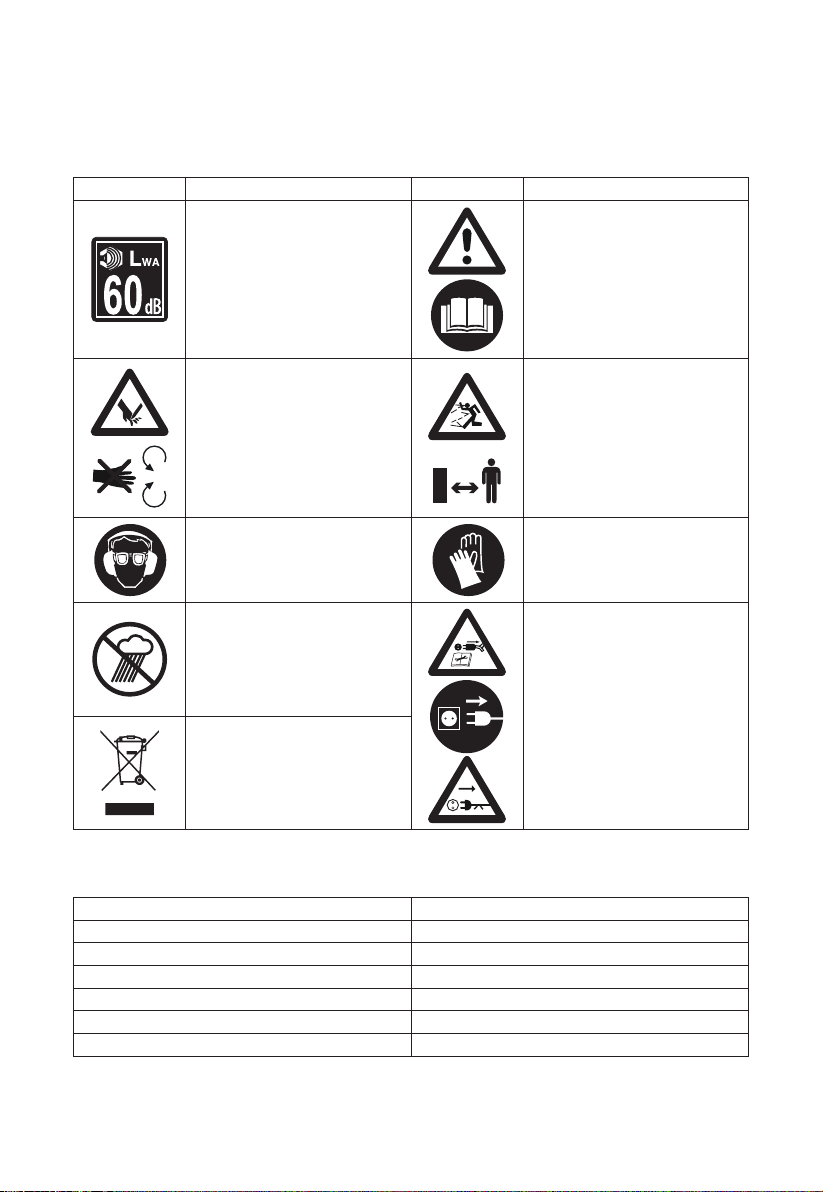
Always wear ear and eye protection and wear gloves during operation.
Longer material standing out from the shredder could lash out when
being pulled in by the blades. Keep a safe distance.
When using the garden shredder and feeding branches into the
shredder, sometimes the blades pull the material into the opening. Keep
hands at a safe distance.
The ventilation slots must not be covered.
a) Only insert as much material as to prevent blockage of the feeding funnel. Chop garden
waste that has been stored for a few days and is wilted and damp alternately with dry
branches. This prevents the cutting blades from blocking up. Widely branched material with
leaves must be completely chopped before new material is fed. Make sure that the chopped
material can fall freely from the ejection slot.
b) Keep hold of branches while feeding them into the garden shredder until they are automati-
cally drawn in.
c) Keep to the working speed of the garden shredder and do not overload it.
d) To protect the garden shredder from clogging, shred wilted garden waste that has been left
for a few days and shred thin twigs alternately with branches.
e) Before you shred roots, remove any remaining soil and stones from them.
f) Do not shred soft, damp material such as kitchen waste, take it straight to the compost.
g) Keep a few dry branches for the end, as they will help clean the garden shredder.
h) Only switch the garden shredder off after all of the shredding material has passed through
the discharge chutes. Otherwise, the discharge chutes may jam the next time the shredder
is turned on.
8


 Specifications")


