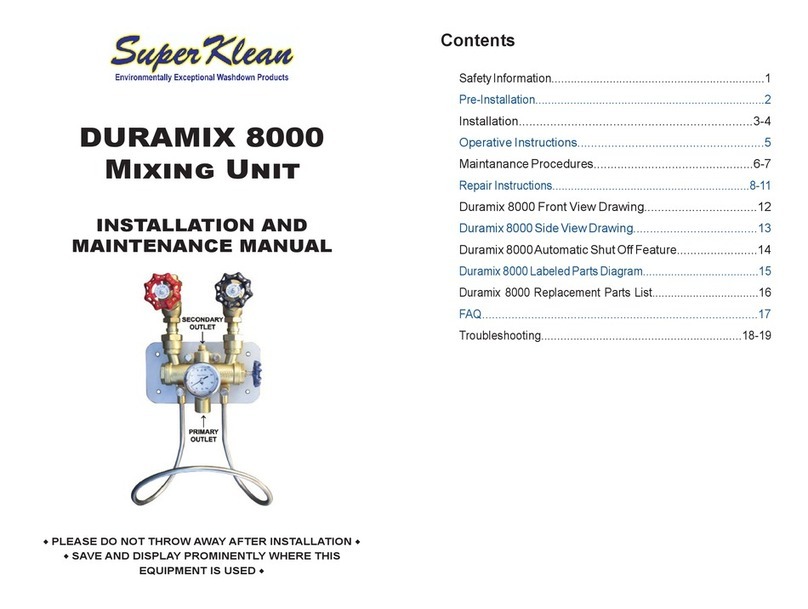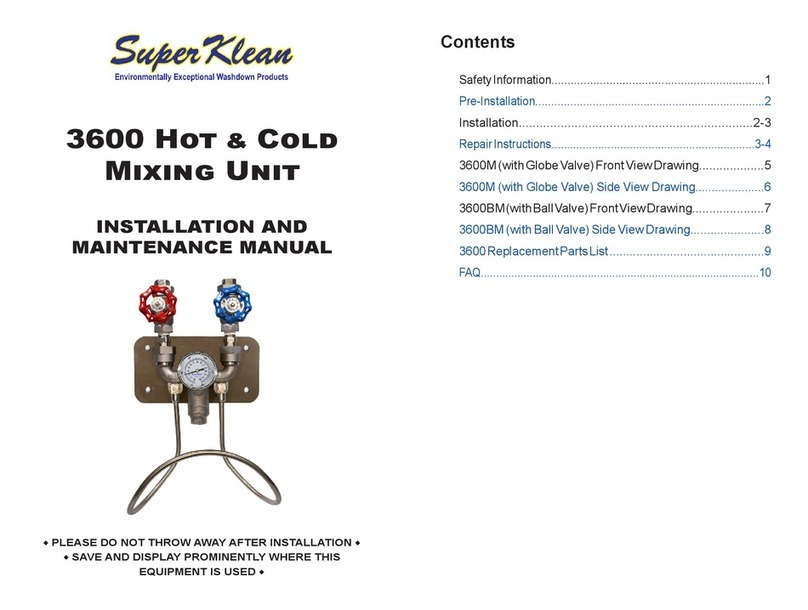
SuperKlean Washdown Products
1 Edwards Court, Suite 101, Burlingame, CA 94010
•
Tel. (800) 769-9173 or (650) 375-7001
•
Fax (650) 375-7010
www.superklean.com email: sales@superklean.com
PRE-INSTALLATION:
1. Unit is rated for water pressures up to 150 PSI. Pressure gauge installation (upstream, prior to water
inlet) is recommended to determine proper and constant water pressure during all operation of
mixing unit.
2. Strainer is highly recommended (upstream, prior to both inlets) to prevent damage from debris.
3. Both water supply lines should be thoroughly flushed prior to installation to rid lines of foreign
debris which can affect the performance of the mixing unit.
4. Check to make sure that both globe valves or ball valves are fully closed by turning hand-wheels or
handle clockwise until it stops.
5. Mixing unit is ready to install.
INSTALLATION:
1. Place the mounting plate on the wall and mark the 4 holes to be used to mount the plate to the wall.
2. Drill 12mm or equivalent holes on wall and install anchor bolts (supplied). Make sure that holes are
deep enough to accommodate anchor bolts so that they do not stick out too much and interfere with
the mounting of the mixing unit.
3. Mount plate to wall and mount using anchor bolt nuts (supplied).
4. Mount mixing unit to plate and loosely secure with top bolt (supplied).
5. Mount hose rack to mixing unit and secure with 2 bottom bolts (supplied).
6. Secure unit to mounting plate by tightening all 3 supporting bolts.
7. If temperature gauge was supplied, remove front plug and install temperature gauge. (Pipe thread
sealant or alternative such as Teflon tape is recommended on temperature gauge thread)
8. The mixing unit is now ready for piping.
9. Install water supply lines to mixing unit inlets. (Pipe thread sealant or alternative such as Teflon tape
is recommended on piping thread)
10. Attach hose to ¾” NPT outlet of mixing unit. (Pipe thread sealant or alternative such as Teflon tape
is recommended on fitting thread)
11. Attach spray nozzle to the other end of the hose. (Pipe thread sealant or alternative such as Teflon
tape is recommended on fitting thread)
12. Check and make sure that hot & cold water supply globe valves or ball valves are turned off.
13. Gradually open cold water globe valve or ball valve to pressurize mixing station and check for leaks.
If there are visible leaks, immediately turn globe valve or ball valve off, depressurize mixing unit by
spraying nozzle. Disassemble and reseal leakage points. Once complete, reassemble and restart
procedure to check for leaks. If no more leaks, continue. If leaks, repeat procedure.
14. Gradually open hot water globe valve or ball valve to pressurize mixing station and check for leaks.
If there are visible leaks, immediately turn globe valve or ball valve off, depressurize mixing unit by
spraying nozzle, allow mixing unit to cool down prior to disassembly, and reseal leakage points.
Once complete, reassemble and restart procedure to check for leaks. If no more leaks, continue. If
leaks, repeat procedure.
15. With both globe valves or ball valves fully open, unit is ready.


