For the “TOAST” function, both the upper and lower heating elements will be
energized during operation. This setting is suitable for toasting bread and similar foods.
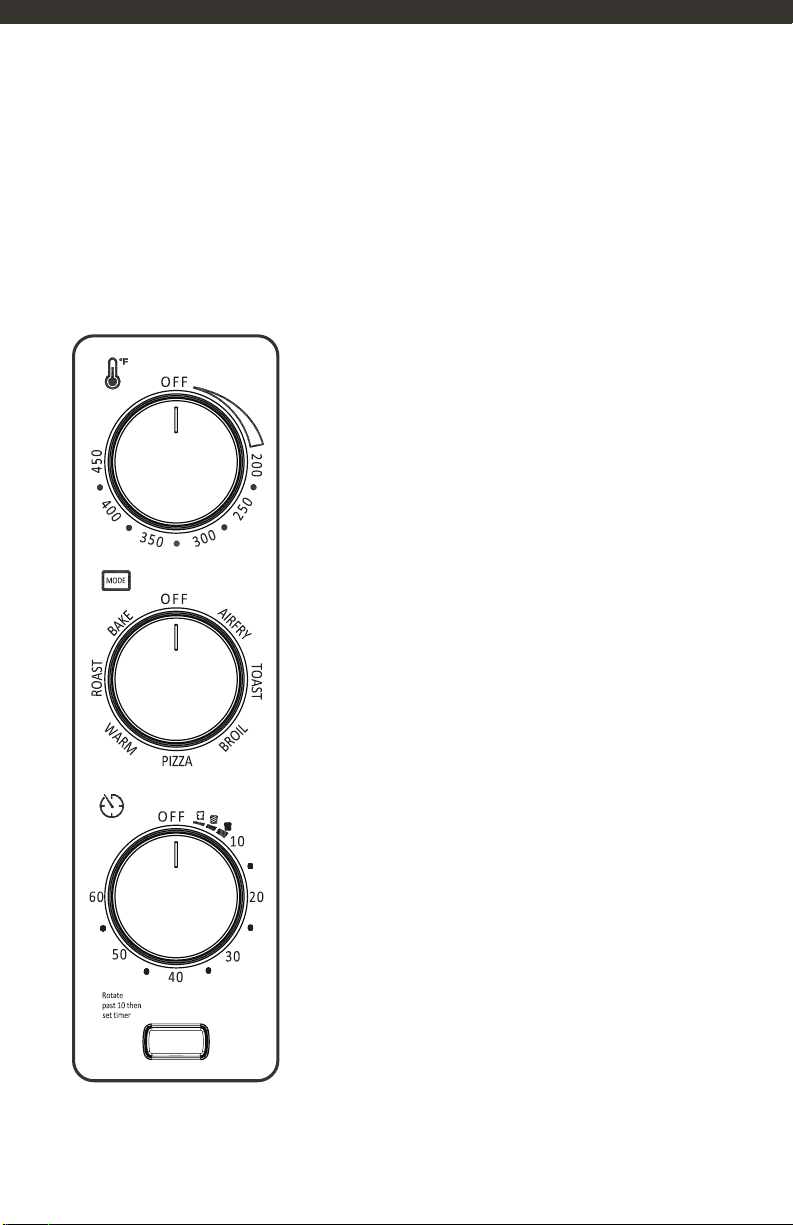
Plug in the appliance and rotate the Temperature knob to the desired temperature.
Set the Mode knob to the “TOAST” position.
For the “BROIL” function, only the upper heating element will be energized during
operation. This setting is suitable for broiling the top surface of foods.
Plug in the appliance and rotate the Temperature knob to the desired temperature.
Set the Mode knob to the “BROIL” position.
TOAST
BROIL
NOTE: selected temperature must be at least 200 F.
NOTE: selected temperature must be at least 200 F.
NOTE: you can stop the cycle at any time by turning the Timer knob to the “OFF”..
• Plug in the appliance and rotate the Temperature knob to the desired temperature.
Set the Mode knob to the “TOAST” position.
• Open the oven door and insert the oven rack into the appropriate slot.
• Close the oven door.
• Turn the Timer knob to choose the desired crust setting. There are three settings
available: Light, Medium, and Dark. After selecting the desired crust setting, the
indicator will illuminate, and the appliance will start working.
• Once the toasting cycle is complete, the Timer knob will return to the “OFF”
position, and the appliance and indicator will automatically turn off.
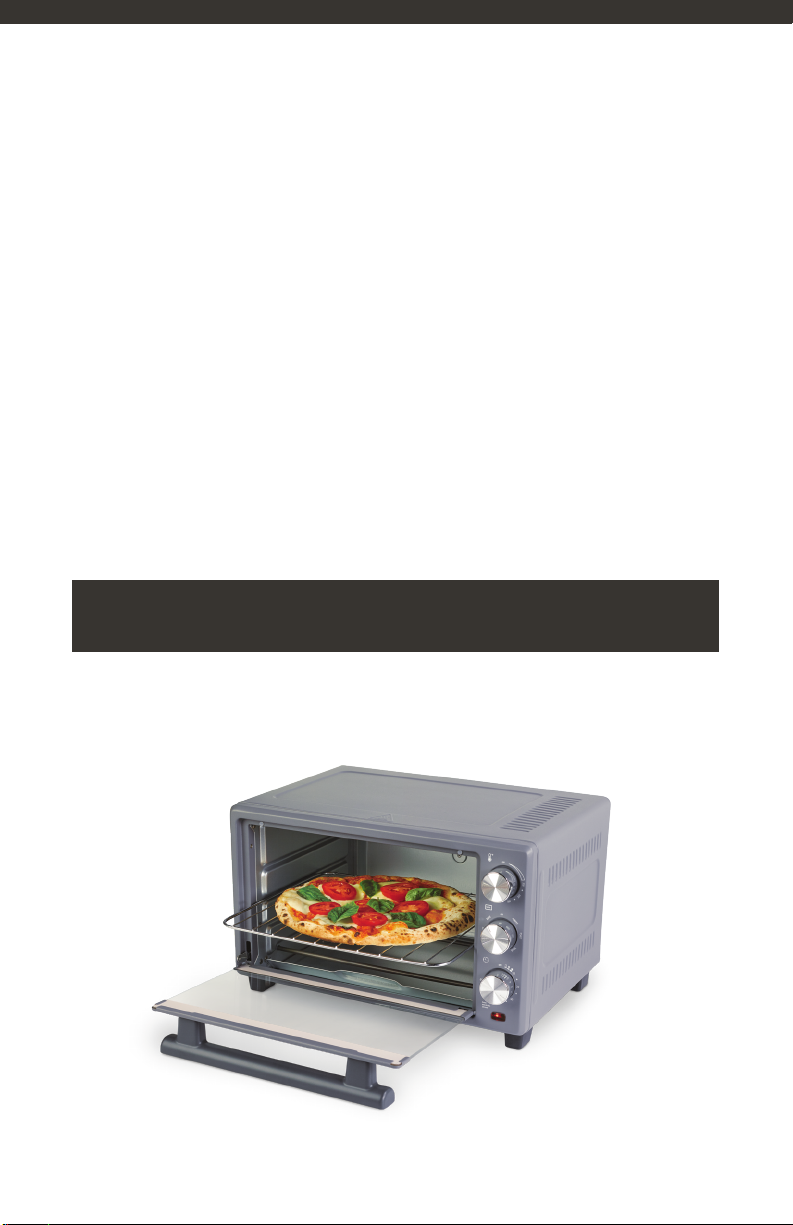
• Open the oven door and place the oven rack in a suitable slot.
• Place the food into the baking pan, and then place the baking pan on the
oven rack.
• Remove the oven rack using oven mitts.
CAUTION: When removing food from the oven,
always use oven mitts to reduce the risk of burns
10