666
About the PIR Sensor
Avoid facing the OutbackCam towards nearby objects, as these can cause numerous
false triggers (see page 11 for more information).
We strongly suggest that you ensure that there are no objects closer than 10ft/3m from
the PIR sensor.
The Passive Infrared (PIR) sensor detects moving heat sources. It does this by using
a series of lenses which redirect the infrared light radiation towards a sensor, which
detects the intensity of that infrared light. These special lenses break up the infrared
light, allowing the sensor to detect any appreciable shift in the origin of the heat
source. Objects too close to the PIR sensor will be out of “focus” and cause false
triggers.
The reason that the OutbackCam can operate so long on battery power is due to
the clever integration of the PIR. The PIR doesn’t need much power to run, unlike a
camera which requires quite a lot. If the camera was to remain on constantly, even
the best AA batteries wouldn’t last a full day.
Thus, most of the time, the PIR sensor is the only active component of the camera.
The camera and the infrared LEDs which support the night vision feature only kick in
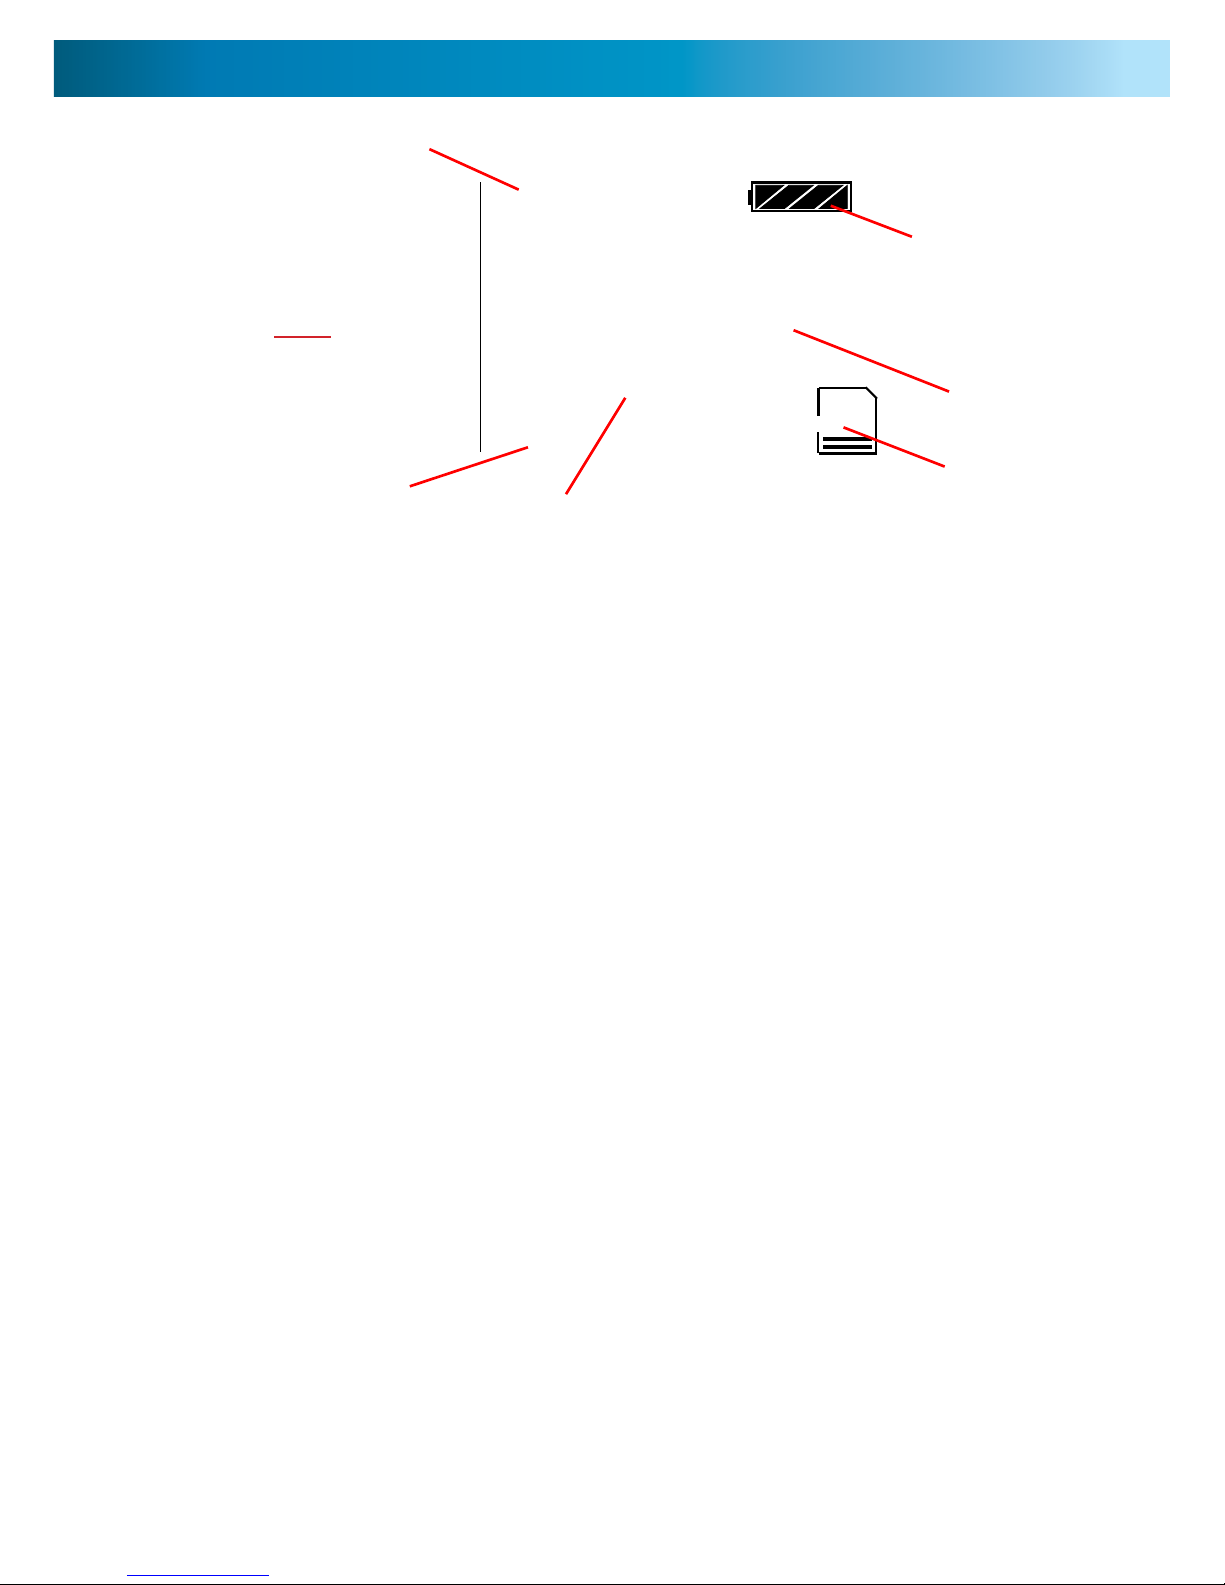
when something moves in front of the PIR sensor. The area of detection and the view
of the camera are shown in the diagram below.
There is a small gap towards the center of the
PIR sensors viewing area. Bear this in mind whilst
placing the OutbackCam.
Note that the actual range of the camera is,
technically, limitless (for example, it can see the
sun, and that’s a really, really long way away). The
practical limit is the distance the subject can be
from the camera before being ‘too small’ to see
much detail. The distance at which this occurs
depends on how much detail you want in your
image.
Night Vision Range
The range of the night vision (10m/32ft) is shown in the diagram. This is an average
range - the actual range will be aected by environmental conditions (such as
humidity, fog or smoke) and the color and brightness of the objects being observed.
Note that infrared brightness isn’t the same as visual brightness - some white objects
can appear black under infrared light, and vice versa.
For the best night vision performance, use still image mode. Still images require less
illumination than video, as the electronic shutter can be“open” longer.
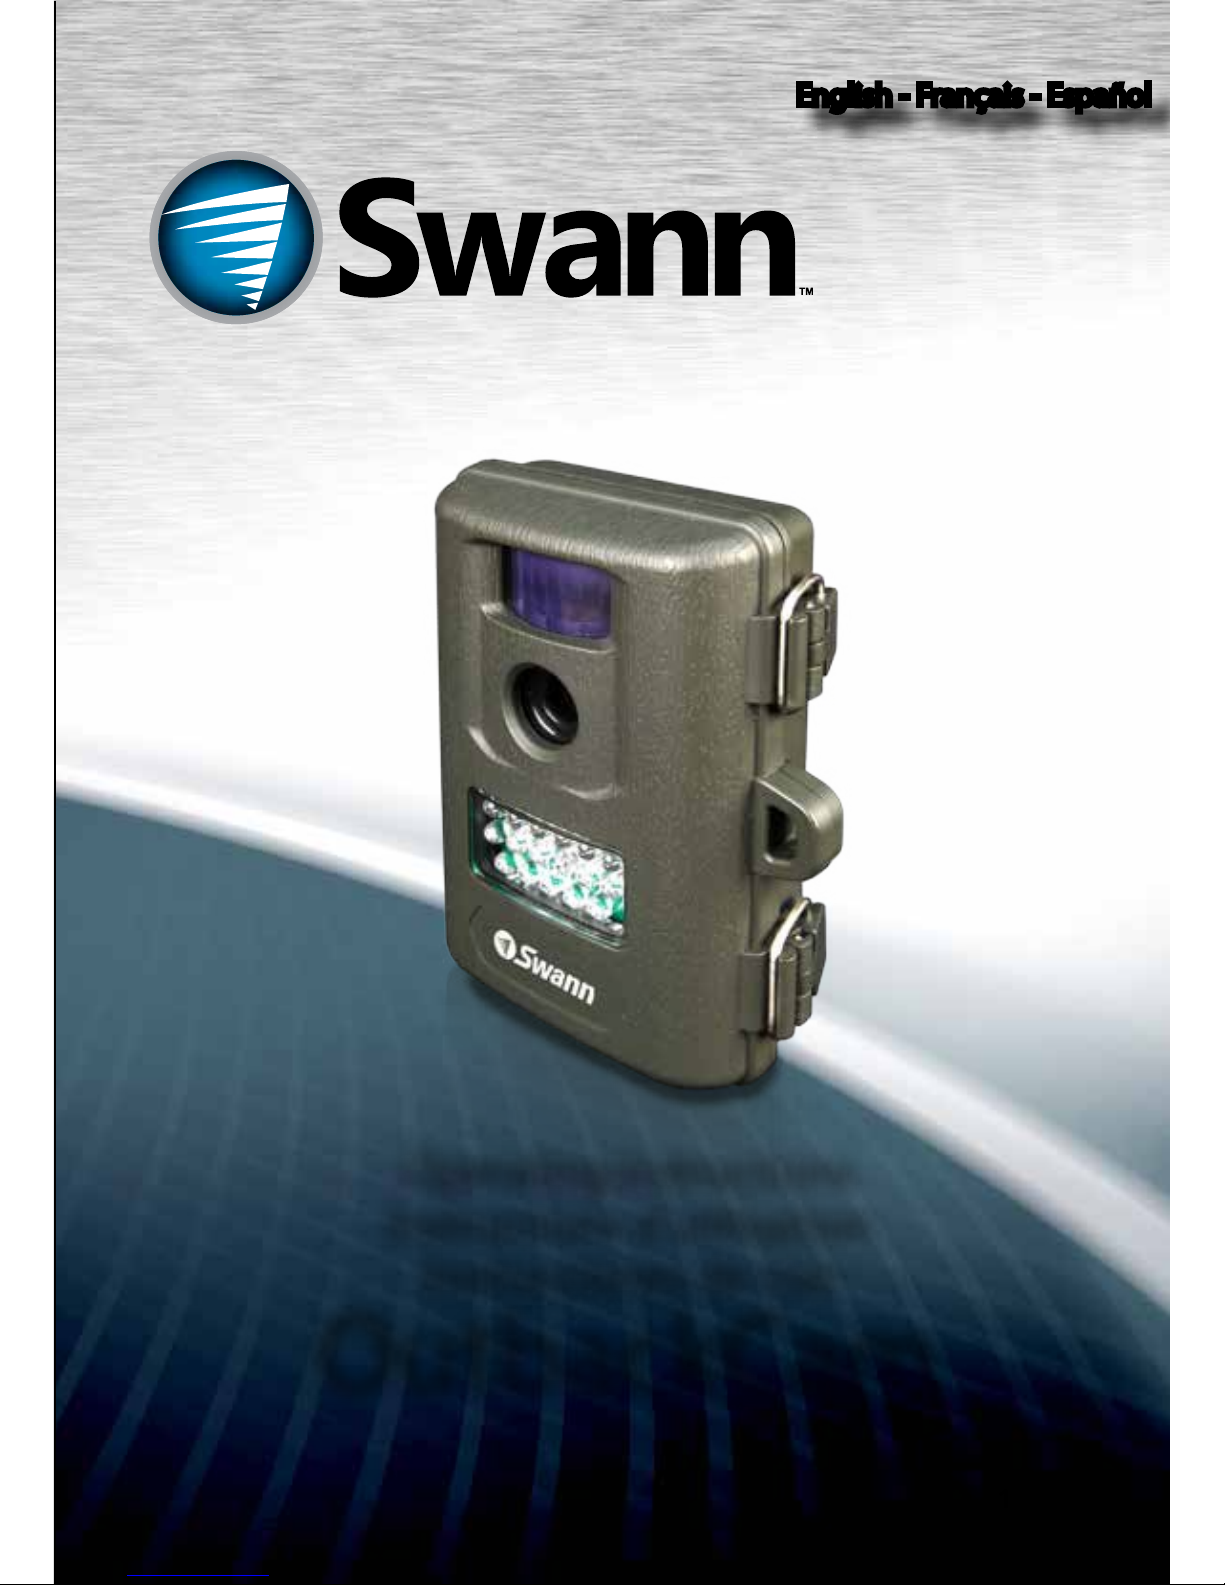
Preparing the OutbackCam
PIR Motion Detection Area
Camera Viewing Area
55° 32ft/10m