manuals.online logo
Brands
  1. Home
  2. •
  3. Brands
  4. •
  5. SWEEX
  6. •
  7. UPS
  8. •
  9. SWEEX Line Interactive 500 User manual

SWEEX Line Interactive 500 User manual

English version
3
Installation and usage
Installation
Leave the Sweex UPS on at all times.
Place the Sweex UPS on a flat surface.
In order to prevent fire or electrical shocks, do not expose the device to rain or a moist atmosphere.
Ensure that the UPS is at lest 20 cm away from the monitor.
Charging
The UPS is fully charged at the factory itself, but during transportation, the battery may get discharged. For this reason we recommend that you
charge the Sweex UPS for at least 8 hours before use.
Connecting your hardware
Connect a computer-related product to the back of the UPS. You may connect a maximum of three devices.
English version
WWW.SWEEX.COM
2
UPS 500 VA (BC100030) / UPS 600 VA (BC100040) / UPS 700 VA (BC100050) / UPS 800 VA (BC100060)
Advantages
Automatic voltage control - The voltage control increases or lowers the voltage between the mains input and the output at the optimum
level. If voltage limits are exceeded and if the AVR detects undervoltage or overvoltage, the UPS will signal this
and the voltage will again be brought to an optimal level.
If the mains voltage fails - A pulsating acoustic signal shall warn you when the mains voltage fails.
Most important characteristics
•Complete power protection
•Automatic recharging of the batteries
•Maintenance-free batteries
Remarks
Before commencing full-fledged operation of the UPS, you should first charge it for eight hours. After eight hours, the charging process of the
battery will be controlled by the electronic devices of the UPS itself. Do not connect laser printers to the UPS, since they consume a lot of power.
Description of the UPS
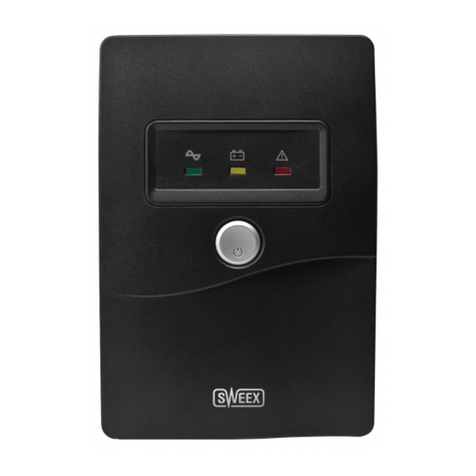
LED & Indicator-
Status LED Acoustic
green orange red none alarm
AC mode
Battery mode
Replacement battery
Overcharging
Low battery voltage
Rear side -
1. Output(s)
2. AC input including AC fuse
3. Communication port (RS 232)
4. Telephone/modem protection (optional)
English version
5
English version
WWW.SWEEX.COM
4
Modem / telephone line connection (optional)
You may connect the incoming telephone line to the “In”contact on the back of the UPS. You may connect the modem or telephone at the
“Out”contact of the UPS.
RS 232 Communication cable
In order to switch off the system automatically, use a 9-pole RS 232 cable. You may connect this as shown in the figure below.
Switching on/off
Press the power button at the top to switch on the Sweex UPS. Press this button again to switch off the UPS.
Removal of the battery
The figures below show how you can remove the battery from the Sweex UPS. First remove the screw with which the sliding flap is fixed. (See
fig. 7). After you have removed the sliding flap, you may remove the battery from the UPS. You may then carefully push out the two connecting
wires (see figure 8) that are connected to the battery from the battery lips.
(fig. 7) (fig. 8)
Removing the handle
Push back the handle and remove the two protective covers. In order to prevent damage you should only remove the protective covers after the
handle has been fully pushed to the back.
Now remove the handle and replace the two protective covers.
Software installation
Commander Pro is a unique program for monitoring the UPS.
Characteristics:
If necessary, save the files before you shutdown the server.
Task planner for shutting down the server
Overview of the UPS status
Possibility of warning via e-mail
User-friendly interface
Multi-lingual version
English version
7
Specifications
MODEL Line Interactive 500 Line Interactive 600 Line Interactive 700 Line Interactive 800
CAPACITY VA 500 VA 600 VA 700 VA 800 VA
W 300 W 360 W 420 W 480 W
INPUT Voltage 120 or 220 / 230 / 240 VAC
Voltage range + 20% and - 25%
OUTPUT Voltage 120 or 220 / 230 / 240 VAC
Voltage control system + / - 10%
(Battery Mode)
Frequency 50 Hz or 60 Hz
Frequency Control + / - 1 Hz
(Battery Mode)
Output Wave form Modified Sine wave
BATTERY Battery type 12 V/7 Ah x 1pc 12 V/9 Ah x 1 pc
Back-up time 15-30 minutes (With a PC + 15’’ monitor)
Charging time 8 hours to 90% after full discharging
TRANSFER TIME Typical 2-6 ms
LED INDICATION AC mode Colour of the LED - green
Back-up mode Colour of the LED - orange
Overcharging/ Colour of the LED - red
Battery defective
ACOUSTIC ALARM Back-up mode Warning tone every 10 seconds
Low Battery voltage Warning tone every 1 second
Overloading Warning tone every 0.5 second
PROTECTION Protection on Undervoltage and overvoltage, peak voltages, short circuiting and AC/DC fuse
DIMENSIONS With handle 320 X 120 X 200 mm
DxWxH Without handle 320 X 120 X 143 mm
WEIGHT Net weight 6.4 kg 6.4 kg 6.4 kg 7.0 kg
ENVIRONMENT Ambient conditions 0-40 ºC at full load, 0-90 % relative humidity (no condensate)
Noise level Less than 40dB
INTERFACE RS-232 / 9- pole Supports Win 98SE, Win 2000 and Windows XP
English version
WWW.SWEEX.COM
6
You may download Commander Pro from Sweex
Go to the Sweex website: http://www.sweex.com
Select the group ‘Security’and then click ‘UPS’.
Select the relevant UPS, you will find the Commander Pro program here.
To install the software, use the following serial number: 511C1-01220-0100-478DF2A
Tips in the case of irregularities
Symptom Possible cause Possible solution
A LED indication on the UPS. 1. Battery is fully discharged. 1. Charge the battery for at least 8 hours.
2. Battery is defective. 2. Replace the battery with a battery of the same type
3. The UPS is switched off. 3. Keep the power switch pressed for at least
five seconds.
Acoustic alarm sounds although The UPS is overloaded. Check whether an excessive number of
the mains voltage is present. devices has been connected to the UPS
Back-up time of the UPS 1. The UPS is overloaded 1. Disconnect a device from the UPS.
is very low. 2. Battery voltage is too low. 2. Charge the battery for at least 8 hours.
3. Battery is defective. 3. Replace the battery with a battery of the same type.
The communication between 1. Software has not been installed correctly. 1. Check the software settings
the computer and the UPS 2. RS 232 cable has not been 2. Check whether the RS 232 cable been correctly
has been interrupted. connected correctly. connected to the Com 1 or 2.
Check the installed software.
The orange LED is lighted 1. The fuse is defective. 1. Replace the fuse.
and the mains voltage. 2. The mains cable is loose or defective.
English version
WWW.SWEEX.COM
8
Safety - CAUTION!
This UPS utilizes voltages that may be hazardous. Do not attempt to disassemble the unit. The unit contains no user serviceable parts.
Only factory service personnel may perform repairs. Connection to any other type of receptacle other than a two-pole, three-wire grounding
receptacle may result in electrical shock hazard as well as violate local electrical codes. In the event of an emergency, turn the power switch
to the “off”position and disconnect the power cord form the AC power supply to properly disable the UPS. Do not allow liquids or any
foreign object to enter the UPS. Do not place beverages or any other liquid-containing vessels on or near the unit. Avoid installing the UPS in
locations where there is standing or running water, or excessive humidity. Do not plug the UPS’power cord into itself. Do not attach a power
strip or surge suppressor to the UPS. Do not attach non-computer-related items, such as medical equipment, life-support equipment,
microwave ovens, or vacuum cleaners to the UPS. To reduce the risk of overheating the UPS, do not cover the UPS’cooling vents and avoid
exposing the unit to direct sunlight or installing the unit near heat emitting appliances such as space heaters or furnaces. Unplug the UPS
prior to cleaning and do not use liquid or spray detergent. Do not dispose of battery or batteries in a fire. The battery may explode. Do not
open or mutilate the battery or batteries. Released electrolyte is harmful to the skin and eyes. It may be toxic. A battery can present a risk of
electrical shock and high short circuit current. The following precautions should be observed when working on batteries:
•Remove watches, rings, or other metal objects.
•Use tools with insulated handles.
•Wear rubber gloves and boots.
Servicing of batteries should be performed or supervised by personnel knowledgeable of batteries and the required precautions.
Keep unauthorized personnel away from batteries. When replacing batteries, replace with the same number and type of the sealed lead-acid batteries.
During the installation of this equipment, make sure that the sum of the leakage currents of the UPS and the connected loads do not exceed 3.5mA.
The main socket outlet that supplies the UPS should be installed near the UPS and should be easily accessible. This pluggable type A equipment, with
battery already installed by the supplier, is operator installable and may be operated by laymen.
ATTENTION: ELECTRICAL SHOCK HAZARD!
Even when disconnected from the main power supply, electrical shock hazard exists, because of the power supply from the battery.

This manual suits for next models

7

Other SWEEX UPS manuals

SWEEX PP061 - QUICK_START_GUIDE User manual

SWEEX

SWEEX PP061 - QUICK_START_GUIDE User manual

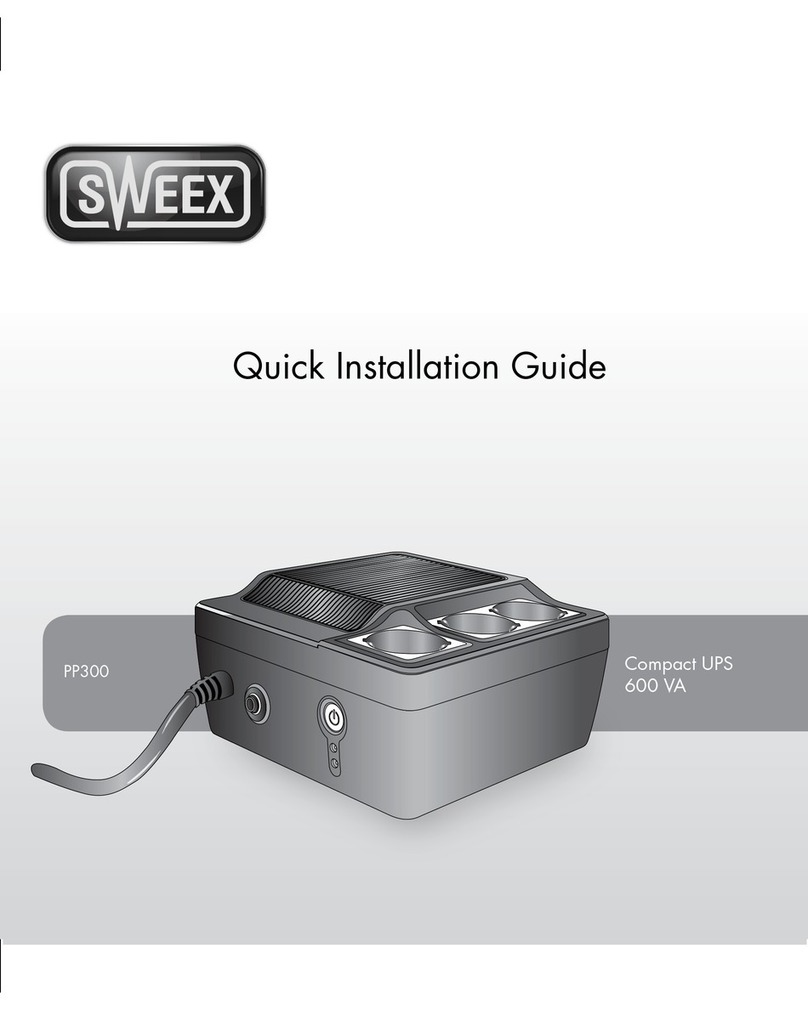
SWEEX PP300 User manual

SWEEX

SWEEX PP300 User manual

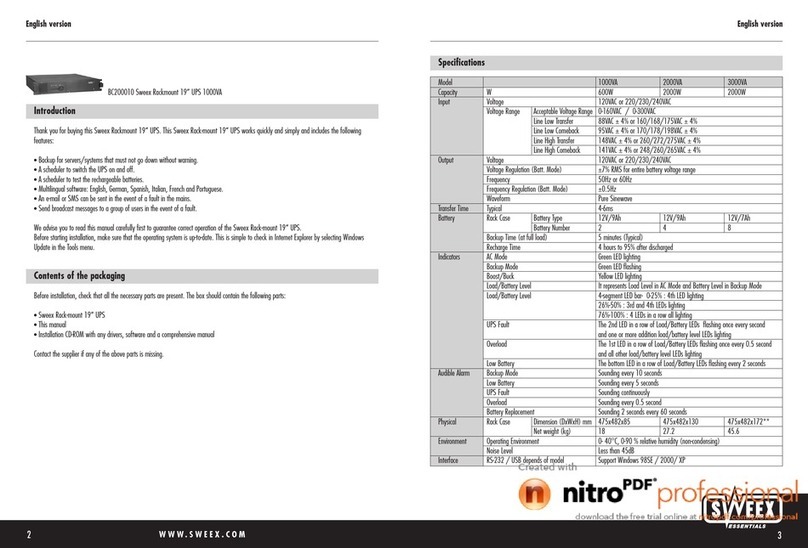
SWEEX BC200010 User manual

SWEEX

SWEEX BC200010 User manual

SWEEX PP100 User manual

SWEEX

SWEEX PP100 User manual

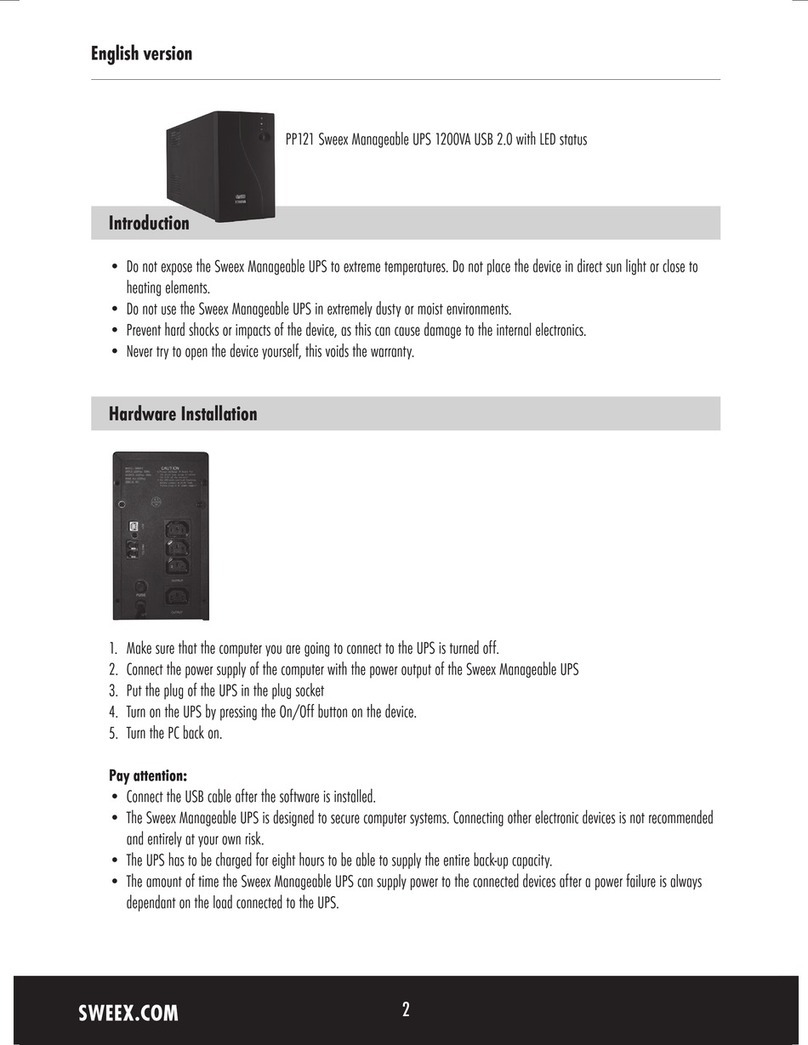
SWEEX PP121 - QUICK_START_GUIDE User manual

SWEEX

SWEEX PP121 - QUICK_START_GUIDE User manual

SWEEX PP200 User manual

SWEEX

SWEEX PP200 User manual

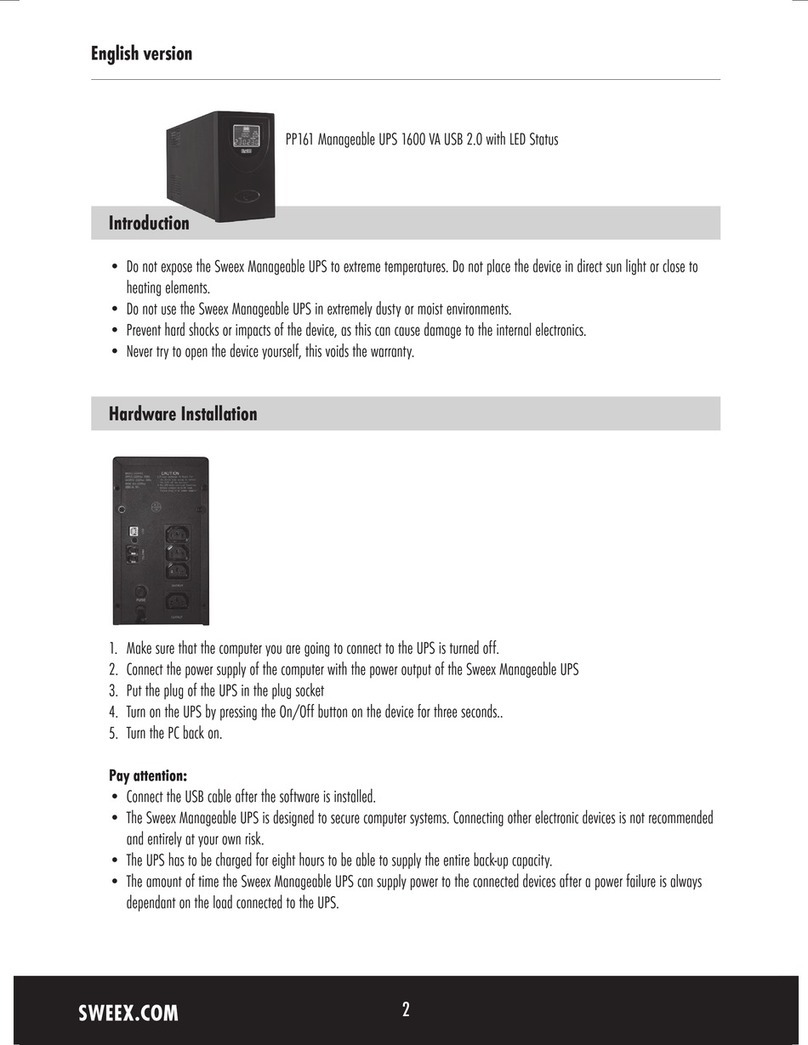
SWEEX PP161 - QUICK_START_GUIDE User manual

SWEEX

SWEEX PP161 - QUICK_START_GUIDE User manual

SWEEX PP210 User manual

SWEEX

SWEEX PP210 User manual

SWEEX PP220 User manual

SWEEX

SWEEX PP220 User manual

Popular UPS manuals by other brands

Powercom 800VA user manual

Powercom

Powercom 800VA user manual

Para systems E750RTXL2U user manual

Para systems

Para systems E750RTXL2U user manual

Orvaldi V1000 user manual

Orvaldi

Orvaldi V1000 user manual

HPE R/T2200 G4 user guide

HPE

HPE R/T2200 G4 user guide

Eaton 93E 30IAC-D Installation and operation manual

Eaton

Eaton 93E 30IAC-D Installation and operation manual

Next Mantis RT 1100VA user manual

Next

Next Mantis RT 1100VA user manual

PROLiNK PRO850VU quick start guide

PROLiNK

PROLiNK PRO850VU quick start guide

Power Inspired VFI1000QS user manual

Power Inspired

Power Inspired VFI1000QS user manual

Liebert Series 300 Installation, operation & maintenance manual

Liebert

Liebert Series 300 Installation, operation & maintenance manual

HP R1500 Product End-of-Life Disassembly Instructions

HP

HP R1500 Product End-of-Life Disassembly Instructions

Xmart OPTIMA T09 1K user manual

Xmart

Xmart OPTIMA T09 1K user manual

PowerShield Centurion RT Series user manual

PowerShield

PowerShield Centurion RT Series user manual

Salicru SLC X-PERT Series user manual

Salicru

Salicru SLC X-PERT Series user manual

Alpha Tri Power X33 TE Installation and operation manual

Alpha

Alpha Tri Power X33 TE Installation and operation manual

Ewent EW3940 user manual

Ewent

Ewent EW3940 user manual

Powerware 9315 Installation & operation manual

Powerware

Powerware 9315 Installation & operation manual

Xmart OPTIMA-33 10K user manual

Xmart

Xmart OPTIMA-33 10K user manual

Eaton Powerware 9125 user guide

Eaton

Eaton Powerware 9125 user guide

manuals.online logo
manuals.online logoBrands
  • About & Mission
  • Contact us
  • Privacy Policy
  • Terms and Conditions

Copyright 2025 Manuals.Online. All Rights Reserved.