System76 Serval WS User manual
System76
Serval WS (serw11)
Service Manual

Revision history
Author
Date
Version
Remarks
Aaron H / Nathaniel
W
2019-11-15
Initial
System76 Serval WS (serw11) Service Manual
1

Contents
Revision history
Hardware overview
External overview
Ports overview
Bottom case screw sizes
Front LED overview
Hardware keyboard shortcuts
External displays
Thunderbolt 3 and eGPU
Internal component overview
User-serviceable parts and repairs
Replacing the keyboard
Steps to replace the keyboard
Photo guide for keyboard replacement
Removing the bottom cover
Steps to remove the cover
Steps to replace the cover
Photo guide for bottom cover removal/replacement
Replacing the RAM
Steps to replace the RAM
Photo guide for replacing the RAM
Replacing an M.2/NVMe SSD
Steps to replace the M.2 drive
Replacing the CPU fan/CPU heatsink/thermal paste
Steps to replace the CPU heatsink/thermal paste
Replacing the CMOS battery
Steps to replace the CMOS battery
Replacing the internal battery
Steps to replace the internal battery
Replacing the WiFi/Bluetooth module
Steps to replace the WiFi/Bluetooth module
BIOS utilities
System76 Serval WS (serw11) Service Manual
2

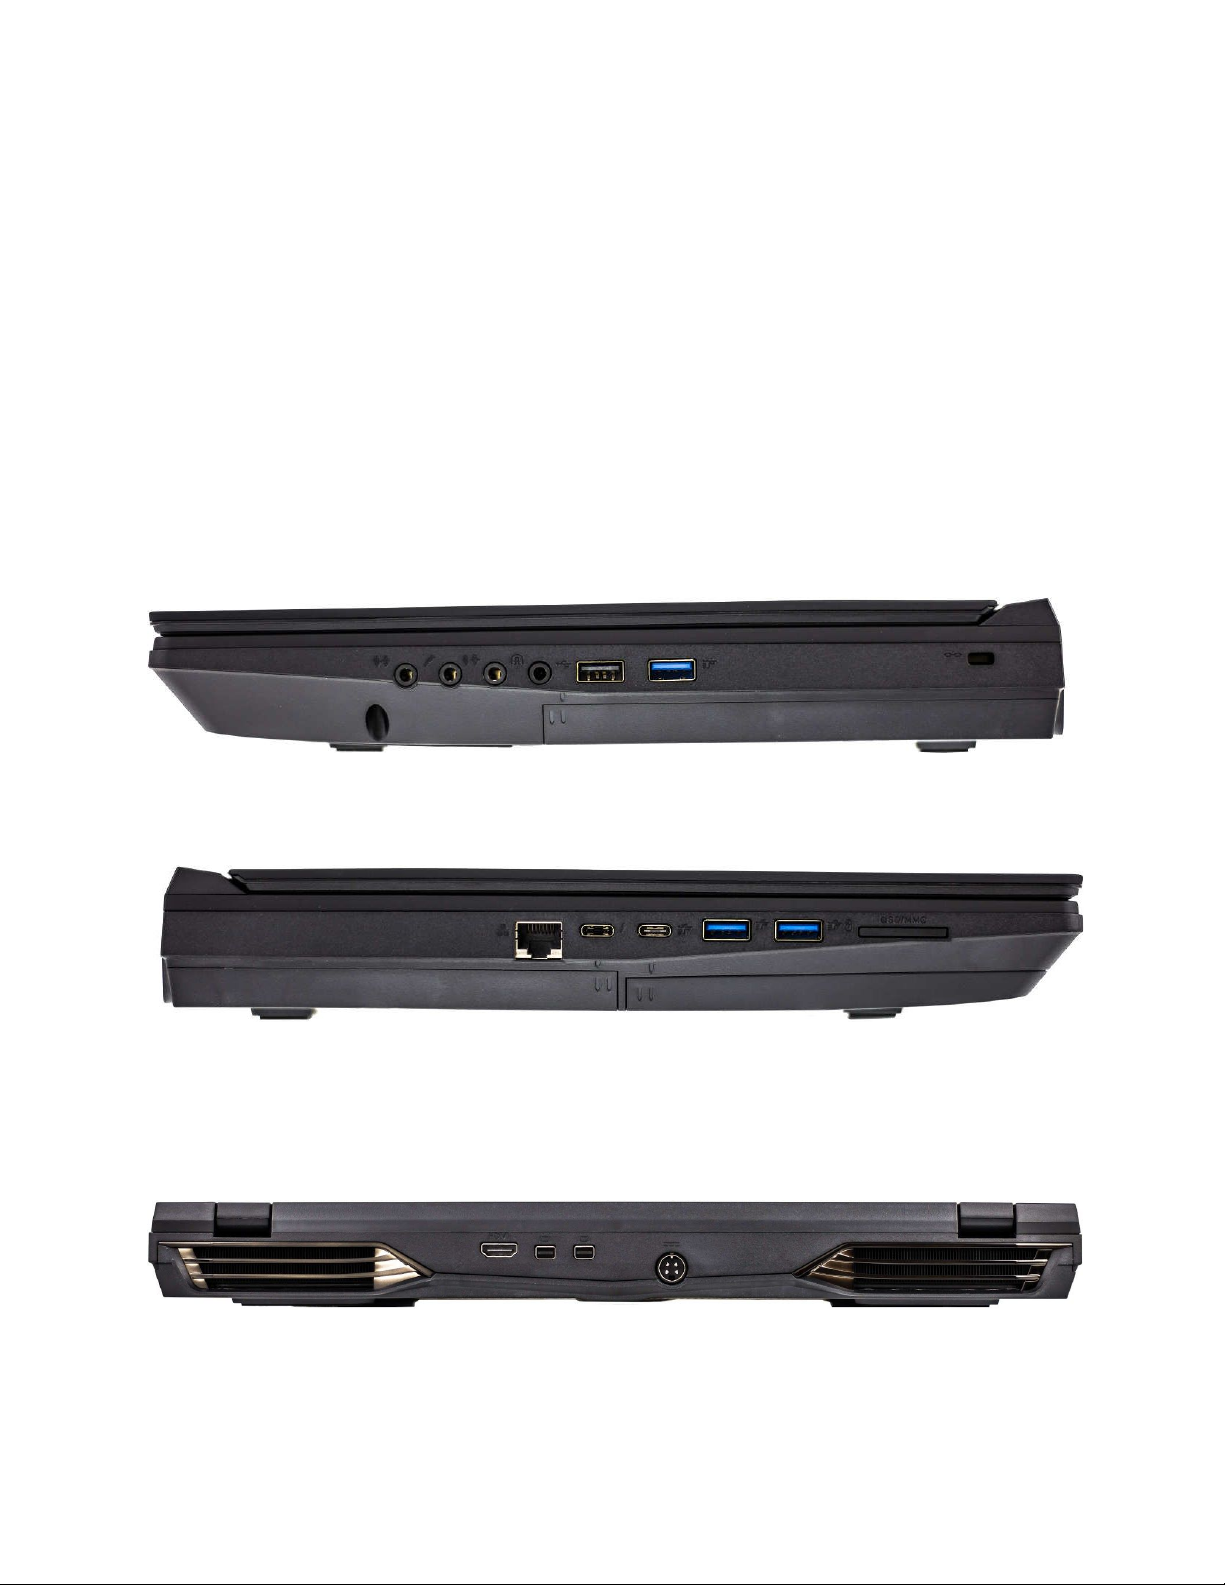
Hardware overview
External overview
Ports overview
The Serval WS provides multiple connectivity options.
15”
Left side overview
Right side overview
Front side overview
Back side overview
System76 Serval WS (serw11) Service Manual
4
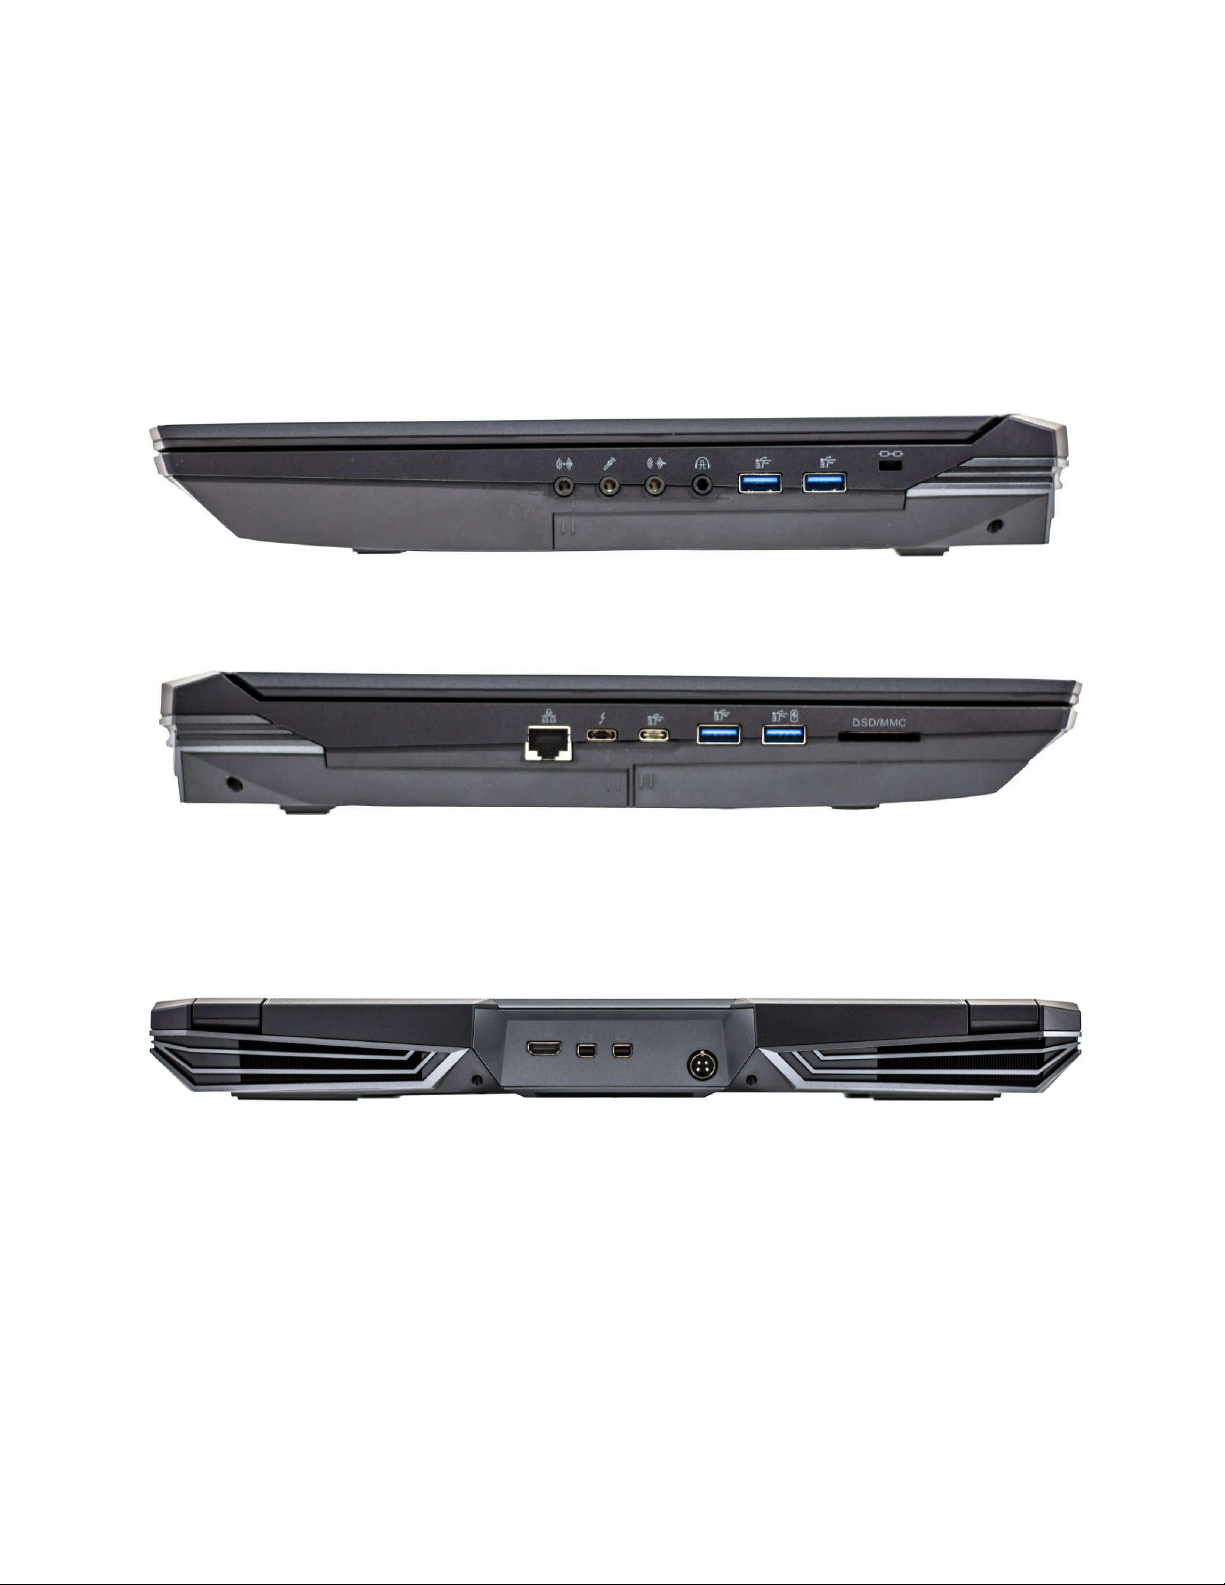
17”
Left side overview
Right side overview
Front side overview
Back side overview
System76 Serval WS (serw11) Service Manual
5

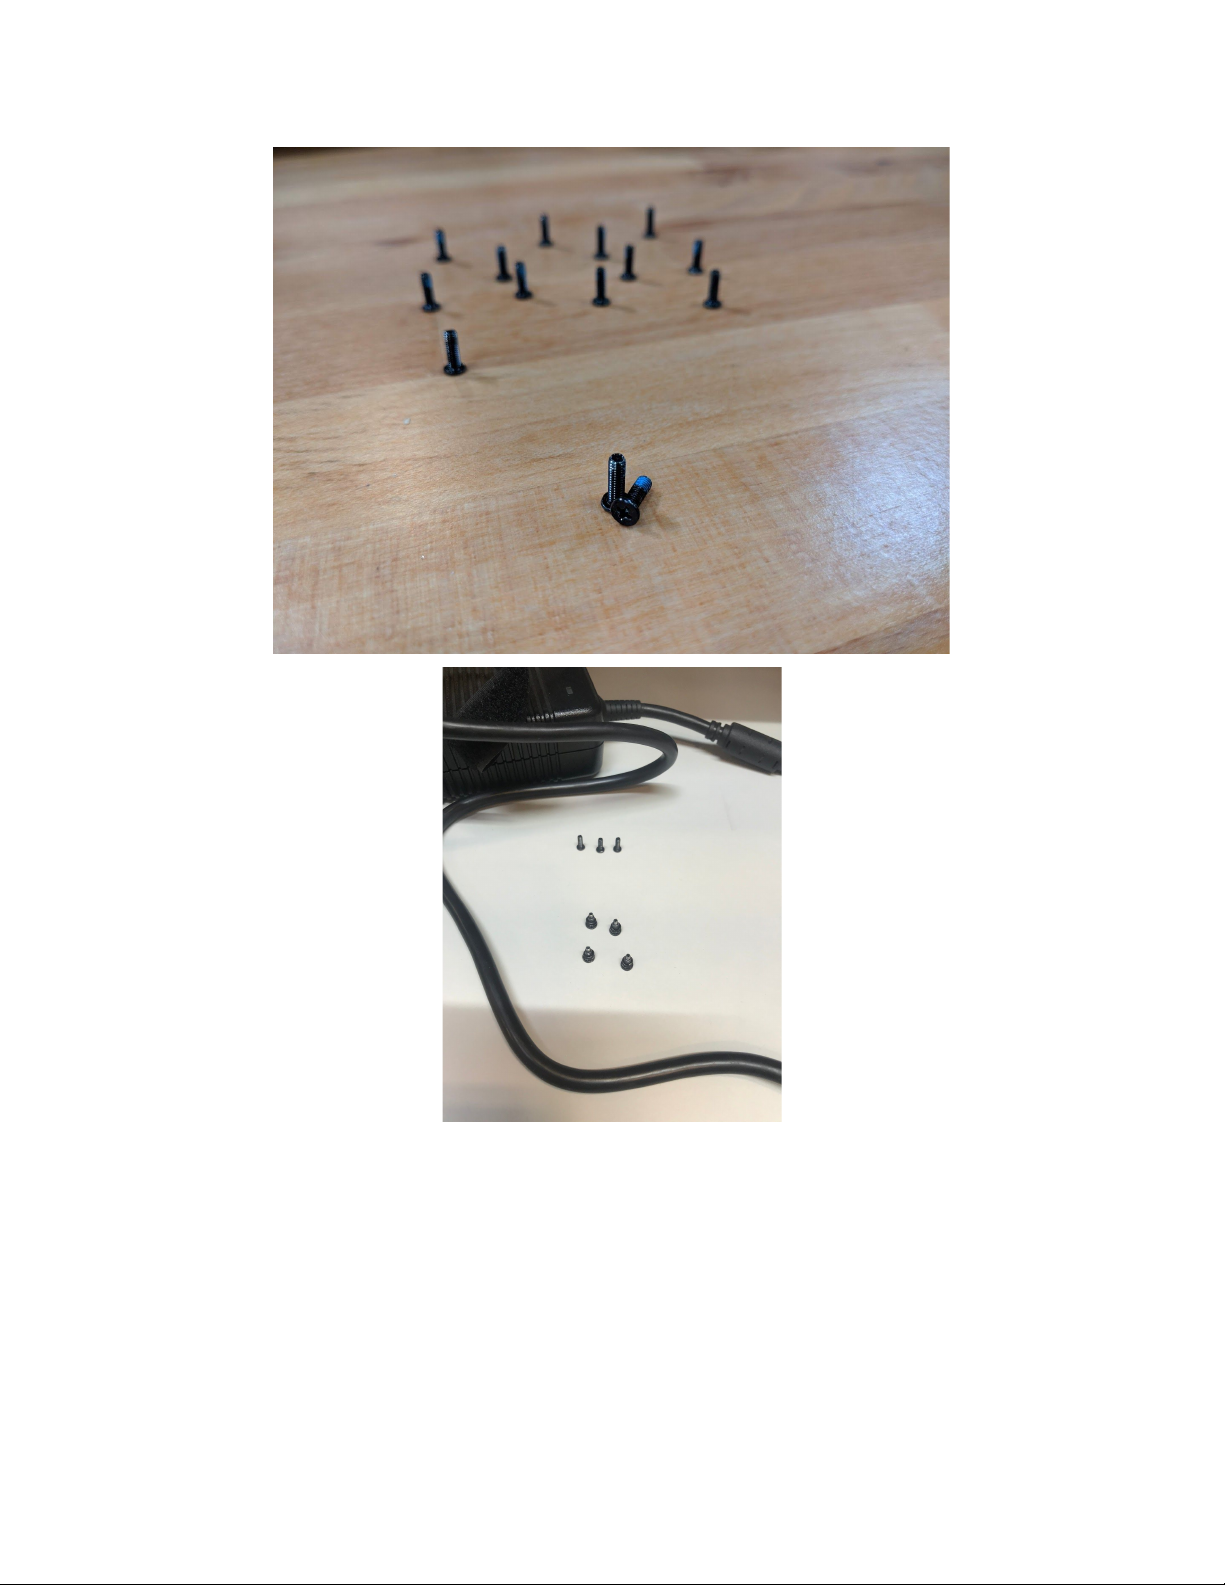
Bottom case screw sizes
The Serval WS has uniform size screws for securing the bottom case, battery and
keyboard. M.2 drives and the GPU/Heat Sink fastenings have specialized screws.
System76 Serval WS (serw11) Service Manual
6
System76 Serval WS (serw11) Service Manual
7

Front LED overview
Icon
Color
Description
Orange
DC power plugged in
Green
Computer is on
Blinking green
Computer is sleeping
Orange
Battery charging
Green
Battery fully charged
Blinking orange
Battery critically low
Green
Airplane mode is ON
(WiFi/Bluetooth disabled)
Green
Hard disk activity
Green
The light will be on when Num Lock is enabled.
Green
The light will be on when Caps Lock is enabled.
Green
The light will be on when Scroll Lock enabled.
Off
MSHYBRD Mode for GPU
Green
Discrete Mode for GPU
System76 Serval WS (serw11) Service Manual
8

Hardware keyboard shortcuts
Your Serval WS has several actions available using the Fn and numbered Function keys.
Key
Shortcut
Action
Fn+F1
Toggle trackpad
Fn+F2
Toggle built-in LCD
Fn+F3
Mute
Fn+*
Toggle keyboard backlight
Fn+F5
Volume down
Fn+F6
Volume up
Fn+F7
Toggle displays
Fn+F8
Brightness down
Fn+F9
Brightness up
Fn+F10
Toggle webcam
Fn+F11
Toggle airplane mode
Fn+F12
Suspend
Fn+`
Play/Pause
Fn+1
Toggle fan between max/automatic
Fn+/
Cycle Keyboard Color
Fn+-
Decrease Keyboard Brightness
Fn++
Increase Keyboard Brightness
System76 Serval WS (serw11) Service Manual
9
This manual suits for next models
1
Table of contents
Other System76 Laptop manuals


