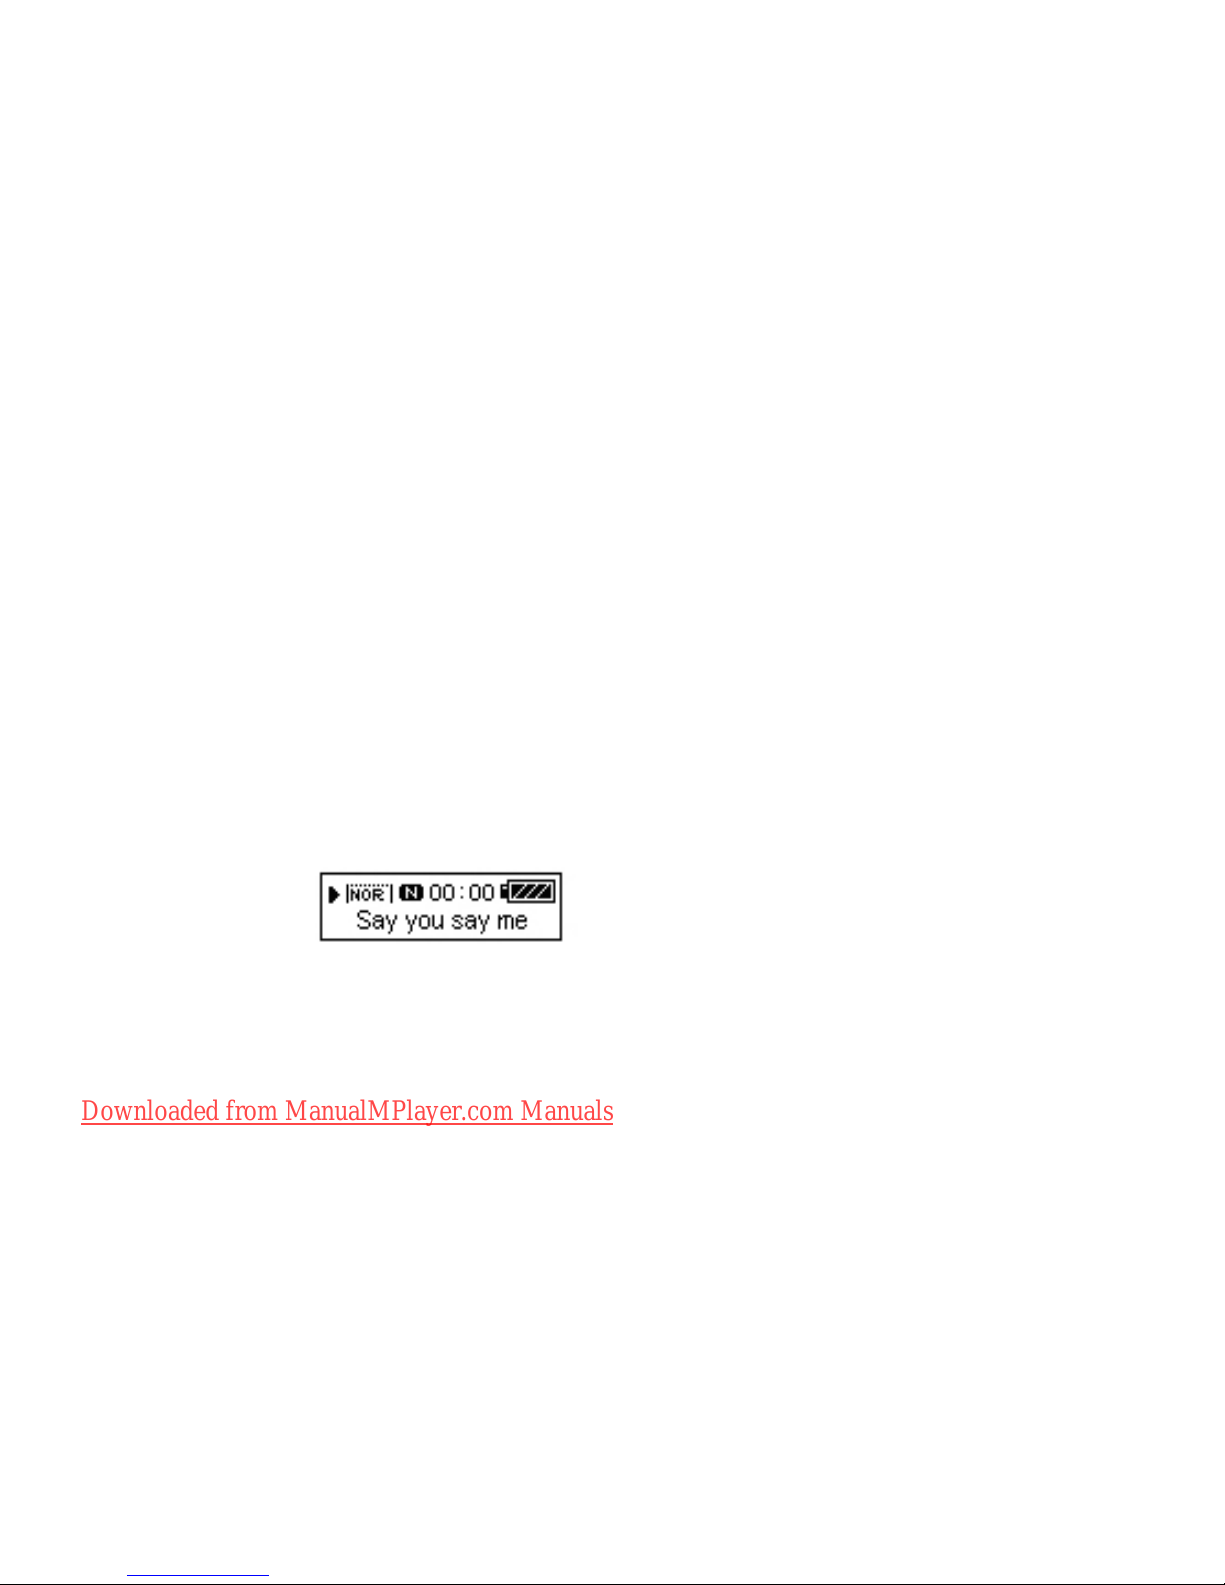
TakeMS MEM-P3 Tube User manual

Dimension 90 x Ø15 (mm)
Weight 19 gr
Screen 96x24 LCD display
Connect to PC USB 2.0 (mini USB port)
Memory 1,2,4 GB
Power Supply Max 6 hours play mode ; NiMH- Accu (incl.)
Charging via USB or AC Adaptor (incl.)
Music Max. Output (L) 10mW + (R)10mW (32Ohm)
MP3 bitrate 8K bps – 320K bps
Equalizer 7 modes
Freq. Response 20Hz to 20KHz
SNR 85dB
Recording WAV /ACT recording
Operate Temperature -5 to 40 degree
8 Languages Display Support multi-languages menu
Supported OS Windows ME/2K/XP Mac OS 10 Linux 2.4.2
Special Features FM- Tuner (87.0-108.0 MHz), Record function
Housing colors blue, yellow, pink
Accessories clip, headphones, manual, AC Adaptor
Downloaded from ManualMPlayer.com Manuals

Dimension 90 x Ø15 (mm)
Weight 19 gr
Screen 96x24 OLED display
Connect to PC USB 2.0 (mini USB port)
Memory 1,2,4 GB
Power Supply Max 6 hours play mode ; NiMH- Accu (incl.)
Charging via USB or AC Adaptor (incl.)
Music Max. Output (L) 10mW + (R)10mW (32Ohm)
MP3 bitrate 8K bps – 320K bps
Equalizer 7 modes
Freq. Response 20Hz to 20KHz
SNR 85dB
Recording WAV /ACT recording
Operate Temperature -5 to 40 degree
8 Languages Display Support multi-languages menu
Supported OS Windows ME/2K/XP Mac OS 10 Linux 2.4.2
Special Features FM- Tuner (87.0-108.0 MHz), Record function
Housing colors blue, yellow, pink
Accessories clip, headphones, manual, AC Adaptor
MEM-P3 Tube
MANUAL
Downloaded from ManualMPlayer.com Manuals

1. MAIN FUNCTIONS
Clip and super slim fashionable metal design, good soft feeling●
96*24 OLED color screen display.●
Support MP3,WMA music format●
Seven EQ modes, multi cycle playing modes, Sound quality is●
outstanding
Built-in FM radio and recording function●
Support multi-languages menu●
WAV /ACT recording, A-B repeating function●
Flash disk function,no need to install driver for WIN2000 or●
above
High speed 2.0 interface, support rmware upgrade function●
Build in FM Radio function●
2. KEY AND CONTROL INTERFACE
2.1 Key Function Denition
PLAY
VOL
NEXTPREV
MODELCDPOWER
ON/OFF
USB EARPHONE
ON/OFF: power switch on
PLAY: long press is to ON/OFF, short press is to PLAY/PAUSE
MODE: Open the setup menu, switch to the working mode, hold key
to return to the main menu
NEXT/VOL+: next menu, maximize volume
LAST/VOL-: last menu, minimize volume
2.2 Standard Control Interface
The picture on the right shows the common standard menu inter-
face. When you open up the processing mode,
a similar screen will be displayed.
There are up to 6 items on every screen. If there are less than 6
items, they will be displayed on the left.
The highlighted item is the activated item.
Press key MODE: to open up the screen.
Press key NEXT or LAST: to open up the submenu.
Press key PLAY: to exit the menu
Hold the key PLAY: to return to the main menu.
3. MAIN MENU
The main menu contains six submenus which are “Music Mode”
Downloaded from ManualMPlayer.com Manuals

“Recording Mode” “Voice Mode” “System Mode” “Telephone BOOK”
“E-BOOK”. The corresponding functions are: playing music, record-
ing music, playing recorded les, setting the system parameters,
opening the telephone book and reading texts.
Press the key NEXT/VOL+ or LAST/VOL- to select the entry mode,
press the key MODE to conrm and enter the function.
4. MUSIC MODE
The music mode supports MP3 as well as WMA formats, etc. and
offers a repeat function, a follow up function and a comparing read-
ing function. It displays the following screens: stop, playing, volume
control, play back texts, delete/cancel, select menu and other
function screens.
4.1 Easy Handling
1. Connect the earphones
2. Hold key PLAY to turn the player on and open up the music
mode. Press key PLAY again to play music.
3. Choose the song:
LAST: Selects the previous song
NEXT: Selects the next song
4. Adjust the volume
VOL+: increase the volume
VOL-: decrease the volume
Press MODE to exit the screen.
4.2 Stop Screen
4.2.1 Basic Screen
The Stop screen is displayed in the right picture. When you open up
the stop screen, the song will stop. When you restart the player and
open up the music mode, the song will be played continuously.
Hold key MODE, to return to the main menu;
Press key PLAY, to play music;
Hold key PLAY, to turn the player off;
Press NEXT or LAST, to choose the previous or following song;
Press key VOL, to open up the volume control screen.
4.2.2 Play the Submenu
Press key MODE on the stop screen to open up the stop menu
screen. The following functions are available: main disk catalogue
and delete les. When the player is connected to an PC you can
save up to 99 folders on the player and they will be ordered by
music, text and recorded les etc.. When you open up the ROOT
screen, you can see all folders (submenus), press NEXT or LAST to
select the function submenu, press MODE to conrm the submenu
and to return to the playing screen.
Delete the contents which you have selected from the submenu.
Downloaded from ManualMPlayer.com Manuals

4.3 Playing screen
Press key PLAY on the stop screen to open up the playing screen.
The playing time will be displayed on the screen.
Press the key MODE, to open up the playing menu screen;
Hold the key MODE, to open up the text screen if you have an
synchronous lyric. If you do not have any synchronous lyric, return
to the main menu;
Press the key PLAY, to open up the stop screen;
Hold the key NEXT/LAST, to fast forward/fast back rapidly up to the
end/start of a song;
Press the key NEXT/LAST, to play the following/previous song;
Press VOL, to open up the volume control screen.
Press key MODE on the playing screen to open up the playing
menu screen. Then the corresponding functions will be displayed
as follows:
1. Cycling Modes (seven): normal, repeat one song, folder, repeat
folder, repeat all, random, search
2. Music Effect Modes (seven): natural, rock, pop, classic, soft, jazz,
DBB such as displayed in the right picture
3. Playing speed, to choose different speeds (rapidly or slowly),
except for the WMA format.
4. A-B repeat/reading:
On the repeat/reading screen, the character ”A” ashes;
Press the key NEXT and conrm the ashing function ”A”, “B”;
Press the key NEXT and conrm ”B”,”A” and ”B” these will be xed
and the playing from A to B will be started.
Press the key MODE during the above mentioned steps to exit the
repeat/reading screen and to return to the playing screen, press the
key PLAY to exit the repeat/reading screen and the playing screen
and return to the stop screen.
5. Number of repeat/reading: Set the number times to repeat/rea-
ding a song
6. Repeat/reading interval: set the interval of the repeat/reading
function.
5. FM FUNCTION
Select “FM Radio” in the main menu. Press “MODE” to open the
playing mode, listen to the scheduled frequency. When you open up
this function for the rst time, the minimum frequency will be preset.
Save frequency:
Saves the frequency to which you are listening
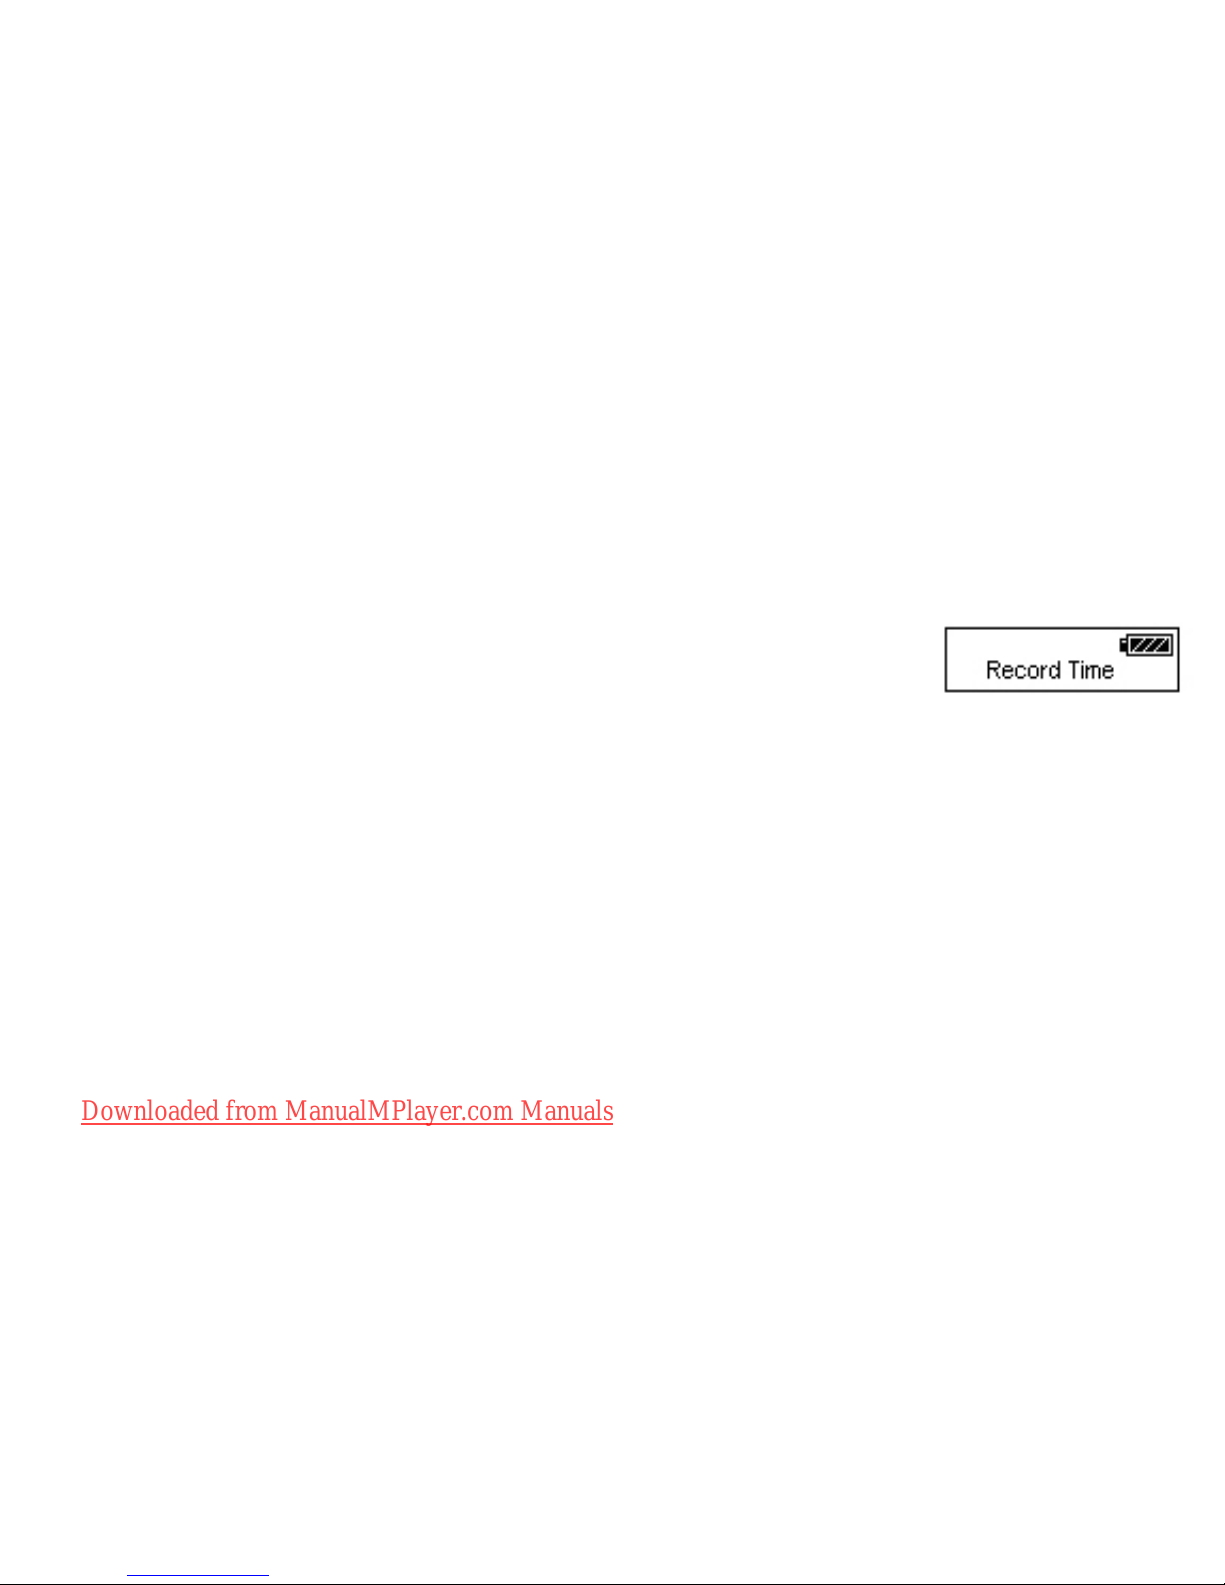
Record frequency: Records the frequency to which you are listening
and saves it
Delete frequency: Deletes the frequency to which you are listening
Deletes all saved frequencies
Auto Search: the auto search can nd and save all frequencies
which are having a signal
Common frequency range: from 87 MHz to 108MHz
Japanese frequency range: from 76 MHz to 90MHz
Downloaded from ManualMPlayer.com Manuals

1. Save frequency:
Saves the frequency range to the new scheduled frequency. If you
adjust the frequency just a little bit, you will stay on the common
channels.
2. Record frequency:
Press MODE to open up the record screen and record the sound
to the record le. When you nish recording, hold the key MODE
to save the recorded song, then the player will switch to the FM
screen. The le can be played on the VOICE mode.
3. Delete frequency:
Press MODE to delete the current frequency and to switch to the
FM screen.
4. Deletes all saved frequencies:
Deletes all saved channels and then switch to the FM screen.
5. Auto Search:
The auto search can nd and save all frequencies which are having
a signal, then it will switch to the rst signal channel.
6. Common frequency range: from 87MHz to 108MHz
7. Japanese frequency range: from 76MHz to 90MHz
6. Record/Play the record
This function supports the documents of MS-ADPCM WAV (.wav)
and AG8 ACT record.
The pronunciation mode supports the record of *.WAV le and
*.ACT le.
6.1 Recording
Select MODE on the main menu screen to open up the record
mode, press the key PLAY to start the record. Up to 99 record les
are supported in each menu (including ROOT and submenu).
The basic format of the record screen is displayed in the right
picture.
00:00:03 shows the progress of the record, the stop screen displays
the length of the current record;
15:19:17 displays the total record time;
13/12 displays the current le list and how many les are included
in the menu;
REC 22 displays the le name;
2004/01/01 displays date and time when the le had been created;
32K/WAV displays the le format.
Open the stop screen to display the current record information, wait
for user input.
Downloaded from ManualMPlayer.com Manuals

Hold the key MODE, to return to the main menu;
Press the key MODE, to open up the stop menu screen;
Press the key PLAY, to open up the record screen and to start
recording.
Select the main disk menu and the record type on the stop menu
screen. The record type can be classied into two catalogues: MS-
ADPCM WAV (.wav) and AG8 ACT (.act).
Open up the record screen to create new record le names and
start recording on the currently encrypted mode. The list indicates
the record and the record progress.
In order to start recording, please press the key PLAY to open up
the pause screen; hold the key PLAY to continue recording and to
create a new record; hold the key MODE to continue recording and
to return to the main menu.
Press the key PLAY on the pause screen to return to the record
screen and to continue recording; hold the key PLAY to return to the
stop screen and to continue recording on the le system.
6.2 Play the record
The pronunciation mode supports the playing of the recorded les,
the basic operation method is similar to the playing of songs. The
following screens are available: stop screen, playing screen, menu
select screen, delete screen, select function and setting screen.
The ACT format le which had been recorded on the player can be
transformed to the WAV format by using the ‘”Sound Converter”
procedure, which is included in the accessory installation procedure
saddlebag.
7. System setting Menu
Select the system setting on the main menu and set the system
parameters.
For example: Set the record time:
Press the key MODE on the system setting screen to open up the
RECORD TIME screen, select record time on the system setting
menu, press the key MODE to open up the following screen:
Press the key VOL to start the setting for the second, minute,
hour…
Press the key NEXT to increase the value
(BACK to reduce the value)
After having set the value, press the key MODE to quit the menu.
The parameter items are as follows:
Downloaded from ManualMPlayer.com Manuals

The parameter items are as follows:
Record time Sets the date and time to save the record
of the le
Language selection Set different languages
Turn off setting Sets a clockwise time. If the time is rea
ched the device will turn off automatically
Repeat setting Sets the condition of the repeat
Contrast adjustment Sets the different contrasts
Correction mode Selecting the protected location
Memory condition Checks the free disk space
Hardware edition Displays the hardware edition of the player
Hardware upgrading Professional for hardware upgrading
8. Connecting to the PC
8.1 By using the USB Disk
Connect the USB cable to the PC. Now turn on the player and plug
it into the USB cable:
8.2 Firmware Upgrading and Private Space Encrypt Function
The rmware of this player can be maintained and upgraded by
using the installed software tool.
With the help of additional tools of the player, the user can subdivide
the U disk into two partitions, independent of their size and encode
them.
Please learn more about using the above mentioned functions in the
chapter disk accessory tools in the detailed manual.
Thank you for purchasing our product.
The content of this manual is subject to change.
We reserve the right to change this manual without prior notice.
Disposing of the Product
Your device should not be
placed in municipal waste.
Please check local regula-
tions for disposal of elec-
tronic products.
Downloaded from ManualMPlayer.com Manuals
Table of contents
Other TakeMS MP3 Player manuals