©2008 TAO Electronics, Inc.
Safety Precautions
26
IMPORTANT INFORMATION REQUIRED BY THE FCC
This devicecomplies with Part 15 of the FCC Rules. Operation is subjectto the
following two conditions: (1)this devicemay notcause harmfulinterference; and
(2)this devicemust acceptany interferencereceived, including interferencethat
may cause undesirable operation.
NOTE: This equipmenthas been tested andfoundto comply with the limits fora
Class B digital device, pursuantto Part 15 of the FCC Rules. These limits are
designed to provide reasonable protection against harmfulinterferencein a
residential installation. This equipmentgenerates, uses, andcan radiate radio
frequency energy and, if notinstalled andused in accordancewith the instruc-
tions, may cause harmfulinterferenceto radio elevation reception, whichcan be
determined by turning the equipmentoff andon. The user is encouraged to try
to correctthe interferenceby oneormore of the following measures:
· Reorientorrelocate the receiving antenna.
· Increase the separation between the equipmentandreceiver.
· Connectthe equipmentinto an outlet on acircuit differentfrom that to whichthe
receiver is connected.
· Consult the dealer oran experienced radio/TV technician forhelp.
WARNING-- To reduce the riskof fire,electrical shock, or serious personal injury:
· Keep the productandall its parts andaccessories outof the reachof small children.
· Do notexpose productto water orother liquids.
· Do notleavethe unit unattended while it is in use. Alwaysunplug the AC Power Adapter from the
electrical outlet when the unit is notin use.
· Do notplacethis productin abuilt-in installation suchas abookcase orrack unless proper ventila-
tion is provided orunless advised in the manufacturer’sinstructions.
· Only operate this productfrom the typeof power sourceindicated on the marking label. If you are
notsure of the typeof power supply to yourhome, consult yourproductdealer orlocal power
company.
· Do notopen the case; there are no user-serviceable parts inside. Opening the case will void your
warranty.
· Do notuse attachments notrecommended orsold by the productmanufacturer.
· Never operate this productif it is notworking properly, has been dropped, damaged, orexposed to
water orother liquids. Do notattemptto examineorrepair this productyourself; takethe product
to an electronicsrepair shop of yourchoiceforinspection andrepair.
CAUTION-- To reduce the riskof personal injuryor product/propertydamage:
· Do notexpose the productto extremetemperature changes, moisture/highhumidity, ordust/dirt.
· Slots andopeningsin the cabinet are provided forventilation andto ensure reliable operation of the
productandto protectit from overheating; do notblock orcover these openingsby placing the
producton abed, sofa, rug, orother similar surface.
· Do notclean productwith thinner, alcohol, orbenzene.
· Do notleavethe unit exposed to directsunlight.
· Do notdrop the productorsubjectit to strong shocks.
· Do notuse this productoutdoors; it is intended forindooruse only.
· The screen becomes warm during normal operation; this is notamalfunction.
· To clean, use asoft, non-abrasivecloth suchas the camera lenscloth to clean the LCD screen.
· If you use an LCD Cleaning Kit, do notapply the cleaning liquid directly to the LCD screen. Apply
cleaning liquid to the cleaning cloth first, andthen clean the screen.
!!
www.taoelectronics.com
5
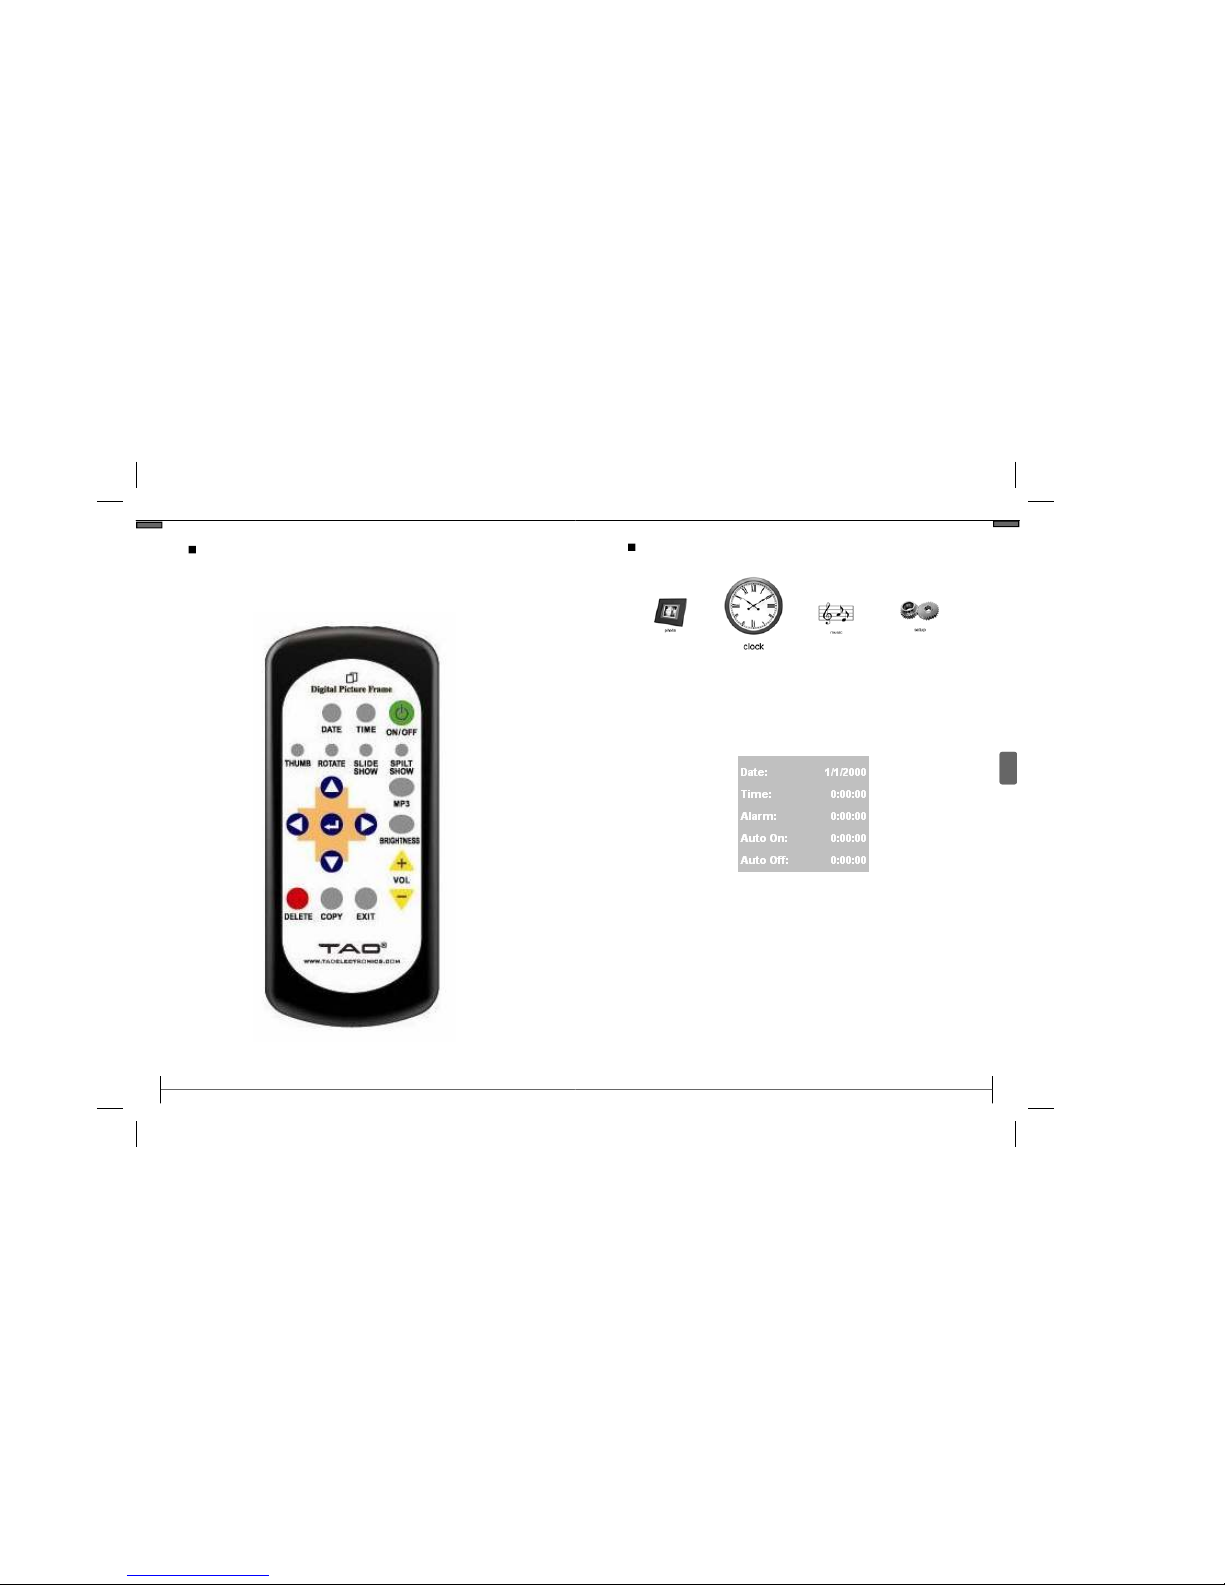
Getting Started
Clock and Setup Menu Overview
•
Removethe protectivefilm covering the LCD screen by
lifting the pull tab.
•
Plug the included AC Power Adapter into the frame,
andthen into astandard110-220 volt AC electrical out-
let.
•
Power on the Digital Photo Frameby pressing the
power button on the remote controlorthe frame.
•
If there are photosstored in the internal memory oron
an inserted memory card, athe Thumbnail Screen will
appear.
Preparation
The digital LCD panel has aviewing angle of approximately
25 degrees in either direction. You can achieve abetter
viewing angle by adjusting the frame stand height.
•
Extendthe framestandto aposition forgreatest stabil-
ity.
•
Extendorretractthe strandby pushing the tab on the
stand, andadjusting the length.
•
Release the tab to lock the frameinto position.
Adjusting the Viewing Angle