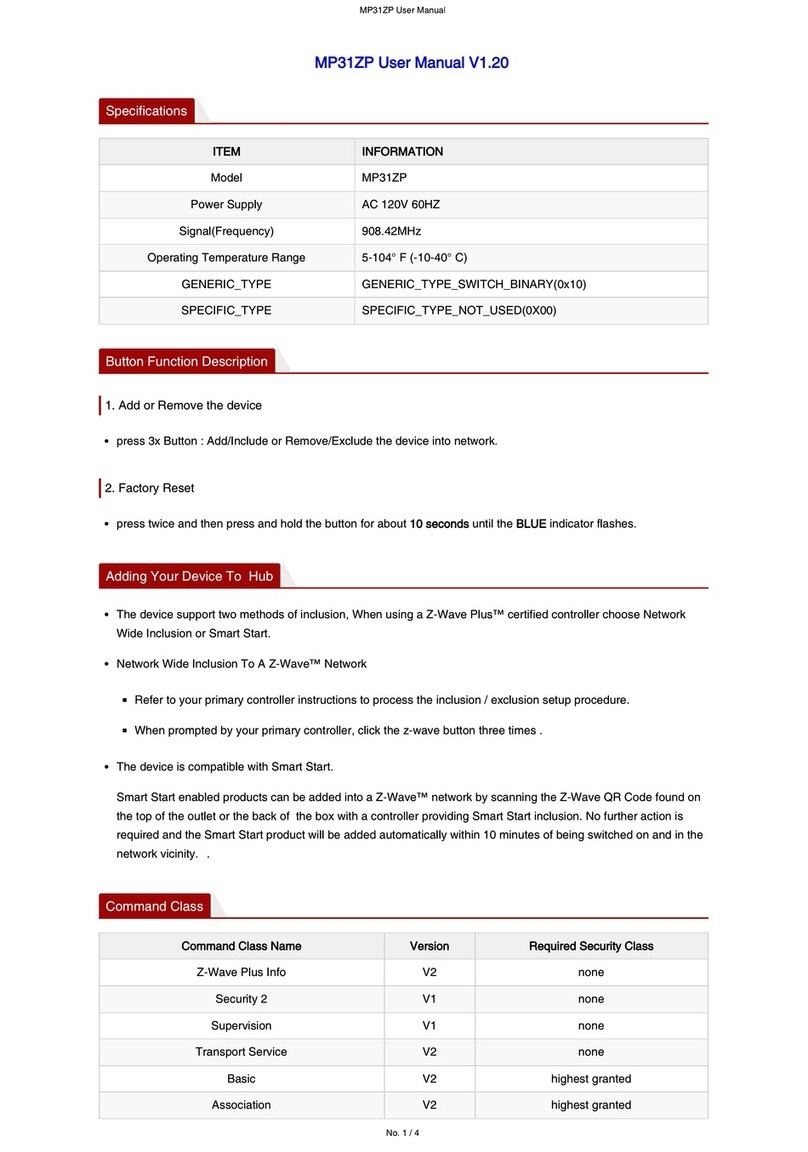
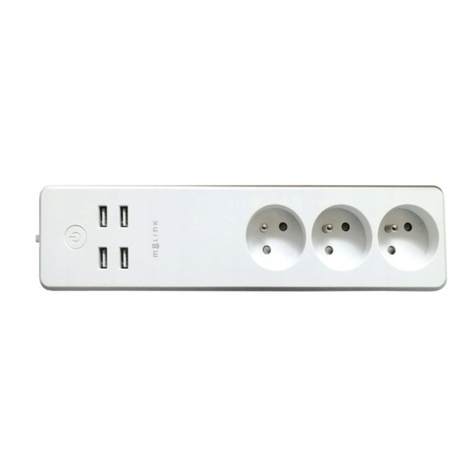
Tasmota UBWH-SP-USB User manual

UBWH-SP-USB QSG 10-Jun-2020 Page 1 of 11
Tasmota Smart Plug
with USB
UBWH-SP-USB
Quick Start Guide
Latest Version available at:
https://ubwh.com.au/documents/UBWH-SP-USB_QSG.pdf

UBWH-SP-USB QSG 10-Jun-2020 Page 2 of 11
Table of Contents
Introduction 3
Common Smart Plugs 3
Tasmota Smart Plugs 4
Web Browser Interface 5
http:// Command Interface 6
Getting Started 7
Using the Web Interface 10
Added Security Feature 10
Factory Reset Procedure 11
Specifications 11

UBWH-SP-USB QSG 10-Jun-2020 Page 3 of 11
Introduction
The UBWH-SP-USB is a WiFi connected Smart Plug, with a customised
version of Tasmota
1
installed.
Common Smart Plugs
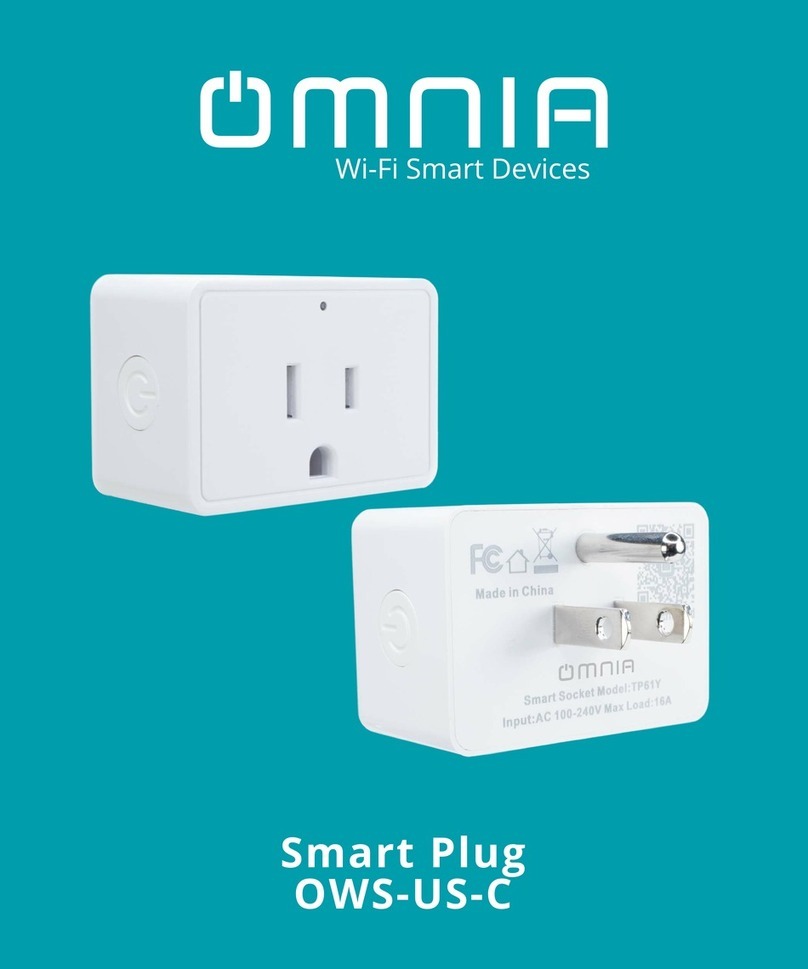
Figure 1 - Common Smart Plugs require a 3rd Party server, and special
apps.
Common Smart Plugs are designed to only work via the manufacturer’s server
and with special apps; the user never communicates directly with the device.
While this works well for home users, power users might prefer to be able to
directly control the device using a simple http:// (web) interface.
1
https://tasmota.github.io/docs/

UBWH-SP-USB QSG 10-Jun-2020 Page 4 of 11
Tasmota Smart Plugs
Figure 2 - Tasmota Smart Plugs can be directly controlled. No special
app or server required.
Tasmota gives direct access to the device via simple http:// web access.
The power of this for power users is that the device can be controlled using:
•Web browser interface.
•http:// Command Interface. Ideal for control by external scripts.

UBWH-SP-USB QSG 10-Jun-2020 Page 5 of 11
Web Browser Interface
Figure 3 - The Tasmota Web Interface is available from any Web browser
Simply use any web browser to open the web page
http://<device.ip.address>/
See documentation here: https://tasmota.github.io/docs/WebUI/

UBWH-SP-USB QSG 10-Jun-2020 Page 6 of 11
http:// Command Interface
Simple commands as below will (e.g.) turn the Smart Plug ON.
Note: %20 in a URL = Space Character
From Web Browser
http://<device.ip.address>/cm?cmnd=power%20on
From Windows or Linux command/terminal window
curl http://<device.ip.address>/cm?cmnd=power%20on
From a Windows Batch file (*.bat file)
curl http://<device.ip.address>/cm?cmnd=power%%20on
Note: need double %characters if in a batch file
From a PHP script (*.php file)
file_get_contents(
‘http://<device.ip.address>/cm?cmnd=power%20on’);

UBWH-SP-USB QSG 10-Jun-2020 Page 7 of 11
Getting Started
1. Plug the UBWH-SP-USB into a 240V AC power socket and apply power.
2. Search for a WiFi network named UBWH-SP-XXXXXXX
using your smartphone, tablet, …
NOTE: If you do not see this WiFi network:
Reset the device to Factory Default. See page
11.
3. Connect to that WiFi network. When it connects to the network, you may
get a warning that there is no Internet connection and be prompted to
connect to a different network. Do not allow the mobile device to select a
different network.
4. After you have connected to the Tasmota WiFi AP, open http://192.168.4.1
in a web browser on the smartphone (or whatever device you used).
Depending on the phone, it will take you to the Tasmota configuration
page automatically, or you will get a prompt to sign in to WiFi
network or authorize. Tapping on the AP name should also open the
configuration page.

UBWH-SP-USB QSG 10-Jun-2020 Page 8 of 11
At this page you can either:
•Scan for available WiFi networks. Select the right network from the list, or
•Enter the
AP1 SSId
- your WiFi network name (case sensitive)
AP1 Password
- password for your WiFi network (Required)
WiFi password has to be under 32 characters and without special characters
(e.g. asterisks) or white spaces
Recommended:
AP2 SSId
- alternative WiFi network SSID
AP2 Password
- password for your alternative WiFi network
Click the checkbox to see the password you enter to ensure that it is correct
and that your mobile device has not inadvertently capitalised the first letter nor
autocorrected from what you entered. ~~Double~~ Triple check the WiFi
credentials and click on Save to apply the settings.
The device will restart and connect to your WiFi network. The UBWH-SP-
XXXXXXX network will not longer be present. Therefore your smartphone will
automatically be disconnected and should connect back to its normal WiFi
network.

UBWH-SP-USB QSG 10-Jun-2020 Page 9 of 11
5. The next step is to learn the IP address assigned to your device by your
local DHCP server. There are a number of ways to do this. You will look
for a device with the same name as the WiFi access point.
i.e. UBWH-SP-XXXXXXX
•Your router – Look in DHCP leases.
•Fing – for Android or iOS
https://www.fing.com/products/
•Angry IP Scanner – open source for Linux, Windows and Mac.
https://angryip.org/
•SuperScan – Windows only (free)
https://sectools.org/tool/superscan/
6. Using your web browser, visit the device’s IP address
NOTE: Do NOT visit https://xxx
http://<device.ip.address>/

UBWH-SP-USB QSG 10-Jun-2020 Page 10 of 11
Using the Web Interface
This is documented here:
https://tasmota.github.io/docs/WebUI/
Added Security Feature
The customised version of Tasmota installed by UBWH has an added security
feature. If the Permitted WAN IP4 Address is NOT 0.0.0.0, then http
commands coming from outside the local network (LAN) will be rejected
unless the source address is as specified.
A command request looks like:
http://<device.ip.address>/cm?cmnd=xxxxx
Examples
Permitted WAN IP4 Address Command Requests
from …
Result
0.0.0.0 Anywhere Accepted
50.60.70.80 Rejected
100.110.120.1 Rejected
100.110.120.130 Accepted
100.110.120.130
Local LAN Accepted

UBWH-SP-USB QSG 10-Jun-2020 Page 11 of 11
Factory Reset Procedure
When the settings have been cleared, the device can not connect to a WiFi
network, so it starts up as a WiFi Access Point (AP) in WiFi setup mode.
There are a number of ways to clear (reset) all settings.
1. Web Browser Interface Configuration
2. Press and hold the button on the device for 45 seconds, then release.
3. Power off the device.
Repeat 6 times: Power on for 1 second, then power off.
Power on.
Specifications
Working Voltage 240 VAC
Max. Current 10 A
Max. VA 2400 VA
Max. Power load 2400 W (non-reactive)
USB Charger Built in, un-switched (always on)
Volts: 5 VDC
Max. current: 1500 mA
WiFi Standards 802.11b/g/n
Manufacturer’s warranty 1 year
Hardware manufacturer Brilliant
Manufacturer’s model 20676/05
Firmware Tasmota, customised
Works with http:// Yes
Works with alexa No
Works with Google Assistant No
Table of contents
