tbs electronics TBS DISCOVERY User manual
TBS DISCOVERY / DISCOVERY
PRO ENDURANCE KIT
High speed and endurance upgrade for the TBS
DISCOVERY quadcopter platform
Revision 2014-09-10
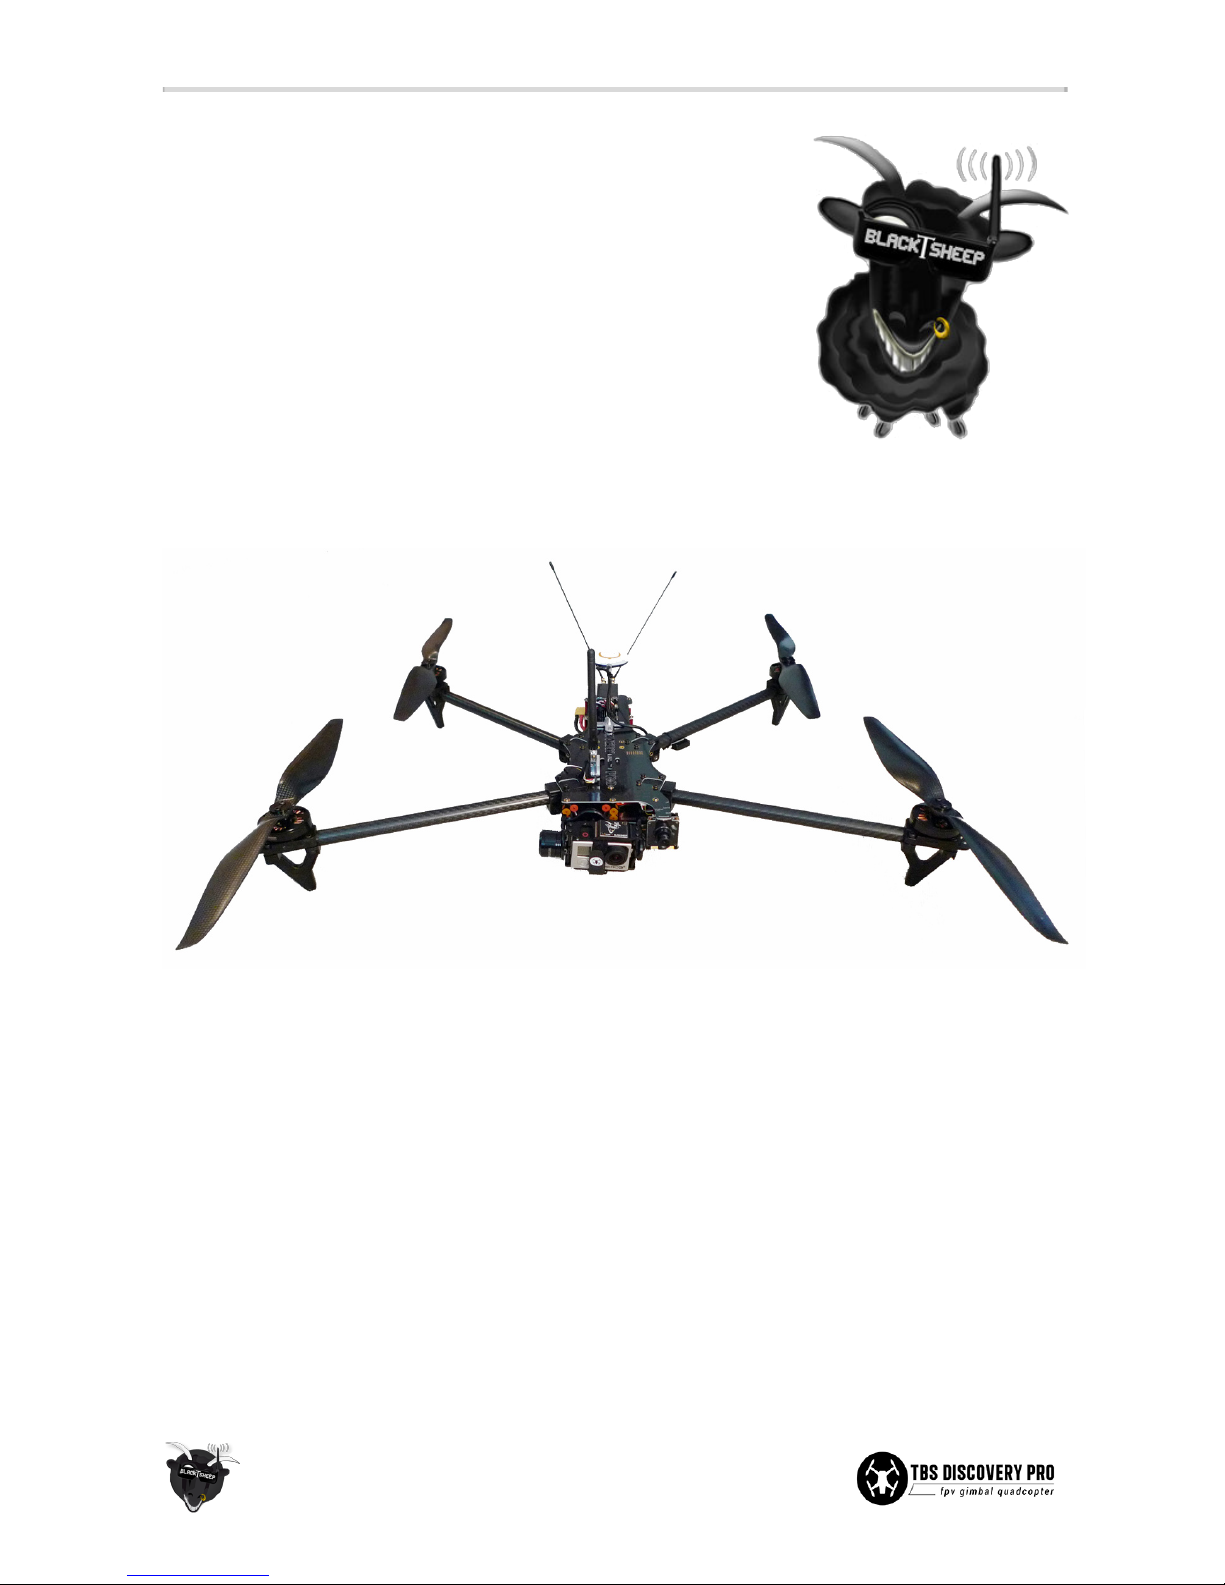
TBS DISCOVERY and TBS DISCOVERY PRO owners will enjoy the ability to
add larger props and higher cell motors to get the endurance or long range
juices going. Also great for higher speed setups. It will generally turn your
quadcopter into a matured aerial filming or aerial surveillance platform.
Flights of up to 30 minutes are within reach. Extends the arms to allow up to 15-inch propellers. The length is
customizable by cutting the carbon fiber tube to length, so you can even go symmetric if that’s your thing.
Features
●Real endurance and long range capability
●Up to 15-inch propellers supported
●Customizable carbon fiber arm length
●Low vibration and warping for great efficiency
●Specialized motors with self-locking propeller mount
●Up to 45 minutes flight duration possible
●Include all the great features of the original frame
1

Before we begin
Thank you for buying a TBS product! The TBS DISCOVERY is a new multirotor aircraft from Team BlackSheep
(TBS) for hobbyist, semi-pro and pro aerial videographers. It features the best design practices available on
the market to date, providing great flying stability and incredible FPV characteristics.
Please read this manual carefully before assembling and flying your TBS DISCOVERY quadrotor. Keep this
manual for future reference regarding tuning and maintenance.
Disclaimer
Our request to you; the aircraft may not be used to infringe on people's right to privacy. We have designed a toy
with mind blowing capabilities. It is your responsibility to use it reasonably and according to your experience
level. Use common sense. Fly safe. You are on your own. TBS has no liability for use of this aircraft.
●Locate an appropriate flying location
●Obtain the assistance of an experienced pilot
●Practice safe and responsible operation
●Always be aware of the rotating blades
●Prevent moisture
●Keep away from heat or excessive amounts of sunlight
2

Specifications
The following specifications list our target for the TBS DISCOVERY ENDURANCE upgrade kit.
Type:
Asymmetric spider quadrotor
Arms:
Carbon fiber tubes, 83g, length 330mm, Ø16mm, thickness 1.2mm (ea.)
Airframe:
Reinforced black fiberglass (rear top RF transparent, bottom PDB)
Battery:
6S (22.2V nom.) 2500 to 4000mAh LiPo pack, XT60, max. 34 x 55 x 137mm
Specific energy:
more than 170Wh/gram (mAh x nom. voltage / batt. weight)
Propellers:
8 to 15-inch propellers (2xCW, 2xCCW)
Motor:
400kV LR motor, 300-350W, 16x19mm mount pattern
Speed controllers:
4S to 6S 30A 400Hz multirotor ESCs
Receiver:
6-channels or more, 8-channels recommended
Flight controller:
Quadcopter controller (DJI NAZA V2 recommended)
Current sensor:
50A on-board
Camera gimbal:
GoPro HD Hero1/2/3/3+ supported, 2-axis, roll and tilt stabilization (PRO)
Gimbal controller:
BaseCam 12V, tied to CORE to auto-switch profiles (PRO)
Center of Gravity:
15mm in front of Center of Thrust mark
Duration:
up to 20 to 30min single LiPo pack, up to 40min-50min dual LiPo packs
Distance:
up to 12km range (and return)
Altitude:
up to 1.5km / 5000ft
All-up-weight:
2500 to 3000g
3
Required parts
Before upgrading your TBS DISCOVERY, be sure you have acquired the following parts, or similar grade. We
provide an upgrade kit which has been proven to work and include everything, except propellers which is up to
the builder to choose.
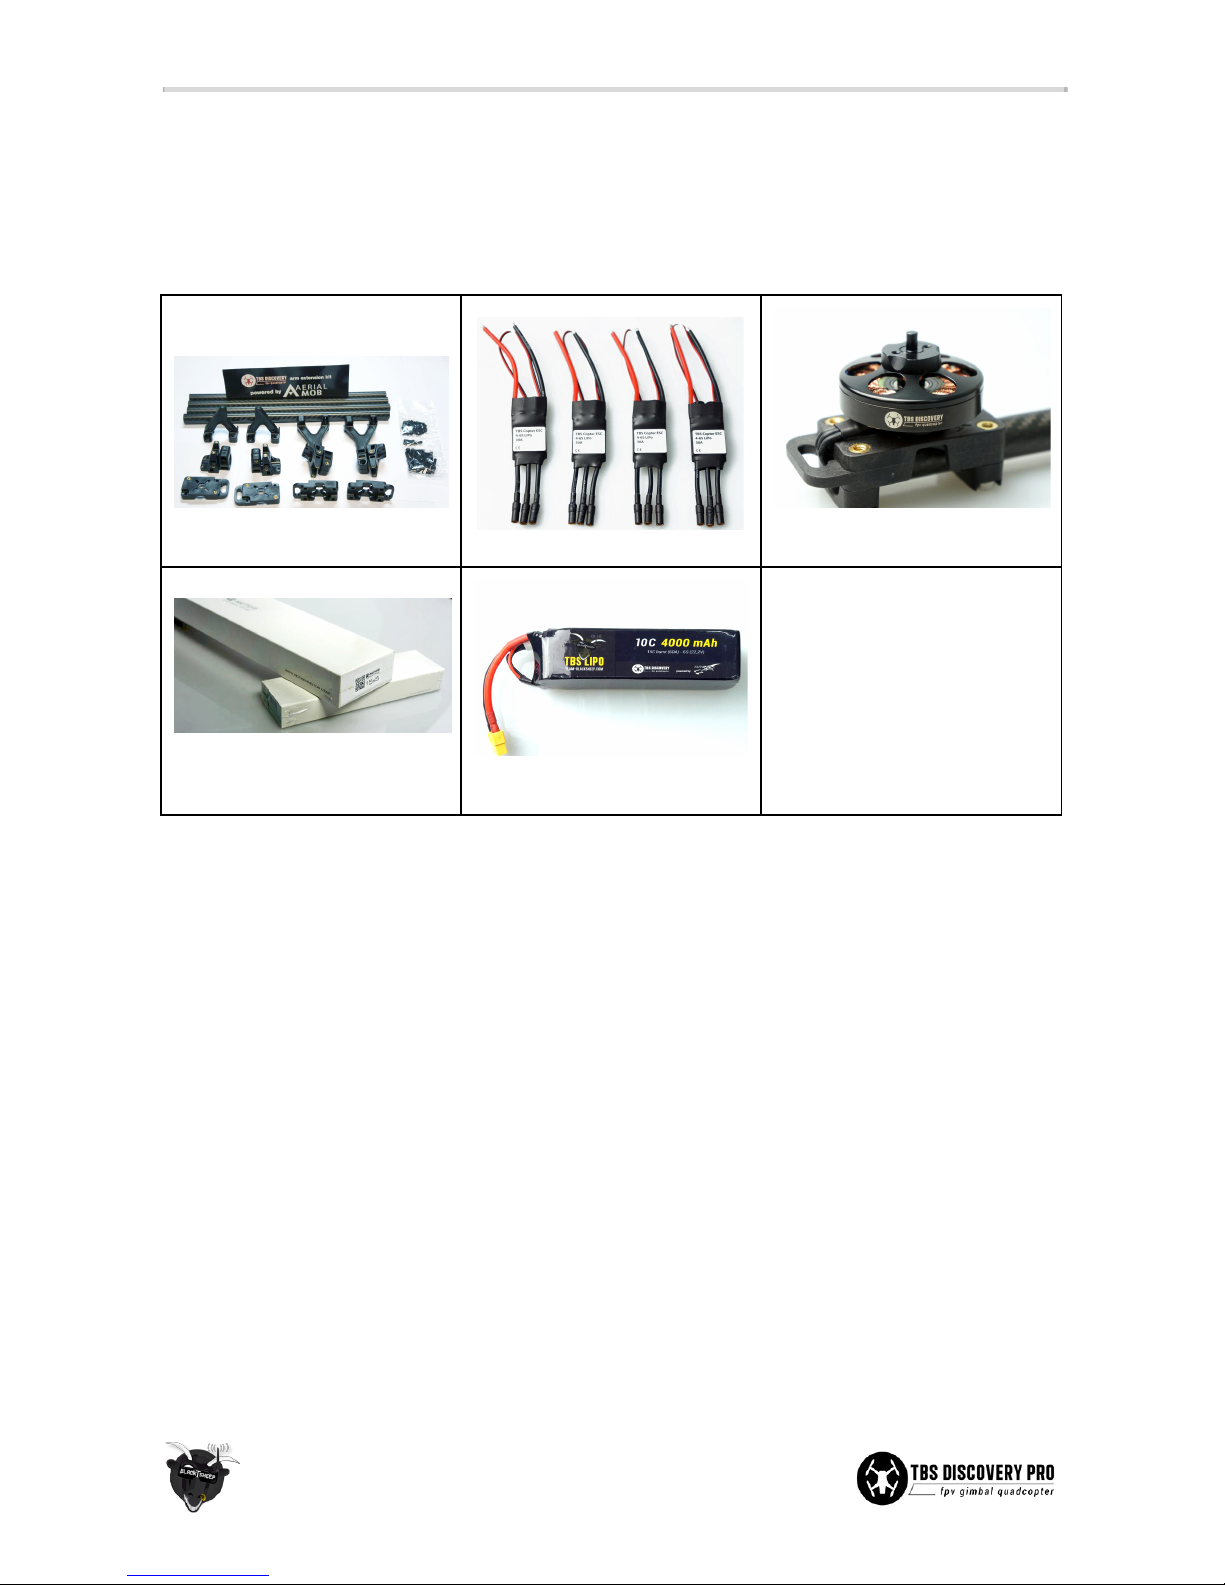
1x AerialMob Arm Extensions set
1x TBS 4-6S ESC LR set
1x TBS 400kv LR Self-locking
Motor set
2x 14 to 15x5-in CF propeller sets
(2xCW, 2xCCW) recommended
1x TBS 6S 4000mAh 10C LiPo
battery
Other essentials:
1x Medium strength (blue/purple)
thread-lock
1x Set of hex screw drivers
1x Hobby hand-saw
4

Endurance upgrade
It is finally here! The endurance upgrade kit for the TBS DISCOVERY quadcopter series. All the pieces for a 25
minutes flight time solution, for your convenience everything required is available from TBS.
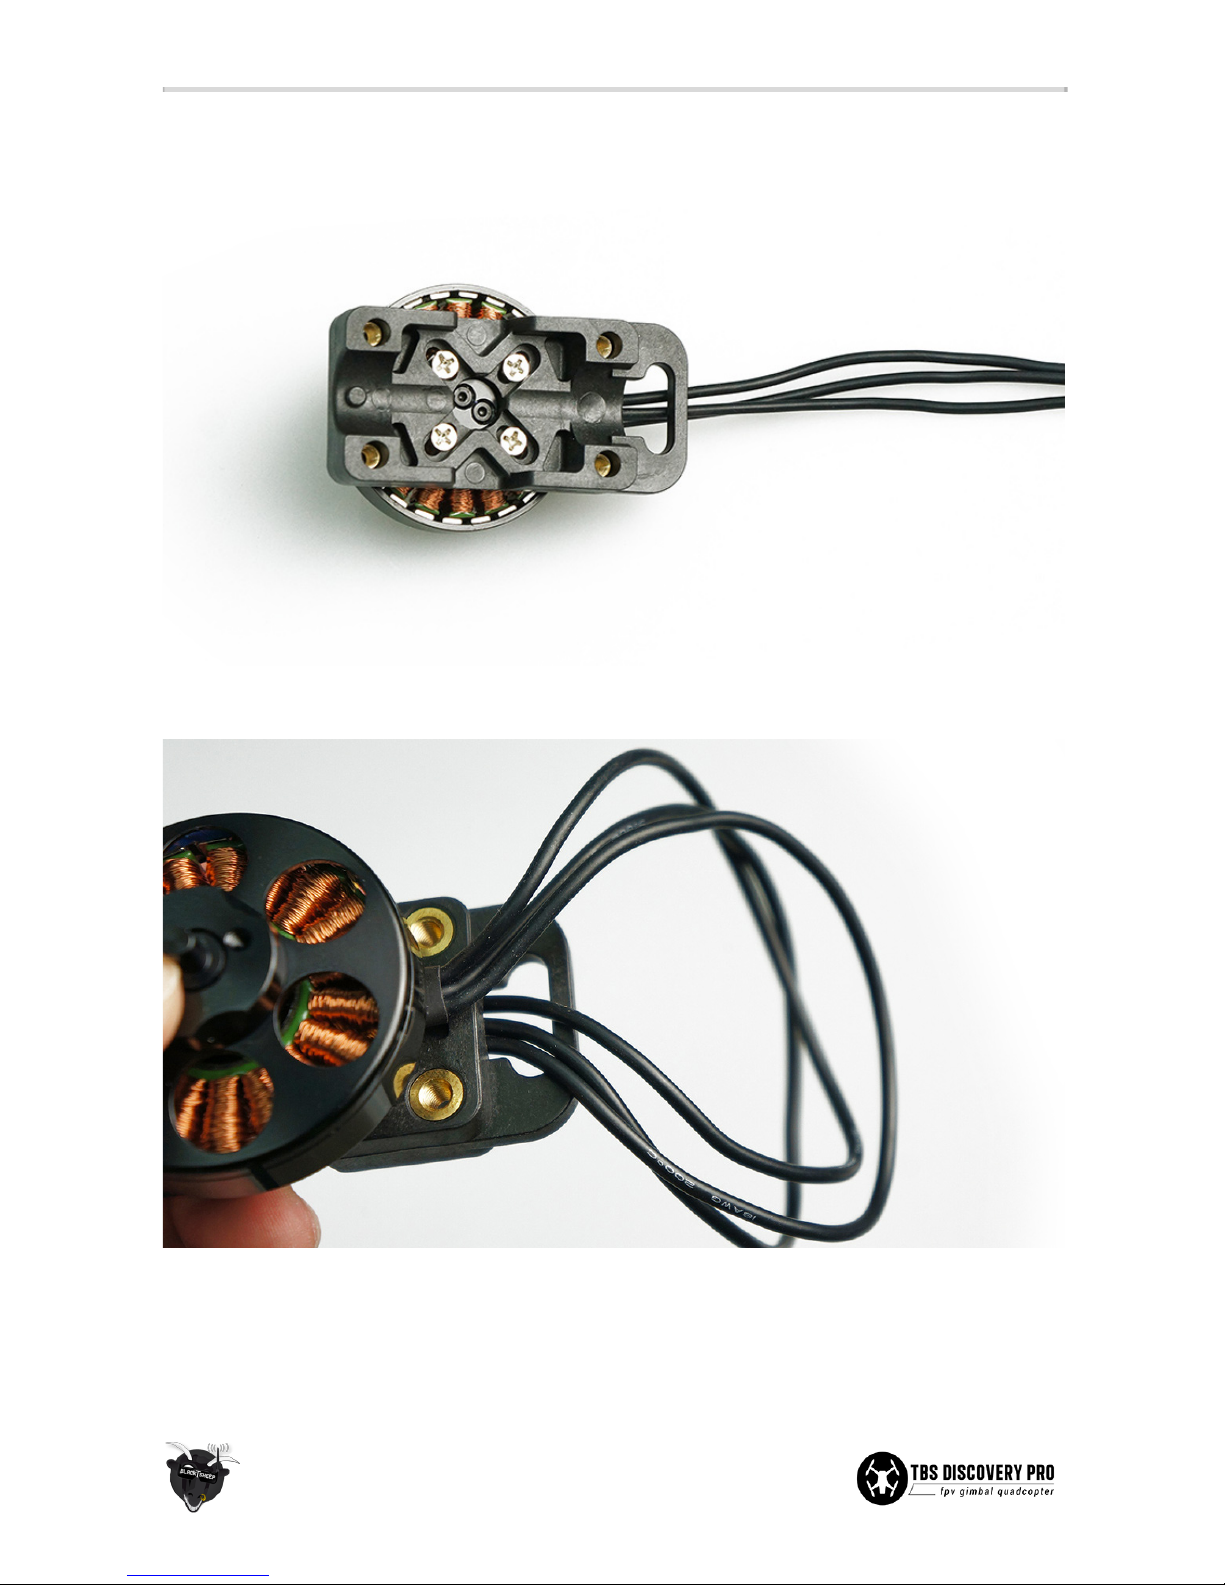
The new TBS 400kV LR motor is the cornerstone in this kit. One of the reasons this motor is great for endurance
is the weight. Without wires it weighs 75 grams. The pancake design ensures sufficient torque to carry a lot of
batteries, or fly insane speeds and face-melting climb-outs. After all, performance should not be sacrificed too
much for longer flight times. The propeller mount is self-tightening, compatible with all of the common carbon
propellers. This makes it convenient to remove, and re-attach the propellers while travelling between locations.
We also offer precision CF folding propellers for those who prefer quick setup time. The motor was developed
by TBS in cooperation with T-Motors.
We recommend 14 to 15-inch propellers (14x4.8, 15x5 or 15x6.5) and 6S batteries on AerialMob extension
arms. We have seen good filming results with the 14-inch propellers as they do not show in view when using
GoPro Wide mode, they are also less prone to “jello” and provide a little higher stability on windy days.
A TBS 6S 4000mAh battery will fit in the trunk and can keep you aloft for up to 25 minutes (landing at 20V
loaded). These are specially made with lower discharge rate to ensure a high energy-to-weight ratio while still
fit neatly. Expected hovering current consumption to be around 9A and full forward around 14A. With a second
battery strapped to the bottom of the copter, you can go out up to 12km (and back), or cruise for up to 40
minutes. With GoPro gimbal and FPV equipment on board, obviously.
TBS carries two brands of carbon propellers. We have the T-Motor Carbon Fiber propellers which provide the
maximum efficiency and stiffness, and the RCTimer Carbon Fiber propellers are for the budget-minded, or
prop-slinging pilot.
The new TBS 30A Super-lightweight 6S ESCs is a perfect match for the TBS Long Range 400kV motors on a
2.5kg or lighter setups. Rated for 30A but should be exposed to airflow as they do heat up significantly under
load.
5

Choosing the right endurance setup
The following list recommendations are based on TBS DISCOVERY and TBS DISCOVERY PRO base setups and
you might already have most of the suggested equipment if you are upgrading an existing platform.
TBS DISCOVERY / TBS DISCOVERY PRO setup for short range endurance
flights
●Expected flight time: 20-30 min
●Approximate cost: US$ 2’850 - US$ 3’250
●Experience level: Beginner to Expert
●Ideal for: Parks, R/C clubs, front lawns
R/C transmitter/receiver:
Graupner MX-12 2.4GHz radio with bundled receiver (GR-6)
or Futaba 8FG / 7C 2.4GHz radio with included receiver (R6208SB / R617FS)
Quadrotor equipment:
1x AerialMob carbon fiber arm set
4x TBS 4S-6S 30A speed controllers
4x TBS 400kV LR brushless motors (2x CW, 2x CCW)
4x T-motor CF 15x5-inch propellers
1x DJI NAZA V2 flight controller (optional GPS add-on)
Battery:
1x TBS 6S (22.2V nom.) 4000mAh 10C LiPo pack
Battery charger:
Graupner Ultramat 14S (premium) or TBS B6AC 80W (budget)
FPV transmitter:
TBS ROOKIE BOSCAM 5.8GHz 200mW video transmitter
FPV receiver:
TBS RC508 5.8GHz video receiver or Dominator 5.8GHz module
FPV pilot camera:
TBS 59 or TBS 69 FPV camera
FPV goggles:
FatShark Dominator video glasses
HD camera:
GoPro HD Hero 3/3+ Black edition
Ground station
accessories:
TBS Ground Station
TBS 3S 5000mAh Ground Station LiPo
Camera Tripod to mount your gear (e.g. Cullmann Primax 150)
6

TBS DISCOVERY / TBS DISCOVERY PRO setup for long range endurance flights
●Expected flight time: 35-45 min
●Cost range: US$ 3’000 - US$ 3’500
●Experience level: Expert
●Ideal for: Long, wide open fields, plains, coastlines and valleys or urban flying
R/C transmitter/receiver:
Futaba 8FG / 7C or Graupner MX-12 radio
+ EzUHF 433MHz transmitter module and SRH-771 UHF antenna
+ EzUHF Lite 8-channel 433MHz receiver
Quadrotor electronics:
1x AerialMob carbon fiber arm set
4x TBS 4S-6S 30A speed controllers
4x TBS 400kV LR brushless motors
4x T-motor CF 15x5-inch propellers
1x DJI NAZA V2 flight controller (optional GPS add-on)
Batteries:
2x TBS 6S (22.2V nom.) 4000mAh 10C LiPo pack, Y-adaptor
Battery charger:
Graupner Ultramat 14S (premium) or TBS B6AC 80W (budget)
FPV transmitter:
Lawmate 2.4GHz 500mW Video Tx (stock or tuned)
FPV receiver:
Lawmate 2.4GHz Video Rx (stock or tuned) with 11dBi Yagi
FPV pilot camera:
TBS 59 or TBS 69 FPV camera
FPV goggles:
FatShark Dominator video glasses
HD camera:
GoPro HD Hero 3/3+ Black edition
Ground station
accessories:
TBS Ground Station
TBS 3S 5000mAh Ground Station Lipo
Camera Tripod to mount your gear (e.g. Cullmann Primax 150)
7

Installation
Preparation
Remove the current drive train setup (propellers, motors, ESCs) from the DJI arms, remove the arms and clean
the ESCs solder pads. If you are going to reuse the motors, clean the top of bearings with a cotton-bud.
It is imperative to remove as much excessive weight from the platform as manageable before upgrading to the
endurance kit. Every gram will have a direct effect on the final flight time - e.g. 200 grams can easily mean 8
minutes less flight time. Consider shortening wires, thinner gauge wires, removing bullet connectors, NAZA
PMU, redundant screws, titanium screws, using PPM, lighter PVC heat-shrink, removing plastic casings and
similar type of nuances.
Arm length
Begin by finding the right cut point for the carbon fiber tubes (if needed). This depends on the size of the
propellers used, see the guide below for suggested lengths. Longer arms are supported (17-inch has been
tested) but you have to supply the carbon fiber tubes yourself (Ø16, 1.2mm thickness).
Propeller
Tube length (four pieces)
8-inch
241.30mm / 9.5-inch
9-inch
254mm / 10-inch
10-inch
266.70mm / 10.5-inch
11-inch
279.40mm / 11-inch
12-inch
292.10 mm / 11.5-inch
13-inch
304.80mm / 12-inch
14-inch
317.50mm / 12.5-inch
15-inch
330mm / 13-inch (
stock
)
Measure from the end of the tube where there is a guide hole. This hole is used to mount the frame clamp later
on and keeps one end aligned - it should not be cut away.
Use a small hand-saw or other fine cutting tool to cut the tube to length. Apply gentle pressure and slow strokes
to avoid fraying the carbon fiber. Note that this is carbon fiber and the small fiber dust particles produced can
have an impact on your health if inhaled - always cut in a ventilated area with a mask.
8

Motor mount
If you are going to use your current setup or motors with short motor wires, it is necessary to extend the motor
wires to reach at least the length of the tubes, plus 20%. Wire gauge should be 18 to 20 AWG. Heatshrink to
protect against short-circuit.
The motors arrive in two turning directions (clockwise, CW; counterclockwise, CCW). The white dot marks
motors that are turning counter-clockwise, to be positioned on the arms for motor M1 and M3. Prepare the
motor mount part; top motor mount, boom support part and M3x8mm screw.
9
Add small amount of thread-lock to the M3x8mm motor screws and fasten properly.
Thread the motor wires through the slot on the motor mount part and align the back of the motor with the
mounting pattern on the motor mount part.
10
This manual suits for next models
1
Table of contents


