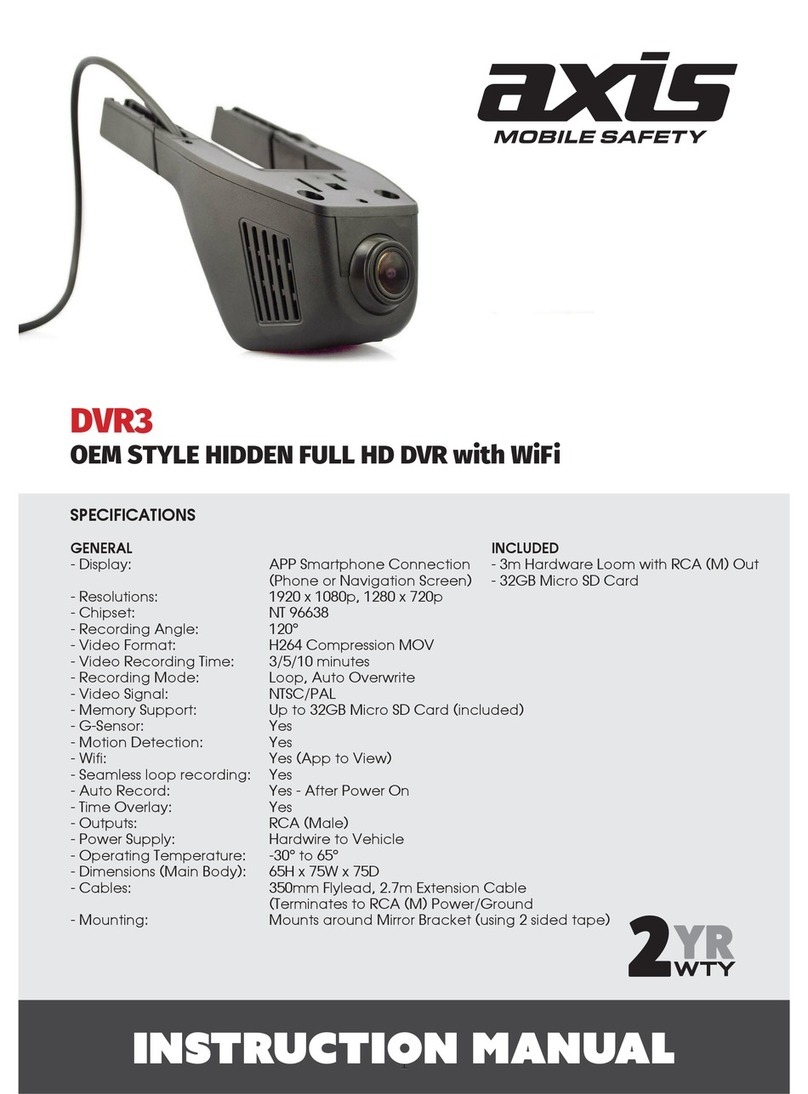
TCAT A97 User manual

Customized for Special Cars • Impact Car Black Box
Ambarella A12
Operating lnstruction Manual
TCAT WIFI VIDEO DRIVING RECORDER
R
TCAT WIFI VIDEO DRIVING RECORDER
R

21
Product Specifications
Operating Voltage
Photo size
NOTICE!
DC 9-18V
250mA±10mA
Operating Current
MicroSD card (up to 32GB max)
Ov4685 4M CMOS
F1.8 Super large aperture 6pcs full glass
HD lens
2.0 inch (960X240) HD TFT LCD screen
Built-in microphone /8Ω1W Speaker
Mp4 H.264
Storage Medium
Sensor
Lens
LCD screen
Audio
VIDEO
2560x1440( Highest resolution)
Features
Audio Format AAC
Photo Format JPEG
Video Record 1080P 30FPS
Operating Temperature -20°C ~ 70°C
Functions Specifications
Up to 1290X1080P and 30FPS continuous recording and
without any gaps in recording.
HD Recording
Take a HD photo by the PHOTO key during the recording.
Audio sound recording can be switched ON or OFF
Snapshot function
Audio Recording
Video Playback Stored video files can be played back wirelessly via the mobile
phone APP (A12) (Playstore or App Store) OR or playback after
downloading from the microSD card.
WiFi Connection Enable user to Set /Control/Realtime monitoring driving video via
WiFi, supports playback/download.
WiFi Connection Control/monitoring driving video via WiFi, supports
playback/download
G-Sensor Emergency
recording / Parking
monitoring
G-Sensor Emergency recording / parking monitoring: When the car
impacts an object or experiences a hard bump DURING DRIVING,
it will trigger the G-sensor for emergency recording for 20 Seconds
(per file). Similarly, when the car is bumped WHILE PARKING, it will
also trigger the G-sensor for emergency recording for 20 Seconds
(per file).
NOTE: Perform DELETION of the emergency files once a month.
Otherwise, the space in microSD card will be fully occupied.
This car Video Driving Recorder is designed to be used on +12V power supply system
, not +24V power supply systems such as buses, trucks and other commercial vehicles.
TCAT Driving Video Recorder –A97
Operating Humidity 15~85%RH

Product instructions
Light indications and Button Definitions
MIC Speaker
LCD screen
Power
Down
Indicator Light
UP
SOS lock Reset
Menu
Camera
TF Card Slot
Product status indicated by red or blue light. Red light when power on / stop recording.
Blue light flashing when recording, Red light flashing when without SD Card or
something wrong with SD card. Red light when stop recording.
4
3
Buttons Instructions
1 2 34
5
6
1.Power Switch:Short press to start /stop recording. Long press to power off. Short
press to power on when in the Power Off mode. It is the Enter key when it in the Menu
mode, it can start playing or stop playing in the Playback mode.
2.Up button: Short press to Capture picture when recording, it is the Up button in
the Menu mode.
3.Down button: Short press to power on/off the MIC when recording, it is the Down button
in the Menu mode. Press the down button to enter the file playback page without recording.
4.Menu: Short press to awaken/shut the back light of the screen when recording. Short
press to set the menu and long press to turn on/off the WiFi when no recording.
5.Reset: Short press to reset/restart the device.Long press reset button for 6 seconds to
restore the factory settings; press the power button & reset button at same time to restart
the device.
6.SOS Lock : Short press to lock the current recording video for 1 minute. To unlock the
file, enter the file playback list to manually unlock the files

6
5
LED indicators
Recorder status is indicated by red or blue LED light.
Red light ON : Power is ON
Red Light OFF: No power
Red light Flashing : SD card not inserted or damaged.
Blue light flashing : Video is recording
Button Operation Instructions
LED Indicate Light
Reset
Power
snap the picture
Audio/Video playback
Power Button
Short press to turn on/off recording function, press more than 2s to turn on/off the
unit.
Up button
Short press to take HD pictures,
Reset Button
Press the power button & the reset button at same time to restart the unit.
Down button
Short press to power on/off the MIC when recording
Driving Recorder Settings
When the recording is stopped, press the menu button to enter the local setting menu; press
again to exit the menu and it will automatically start recording.
Video Quality High
LCD Auto-off 3min
Shutdown Delay 10 sec
Button Tone On
LoudspeaKer On
ParKing Mode On
G-Sensor Sensitivity M
Headlight reminder N
Sleep warning N
Audio When Recording On
Date/Time Set
Video Clip 3min
Dashcam lnformation
Restore Defaults
Parking Sensitivity 200
Language English
Format Memory Card
Memory Card lnformation

8
7
Video Quality: Set the video quality (Bit rate) and recorded file size to Low, Medium or High
Video Clip : Set the length of each recorded video clip, 1 Min, 3 Mins or 5 Mins.
Date/ Time: Set the system time of the recorder. Once connected to Smartphone App, the
date and time will automatically be updated as well.
Audio When Recording : Set to whether record audio or not in the video clips.
Loudspeaker : Turn the speaker on or off. After turning off, the unit is in the silent working
state, including the system warning and video playback.
Button Tone : Set Beep tone ON or OFF when the buttons is pressed.
Shutdown Delay: Set the delay to switch off the recorder after Engine is switched off.
(No delay, 10 seconds, 30 seconds or 1 minute)
LCD Auto OFF : Set if the LCD should always remain ON, or auto OFF after a certain period
of time.
OFF : LCD always ON
10 seconds, 30 seconds and 1 minute : LCD screen automatically turns off after the selected
time.
Sleep warning : Set the fatigue driving reminder to turn on or off. After recording for 4
continuous hours, the recorder will prompt the driver to take a break from driving. The
prompt will be audio warning and flashing of icon on theLCD.
Note: Icon flashing is not available if LCD is set to AUTO OFF.
Headlight Reminder : Set the switch on headlight reminder On /Off. When set to On, the
recorder will prompt the driver to turn on the headlights when the camera detects that the
environment is dark. The prompt will be audio warning and flashing of icon on the LCD.
Note: Icon flashing is not available if LCD is set to AUTO OFF.
G-sensor sensitivity : Set the collision sensitivity of the gravity sensor to lock the video clips.
Off: Do not lock any collision / event files
Low, Medium and High: Adjust the Sensitivity of the G-sensor
Parking Mode: Turn the Parking Mode On or OFF.
On: During parking (Engine OFF), the recorder can wake up to record a 20 s clip when the
G sensor is triggered.
Off: Parking recording is disabled.
Parking Sensitivity: User can set the sensitivity of the Parking mode G sensor.
Note: Do not adjust until too sensitive, SD card will be full.
Language: Select the Language of the interface. (English / Chinese)
Format SD card : Format the memory card. It is recommended to format the SD card once
a month to clear unwanted locked files.
Memory card information: View the current memory card capacity.
Restore Defaults: Restore all settings to original factory parameters
Dashcam information: Check the firmware version of the model, the date of the firmware
, and the WIFI suffix of the machine.

10
9
Function Instructions
Recording Function
The recording function will automatically start when the vehicle is started. Turn on/off the
recording function by pressing button in the mobile APP. The blue light will flash when
recording function is turned on.
Overwriting the older files (Files cycling)
This recorder will start overwriting the existing files when the microSD card is full. It will
overwrite the oldest files first. Example: Recording a 1920*1080, 30fps video. This setting
requires 90MB per minute. Hence, using an 8MB microSD Card, it will be full after 1.5 hour.
Then, the oldest file shall be replaced with a newer video file.
Emergency Recording
With the built-in G-sensor , any changes in acceleration can be detected by the recorder.
When abnormal deceleration is detected (collision, braking , etc), the emergency recording
function will be turned on. The emergency video file will be saved in the EVENT folder. The
files in this folder will NOT BE OVERWRITTEN by normal recorded video. Hence, please
delete the emergency files once a month to avoid reducing the storage space on the
microSD card. You can delete the files via a computer or via the mobile app.
Storage location of Normal recording video Files
WIFI Connection
The unit comes with a built-in WIFI module. Mobile phones & pads can connect to the
unit via WIFI to playback files, delete files and perform settings.
All the normal recording video files will be stored in the DCIM folder under the
microSD card root directory.
In order to minimize lost recording gaps in between video files, the recorder uses
the short video file storage method, where every video file can be connected with
the previous file or the next file.
Camera Function
While recording, short press the camera button to snap a picture. The picture file name will
be following the date and time when the picture istaken. Storage location is in the PICTURE
folder in the microSD card root directory.
Video Playback
To playback any saved video, stop the recording first. You can play the video via computer or
via the mobile app.
Audio Function
The unit can be set to record/do not record audio when recording. This setting can be turned
ON/OFF via mobile app in the setting menu.

12
11
Install the mobile APP
Kindly scan below QR code to get the mobile app.
Android APP
IOS APP
Turn on WIFI
The WIFI will automatically turn ON when you start the car. Long press the camera button
to turn ON/OFF the WIFI module. When WIFI is ON, the recorder will act as a WIFI hotspot .
The WIFI SSID will be RS-DVR-(xxxxx).
DEFAULT PASSWORD is 1234567890.
How to connect mobile phone to the recorder.
Ensure the recorder WIFI is ON, then, search for the recorder HOTSPOT from
the mobile phone setting menu.
Example: RS-DVR-YWXA. Key in the default password 1234567890, the phone
will be connected with the recorder.

13 14
Mobile APP Connection
After the WIFI is connected, please start the installed APP TCAT DVR A97
to connect with the real-time control interface of the device.
How to use the Mobile APP.
1.Start the TCAT DVR A97 on your mobile device.
2.Click to enter the Normal recording to check the video files on the recorder
, select the file to playback; to preview the pictures or playback the videos. Simply click the bottom
icon in the Normal recording.
Enter the routine recording
3. Click the icon to stop / start the recording.
4. Click the icon to capture photos.
5. Click the album icon to manage the files, which means the users could playback, download
or share the files.
6. Click the icon to do the settings management and check the version information of its APP.

15 16
Driver Fatigue notification: Set the fatigue driving reminder to turn on or off.After recording for 4
continuous hours, the recorder will prompt the driver to take a break from driving. The prompt
will be audio warning and flashing of icon on the LCD.
Note: Icon flashing is not available if LCD is set to AUTO OFF.
Open light Notification : Set the switch on headlight reminder On /Off. When set to On, the recorder
will prompt the driver to turn on the headlights when the camera detects that the environment is
dark. The prompt will be audio warning and flashing of icon on the LCD.
Note: Icon flashing is not available if LCD is set to AUTO OFF.
G-sensor sensitivity : Set the collision sensitivity of the gravity sensor to lock the video clips.
Off: Do not lock any collision / event files
Low, Medium and High: Adjust the Sensitivity of the G-sensor
Parking Monitoring: Turn the Parking Mode On or OFF.
On: During parking (Engine OFF), the recorder can wake up to record a 20 s clip when the G
sensor is triggered.
Off: Parking recording is disabled.
Parking monitoring threshold: User can set the sensitivity of the Parking mode G sensor.
Note: Do not adjust until too sensitive, SD card will be full.
Restore Default Settings: Restore all settings to original factory parameters
Power-off Delay: Set the delay to switch off the recorder after Engine is switched off. (No delay,
10 seconds, 30 seconds or 1 minute)
LCD Auto Close : Set if the LCD should always remain ON, or auto OFF after a certain period of
time.
OFF : LCD always ON
10 seconds, 30 seconds and 1 minute : LCD screen automatically turns off after the selected time.
Mute Button Press Audio : Set Beep tone ON or OFF when the buttons is pressed.
Audio Button : Turn the speaker on or off. After turning off, the unit is in the silent working state,
including the system warning and video playback.
Device information: Check the firmware version of the model, the date of the firmware, and the
WIFI suffix of the machine.
WIFI Configuration: Set the WIFI password.
Recording Quality: Set the video quality (Bit rate) and recorded file size to Low, Medium or High.
Recording Length : Set the length of each recorded video clip, 1 Min, 3 Mins or 5 Mins.
Record Audio When Recording : Set to whether record audio or not in the video clips.
Overwrite: Set ON to record over the older files (cyclic recording).
Capture is linked with Video: Not applicable
Storage card information: View the current memory card capacity.
Formatting Storage card : Format the memory card. It is recommended to format the SD card
once a month to clear unwanted locked files.

SD Card Storage Data Reference
Video recording Resolution
1920 X1080(30fps)
Photo
4GB Micro SD
34min
2720 photos
8 GB Micro SD 16 GB Micro SD 32 GB Micro SD
68min 136min 272min
5440 photos 10880 photos 21760 photos
Notice:
The recorder can support the up to maximum 32GB MicroSD card. Please use a genuine
microSD card to ensure the recording quality and reliability. Files maybe lost or damaged
when using non-genuine (imitation cards). TCAT is not responsible for any case caused by
usage of non-genuine micro SD card. Please ensure to use minimum speed of“CLASS 10”
microSD cards.Never eject the memory card while recording. This will damage the card.
Basic Trouble-shooting
Please try the following solutions when facing any issues.
Solution
①Start the Wi-Fi on the recorder;
②Change “APP permissions” in setting on mobile phone;
③Uninstall the APP and then reinstall again. Pay attention when the APP
asks for permission notice.
Issue
Unable to connect
to recorder via
mobile APP
Cannot record
video or audio
①Ensure the microSD card is a Class 10 High speed card. Also, please
reformat the card and try again.
②Change the resolutions to lower setting.
③Confirm the microSD is inserted correctly. Ensure the “click” sound is
heard upon insertion.
④Delete the old unused files on the memory card to clear up the memory
space.
Bad quality videos
①Change the resolutions to higher setting.
②Ensure protective film on camera lens is removed.
③Ensure the camera lens and the windscreen is clean.
Device works well
but buttons not work
①Press the RESET button with a needle to reset the factory default settings
②Restart the device.
③RESET the device. Take note when using the RESET button as this operation
may lead to the loss of data. Eject the microSD card before resetting the recorder.
Video noise or
stuttering video
playback on PC
Try to use another video software player to play the videos when the videos
are not smooth. Try to use a better loudspeaker if there is any noise in the
videos.
Video noise or
stuttering video
playback on mobile
APP via WIFI
①Ensure mobile phone is close to the recorder in order to have a strong WIFI
connection.
②Set and decrease the preview resolutions on mobile phone
③Use a higher spec mobile phone (higher speed) to connect and playback the
videos.
17 18

Additional Information
Flashing of indicator light on the recorder:
1. The blue light starts flashing when the recording starts. This indicates normal
operation status. If the red light is ON permanently, it means there is no memory
card or the recorder cannot read the memory card.
2. If the red light is flashing quickly, or the blue light is flashing abnormally, or both
red and blue light is permanently ON, this means the recorder hardware is faulty.
In this case, try pressing the RESET button with a pin. If RESET does not work, try
removing the car battery Negative terminal for 1 minute, and then reconnect it again.
Information about MicroSD card:
1. Because the emergency videos will NOT be overwritten, users are advised to
delete the unused Emergency files once a month.
2. There may be too much memory fragmentation in the memory card due to
constant writing and erasing activity. This will affect the recording of videos. In
order to maintain best performance of the recorder, users are recommended to
perform full FORMAT of the microSD card once a month.
3. Minimum speed class of microSD card is CLASS 10.
4. Supplied MicroSD cards have 1 (One) year Warranty from manufacturer against
Manufacturing Defects Only. Warranty will be void if the manufacturer deems that
the defect is caused by users or any other reasons.
Warranty, Special Clauses and Exemptions
This product is used for video and audio recording. The recorded media shall be
used ONLY as an additional reference in any case of accidents etc. TCAT shall not
be held liable or responsible in any matter related to the use of the recorder in any
situation or scenarios, whether directly or indirectly.
Take note of actions that may lead to loss of data as below:
1. Removing the memory card during recording. Any abnormal operations on the
recorder may lead to damaged or loss of the video file.
2. Recorder and Video files maybe damaged or lost following the impact from a
major car accident.
Other notices.
1. Please use the recorder while abiding the laws of your country, regarding rights
in regards to using recording devices.
2. Please keep the user manual for future reference (default WIFI password).
3. Read the Usage terms and conditions clearly before usage of this device.
4. The recorder is directly connected with the vehicle power supply system. Please
refrain from using the recorder for long periods of time with the engine is switched
off. The car battery may be drained off and cause starting failures.
5. The operation temperature range of this product is -20℃~70℃.Do not use the
recorder in any other locations other than a motor vehicle. DO NOT EXPOSE the
recorder to any form of liquid or water. This recorder is NOT WEATHERPROOF
and shall not be used outside a vehicle.
7. The recorder hardware has 3 (Three) year Warranty from manufacturer against
Manufacturing Defects Only. Warranty will be void if the manufacturer deems that
the defect is caused by users or any other reasons (such as water entry).
19 20
Table of contents

