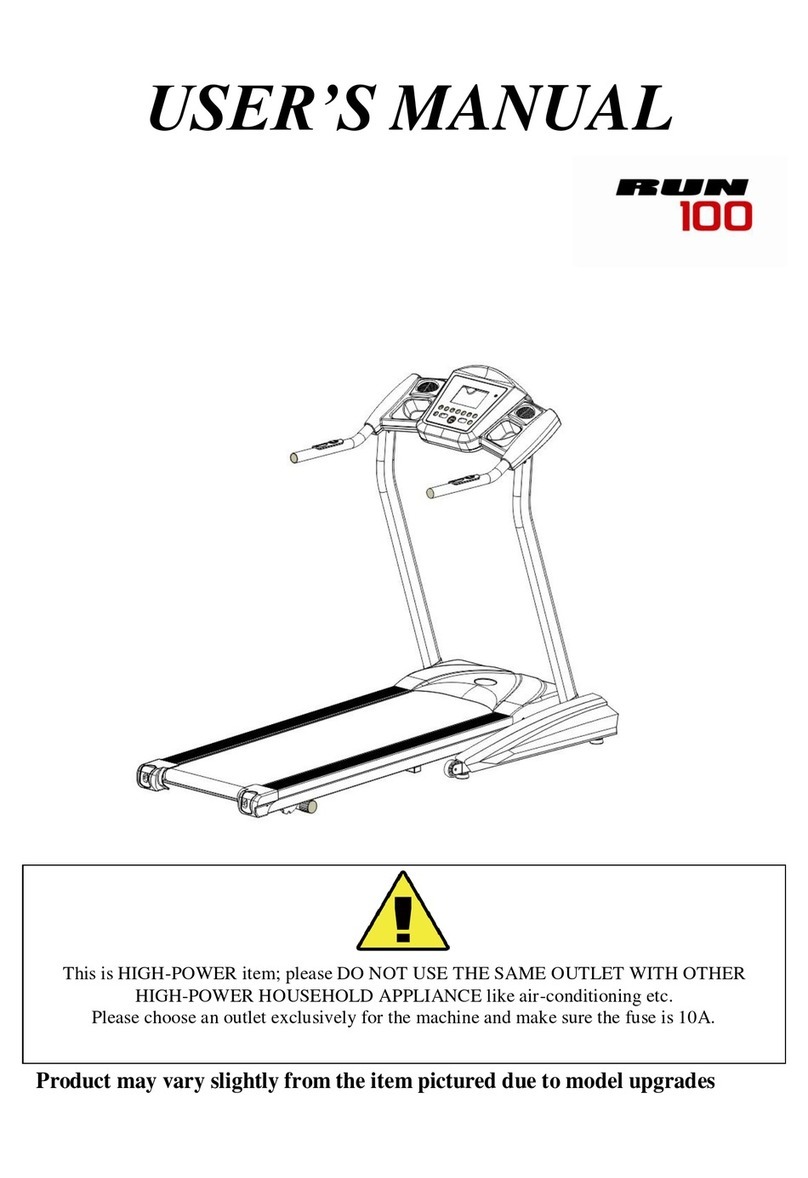
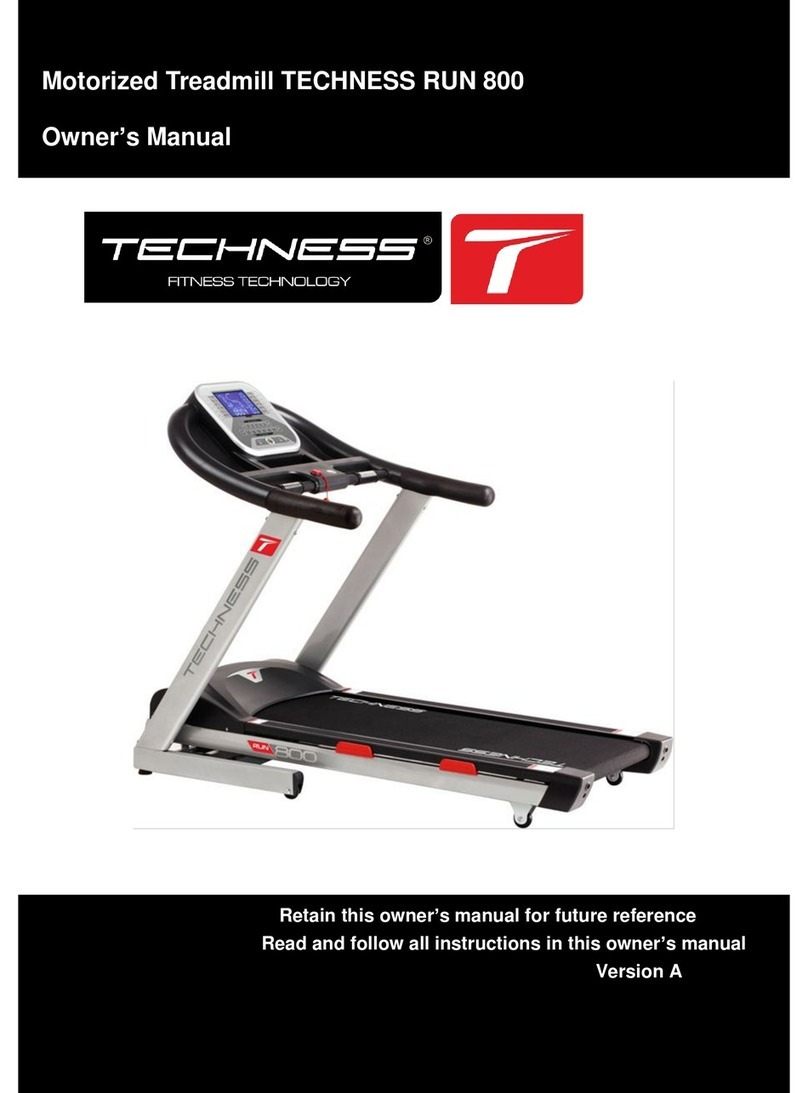
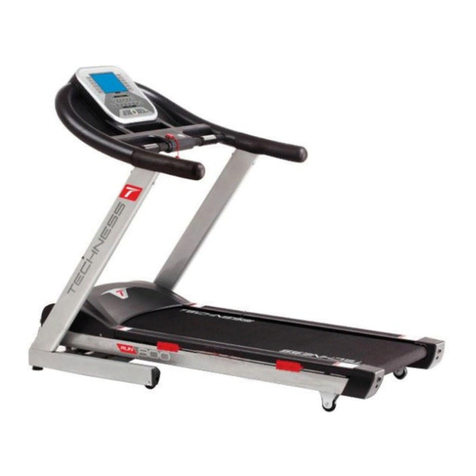
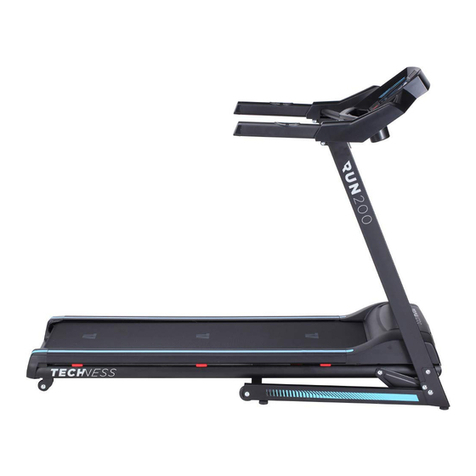
Techness RUN1000 User manual

USER GUIDE –TREADMILL
RUN1000
Thanks for purchasing this product. The product will help you exercise your
muscles in the correct way and to improve your fitness –and all this in a familiar
environment.

IMPLIED WARRANTY
The importer of this machine assures that this device was manufactured from high
quality materials.
Prerequisite for the implied warranty is the proper setup in accordance with the
operating instructions. Improper use and /or incorrect transportation can render the
warranty void.
The implied warranty is for 1 year, beginning with the date of purchase. If the device
you acquired is defective, please contact our Customer Service (Inset page) within
the guarantee period of 12 months as of purchase date. The warranty applies to the
following parts (as far as included in the scope of delivery): Frame, cable, electronic
devices, foam, and wheels. The guarantee does not cover:
1. Damage affected by outer force
2. Intervention by unauthorized parties
3. Incorrect handling of the product
4. Non-compliance of the operating instructions
Wear parts and expendable items are also not covered (such as running belt) .
The device is only intended for private use. The warranty does not apply to
professional usage.
Spare parts can be ordered from Customer Services (Inset page) as needed.
Please make sure you have the following information on hand when ordering spare
parts.
1. Operating instructions
2. Model number (located on the cover sheet of these instructions)
3. Description of attachments
4. Attachment number
5. Proof of purchase with purchase date
Please do not send the device to our firm without being requested to do so by our
Service team. The costs of unsolicited shipments will be borne by the sender.

GENERAL SAFETY INSTRUCTIONS
A great deal of emphasis was placed on safety in the design and manufacture of this
fitness device. Still, it is very important that you strictly adhere to the following
safety instructions. We cannot be held liable for accidents that were caused due to
disregard.
To ensure your safety and to avoid accidents, please read through the operating
instructions thoroughly and attentively before you use the sports device for the first
time.
1) Consult your GP before starting to exercise on this device. Should you want to
exercise regularly and intensively, the approval of your GP would be advisable. This
is especially true for users with health problems.
2) We recommend that handicapped people should only use the device when a
qualified care is present.
3) When using the fitness device, wear comfortable clothing and preferably sports or
aerobic shoes. Avoid wearing loose clothing which could get caught in the moving
parts of the device.
4) Stop exercising immediately should you feel unwell or if you feel pain in your
joints or muscles. In particular, keep an eye on how your body is responding to the
exercise program. Dizziness is a sign that you are exercising too intensively with the
device. At the first signs of dizziness, lay down on the ground until you feel better.
5) Ensure there are no children nearby when you are exercising on the device. In
addition, the device should be stowed in a place that children or house pets cannot
reach.
6) Ensure that only one person at a time uses the fitness device.
7) After the sports device has been set up according to operating instructions, make
sure all screws, bolts and nuts are correctly fitted and tightened. Use only
attachments recommended and/or supplied by the importer.
8) Do not use a device that is damaged or unserviceable.
9) Always place the device on a smooth, clean and sturdy surface. Never use near
water and make sure there are no pointed objects in the direct vicinity of the fitness
device. If necessary, place a protective mat (not included in scope of delivery) to
protect your floor underneath the device and keep a free space of at least 0.5 m
around the device for safety reasons.
10) Take care not to put your arms and legs near moving parts. Do not place any
material in openings in the device.
11) Use the device only for the purposes described in these operating instructions.
Use only attachments recommended by the manufacturer
12) If the supply cord is damaged, it must be replaced by the manufacturer, its
service agent or similarly persons in order to avoid a hazard.

SPECIAL SAFETY PRECAUCIONS
Power source:
Choose a place in reach of a socket when placing the treadmill.
Always connect the appliance to a socket with a grounded circuit and no other
appliances connected to it. It is recommended not to use any extension cords.
A faulty grounding of the appliance can cause the risk of electrical shocks. Ask a
qualified electrician to check the socket in case you do not know if the appliance is
grounded appropriately. Do not modify the plug provided with the appliance if it is
not compatible with your socket. Ask a qualified electrician to install a suitable
socket.
Sudden voltage fluctuations can seriously damage the treadmill. Weather
changes or switching on and off other appliances can cause peak voltages, over-
voltage or interference voltage. To limit the danger of damage to the treadmill, it
should be equipped with an over-voltage protective device (not included).
Keep power cord away from the carrying roller. Do not leave the power cord
below the striding belt. Do not use the treadmill with a damaged or worn out power
cord.
Unplug before cleaning or engaging in maintenance work. Maintenance should
only be done by authorized service technicians, unless otherwise stated by the
manufacturer. Ignoring those instructions would automatically void the warranty.
Inspect the treadmill before every use to make sure that every part is
operational.
Do not use the treadmill outdoors, in a garage or under any kind of canopy. Do
not expose the treadmill to high humidity or direct sunlight.
Never leave the treadmill unattended.
Make sure the striding belt is always tense. Start the striding belt before stepping
on it.

ASSEMBLY
Before starting with the assembly of this fitness device, carefully read through the
set up steps. We also recommend that you view the assembly drawing prior to
assembly.
Remove all packaging material and place the individual parts on a free surface.
This will provide you with an overview and will simplify assembly.
Please consider that there is always the risk of injury when using tools and
carrying out technical activities. Please proceed with care when assembling the
device.
Make sure you have a hazard-free working environment and do not, for example,
leave tools lying around. Deposit the packaging material in such a way that it does
not pose a danger. Foil/plastic bags are a potential risk of suffocation for children!
Take your time when viewing the drawings and then assemble the device
according to the series of illustrations.
The device must be carefully assembled by an adult person. If necessary, request
aid from another technically talented person.

UNPACK AND VERIFY THE CONTENTS OF THE BOX:
Lift up and remove the box that surrounds the Treadmill.
Check the following items are present. If any of the parts are missing, contact with
the dealer.
Main frame and base Console
Stand post End cover
Handle bar Safety key
Silicone oil User’s manual Hardware kit

MAIN PARTS OF THE TREADMILL:
Front roller Rear roller Decorate rail
Side rail Motor cover Console
Handle bar Base cover Motor
Incline motor Running board Running belt

End cover (left) End cover (right) Feet
Soft drop

ASSEMBLY DIAGRAM
Safety Key
Handle Bar
Stand Post
Motor Cover
Wheel cover
Main Frame
Running Belt
End Cover
Side Rail
Console

ASSEMBLY INSTRUCTIONS
Step 1: Take the machine out of package,put on a flat surface;Use 4pcs M8*15
and 6pcs M8*55*20 screws separately to fit the stand post (Left and right) onto the
base frame. Please do not tight any bolts now.
Step 2: Put the stand post cover on left and right stand post, and then use 4pcs
M4*20 screw to tight the stand post cover.

Step 3: Use 4pcs M8*50*20 screws fit the console to the stand post and tight the
screw.
Step 4: Use 4pcs M3*28 screws fit the handle bar cover to the PU handle bar and
tight the screw.

SETTING UP YOUR TREADMILL
1. FOLDING/UNFOLDING & MOVING THE TREADMILL
FOLDING &UNFOLDING THE TREADMILL:
1. Unplug from power point before folding
2. Lift deck until it's parallel to the upright post
3. Check the cylinder locks into right position
4. Place two hands on handle bar, and Press one foot on the middle section of the
cylinder to dis-engage the locking mechanism. Both hands press down, and the base
frame can down slowly. Then take off both hands, the deck can down itself.
MOVING THE TREADMILL:
1. Before moving, make sure the power is off.
2. Make sure the plug has pulled off.
3. Make sure the running base has been folded
4. The treadmill can be moved around in house safely in its fold-up position by using
the transport wheels. Firmly hold onto handle bars with both hands, pull the
treadmill towards you, incline 30-40 degree until it's portable on wheels, drag or
push slowly.
Joint & Check Valve
Soft drop

GENERAL FUCTIONALITIES
To start any workout phase after the setup, the user has to press the Start key.
If the user presses the Stop key during the workout phase, the workout pulses.
If the user presses the Stop key twice, the workout terminates and the system
will return to the initial state.
The Quick keys, Incline adjusting keys, Speed adjusting keys, and Start key only
work during the workout period. These keys do not work during the setup stage.
The Direction keys only work during the setup stage. The user may use the
direction keys to choose their desired workout program, as well as adjusting value.
These keys do not work during the workout phase.
Hand pulse in front of the user will read the user’s heart rate when both keypads
are held properly.
Pull out the safe key will stop the treadmill immediately.

USE INSTUCTIONS
CONSOLE
1. Start the treadmill:
When the treadmill connects to power, the LCD show like the below picture 1:
Mode
Speed -
Incline +
Start/Stop
Incline -
Program
Speed +

If the treadmill without the safety key, the LCD will show like the below picture2:
With the safety key, will show like below picture 3:
2. LCD window display
10” LCD window displays the item and number. Program and Pulse use the same
window; if no pulse signals neither in Program, this window shows “PROG”, in
Program, shows program number, if has pulse, show the pulse number.
In the picture 3: TIME window show time; Cal window shows calorie; INCL shows
incline number; PROG is program; DIS is distance; SPEED is speed number; is
pulse. When the treadmill paused, the shows 24 program P0-P24-P0, and the
window shows the profile, lasting for 3 seconds.

3. Key information
Safety Key
Pull off the safety key, the LCD windows show“----”, the buzzer sound “BIBI-BI”, the
sound last 0.5second every 2second once and the treadmill will stop right now. The
sound will stop until put on the safety key. After putting on the safety key, the
computer will show 2second, and all the data will be cleared.
Program Key
Press the P key, program key: it will show:
P0 P-1 P-2 P-3 P-4 P-5 P-6 P-7 …P-24 FAT HRC
P0 is user’s program, in this program, press “MODE” key; you can set three count-
down programs: TIME COUNT DOWN mode; DISTANCE COUNT DOWN mode;
CALORIES COUNT DOWN mode.
Time30:00 Distance1.00 Calories50
Speed +/- key:
In the P1-P24 program, press Speed +/- key can adjust the time
Body Fat Function
Press “PROG”, choose “FAT” function, press “SPEED +/-” to adjust the item, and
press “MODE” to choose the item.
After setting the item, the LCD show “FAT”, put two hands on the handle pulse key
on the handle bar. After 3 seconds, it will show the result.
“01”shows the gender is male, “02”shows the gender is female

According to the standard of human being, the fat low 19 shows you are tend to be
thin; it is perfect when the fat is between 20 and 25. If between 26 and 29 it
suggests you are a little fat. If exceeds 30, it means you should lose weight.
START/STOP key:
In P0-P24,first time press START/STOP key, the window will show “3, 2, 1, Go” and
with the buzzer sound “BI, and start the treadmill.
In count down function, after choose press START/STOP key, the item begin the
countdown function.
After choosing the program, press START/STOP key, then will start this program.
Incline +/- key:
Press Incline+/- key can increase and decrease the incline number
In FAT function, press Incline+/- key, can adjust the item number.
Speed+/- key:
Increase and decrease the speed, 0.1KM once.
In P0-P24, choose time, press Speed+/- key, can adjust the number.
In FAT, after choosing the item, press Speed+/- key can adjust the number.
Quick incline keys
Quick speed keys
Item
Designed original
number
Designed
range
Age
25
10-99
Height
170CM
100-220
Weight
70KG
20-150

PROGRAM SPEED DIAGRAM
TIME
PROGRAM
1
2
3
4
5
6
7
8
9
10
11
12
13
14
15
16
P1
SPEED
2
3
3
4
4
4
4
4
4
4
4
4
4
3
3
2
INCLINE
1
1
2
2
2
3
3
2
2
3
2
3
2
2
1
1
P2
SPEED
2
3
4
4
7
4
7
7
7
4
7
7
4
4
3
2
INCLINE
2
3
4
3
4
4
5
5
6
7
6
6
5
4
3
2
P3
SPEED
2
3
4
4
7
7
4
7
7
7
7
4
4
4
3
2
INCLINE
3
7
4
4
7
4
8
4
3
7
3
7
5
4
7
3
P4
SPEED
2
3
3
6
6
6
6
6
6
9
6
6
6
3
3
2
INCLINE
3
7
4
4
7
4
8
4
3
7
3
7
5
4
7
2
P5
SPEED
2
3
4
6
6
6
6
9
6
6
6
6
6
4
3
2
INCLINE
2
4
6
8
6
8
5
10
11
8
6
7
6
8
4
2
P6
SPEED
2
4
4
6
6
9
9
9
9
6
6
6
6
6
4
2
INCLINE
3
4
5
6
5
6
5
7
6
7
5
7
6
7
7
3
P7
SPEED
4
6
6
9
11
11
9
11
11
9
11
11
9
9
6
4
INCLINE
2
4
4
6
7
8
10
12
13
13
12
10
8
6
4
2
P8
SPEED
2
4
4
7
7
7
7
9
9
11
9
11
9
9
11
11
INCLINE
2
4
8
10
13
2
4
8
10
13
2
4
9
10
13
2
P9
SPEED
3
6
6
9
11
11
7
9
11
11
11
11
9
9
6
3
INCLINE
13
10
8
4
2
13
10
8
4
2
13
10
8
4
3
3
P10
SPEED
2
4
4
6
2
4
4
6
2
4
4
6
2
4
4
6
INCLINE
2
2
4
4
3
4
5
6
5
6
8
7
8
9
10
10
P11
SPEED
4
6
6
9
4
6
6
9
4
6
6
9
4
6
6
9
INCLINE
10
12
10
12
8
8
7
7
5
6
5
6
4
3
4
3
P12
SPEED
3
6
9
11
3
6
9
11
3
6
9
11
3
6
9
11
INCLINE
12
11
9
8
12
11
9
8
12
11
9
8
12
11
9
8
P13
SPEED
4
12
4
12
4
12
4
12
4
12
4
12
4
12
4
12
INCLINE
4
8
10
12
4
8
10
12
4
8
10
12
4
8
10
12
P14
SPEED
3
6
9
11
3
6
9
11
3
6
9
11
3
6
9
11
INCLINE
4
8
10
12
4
8
10
12
4
8
10
12
4
8
10
12
P15
SPEED
11
11
9
6
11
11
9
6
11
11
9
6
11
11
9
6
INCLINE
2
3
4
5
6
8
7
8
8
7
7
6
5
4
3
2
P16
SPEED
4
12
4
12
4
12
4
12
4
12
4
12
4
12
4
12
INCLINE
2
4
5
6
2
4
5
6
2
4
5
6
2
4
5
6
P17
SPEED
2
4
6
6
9
11
11
2
4
6
6
11
11
9
6
2
INCLINE
2
4
6
8
10
12
13
12
13
12
13
10
8
6
4
2

P18
SPEED
3
6
6
3
6
6
3
6
6
3
6
6
3
6
6
2
INCLINE
2
6
8
2
6
8
2
6
8
2
6
8
2
6
8
2
P19
SPEED
4
12
4
12
4
12
4
12
4
12
4
12
4
12
4
12
INCLINE
10
8
6
4
10
8
6
4
10
8
6
4
10
8
6
4
P20
SPEED
4
12
4
12
4
12
4
12
4
12
4
12
4
12
4
12
INCLINE
12
8
2
12
8
2
12
8
2
12
8
2
12
8
2
2
P21
SPEED
2
6
11
2
6
11
2
6
11
2
6
11
2
6
11
2
INCLINE
12
8
2
12
8
2
12
8
2
12
8
2
12
8
2
2
P22
SPEED
11
6
2
11
6
2
11
6
2
11
6
2
11
6
2
2
INCLINE
2
4
10
2
4
10
2
6
12
6
8
12
6
8
12
2
P23
SPEED
11
6
6
2
11
6
6
2
11
6
6
2
11
6
6
2
INCLINE
2
3
4
5
6
6
7
8
10
11
12
12
13
13
10
2
P24
SPEED
11
6
4
11
6
4
11
6
4
11
6
4
11
6
4
2
INCLINE
4
4
5
6
7
8
10
10
12
13
12
13
12
13
10
2
ERROR MESSAGE AND SOLUTIONS
SYMPTOM
DESCPRIPTION
SOLUTION
E01
Console is bad
Control board is bad, cannot start the treadmill.
Console show the E01, warning sound 3times.
Solution: console and control board connect not
well, check the connection wire set between
the console and control board. If connection is
bad, change the wire.
E02
The motor wire is bad.
Treadmill cannot start, warning sound 9times.
Console show the E02. If treadmill can restart, it
will be ok.
Solution: check the motor wire, and reconnect.
If the control board smells bad, change the
control board.
E03
No speed sensor signal:
control board has send the
signal to motor, but cannot
receive the signal from
motor for 3seconds.
Treadmill cannot start, warning sound 9times.
Console show the E03. If treadmill can restart in
10 seconds, it will be ok.
Solution: No speed sensor signal for 3seconds,
then check the sensor plug or change the speed
sensor.

E04
Incline motor learn by itself
Check the incline motor wire, and wire
connections. Check the AC wire on incline
motor and the connection to control board.
Change the wire or incline motor. Then press
the key to let the incline motor learn by itself.
E05
Over current protection:
treadmill is running, control
board check the current is
over standard current +6A
for 3 seconds
Treadmill cannot start, warning sound 9times.
Console show the E05. If treadmill can restart in
10 seconds, it will be ok.
Solution: current is over the standard current,
so system take protection. Or some part cannot
work; causing the motor cannot run normally.
Recheck the treadmill, and restart the treadmill.
Check if the bad smell, change motor, or control
board has. Recheck the current is right or not.
E06
Over explosion protection:
voltage is not correct or
motor not work well, cause
motor wire bad.
Treadmill cannot start, warning sound 9times.
Console show the E06. If treadmill can restart, it
will be ok.
Solution: check the voltage is lower than 10%
standard voltage, using the correct voltage to
check again. Check control board smelling, if
burnt smell, change control board. Check the
motor wire connection, reconnect.
Proper maintenance is very important to ensure a faultless and operational
condition of the treadmill. Improper maintenance can cause damage to the treadmill
or shorten the life of the product.
All parts of the treadmill must be checked and tightened regularly. Worn out parts
must be replaced immediately.
1. LUBRICATION:
The treadmill is factory-lubricated. However, it is recommended to check the
lubrication of the treadmill regularly, to ensure an optimal operation of the
treadmill. It is usually not necessary to lubricate the treadmill in the first year or the
first 500 hours of operation.
After every 3 months of operation, lift the sides of the treadmill and feel the surface
of the belt, as far as possible. If traces of silicon spray are found, lubrication is not
necessary.
In case of a dry surface refer to the following instructions.
Only use oil free silicon spray.
Table of contents
Languages:
Other Techness Treadmill manuals
Popular Treadmill manuals by other brands
Pro-Form
Pro-Form 6.5Q Manuale d'istruzioni
Life Fitness
Life Fitness Elevation and Platinum Club Series Assembly instructions

Life Fitness
Life Fitness 9000 Operation manual
Pro-Form
Pro-Form 530 HeartRateControl user manual
Pro-Form
Pro-Form 5.2 Treadmill Manuale d'istruzioni
Pro-Form
Pro-Form Performance 1500 PETL13015.1 user manual
