manuals.online logo
Brands
  1. Home
  2. •
  3. Brands
  4. •
  5. Technics
  6. •
  7. Stereo Receiver
  8. •
  9. Technics SH-AC500D User manual

Technics SH-AC500D User manual

Other manuals for SH-AC500D

3

Other Technics Stereo Receiver manuals

Technics SA-DX950 User manual

Technics

Technics SA-DX950 User manual

Technics SAEX140 - RECEIVER User manual

Technics

Technics SAEX140 - RECEIVER User manual

Technics SA-404 User manual

Technics

Technics SA-404 User manual

Technics SA-AX710 User manual

Technics

Technics SA-AX710 User manual

Technics SAAX6 - RECEIVER User manual

Technics

Technics SAAX6 - RECEIVER User manual

Technics SA-110 User manual

Technics

Technics SA-110 User manual

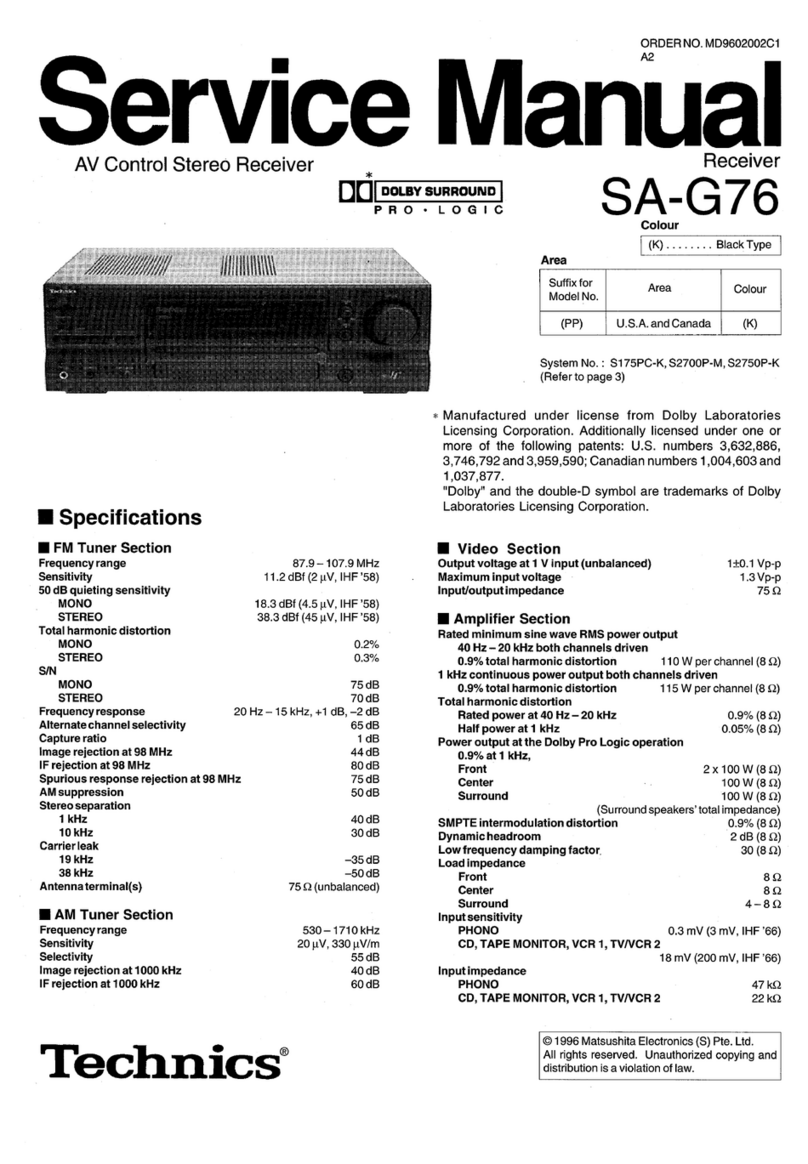
Technics SA-G76 User manual

Technics

Technics SA-G76 User manual

Technics SADX930 - RECEIVER User manual

Technics

Technics SADX930 - RECEIVER User manual

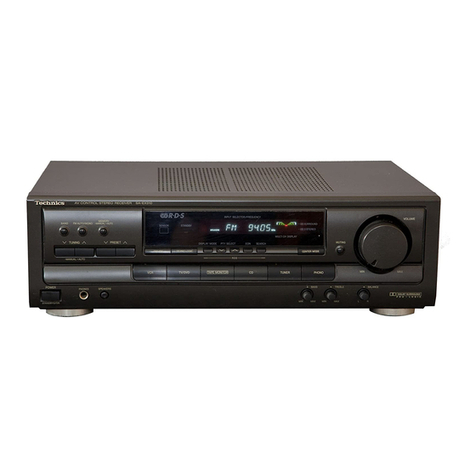
Technics SA-GX190 User manual

Technics

Technics SA-GX190 User manual

Technics SA-GX650 User manual

Technics

Technics SA-GX650 User manual

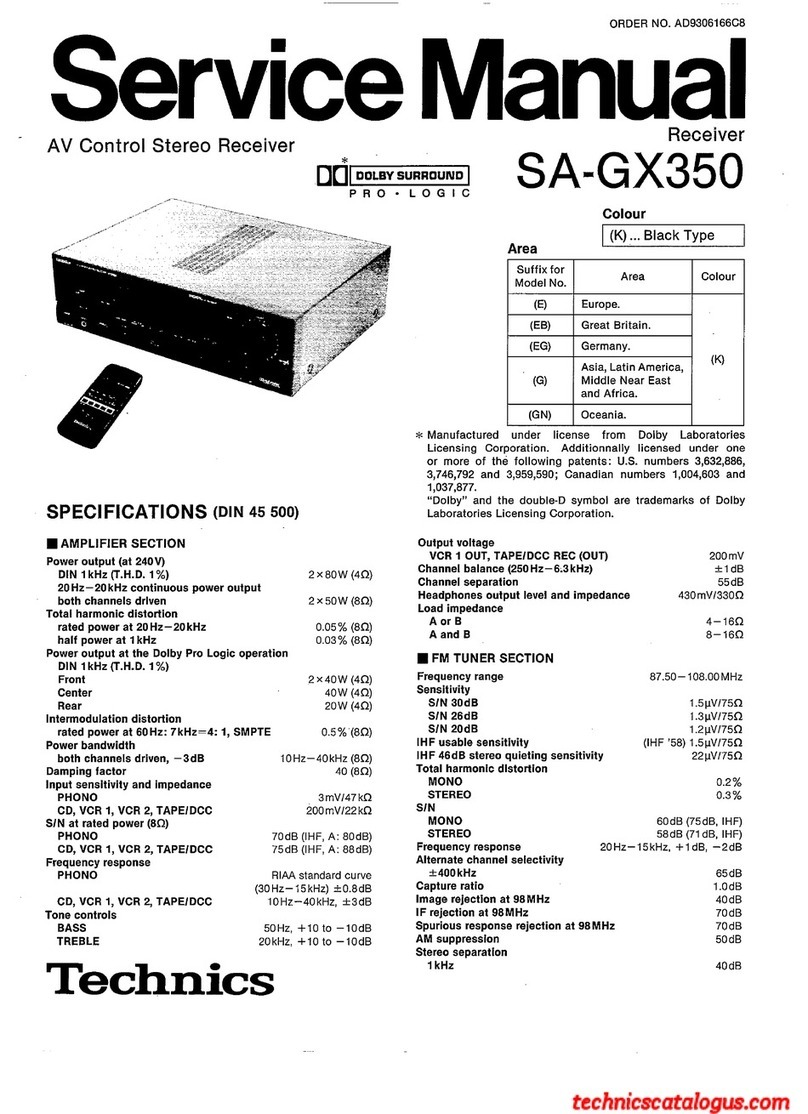
Technics SA-500 (D) User manual

Technics

Technics SA-500 (D) User manual

Technics SA-EX100 User manual

Technics

Technics SA-EX100 User manual

Technics RQT5110-P User manual

Technics

Technics RQT5110-P User manual

Technics SA-AX910 User manual

Technics

Technics SA-AX910 User manual

Technics SA-GX130D User manual

Technics

Technics SA-GX130D User manual

Technics SAEX110 - RECEIVER User manual

Technics

Technics SAEX110 - RECEIVER User manual

Technics SADX930 - RECEIVER User manual

Technics

Technics SADX930 - RECEIVER User manual

Technics SA-GX170 User manual

Technics

Technics SA-GX170 User manual

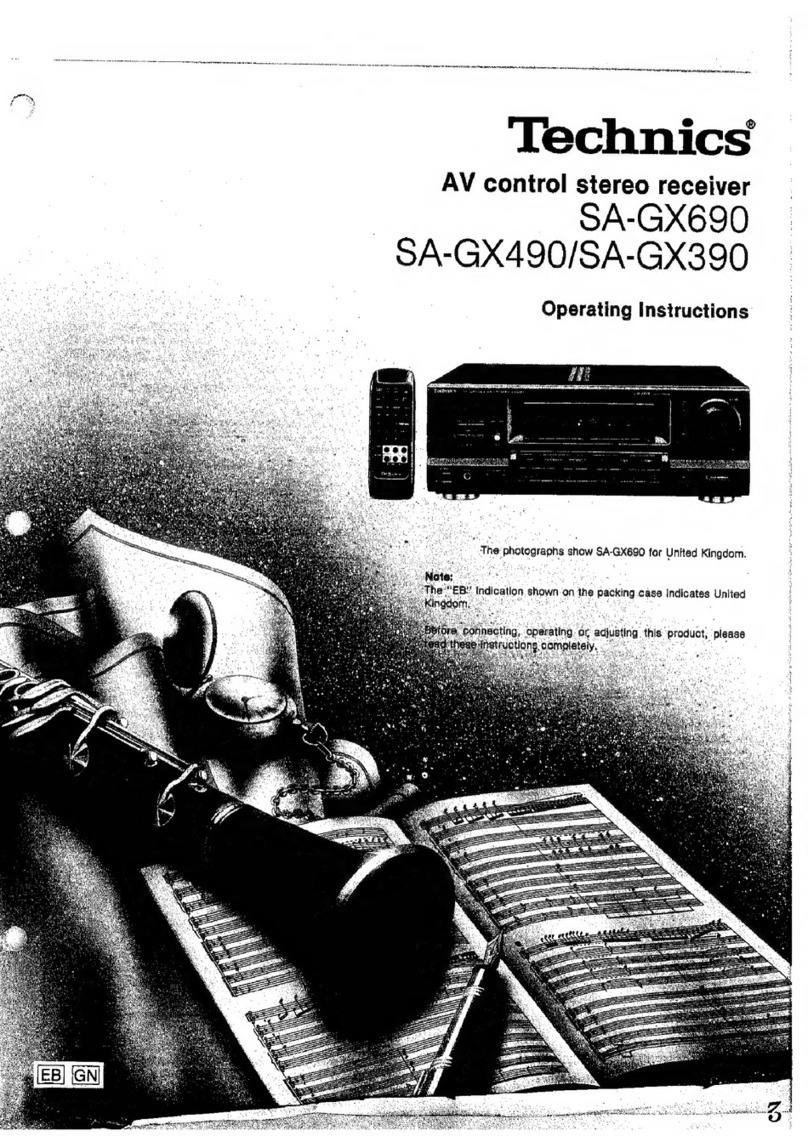
Technics SA-GX690 User manual

Technics

Technics SA-GX690 User manual

Technics SAEX110 - RECEIVER User manual

Technics

Technics SAEX110 - RECEIVER User manual

Technics SA-5250 User manual

Technics

Technics SA-5250 User manual

Technics SA-GX190 User manual

Technics

Technics SA-GX190 User manual

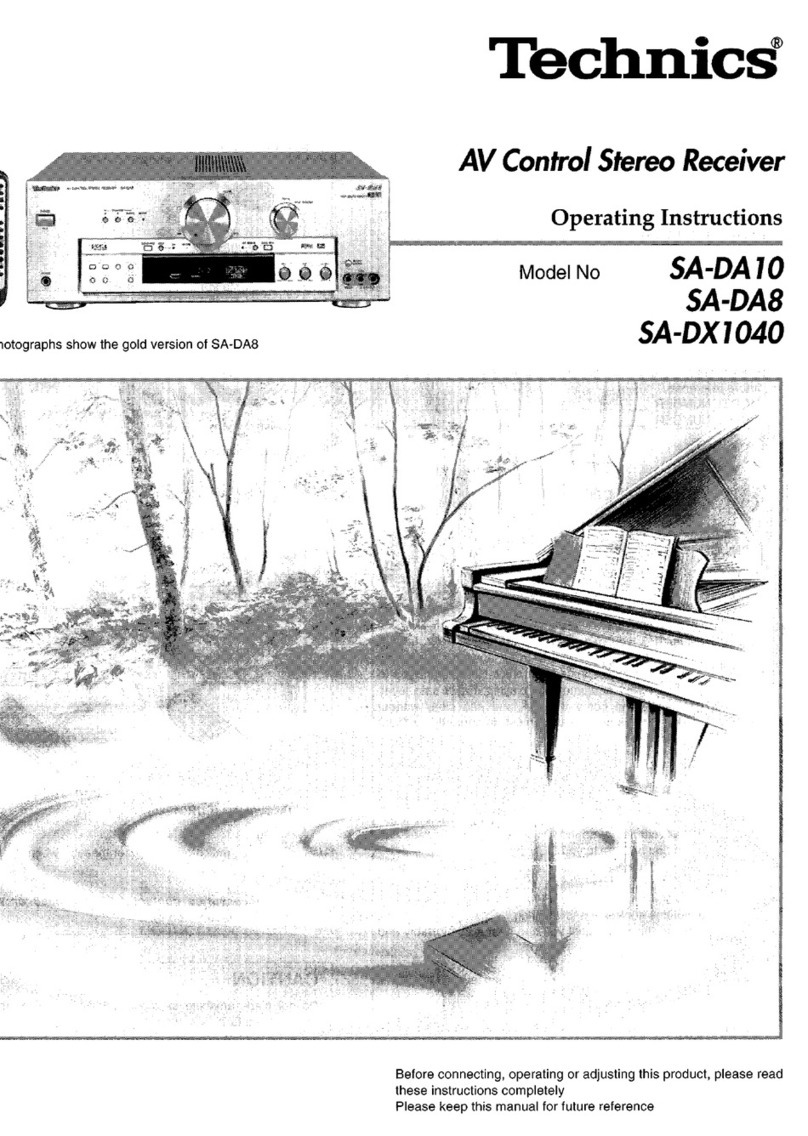
Technics SA-DA10 User manual

Technics

Technics SA-DA10 User manual

Technics SA-AX540 User manual

Technics

Technics SA-AX540 User manual

Popular Stereo Receiver manuals by other brands

Teac AG-680 Service manual

Teac

Teac AG-680 Service manual

Kenwood KR-V888D instruction manual

Kenwood

Kenwood KR-V888D instruction manual

Teac AGV1050 owner's manual

Teac

Teac AGV1050 owner's manual

Sony STR-435 operating instructions

Sony

Sony STR-435 operating instructions

Pioneer Elite SC-68 Service manual

Pioneer

Pioneer Elite SC-68 Service manual

Pioneer SX-1250 operating instructions

Pioneer

Pioneer SX-1250 operating instructions

Marantz CINEMA 70S owner's manual

Marantz

Marantz CINEMA 70S owner's manual

Kenwood KMDX92 instruction manual

Kenwood

Kenwood KMDX92 instruction manual

Yamaha RX-830 owner's manual

Yamaha

Yamaha RX-830 owner's manual

Pioneer AVH-Z7250BT owner's manual

Pioneer

Pioneer AVH-Z7250BT owner's manual

Denon AVR-1311 owner's manual

Denon

Denon AVR-1311 owner's manual

Denon AVR-S760H owner's manual

Denon

Denon AVR-S760H owner's manual

Denon AVR-X7200W Service manual

Denon

Denon AVR-X7200W Service manual

Sony XAV-1500 operating instructions

Sony

Sony XAV-1500 operating instructions

Radio Shack DX-399 owner's manual

Radio Shack

Radio Shack DX-399 owner's manual

Sony STR-DE535 - Fm Stereo/fm-am Receiver operating instructions

Sony

Sony STR-DE535 - Fm Stereo/fm-am Receiver operating instructions

Pioneer SX-1000TA operating instructions

Pioneer

Pioneer SX-1000TA operating instructions

Yamaha MusicCast TSR-5B3D owner's manual

Yamaha

Yamaha MusicCast TSR-5B3D owner's manual

manuals.online logo
manuals.online logoBrands
  • About & Mission
  • Contact us
  • Privacy Policy
  • Terms and Conditions

Copyright 2025 Manuals.Online. All Rights Reserved.

Digital Surround Processor
SH-AC5OOD Technic
Operating Instructions
\\
Before operating this unit, please read these
instructions completely.
Please save this manual.
RQT4536-P
II
o_
ot_
Dear Customer
Thank you for purchasing this product.
For optimum performance and safety, please read
these operating instructions carefully.
Tableof contents
Precautions ................................................................ 3
Accessories ...................................................................... 4
Concerning the remote control ......................................... 4
Front panel controls ......................................................... 5
Connections ................................................................... 6
Speaker installation ................................................................... 9
Using this unit ............................................................................. 9
User memo:
DATE OF PURCHASE _ ..... /
1
/
DEALER NAME
DEALER ADDRESS ...... /
]
TELEPHONE NUMBER
The model number and serial number of this product can be
found on either the back or the bottom of the unit
Please note them in the space provided below and keep for
future reference
MODEL NUMBER SI_ AC5()(313 ........................
I SERIAL NUMBER ................................................
WARNING:
TO REDUCE THE RISK OF FIRE, ELECTRIC
SHOCK OR PRODUCT DAMAGE, DO NOT
EXPOSE THIS APPLIANCE TO RAIN,
SPLASHING,DRIPPING OR MOISTURE.
CAUTION:
TO PREVENT ELECTRIC SHOCK MATCH WIDE
BLADE OF PLUG TO WIDE SLOT, FULLY
INSERT.
Speaker setting ............................................................. 10
Speaker output adjustments ...................................... t 1
Delay time adjustments .................................................... 13
Reproduction modes .............................................................. 14
Enjoying sound in a variety of reproduction modes _15
Other functions ......................................................................... 17
Setting the midnight mode (dynamic range compression) .......... 17
Muting the sound temporarily...................................................... t 7
Selecting the display panel brightness ...................................... 17
I'_r_
Remote control quick reference ..................................... 18
Troubleshooting guide .......................................................... 19
Product service ....................................................... Back cover
Technical specifications ....................................... Back cover
CAUTION
CAUTION:TO REDUCE THE RISK OF ELECTRIC
SHOCK, DO NOT REMOVE SCREWS.
NO USER-SERVICEABLE PARTS
INSIDE.
REFER SERVICING TO QUAUFIED
SERVICE PERSONNEL.
,_ The lightning flash with arrowhead symbol, within
an equilateral triangle, is intended to alert the user
to the presence of uninsulated "dangerous voltage"
within the product's enclosure that may be of
sufficient magnitude to constitute a risk of electric
shock to persons.
,_ The exclamation point within an equilateral triangle
is intended to alert the user to the presence of
important operating and maintenance (servicing)
instructions in the literature accompanying the
appliance.
k]
PrecQutlons
Before using this unit please read these operating instructions
carefully Take special care Io follow the warnings indicafed on the
unit itself as well as the safety suggestions listed below
Afterwards keep them handy for future reference.
1. Power Source -- The unit should be connected to power supply
only of the type described in the operating instructions or as
marked on the unit
2. Polarization -- If the unit is equipped with a polarized AC power
plug (a plug having one blade wider than the other), that plug
will fit into the AC outlet only one way This is a safety
feature If you are unable to insert the plug fully into _he outlet,
try reversing the plug If the plug should still fail to fit, contact
your electrician to replace your obsolete outlet DO not defeat
the safety purpose of the polarized plug
3. Power Cord Protection -- AC power supply cords should be
routed so that they are not likely to be walked on or pinched by
items placed upon or against them. Never take hold of the plug
or cord if your hand is wet, and always grasp the plug body
when connecting or disconnecting it.
4. Nonuse Periods -- When the unit is not used, turn the power
off. When left unused for a long period of time, the unit should
be unplugged from the household AC outlet
rilt't_lfftf_11
I Environment
1. Water and Moisture -- Do not use this unit near water-for
example, near abathtub, washbowl, swimming pool, or the like
Damp basements should also be avoided
2. Heat -- The unit should be situated away from heat sources
such as radiators and the like.
It also shouid not be placed in temperatures less than 5°C
(41 F) or greater than 35°C (95_F),
1. Ventilation -The unit should be situated so that its location or
position does not interfere with its proper ventilation Allow 10 cm
(4") clearance from the rear of the unit
2. Foreign Material -- Care should be taken so that objects do not
fall into and liquids are not spilled into the unit. Do not subject
this unit to excessive smoke, dust, mechanical vibration, or
shock
3. Magnetism -- The unit should be situated away from equipment
or devices that generate strong magnetic fields.
4. Stacking -- Do not place heavy objects, other than system
components, on top of the unit.
5. Surface -- Place the unit on a flat, level surface
6. Carts and Stands -- The unit should be used only with a cart or
stand that is recommended by the manufacturer The unit and
cart combination should be moved with care.
Quick stops, excessive force, and uneven sur-
faces may cause the unit and cart combination
to overturn
7. Wall or Ceiling Mounting -- The unit should not be mounted to
a wall or ceiling, unless specified in this operating instructions
Clean the cabinet, panel and controls with a soft cloth lightly
moistened with mild detergent solution
Do not use any type of abrasive pad, scouring powder or solvent
such as a_cohol or benzine
1. Damage Requiring Service -- The unit should be serviced by
qualified service personnel when:
(a) The AC power supply cord or the plug has been damaged; or
(b) Objects have fallen or liquid has been spilled into the unit; or
(c) The unit has been exposed to rain; or
(d) The unit does not appear to operate normaJly or exhibits a
marked change in performance; or
(e) The unit has been dropped, or the enclosure damaged.
2. Servicing -- The user should not attempt to service the unit
beyond that described in the operating instructions. All other
servicing should be referred to an authorized service personnel.
For the address of an authorized servicenter:
In the U.S.A. 1-800-211-Z262
or web site (http://www.panasonic.com)
In Canada 905-624-5505
or web site (www.panasonic,ca/fdbckca, htm)
--THE FOLLOWING APPLIES ONLY IN THE U.S.A.
CAUTION:
This equipment has been tested and found to comply with the
limits for a Class B digital device, pursuant to Part 15 of the
FCC Rules. These limits are designed to provide reasonable
3rotection against harmful interference in a residential
installation. This equipment generates, uses and can radiate
radio frequency energy and, if net installed and used in
accordance with the instructions, may cause harmful
interference to radio communications However, there is no
guarantee that interference will not occur in aparticular
installation If this equipment does cause harmful interference to
radio or television reception, which can be determined by
turning the equipment off and on, the user ts encouraged to try
to correct the interference by one of the following measures:
•Reorient or relocate the receiving antenna
• increase the separation between the equipment and receiver
• Connect the equipment into an outlet on a circuit different from
that to which the receiver Is connected
• Consult the dealer or an experienced radio/TV technician for
help
Any unauthorized changes or modifications to this equipment
would void the user's authority to operate this device.
This device complies with Part 15 of the FCC Ru_es Operation
is subject to the following two conditions: (1) This device may
not cause harmful interference, and (2) this device musl accept
any interference received, including interference that may cause
undesired operation
II
i
etj
[]
Accessories
Please check and identify
_.,_ :_ the supplied accessories
[] [] AC power supply cord (SJA175-A) ................................ 1 pc.
[] [] Stereo connection cables (RJL2P004B08) ................ 2 pcs
[] [] Monaural connection cables (RJL1 P021B08) ............... 2 pcs
[] [] Optical4iber cable (SJP2281) .............................. I pc
[] [] Batteries ........................................................ 2 pcs
[] [] Remote control transmitter (EUR645403) ....................... 1 pc
Use numbers indicated in parentheses when asking for replacement
parts
(Only for U.S.A )
To order accessories contact 1-800-332-5368 or web site
(http:/hNww.panasonic.com).
Insert the batteries in
the correct polarities
(®,e).
[] ........................ ................
Avoid any obstacles
30 30
About 7 meters (23 feet) in Transmission
front of the signal sensor (The window
actual range will depend on the
angle at which the remote
control is used)
• Thoroughly clean the battery compartment before inserting new
batteries
• Do not mix o_d and new batteries, or batteries of different types
(carbon and alkaline, etc.)
• If you will not use the remote control for a long period of time,
remove the batteries and store them in a cool, dark place
• DO not use rechargeable type batteries•
• Do not attempt to recharge alkaline or carbon batteries•
• Always remove old, weak or worn-out batteries promptly and
dispose of them properly.
• Never subject batteries to excessive heat or flame; do not attempt
to disassemble them; and be sure they are not short-circuited.
•If leaking electrolyte comes into contact with skin or clothes, flush
with water immediately.
When you need to replace these batteries
Use two R6/LR6, AA, UM-3 batteries•
Be sure the transmission window and the signal sensor are free
from dust. Excessive dust might effect performance.
Operation may not be correct if direct sunlight or other strong light
source strikes the signal sensor of this unit. If there _s a problem,
place the unit away from the light source•
,
12 '3 4_5,6_7_
':]4_ ,i_: :16, 37"
c= .........._ml _/aliz01slat.J!al/J!8_.,__
f isil /
LFE S
19 19 19' 19
Frontpanel controls
lCon_ol section[] "
Ret. page(s)
(_)Power button (POWER) ..................................... 10
(_)lnput select buttons/indicators
(DIGITAL 1, DIGITAL 2, DIGITAL 3, LINE) ......... 15
(_)Surround mode button (SURROUND)..11, 13, 15
Digital Theater Systems mode button (DTS)...15
_) Stereo mode button (STEREO) ......................... t 5
(_Volume control (VOLUME) .......................... 11, 16
IMain unit only I
(_ Speaker setting buttons
(CHANNEL/SET, SELECTOR) ............................ 10
_) Dynamic range compression button
(DR COMP) .......................................................... 17
_) Balance contol (L, R) .......................................... 12
Output level setting buttons
(TEST, LEVEL, -, +) ............................................ 12
@Delay time setting buttons (DELAY, -, +) ......... 13
@Dimmer button (DIMMER) .................................. 17
Muting button (MUTING) .................................... 17
IDisplaysection[] I
Ref. page(s)
_) Standby indicator (STANDBY, I)
With the POWER button in the ON position ( _,_ ), the unit can
be switched between the STANDBY and ON condition using the
remote control and in this STANDBY condition the indicator will
light.
(_ Surround format indicators
(l'lrl DIGITAL, P'Z_q, liE] PRO LOGIC) ............ 16
(_ Display
Dynamic range compression indicator
(DR COMP) .......................................................... 17
_Speaker indicators 9, 10, 12, 13
Light in accordance with the speaker setting, and each of the
indicators corresponding with the speaker concerned flashes
when;
•the type or presence of that speaker is set,
•the test signal is output from that speaker,
• the output level or delay time of that speaker is adjusted
_Signal format indicators (LS, C, RS, L, R, S, LFE)
These indicators light up to indicate the Dolby Digital or DTS
input signal format.
LS Surround speaker (left)
C: Center speaker
RS: Surround speaker (right)
L: Front speaker (left)
R: Front speaker (right)
"S' represents the mend surround and "LFE" (Low Frequency
Effect) is a channel for the deep bass effect in the low frequency
range
i
Connections
Before proceeding with the connections, ensure that the power to
all the units has been lurned off
Connect the AC power supply cord only after all other cables and
cords are connected
Stereo connection cable
White (L)
Red (R)
CQ
LConnectionto a receiver(oramplifier)with 6 channeldiscreteinputterminals I
f
DIGITALC_j OlGITAUDTS/PCM } I [_
\ IN. '_ LINE-- ou
iIf_ Stereo connection cables (included)
___Monaura connectoncabes ncluded)
...
For your reference:
The position and labeling of terminals differs with the
receiver (or amplifier) The "DVD/DVD 6 CH" terminal
m the above illustration, for example, is often labeled
as "FRONT (L, R)"
Receiver or amplifier
(This illustration is an example of connection from this unit to a model
SA-AX720 receiver,)
/
O@
0O@ @@
U @ O@ @@
O O@ @@
i i
\
IConnections outputting signals through power amplifiers
for the6channel 3
This illustration is an example of connection from this unit to a stereo control amplifier of model SU C1000 and three stereo power amplifiers of
model SE-A1000
DIGITAL[_ DIGITAL DTS, PCM) [_ (
Stereo connection cable •
(not inculuded) !
Control amplifier (not included)
o...........oo ooOOq
For your rotes'once:
If three integrated amplifiers are connected
instead of the power amplifiers, it is not
necessary to connact a stereo control
amplifier¸ Connect the output terminals of this
unit to the AUX input terminals of the
integrated amplifiers.
Stereo power amplifier
tor front (L, R) speakers /F-
(not inc)uded) }_L \',\ I _,,
[
Frontspeaker
(not included) F!
!_ Stereo connection cables
(inculuded)
Monaural connection
--7 cables(included)
,/
Stereo power
amplifier for
center speaker INPUT
{not included) or LINE IN
Stereo power
amplifier for
surround (L, R)
INPUT INPUT speakers
or LINE IN or LINE IN (not included)
\\\ I* _,' \\\ I H / \\\ I' // \X\ I /_ \\\1_
I I _,.....__ooo oo,_.., II _ooo o_Oj
Front speaker
UT or LINE IN (not included)
Subwoofer buill-in Center speaker II I
amplifier (not included) (not included) I
I
Surround speaker
(not included)
Connections
G)
[] [] []
_---,Np •
] or
Optical-fiber
cable
(included)
Coaxial cable
(not included)
DIGITAL OUT I
DVD player, etc (not included)
Coaxialcable(notincluded)
Optical-fiber cable
(notincluded)
power supply cord (included)
Household AC outlet
(AC 120 V/60 Hz)
DIGITAL OUT ._f f DIGITALO._T
Other digital playback sources (laser disc players, etc.)
Connection for optical-fiber cable []
Dust-protection cap
"LINE IN" terminals []
(Only if a control amplifier has not been connected)
You can connect a set-top box tuner for digital television or similar
decoder
If "LINE" is selected with the input selector on this unit, the signals
received through these terminals are output as they are without
passing through any sound control circuits (ie no volume or other
sound adjustments can be made with this unit)
,_BIFJI
• Do not bend the optical-fiber cable at a sharp angle.
• If the digital optical connector is not going to be used, be sure to
attach the dust-protection cap to prevent exposure to dust
"DIGITAL 1" terminals []
Disconnect the coaxial cable from the DIGITAL 1 terminal when
using an optical fiber cable Only lhe coaxial cable is recognized if
both types are connected
"UNSWITCHED" AC outlet []
This is for the exclusive use of an audio component, tt can be used
to supply power to a component regardless of whether the unit's
POWER button is at the ON or OFF position. Use it for any unit
having a rating of 50 W or less
•Dolby Digital RF (radio frequency) signals cannot be decoded with
this unit even if a unit that has Dolby Digital RF output terminals is
connected to this unit
• Turn off the power to this unit if unusual hissing or beat
sounds are heard while listening to FM, AM, or television
broadcasts.
Frontspeaker
(left) _. C;en_krer(Frlghl)speaker
Subwoofer[_
Surroundspeaker
Surroundspeaker (right)
(left)
Centerspeaker
Surround _r_J_-
Front speaker
(left)
Fronts
s Uerr°:?
(right)
Subwoofer
)eaker
Speaker installation
To enjoy discrete mugi-channel sound reproduction using this unit,
read through the instructions given below before installing the
speakers. []
Front speakers
Place these speakers on the left and right of the TV (or screen), and
adjust their positions and angles so that the movement of the
images pedectly matches the movement of the sound at the viewing
and listening position
Center speaker
Install this speaker above or below the center of the TV (or screen)
and point it directly at the viewing or listening position•
Surround speakers
Place these speakers at the side and slightly behind you at a height
of about one meter above the level of your ears•
Subwoofer
Place this speaker in a suitable position, not too far away from the
TV (or screen),
When it comes to the localization of the subwoofer's sound images,
there is no significant difference in terms of the effect obtained by
the positioning of the speaker. However, with a little effort and
plenty of trial positioning, it is possible to achieve a smoother
frequency response in the low frequency range• For instance, the
bass volume will be boosted (although it may sound somewhat
unnatural) by placing the speaker in the corner of the room.
Speaker indicators light in accordance with the speaker setting. I_1
l
t
Do not run speaker cords near the power cords since this may
generate noise.
For your reference:
When the center or surround speakers are not used, the
corresponding signals are assigned through the available channels,
customizing the sound to suit your speaker setup. This is not done,
however, if the source is DTS format, (=) Refer to page 10•)
II
Using this un#
It is necessary to make various settings before enjoying audio/video
sources. Carry out the settings in the following order
_. Speaker settings (_ page 10)
Enter the types of speakers being used• J
ISpeaker output adjustments (.,1.page 11) 1
Set the level of output to be sent to the receiver (or amplifier)
for each speaker channel•
Ielay time adjustments (,,_ page 13)
Set the delay time for each speaker channel
Start playback of the source. (,_ pages14-17)
II POWER
SPEAKER SETTING
CHANNEIJSE, t
l
_ _ i =i¸ = !Li ii ii
I,ilj,ii¸
SELECTOR
(FRONT)
(CENTER) ILARGE
t
I(SURROUND)ILARGE _
(SUB'WFR) YES_O I
Speaker setting
Set the types and presence of the speakers before enjoying the
sound by reproducing the input source
Before proceeding:
Check the frequency range of each speaker to be used. Consider
speakers capable of playing back low frequency sounds (below
around 100 Hz) as LARGE Consider speakers not capable of
playing back low frequency sounds as SMALL
]Press POWER.
]Press CHANNEL/SET, and select the channel
for which the speaker is to be set.
Each time the button is pressed, the channel display is
switched in the listed order.
FRONT: Front speakers CENTER: Center speaker
SURROUND: Surround speaker SUB-WFR: Subwoofer
COMPLETE: Select this when you have completed the
settings.
The selected channel is shown on the display for approx. 2
seconds. The current setting for that channel is then shown
as a flashing display. The indicator corresponding to the
selected speaker also continues to flash.
[] Press SELECTOR, and set the type (LARGE,
SMALL) and presence (YES, NO or NONE) of
the speaker.
Each time the button is pressed, the display is switched in the
listed order.
LARGE: select if the speaker can produce low frequency
sounds,
SMALL: select if the speaker cannot produce low frequency
sounds,
NONE: select if you are not using a center speaker or
surround speakers,
YES: select if you are using a subwoofer,
NO: select if you are not using a subwoofer.
The sound for speaker channels that are set to "NONE" or
"NO" are output from the front speakers. DTS format
software, however, depends upon all channels being
operable, and so the sound for speakers not connected is not
heard at all, no matter what settings are made.
]Repeat steps 2 and 3 to complete the settings
for all the channels.
]Press CHANNEL!SET to select "COMPLETE".
The settings are now entered into the unit's memory. The
display goes out after about 2 seconds and the previous
display reappears.
The speaker indicators light up unless "NONE" or "NO" has
been selected for the corresponding channel.
If no buttons are pressed for approx. 10 seconds during the setting
process, all previous settings are canceled, the setting mode is
released, and the original display is restored.
Begin the setting process again if this occurs.
For your reference:
The setting remains as it is until changed by the above procedure,
even after the power has been turned off.