manuals.online logo
Brands
  1. Home
  2. •
  3. Brands
  4. •
  5. Technics
  6. •
  7. Stereo System
  8. •
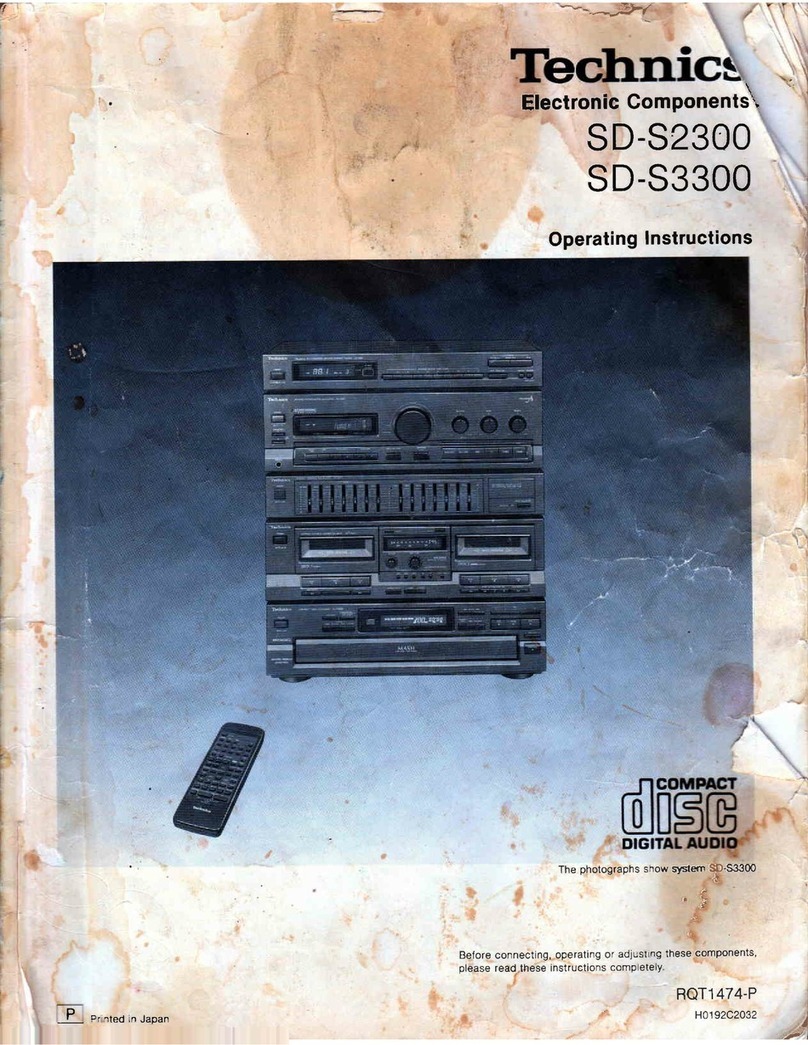
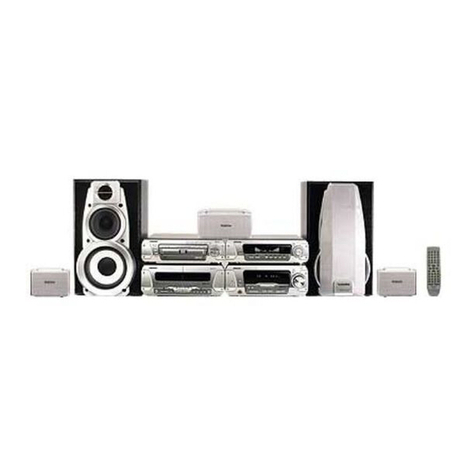
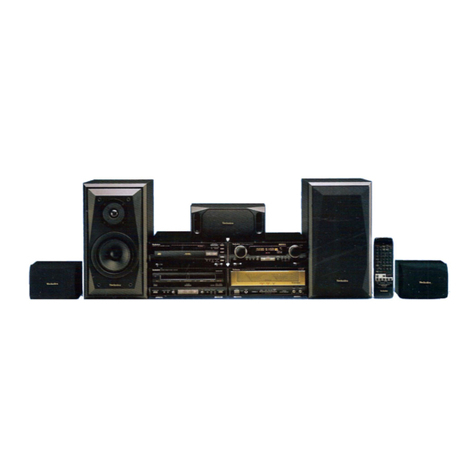
  9. Technics SDS948 - HOME ENT. SYSTEM User manual

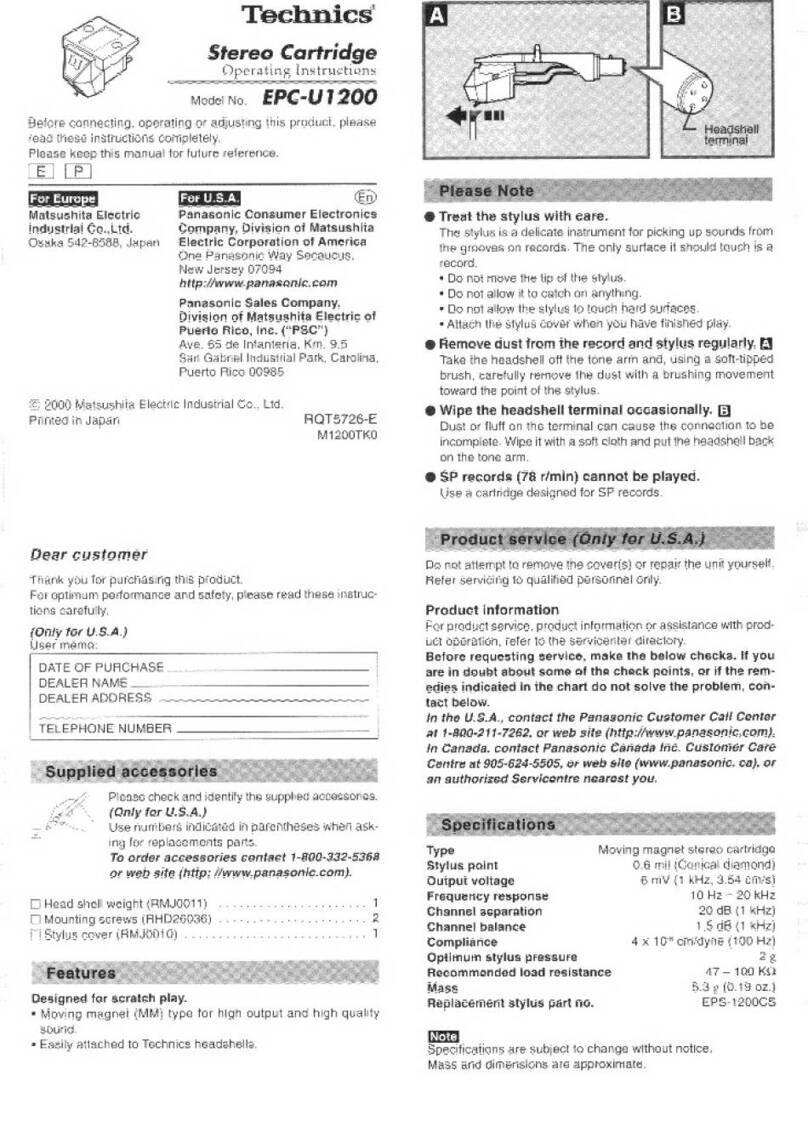
Technics SDS948 - HOME ENT. SYSTEM User manual

Other manuals for SDS948 - HOME ENT. SYSTEM

2

This manual suits for next models

6

Other Technics Stereo System manuals

Technics SC-CA1080 User manual

Technics

Technics SC-CA1080 User manual

Technics SC-CH900 User manual

Technics

Technics SC-CH900 User manual

Technics SC-HD501 User manual

Technics

Technics SC-HD501 User manual

Technics SC-S3050 User manual

Technics

Technics SC-S3050 User manual

Technics OTTAVA SC-C500 User manual

Technics

Technics OTTAVA SC-C500 User manual
Technics SC-CH655 User manual

Technics

Technics SC-CH655 User manual

Technics ST-G30 User manual

Technics

Technics ST-G30 User manual

Technics SC-HD350 User manual

Technics

Technics SC-HD350 User manual

Technics SD-S7258 User manual

Technics

Technics SD-S7258 User manual

Technics OTTAVA f SC-C65 User manual

Technics

Technics OTTAVA f SC-C65 User manual

Technics SC-HD350 User manual

Technics

Technics SC-HD350 User manual

Technics SD-S7225 User manual

Technics

Technics SD-S7225 User manual

Technics SL-EH760 User manual

Technics

Technics SL-EH760 User manual

Technics SA-AX530 User manual

Technics

Technics SA-AX530 User manual
Technics SC-EH760 User manual

Technics

Technics SC-EH760 User manual

Technics SL-HD560E User manual

Technics

Technics SL-HD560E User manual

Technics SD-S747 User manual

Technics

Technics SD-S747 User manual

Technics ST-HD550 User manual

Technics

Technics ST-HD550 User manual

Technics SC-HDA710 User manual

Technics

Technics SC-HDA710 User manual

Technics SC-CH610 User manual

Technics

Technics SC-CH610 User manual

Technics OTTAVA f SC-C70 User manual

Technics

Technics OTTAVA f SC-C70 User manual

Technics ST-CH770 User manual

Technics

Technics ST-CH770 User manual

Technics SJ-HD505 User manual

Technics

Technics SJ-HD505 User manual

Technics OTTAVA SC-C500 Instruction Manual

Technics

Technics OTTAVA SC-C500 Instruction Manual

Popular Stereo System manuals by other brands

Sony HCD-VX88 Service manual

Sony

Sony HCD-VX88 Service manual

Philips MCM398D/12 user manual

Philips

Philips MCM398D/12 user manual

Sony CMT-SPZ90DB operating instructions

Sony

Sony CMT-SPZ90DB operating instructions

LG OM4560 owner's manual

LG

LG OM4560 owner's manual

JVC UX-G3 instructions

JVC

JVC UX-G3 instructions

Odys ODYS - LOOP instruction manual

Odys

Odys ODYS - LOOP instruction manual

Aiwa NSX-AJ700 Service manual

Aiwa

Aiwa NSX-AJ700 Service manual

Panasonic SC-AK100 operating instructions

Panasonic

Panasonic SC-AK100 operating instructions

Sharp CD-G10000V Operation manual

Sharp

Sharp CD-G10000V Operation manual

Bogen NEARSCAPES 4.1 manual

Bogen

Bogen NEARSCAPES 4.1 manual

Panasonic SCPM29 - MINI HES W/CD PLAYER operating instructions

Panasonic

Panasonic SCPM29 - MINI HES W/CD PLAYER operating instructions

Meyer LD-3 operating instructions

Meyer

Meyer LD-3 operating instructions

THOMSON MIC302U manual

THOMSON

THOMSON MIC302U manual

Philips MCM530 Service manual

Philips

Philips MCM530 Service manual

Sony SS-CEP50 Service manual

Sony

Sony SS-CEP50 Service manual

Cetacea Sound CVS-II user guide

Cetacea Sound

Cetacea Sound CVS-II user guide

Sony MHC-V21D Service manual

Sony

Sony MHC-V21D Service manual

Denon UCD-250 Service manual

Denon

Denon UCD-250 Service manual

manuals.online logo
manuals.online logoBrands
  • About & Mission
  • Contact us
  • Privacy Policy
  • Terms and Conditions

Copyright 2025 Manuals.Online. All Rights Reserved.

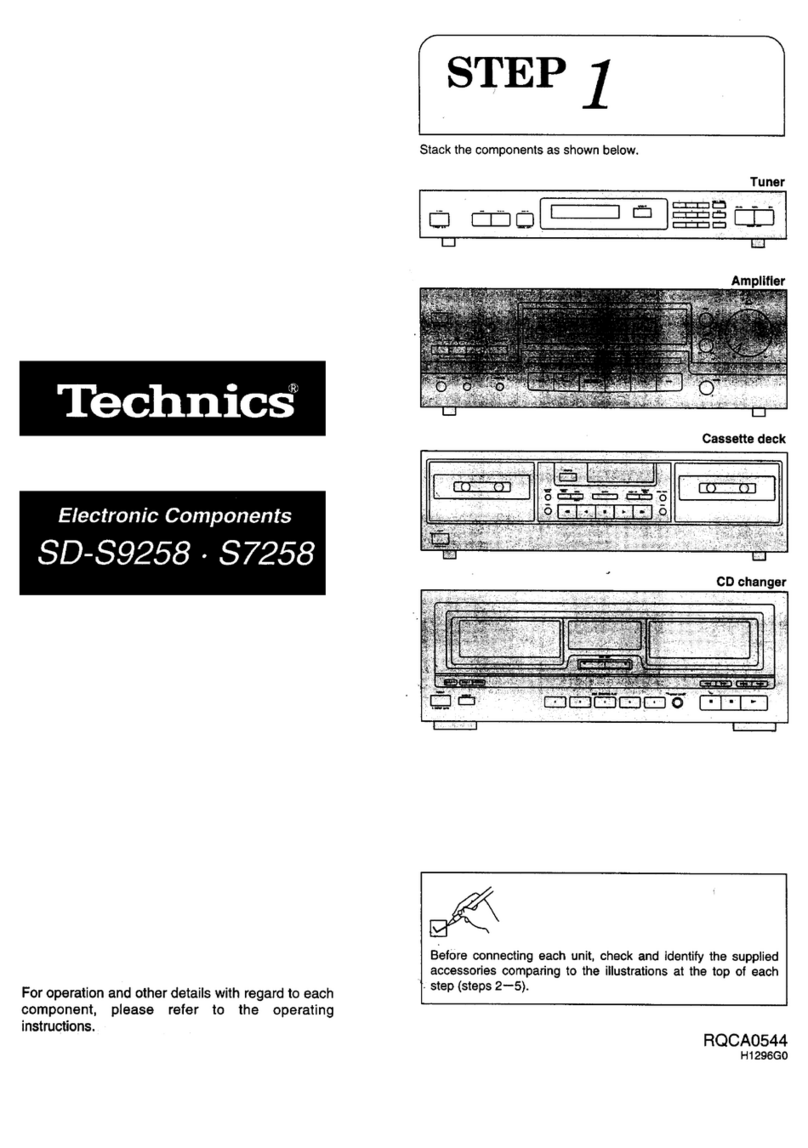
ISTEP1
Stack the components as shown below. 1
,Tuner
Amplifier
Graphic equalizer
Casse_e deck
CD changer
i
Before connecting each unit, check and identify the supplied
accessories comparing to the illustrations at the top of each
step (steps 2--5).
RQC_,A0522
H1096G0
I
STEP 25
(6 pcs.)
When these terminals are
not in use, be sure to insert
the "shorting" pins.
Shorting pins
STEP 3D %
: : Tape
..... J
Wall or
audio
rack
Amplifier
® ®
STEP 4
Included with the
front speakers (2 pcs.) Included with the
center speaker (1 pc.)
D
Included with the
surround speak#rs
(2 pcs.)
Fj
How to place speakers
The Dolby Pro-Logic effect is best enjoyed when you
are seated as shown in figure below.
Front speaker !1 Center speaker Front speaker
(Left) __ (Right)_
r__-- Best listening
I I p°siti°n
Surround speaker I ] Surround speaker
(Left) [] I,, vJ (Right) []
0
Front speakers
SURROUND CENTER FRONT
ACIN'_,
(left)
[]
I Amplifier
(right) [] (left) []
Surround speakers
[] Center speaker
J[_PJ_ When connecting the speaker cables, be sure to only connect I
positive (Jr-) wires to positive (Jr) terminals, and negative (--) wires Ito negative (--) terminals.
Do not connect the surround speakers to the
front speaker terminals. The surround speakers
may be damaged if connected to the front
terminals due to the output power difference
between the front and surround terminals.
0
(_ For amplifier For speaker
STEP 5D
Long thick (2 pcs.)
%
Short thin (3 pcs.)
Short thin ]
Short thin I
Connect this cord after
all other cables and
are connected.
Household AC outlets
(AC 120 V/60 Hz)
ILong thick l
S
Check the installationby tuningin the radiofirst
The explanationbelowisan exampleof operationinthecasewherethefrontspeakersare beingusedfor
checkng..Ifthecenterspeakerand/orsurroundspeakersare beingusedtoenjoythe DolbyPro Logicsystemor
SFC function, refertopages38-41 oftheoperatinginstructions.
....
Press POWER.
Press SI_EAKERS.
"SPEAKERS"willilluminate,
3
Ifthe "TAPE MONITOR"
indicatorisilluminated,
pressthisbuttontoturn
the indicatoroff.
Press BAND
to select "FM" or "AIVI". Turn
VOLUME to
adjust the
volume level.
Press TUNER.
Press DOWN or
UP to tune to the
desired broadcast.
Ifeitherbuttonispressed
andhelddown,the
broadcaststationscan be
tunedautomatically.
• If no sound is heard from speakers, please recheck all connections from step 2 to 5.
• When the unitis not used, turnthepower off.
When left unused for long period of time the unitshould be unplugged from the household AC outlet.
Other _I_-]
accessories
For the method of inserting the batteries, please refer to "Concerning the remote control"
in the Operating Instructions.