TechPad K13 User manual

TABLET 13.3” K13
USER MANUAL

1
Foreword
Thank you for purchasing the Tablet Tech Pad K13, we hope you enjoy using it.
Please read the instructions before operating your Tablet and keep this operation
manual. We do not assume any responsibility arising from improper handling of the
Tablet.
The content of this operation manual may be changed without prior notice.
If the configuration of your Tablet is different from that described in this operation
manual, please visit our website for the latest information.
IMPORTANT: Do not allow foreign objects or water to enter the Tablet.

2
I.Notes:
1. Please avoid dropping or shaking the tablet strongly, the screen may be damaged or work
abnormally.
2. Avoid using or inserting metallic objects to prevent it from short circuit.
3. We suggest you to backup your data especially before doing any firmware update. We are
not responsible for the loss of information or data.
4. Do not disassemble the Tablet. Do not clean any surface of the Tablet with alcohol, thinner
or benzene.
5. Do not unplug the Tablet while formatting, importing or downloading data, this may cause
error or loss of data.
6. We are not responsible for any damage caused by breakage, repair or any other reason
resulting from user's misuse. Please operate the Tablet as instructed in this user manual.
7. Prevent water or foreign objects from entering the Tablet.
8. Do not use the Tablet in extremely hot, cold, dusty or humid places.
9. Specifications are subject to change without notice.

3
II. Tablet Description:
Speaker Speaker
Front Camera
Earphone
DC socket
Microphone

4
III. Operating Instructions
1. Basic operation
1.1. On/off
Switched on:
Press and hold the on/off button for 5 seconds; The Tablet will turn on and display the
logo and then enter the working mode.
Off:
Press and hold the on/off button for 3 seconds to turn off.
Sleep mode:
When the tablet is in working mode, press and release the on/off button, the screen will
turn off and the tablet will go into sleep mode. Press the on/off button again to continue
working. You can use this function when you do not operate the tablet temporarily.
1.2. Charging
When your tablet indicates low battery please charge only with the supplied charger.
Note: To improve battery life you can charge for an additional 30 minutes after
the full battery is indicated. 1.3. Menú principal

5
Click the icon on the main interface, the main menu will appear. This includes
system settings, music playback, video playback, web browser and other applications that
you may install.
2. Settings
Click inside the main menu to enter the setting interface. Click on the settings
menu you need.

6
2.1.Date and Time Setting
Click the “Date and Time” option in the settings menu to set the date and the weather. You
can set the date, time zone, format and time, etc.

7
2.2. Brightness
Select “Display” in the settings interface. Click “Brightness Level” to enter, and slide the bar to
adjust the brightness level.

8
3. WiFi connection
Click “Settings” on the main interface and then “Connections”
Wireless & Networks” to enter the Wireless & networks settings
Click Wi-Fi to turn on Wi-Fi function. You can click “Wi-Fi settings” to set and manage
wireless access.
Click on “Network Notifications”, to search for your network among the available ones. Click
on the name of the desired network to display the settings window. You will be able to
connect to the WiFi network by following the prompts. You may need to enter the network
name and password if the network is encrypted.

9
4. Bluetooth
In the settings menu, in the Bluetooth option, slide the bar to activate,click Bluetooth settings
to adjust and manage the devices. Click “SEARCH FOR DEVICES” option, a list will open
to show nearby devices. Click on the desired device name to open the settings window.
Select the device and pair, now you can transfer pictures, movies, music, files, etc.

10
5. Install, Uninstall and Run applications
5.1 Install apps
There are several ways to install applications on AndroidTM, for example third-party
programs or applications via USB, you should follow the instructions below.
Download the APK file from your PC and click “File Manager” on
the main menu. Select the APK file you need and click it, you will enter the application
installation interface, click “Install” to install the application automatically. After installation you
will have the options to “Open” and “Finish”. Select “Open” to open the app. Select “Finish” to
exit.
5.2 Uninstall apps
You can use the application's own uninstall tools or the Tablet's uninstall function to remove
applications.
Enter the settings menu and select “Applications” find the application you want to uninstall
and select it. You will be able to see the attributes and the uninstall option.
6. Internet connection
6.1. After having established a connection via WIFI, open the browser and enter the
desired web address or search.

11
6.2. Click the icon to enter the bookmarks in the browsing history. Select the web page you
wanted to open.
6.3. To bookmark the web page, click to enter the menu and click “add” to save it.
7. Media Playback
7.1. Music playback
Click “Play Music” in the main menu to enter Audio playback interface. You can view the list
of audio files on the Tablet, select the file you want to play. Within the audio playback
interface you will have the options of PLAY/PAUSE/ FORWARD/ BACKWARD.

12
7.2. Video Playback
Click “Video” in the main menu to enter playback interface, here you will find the files on your
tablet. Click on the video name to start viewing. Touch the screen during the video to bring up
the play/pause/volume up/volume down/forward/backward navigation icons.
7. 3. View images
Click “Photos” on the main menu to enter the image library.

13
Select the folder you want and it will show you the thumbnails of your images, click on the
image of your choice.
Touch the screen to display the navigation popup icons. You can zoom in/zoom out/skip to
next image/return to previous image/rotate/delete image.
9. Camera Features
To take photos press the icon

14
To start a video recording, press the icon and when you want to finish it, press the icon
again.
10. Connect with a PC
a. To connect Tablet and computer by USB cable. (Only the first time you connect the Tablet,
it will install the necessary drivers). After a few seconds you will be able to select the device
on your PC by searching for it in the drives and folders panel. If you have the autoplay
function activated, the storage unit will open automatically
b. A USB connection notification will appear on your Tablet. Open the notification panel and

15
touch the USB connection icon.
c. A screen will be displayed with the different options to use in "USB connection" mode.
Select “Transfer Files”
d. The USB connection will be established.
10.2. SD card usage
It is able to insert a Micro SD memory card in FAT32 format.

16

17
IV. Trouble Shooting
What if the Tablet does not work normally during its operation?
• Reboot the Tablet to restore operation.
• Recharge the Tablet, doing this will reactivate the battery. Make sure you have power
before charging.
• We suggest using certified applications and updating the Operating System only by the
one indicated by Tech Pad.
What if the battery life is sometimes short ?
Battery usage time depends on temperature and usage mode. If the ambient temperature is
too high or too low, the usage time may be affected. We suggest you use the Tablet at
medium temperature. Also depending on the volume setting, screen brightness, connection
to wireless networks, background processes can decrease the time of use.

18
V. Specifications
Model K13
Screen 13.3” 1920*1080
p
ixeles IPS
OS AndroidTM 11 FULL
Storage 16GB
(
The space available to the user is less
)
Processor RockChip RK3566 Quad Core
RAM 4GB
CamEras Front 2.0MP, Rea
r
5.0MP
Wireless network WIFI 802.11 a/b/g/n/ac / Bluetooth 5.0 / NFC
Languages Multi-languages
Ports 2*micro USB, 1* mini HDMI,1* DC-in, 1* micro SD card slot
A
udio 2* s
p
eakers 8Ω
/
1W c
/
u
Temperature -20℃to 60℃
Energy AC 100~240V 50/60Hz; DC 5V/2.5
A
Battery Li-ion 10,000mAh
@
3.7V
Note: The images in this manual are for reference only.
Unit design and specifications are subject to change without notice.
Google, Android, Google Play and other marks are trademarks of Google Inc.

19
Legal Information
(1) this device may not cause harmful interference, and
(2) this device must accept any interference received, including interference that may cause
undesired operation
This device should be installed and operated with a minimum distance of 15cm between the
antenna and all persons.
This device has been tested and found to comply with the limits for a Class B digital device,
pursuant to Part 15 of the FCC Rules. These limits are designed to provide reasonable
protection against harmful interference in a residential installation. This device generates,
uses and
can radiate radio frequency energy and, if not installed and used in accordance with the
instructions, may cause harmful interference to radio communications.
However, there is no guarantee that interference will not occur in a particular installation. If
this device does cause harmful interference to radio or television reception, which can be
determined by turning the device off and on, the user is encouraged to try to correct the
interference by one or more of the following measures:
--Reorient or relocate the receiving antenna.
--Increase the separation between the device and receiver.
--Connect the device into an outlet on a circuit different from that to which the receiver is
connected.
--Consult the dealer or an experienced radio/TV technician for help
Table of contents
Popular Tablet manuals by other brands
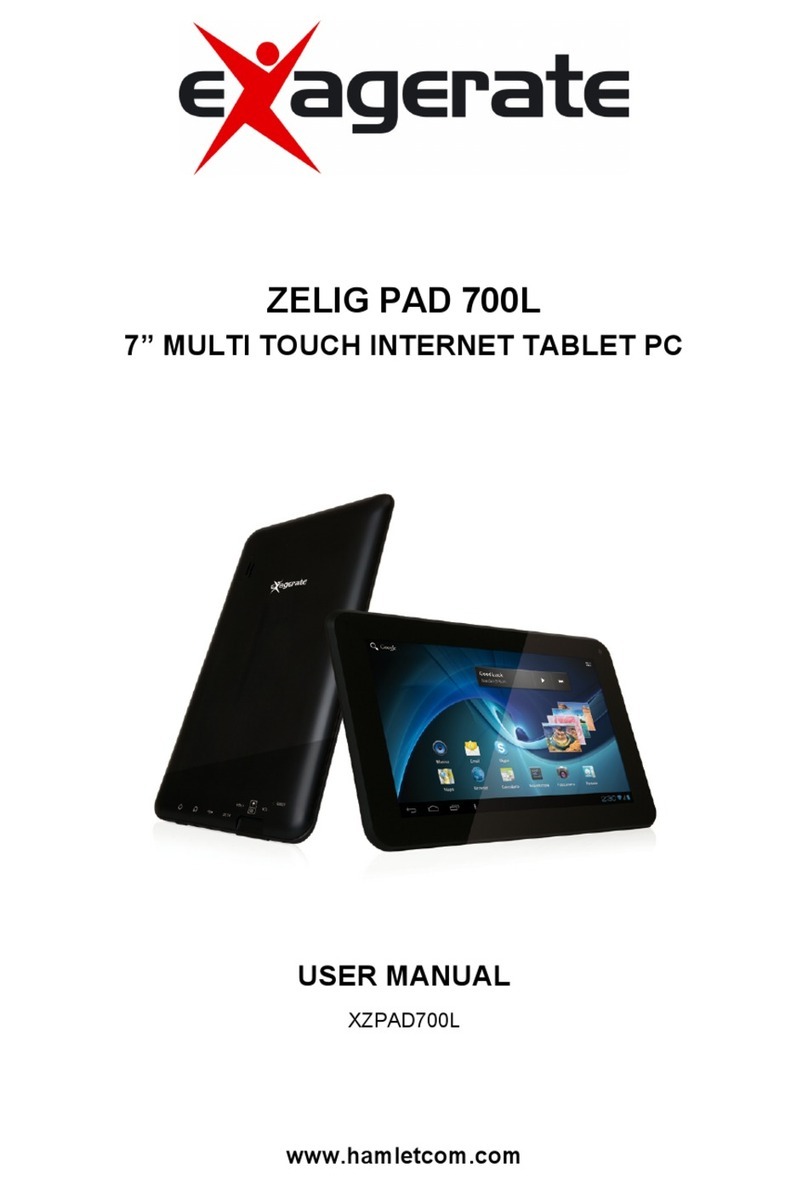
Exagerate
Exagerate ZELIG PAD 700L user manual
Elitegroup Computer Systems
Elitegroup Computer Systems TM105A user guide
Humanware
Humanware Connect PGI-400 quick start guide
Coby
Coby Kyros MID7012 quick start guide
Mattel
Mattel Nabi 2 factory reset

Lenovo
Lenovo TB-J606F Safety, warranty & quick start guide


