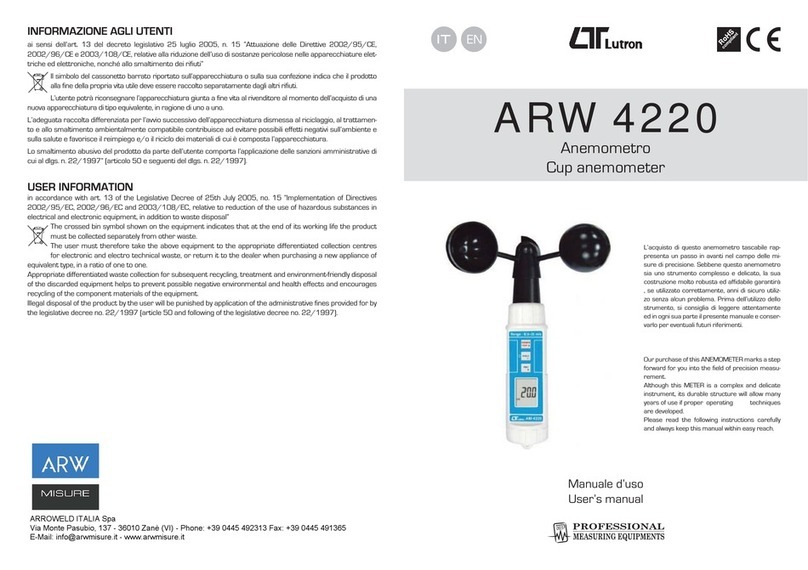
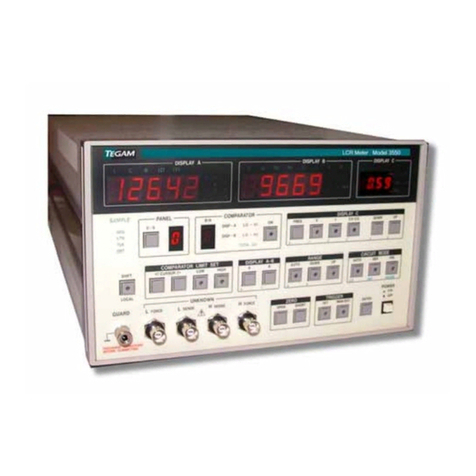
Tecnogas HT-89 User manual

Termo-igrometro
Thermo-hygrometer
Manuale OperativO |OperatiOn Manual
SKU 11580 Mod. HT-89

2TECNOGAS manuale operativo |operation manual
TECNOGAS:
LA NOSTRA ESPERIENZA
AL VOSTRO SERVIZIO
TECNOGAS:
OUR EXPERIENCE
AT YOUR SERVICE
Grazie per aver acquistato questo prodotto Tecnogas. Per
la vostra sicurezza, vi consigliamo di leggere attentamente
queste istruzioni prima dell’installazione.
Al ne di non invalidare la garanzia,
consigliamo di afdarsi a installatori
e manutentori esperti.
Thank you for buying this Tecnogas product. For your
safety, please read these instructions carefully before use.
In order not to avoid guarantee,
we strongly recommend to rely
on expert technicians and service.

TECNOGAS manuale operativo |operation manual 3
Componenti | Components
# Descrizione | Description
1Sensore umidità e temperatura | Humidity and temperature sensor
2Display LCD | LCD Display
3Tasto MAX/MIN | MAX/MIN key
4Tasto MODE | MODE key
5Tasto di accensione/spegnimento | ON/OFF key
6Vano batterie (retro) | Battery compartment (rear)
5
2
4 3
1
6

4TECNOGAS manuale operativo |operation manual
Display |Display
# Descrizione | Description
1Lettura della temperatura | Temperature measurement
2Modalità di lettura attiva | Active measurement mode
3Lettura dell’umidità | Humidity measurement
4Unità di misura dell’umidità | Humidity measurement unit
5Modalità visualizzazione minimo | Min display mode
6Modalità visualizzazione massimo | Max display mode
7Simbolo batteria quasi scarica | Low battery warning
8Promemoria spegnimento automatico | Auto shut-down reminder
3
1
2
8
6
7
5 4

TECNOGAS manuale operativo |operation manual 5
Istruzioni |Instructions
Accensione e spegnimento
|
Power on and off
1. Premere il pulsante [POWER] per accendere il termo-igrometro. Se il display non si accende, assicurarsi
che la batteria da 9V per alimentare lo strumento sia carica ed inserita correttamente.
Press the [POWER] button to turn the meter on. If the display does not switch on, check that a fresh
9V battery is installed.
2. Premere nuovamente il pulsante [POWER] per spegnere il termo-igrometro.
Press again the [POWER] button to turn the meter off.
3. Lo strumento è dotato della funzionalità di auto-spegnimento, che si aziona dopo 15 minuti di inattività
per preservare la carica della batteria.
The meter is equipped with an automatic power-off feature which will activate after 15 minutes of
inactivity, to conserve the battery load.
Misurazioni
|
Measuring
1. Posizionare la sonda nell’area da testare e attendere il tempo necessario per la stabilizzazione della
lettura.
Position the sensor in the area to be tested and wait for the time necessary to stabilize the reading.
2. Leggere la misurazione dell’umidità relativa, espressa in %RH, nella parte centrale del display LCD.
Read the relative humidity measurement, expressed in %RH, in the central part of the LCD.
3. Leggere la temperatura dell’aria, la temperatura di bulbo umido o il punto di rugiada, espressi in °C o
°F, nella parte inferiore del display.
Read the air temperature, the wet bulb temperature or the dew point, expressed in °C or °F, at the
bottom of the display.
i
Il dispositivo deve essere utilizzato esclusivamente per le misurazioni dell’aria.
Non immergere la sonda in liquidi. Non esporre il sensore a raggi solari per
periodi prolungati, evitare di toccarlo e/o manipolarlo.
The device must be used for air measurements only. Do not immerse the sensor
in liquids. Do not expose the sensor to sunlight for prolonged periods, avoid
touching it and / or manipulating it.
Modalità massimo e minimo
|
Max and min mode
1. Premere il pulsante [MAX/MIN] per variare la modalità di visualizzazione.
Press the [MAX/MIN] key to enter recording mode.
2. Premere il pulsante [MAX/MIN] per visualizzare le letture più alte (massime) registrate. Le letture
visualizzate sono le più alte misurate dal momento dell’accensione del misuratore. L’icona “MAX”
appare nella parte alta dell’LCD.
Press the [MAX/MIN] button to view the highest (max) recorded readings. The displayed readings
are the highest measured since the meter was switched on. The “MAX” icon appears at the top of
the LCD.
3. Premere nuovamente il tasto [MAX/MIN] per visualizzare le letture più basse (minime) registrate. Le
letture visualizzate sono le più basse misurate dal momento dell’accensione del misuratore. L’icona
“MIN” appare nella parte alta dell’LCD.
Press the [MAX/MIN] button again to view the lowest (min) recorded readings. The displayed readings
are the lowest measured since the meter was switched on. The “MIN” icon appears at the top of
the LCD.
4. Premere nuovamente il tasto [MAX/MIN] per uscire dalla modalità di massimo e minimo
.
Press again [MAX/MIN] key for two seconds to go back to recording mode.

6TECNOGAS manuale operativo |operation manual
Modalità di misurazione
|
Measurement mode
1. Premere il pulsante [MODE] per spostarsi tra le varie modalità di misurazione.
Press the [MODE] key to change the measurement mode.
2. Le modalità di misurazione della temperatura disponibili sono tramite l’utilizzo di °C oppure tramite
l’utilizzo di °F.
The available temperature measurement modes are by using °C or by using °F.
3. Alternativamente, è possibile selezionare le modalità di misurazione del punto di rugiada o della
temperatura del bulbo umido, tramite l’utilizzo di °C oppure °F.
Alternatively, you can select to measure the dewpoint or wet bulb temperature, using °C or °F.
4. La modalità di misurazione attualmente in uso è indicata nel display, in basso a destra:
•“°C”: tempreratura espressa in gradi Celsius;
•“°F”: tempreratura espressa in gradi Fahrenheit;
•“°C” + “Dewpoint”: punto di rugiada espresso in gradi Celsius;
•“°F” + “Dewpoint”: punto di rugiada espresso in gradi Fahrenheit;
•“°C” + “Wet Bulb”: punto di bulbo umido espresso in gradi Celsius;
•“°F” + “Wet Bulb”: punto di bulbo umido espresso in gradi Fahrenheit.
The measurement mode currently in use is shown in the lower right part of the display:
•“°C”: temperature in Celsius degrees;
•“°F”: temperature in Fahrenheit degrees;
•“°C” + “Dewpoint”: dew point in Celsius degrees;
•“°F” + “Dewpoint”: dew point in Fahrenheit degrees;
•“°C” + “Wet Bulb”: wet bulb temperature in Celsius degrees;
•“°F” + “Wet Bulb”: wet bulb temperature in Fahrenheit degrees.
Sostituzione batteria |Battery replacement
1. Spegnere il misuratore, se necessario.
Turn off the meter, if necessary.
2. Rimuovere il coperchio del vano batterie posteriore facendolo scorrere delicatamente verso il basso.
Remove the rear battery compartment cover by gently sliding it.
3. Sostituire con attenzione la batteria da 9 V.
Replace the 9 V battery carefully.
4. Posizionare attentamente i cavi rossi e neri nel vano batterie per evitare che rimangano schiacciati
durante la chiusura del coperchio.
Carefully position the red and black wires in the battery compartment to prevent them from being pinched
when closing the cover.
5. Riassemblare sempre il misuratore prima dell’uso.
Always reassemble the meter before use.
Quando la batteria da 9 V deve essere sostituita, sull’LCD compare il simbolo . Si noti che, per ottimizzare
il consumo della batteria, il misuratore si spegne automaticamente dopo 15 minuti di inattività.
Sostituire la batteria da 9 V come segue.
When the 9 V battery needs to be replaced, the symbol appears on the LCD. Note that, to optimize
battery consumption, the meter automatically shuts down after 15 minutes of inactivity. Replace the 9V battery
as explained.
i
Non smaltire mai batterie usate o ricaricabili con i normali riuti domestici. Per
evitare scosse elettriche, non azionare il misuratore nché il coperchio della
batteria non è al suo posto e ssato in modo sicuro.
Never dispose of used or rechargeable batteries with normal household waste.
To avoid electrical shock, do not operate the meter until the battery cover is in
place and secured securely.

TECNOGAS manuale operativo |operation manual 7
Specifiche tecniche |Technical specifications
Parametro | Parameter Valore | Value
Ambiente di stoccaggio | Storage environment -20 °C ~ 60°C < 80% RH
Ambiente di lavoro | Working environment -20 °C ~ 60°C
Intervallo di misurazione temperatura
Temperature measurement range
-30 °C ~ 60°C
-22 °F ~ 140 °F
Intervallo di misurazione umidità
Humidity measurement range 0 ~ 100% RH
Intervallo di misurazione punto di rugiada
Dew point measurement range
-50 °C ~ 60 °C
-58 °F ~ 140 °F
Intervallo di misurazione temperatura bulbo umido
Wet bulb temperature measurement range
-20 °C ~ 60 °C
-4 °F ~ 140 °F
Precisione temperatura | Temperature accuracy ± 1,5 °C (± 3 °F)
Precisione umidità | Humidity accuracy ± 3% RH (10% ~ 90% RH)
Risoluzione | Resolution 0,1% RH 0,1 °C 0,1 °F
Tempo di risposta | Response time 10s
Tipo di batteria | Battery type 6F22 9V
Consumo | Consumption 3mA
Dimensioni | Dimensions 175mm (A | H) • 58mm (L | W) • 35mm (P | D)
Peso | Weight 143g
Spegnimento automatico | Auto shutdown ≈ 15min
Manutenzione |Mainteinance
1. Solo alloggiamento misuratore: pulire con un panno umido e, se necessario, con un detergente delicato.
Non usare solventi o abrasivi.
Meter housing only: clean with a damp cloth and, if necessary, with a mild detergent. Do not use
solvents or abrasives.
2. Non tentare di introdurre liquidi all’interno dei fori di accesso alla sonda durante la pulizia. La testina
della sonda può essere pulita con un panno asciutto e privo di lanuggine per liberare le aperture da
polvere e detriti.
Do not attempt to introduce liquids into the probe access holes during cleaning. There
probe head can be cleaned with a dry, lint-free cloth to release
the openings from dust and debris.
3. Conservare il misuratore in una zona a temperatura e umidità moderate.
Store the meter in an area with moderate temperature and humidity.

This manual suits for next models
1
Table of contents
Other Tecnogas Measuring Instrument manuals

