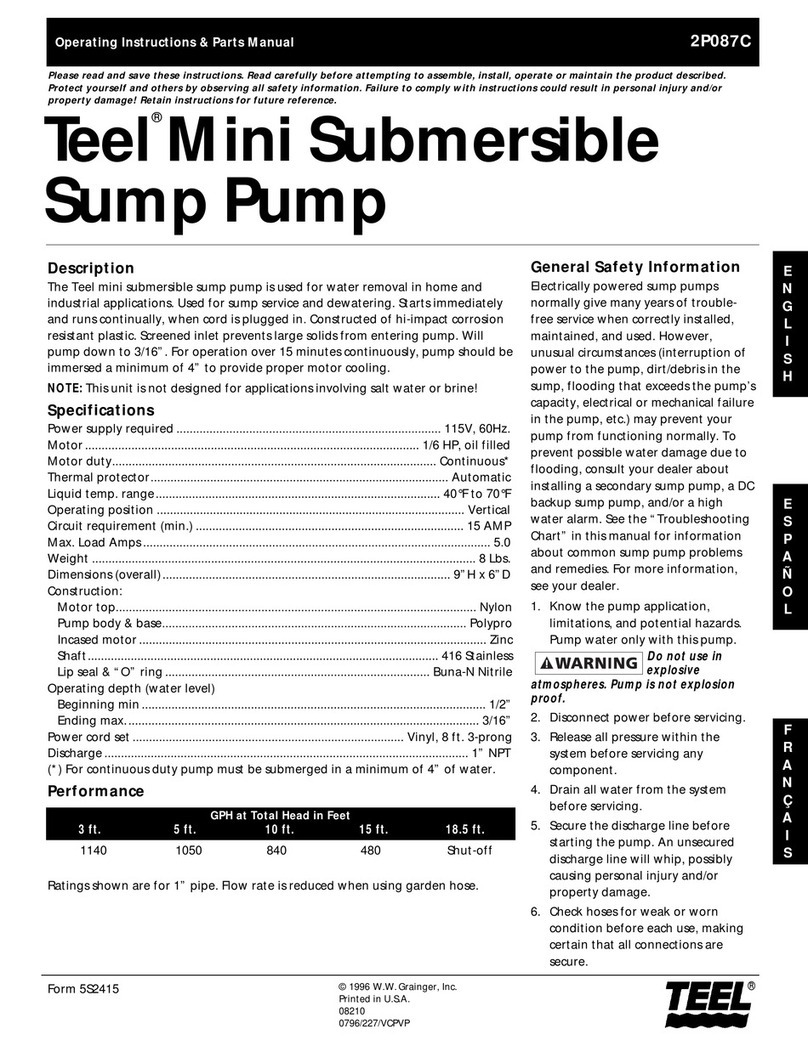
General Safety Information
(Continued)
Secure discharge line before starting
pump. An unsecured discharge line will
whip, possibly causing personal injury
and/or property damage.
Check hoses for weak or worn condition
before each use, making certain that all
connections are secure.
Periodically inspect sump pump and
system components. Keep free of debris
and foreign objects. Perform routine
maintenance as required.
Provide means of pressure relief for
pumps whose discharge line can be
shut-off or obstructed.
Personal Safety:
1. Wear safety glasses at all times when
working with pumps.
2. Keep work area clean, uncluttered
and properly lighted – replace all
unused tools and equipment.
3. Keep visitors at a safe distance from
work area.
4. Make workshop child-proof – with
padlocks, master switches, and by
removing starter keys.
When wiring an electrically driven
pump, follow all electrical and safety
codes that apply.
This equipment is only for use on
115 volt (single phase) and is
equipped with an approved
3-conductor cord and 3-prong,
grounding-type plug. Where a
2-prong wall receptacle is
encountered, it must be replaced
with properly grounded 3-prong
receptacle installed in accordance
with codes and ordinances that
apply.
To reduce risk of
electric shock, pull
plug before servicing. This pump has not
been investigated for use in swimming
pool areas. Pump is supplied with a
grounding conductor and grounding-type
attachment plug. Be sure it is connected
only to a properly grounded grounding-
type receptacle.
All wiring should be performed by a
qualified electrician.
Make certain power source conforms to
requirements of your equipment.
Protect electrical cord from sharp
objects, hot surfaces, oil, and chemicals.
Avoid kinking cord. Replace or repair
damaged or worn cords immediately.
Do not touch an operating motor.
Modern motors are designed to operate
at high temperatures.
Do not handle pump or pump motor
with wet hands or when standing on
wet or damp surface, or in water.
Risk of electric
shock. If your
basement has water or moisture on floor,
do not walk on wet area until all power
has been turned OFF. If shut-off box is in
basement, call electric company or hydro
authority to shut-off service to house, or
call your local fire department for
instructions. Remove pump and repair or
replace. Failure to follow this warning can
result in fatal electrical shock.
Installation
SUMP PUMP INSTALLATION
1. Install pump in sump pit with
minimum diameter of 14" (356mm)
for tethered float switch models.
Sump depth should be 14" minimum
(356mm). Construct sump pit of tile,
concrete, steel, or plastic. Check local
codes for approved materials.
2. Install pump in pit so that switch
operating mechanism has maximum
possible clearance.
3. Pump should not be installed on clay,
earth, or sand surfaces. Clean sump
pit of small stones and gravel which
could clog pump. Keep pump inlet
screen clear.
NOTE: Do not use ordinary pipe joint
compound on plastic pipe. Pipe joint
compound can attack plastics.
4. Install discharge plumbing. When
using rigid pipe, use plastic pipe.
Wrap thread with Teflon tape or use
Plasto Joint Stik1. Screw pipe into
pump hand tight +1 – 11⁄2turns.
Risk of flooding. If a
flexible discharge
hose is used, make sure pump is secured
in sump to prevent movement. Failure to
secure pump may allow pump movement,
switch interference, and prevent pump
from starting or stopping.
5. To reduce motor noise and
vibrations, a short length of rubber
hose (17⁄8" (47.6mm) I.D., e.g. radiator
hose) can be connected into
discharge line near pump using
suitable clamps.
6. Install an in-line check valve to
prevent flow backwards through
pump when pump shuts off.
1Lake Chemical Co., Chicago, Illinois
2
Teel Operating Instructions and Parts Manual 4RJ19, 4RJ20, 4RJ21, 4RJ22 and 4RJ23
Teel Residential
Submersible Sump Pumps
®
E
N
G
L
I
S
H
Performance Chart
4RJ19 45.8 29.2 12.5 – – 18
4RJ20 45.8 29.2 12.5 – – 18
4RJ21 54.2 41.7 25.8 15.0 – 23
4RJ22 54.2 41.7 25.8 15.0 – 23
4RJ23 62.0 53.0 46.0 42.0 32.0 32
GPM of Water at Total Feet of Head Shut
Model 5’ 10’ 15’ 18’ 23’ Off


