Tehnologistic train-O-matic Shine Midi Ana 02 WW User manual

Shine Midi Ana 02 WW
Shine Midi Ana 02 CW
User Manual
- version 0.0.3 –
by

Shine Midi Ana 02
User Manual
Version
0.0.3
Page 2 of 8
© Copyright 2013 Tehnologistic SRL
All rights reserved
No part of this publication may be reproduced or transmitted in any
form or by any means, electronic or mechanical, including
photocopying, without the written permission of
SC Tehnologistic SRL
Subject to technical modification
Please read this manual carefully before carrying out the
installation!!! Although our products are very robust, incorrect
wiring may destroy the module!
During the operation of the device the specified technical parameters
shall always be met. At the installation the environment shall be fully
taken into consideration. The device must not be exposed to moisture
and direct sunshine.
A soldering tool may be necessary for the installation and/or
mounting of the devices, which requires special care.
During the installation it shall be ensured that the bottom of the
device should not contact with a conductive (e.g. metal) surface!
Content
1. Features .......................................................................................3
2. Package Content..........................................................................3
3. Tehnical parameters ....................................................................3
4. Cutting to size..............................................................................4
5. Installation and connection..........................................................4
6. Connecting the anti-flickering capacitor.....................................6
7. Advanced features.......................................................................7

Shine Midi Ana 02
User Manual
Version
0.0.3
Page 3 of 8
1. Features
- 9 low current high brightness white LED lighting module
- suitable for carriage, platforms or buildings interior lighting.
- the module is usable connected to DC/DCC
- external AC/ DC power supply operation also possible
- user adjustable length in 2 aditional steps, max 210 min 190 mm.
Available versions:
Shine Midi Ana 02 Cool White ordercode tOm 02070304
Shine Midi Ana 02 Warm White order code tOm 02070305
2. Package Content
The Shine Midi Ana lighting modules are supplied in transparent
plastic bags or blister packs. Check when unpacking the product if
the following parts are present: 1 x Shine Midi Ana 02 (Cool White
or Warm White), 2x 220uF/25V capacitors.
3. Tehnical parameters
- 9 LEDs
- Size LxWxH: 210 mm x 11mm x 3mm
- Maximum current consumption @16Vdc max 40mA
- supply voltage : 6-24 Vdc
4-16 Vac

Shine Midi Ana 02
User Manual
Version
0.0.3
Page 4 of 8
4. Cutting to size
The operation can be performed at the points
indicated in the below illustration. Care shall
be taken to not damage the circuit. Use a cutting
plier and straight, firm movements for cutting.
Clean the debris at the edges of the pcb after
the cutting, to avoid short circuits.
5. Installation and connection
1
2
3
2
1

Shine Midi Ana 02
User Manual
Version
0.0.3
Page 5 of 8
The connections marked with 1and 2have to be connected to the
DC/DCC track voltage through the use of the current pickups of the
carriages. The connections are available at both end of the module.
Please use the round solder pad marked with 3at the right
end of the module as a reference for identification of the
correct connections.
In case of DC operations, the terminals of the Shine Midi Ana 02
module can be wired directly or through a switch to a power supply.
Since the Shine Midi Ana 02 has an internal bridge rectifier,
in both connection modes (DC/DCC or power supply
connection) the connections marked with 1and 2 can be
interchanged, the polarity of the applied voltage doesn’t matter. The
usage of an AC power supply is also possible.
DC (AC)
Power
Supply
+
-
Shine Midi Ana
Connection points
switch
DC/DCC
1
2
Shine Midi Ana
Connection points
1
2

Shine Midi Ana 02
User Manual
Version
0.0.3
Page 6 of 8
+
6. Connecting the anti-flickering capacitor
On both ends of the module, there are available several connections
for the anti-flickering capacitors. Please solder the supplied
capacitors in the proper position.
The capacitors are polarized electronic devices. Please respect
the polarity as indicated! Soldering the capacitors with wrong
polarity can damage the module, or/and the capacitors!
The positive terminal of the capacitor has to be
connected to any of the connections marked with
while the negative terminal to the connection points
marked with
The module can be fixed to the ceiling of the
carriage frame by double-sided adhesive tape, or
can be holded in place with the help of the Shine
Pastic Supports (PS Shine, p/n: tOm 05090102).
+
+
+
+
+
+
+
+
-
-
-
-
-
-
-
-
+
-
Left
End
Right
End
-
3

Shine Midi Ana 02
User Manual
Version
0.0.3
Page 7 of 8
7. Advanced features
The PCB layout of the Shine Midi Ana 02 module allows the
repositioning of the LEDs which results in a better fit in the
carriages. The LEDs can be shifted left and right in several positions
with a ~ 3 mm pitch, as illustrated below.
For the soldering operations a proper soldering station and
soldering skills are required. Incorect soldering can damage or
destroy the module. We recommend these operations only for
advanced users!
The LEDs are polarized electronic devices, please do not
change their polarity during the repositioning!
Factory default position
Alternate positions

Shine Midi Ana 02
User Manual
Version
0.0.3
Page 8 of 8
Copyright © 2013 Tehnologistic SRL
All rights reserved
The information in this document is subject to change without
notice
“train-O-matic” and the logo are registered
trademarks of SC Tehnologistic SRL
www.train-o-matic.com
www.tehnologistic.ro
Tehnologistic SRL
Str. Libertatii Nr. 35A
407035 Apahida, Cluj
Romania
Tel +40-264-556454
Fax +40-264-441275
This manual suits for next models
1
Table of contents
Popular Computer Hardware manuals by other brands

Gigabyte
Gigabyte NVIDIA N730D5-2GL user manual
ekwb
ekwb EK-Quantum Vector2 Trio RTX 3080/90 ABP Set... user guide

DayStar
DayStar Turbo 601 user manual

LGX
LGX Extended Temperature AU910 user manual
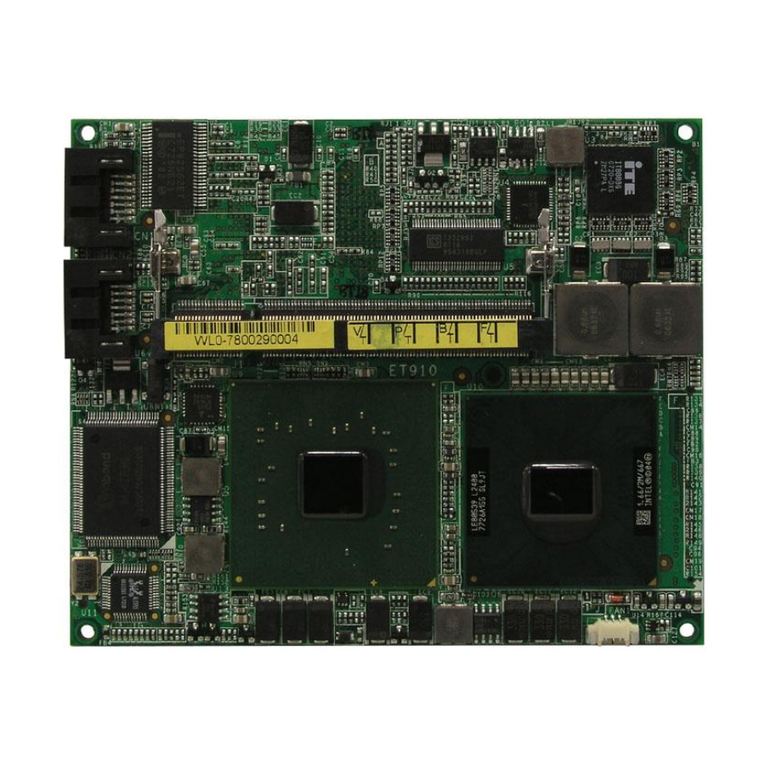
IBASE Technology
IBASE Technology ET910 user manual
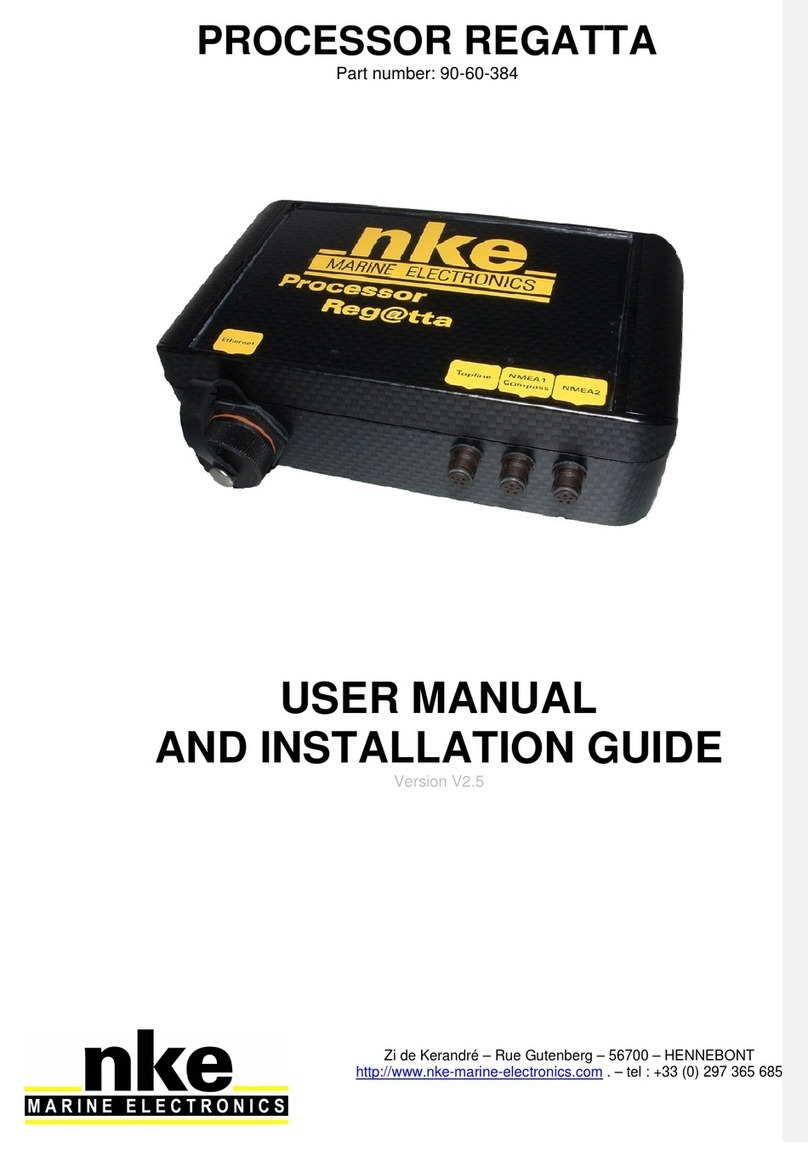
NKE
NKE PROCESSOR REGATTA User manual and installation guide
