Telecom P160S Instruction manual

P160S SIP Phone
Quick User Guide
Version 2.2

TABLE OF CONTENTS
1.0 INTRODUCTION............................................................................................................. 1
2.0 PACKAGE CONTENT.................................................................................................... 1
3.0 LIST OF FIGURES .......................................................................................................... 2
4.0 SUMMARY OF KEY FUNCTIONS .............................................................................. 3
5.0 CONNECTING THE IP PHONE ................................................................................... 4
6.0 IP PHONE SETUP ........................................................................................................... 5
6.1 MENU SUMMARY............................................................................................................. 5
6.2 DISPLAY NAME................................................................................................................ 7
6.3 ADSL DIALUP ................................................................................................................. 7
6.4 DHCP (DYNAMIC HOST CONFIGURATION PROTOCOL).................................................... 8
6.5 SNTP SERVER IP ........................................................................................................... 10
6.6 DO NOT DISTURB .......................................................................................................... 10
6.7 CF (CALL FORWARD)UNCONDITIONAL ......................................................................... 11
6.8 CF (CALL FORWARD)USER BUSY .................................................................................. 11
6.9 CF (CALL FORWARD)NO ANSWER................................................................................. 11
6.10 ANONYMOUS CALL........................................................................................................ 12
6.11 ANONY CALL REJ (ANONYMOUS CALL REJECTION)...................................................... 12
6.12 RINGING TYPE ............................................................................................................... 12
6.13 MAC ADDRESS.............................................................................................................. 13
6.14 VERSION ........................................................................................................................ 13
6.15 LANGUAGE SELECTION .................................................................................................. 14
6.16 TIME FORMAT ................................................................................................................ 14
6.17 VOLUME ADJUSTMENT .................................................................................................. 14
6.17.1 Ringer Volume ...................................................................................................... 14
6.17.2 Speaker Volume .................................................................................................... 15
6.17.3 Handset Volume.................................................................................................... 15
7.0 USING THE CONFIGURATION MENU ................................................................... 16
7.1 ACCESSING CONFIGURATION MENU .............................................................................. 16
7.2 WEB LOGIN SETTING ..................................................................................................... 16
7.3 MANAGEMENT SETTING –RESTORE FACTORY SETTING................................................ 17
7.4 MANAGEMENT SETTING –FIRMWARE UPDATE .............................................................. 18
7.5 NETWORK SETTING –DHCP ......................................................................................... 18
7.6 NETWORK SETTING –PPPOE......................................................................................... 19
7.7 NETWORK SETTING –STATIC IP .................................................................................... 19
7.8 SIP SETTING –SIP PHONE SETTING,REGISTRAR AND OUTBOUND PROXY SERVER....... 20
7.9 SIP SETTING –OTHERS.................................................................................................. 21
7.10 SIP ACCOUNT SETTINGS................................................................................................ 22
7.11 STUN SETTING –STUN SERVER SETTING,UPNPSETTING .......................................... 23
7.12 VOICE SETTING AND QOS .............................................................................................. 24

7.13 PHONE SETTINGS –PHONE SETTING .............................................................................. 25
7.14 PHONE SETTING –TIMER ............................................................................................... 26
7.15 CALL TRACING LOG....................................................................................................... 27
7.16 PHONE BOOK ................................................................................................................. 27
7.17 SPEED DIAL ................................................................................................................... 28
7.18 RESTART SYSTEM .......................................................................................................... 29
8.0 OPERATING THE PHONE.......................................................................................... 30
8.1 DIALING......................................................................................................................... 30
8.1.1 IP Address............................................................................................................. 30
8.1.2 SIP Number........................................................................................................... 30
8.2 SPEED DIALING.............................................................................................................. 31
8.3 ANSWERING A PHONE CALL .......................................................................................... 31
8.4 SWITCHING TO ANOTHER LINE ...................................................................................... 31
8.5 MUTE............................................................................................................................. 31
8.6 CALL TRANSFER ............................................................................................................ 32
8.7 REDIAL .......................................................................................................................... 32
8.7.1 Last Dialed Number.............................................................................................. 32
8.7.2 Through Call History............................................................................................ 32
8.8 ON HOLD ....................................................................................................................... 33
8.9 CALL FORWARD............................................................................................................. 33
8.10 THREE WAY CONFERENCE............................................................................................. 33
9.0 USING THE PHONEBOOK ......................................................................................... 34
9.1 DIALING FROM THE PHONEBOOK ................................................................................... 34
9.2 STORING A NUMBER ...................................................................................................... 34
9.3 EDITING A NUMBER ....................................................................................................... 35
9.4 DELETING A NUMBER .................................................................................................... 35
10.0 TROUBLESHOOTING ................................................................................................. 36

1
1.0 INTRODUCTION
Voice over IP (also known as Internet Phone) is a technology that allows anyone to make a
telephone call over the Internet. This is a quick user guide for the P160S SIP Phone. It is
intended to help you configure the telephone and have it ready to run within a few minutes.
Please follow the user guide carefully as troubleshooting the telephone can be very difficult and
time consuming.
2.0 PACKAGE CONTENT
The following materials are included in the package. Please check the package to ensure that all
the materials are listed below. Contact your supplier immediately if an item is missing.
IP Phone (Model: P160S) Power Adaptor (5V DC)
Ethernet Cable (1.8 metre)

2
3.0 LIST OF FIGURES
Diagram for ACT IP Phone (Model: P160S)
(6) Redial/Call History
(7) Hold
(5) Transfer
(4) Mute/Function
(16) Numeric
Keypad
(1) 2 x 16 Characters
LCD Display
(14) 3-Way
Conference
(13) Voice Message
(2) OK / Right
(12) Cancel / Left
(15) Phone Book
(3) Menu
(8) Speaker Phone
(9) Speaker Phone
Indicator
(11) Up
(10) Down

3
4.0 SUMMARY OF KEY FUNCTIONS
Keys Functions
(1) LCD Display Displays menu, time, clock, name, phone number, call status
(2) OK/Right Confirm setting change, exit menu, dial, save changes
(3) Menu Access the phone menu
(4) Mute/Function Disable user’s microphone so that the person on the other line
can not hear anything, access the language selection, access the
time format
(5) Transfer Transfer the person you are currently having a conversation to
another line
(6) Redial/Call History Redial last dialed number, access redial menu
(7) Hold Place the person on the other line on hold, answer call waiting
(8) Speaker Phone Enable user to use the phone without using the handset
(9) Speaker Phone Indicator Indicates that phone is currently in speaker phone mode
(10) Down Cycle through the phone menu, adjust volume
(11) Up Cycle through the phone menu, adjust volume
(12) Cancel/Left Deny changes, cancel phone calls, ignore phone calls,
backspace
(13) Voice Message Check voice message
(14) 3-Way Conference Enable 3-way conference
(15) Phonebook Access the phonebook
(16) Numeric Keypad Input IP/phone number/alphabet characters
4
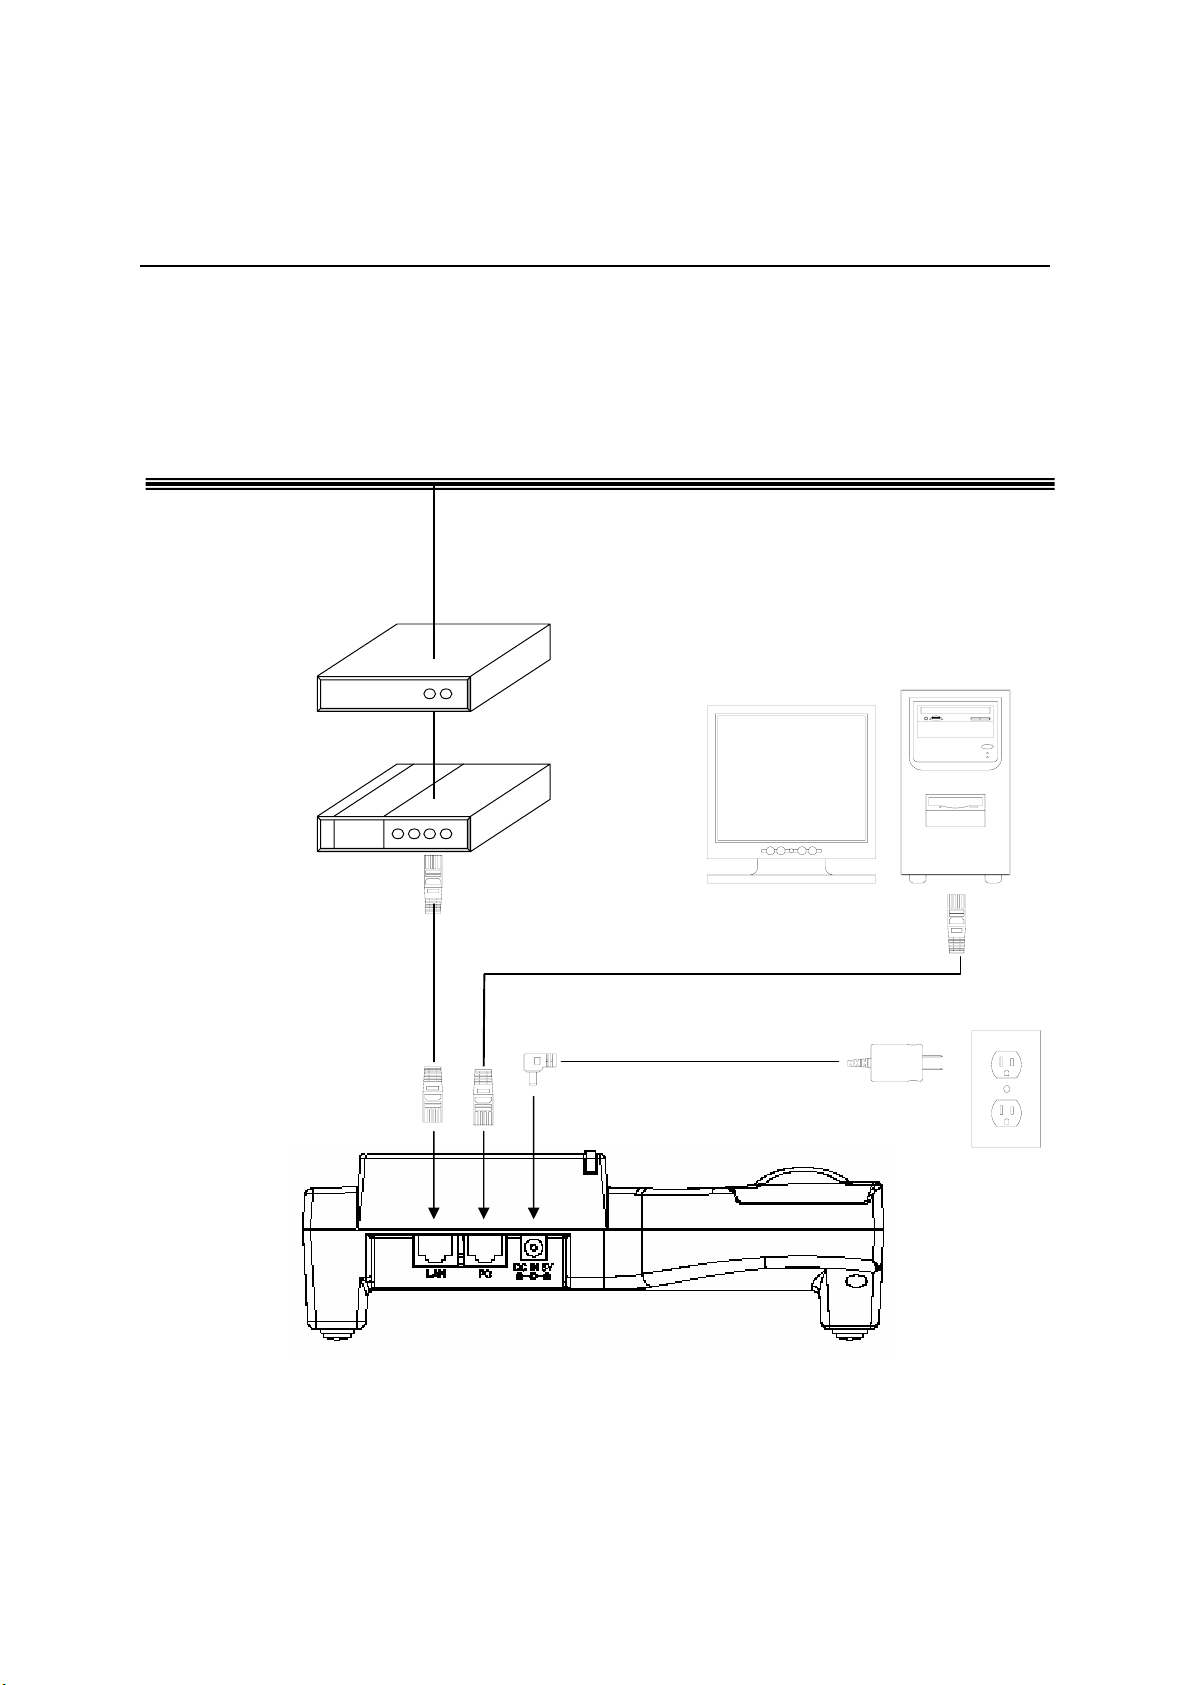
5.0 CONNECTING THE IP PHONE
Connect the IP Phone as the following diagram:
Wide Area Network / Internet
Cable/xDSL Modem
Power Adapter
Router/HUB
Ethernet Cable
Ethernet Cable

5
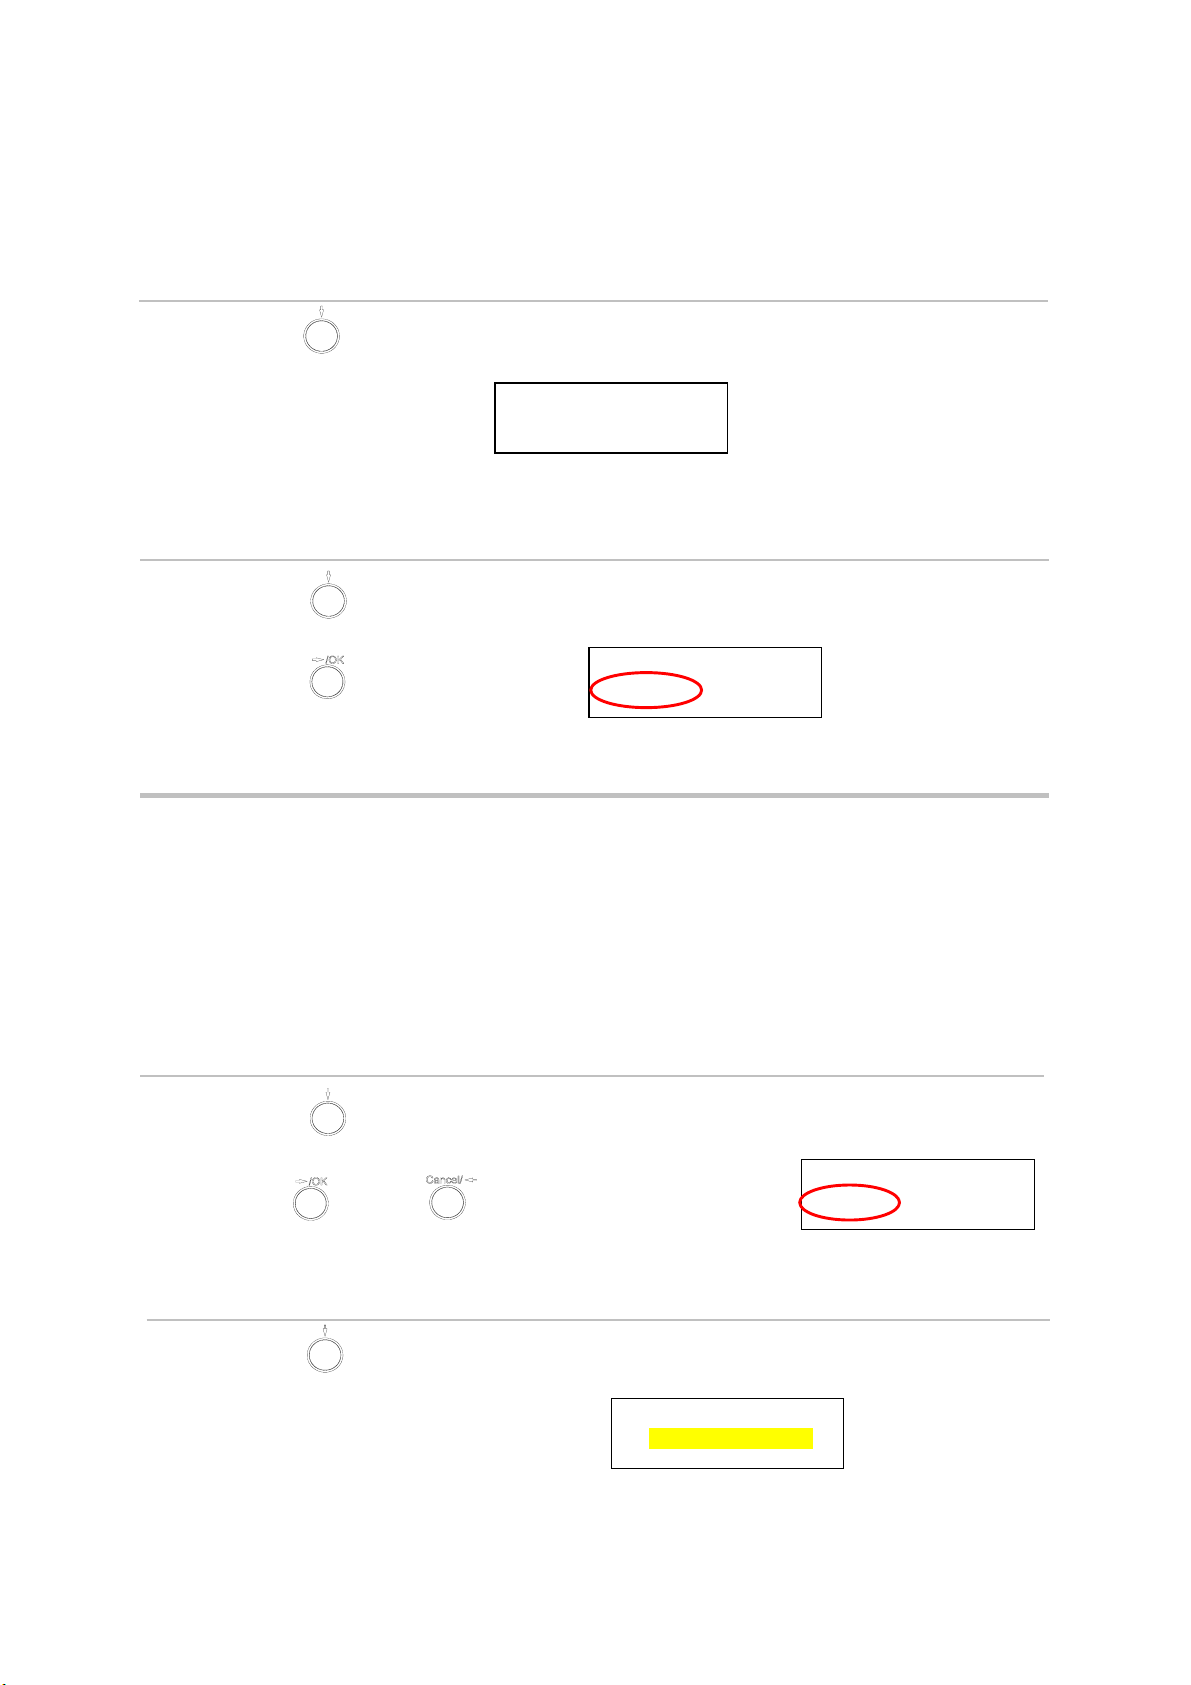
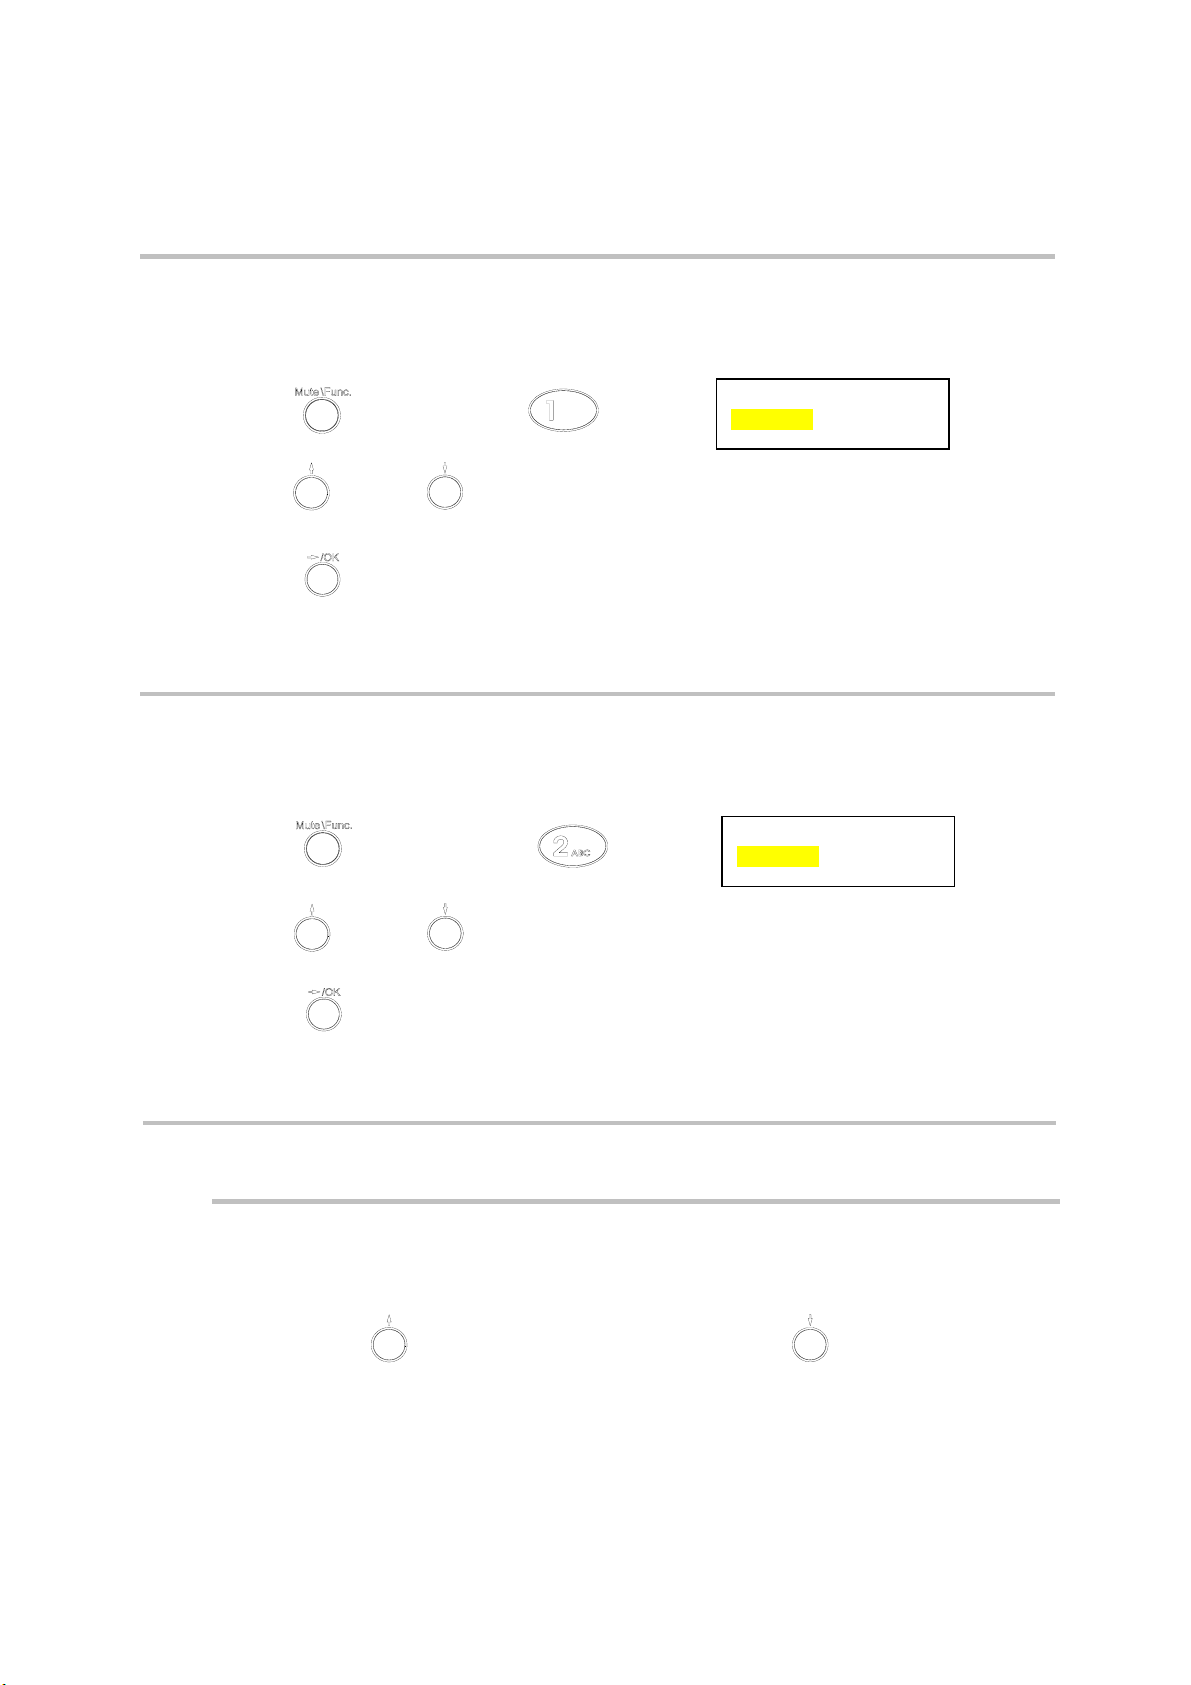
6.0 IP PHONE SETUP
6.1 Menu Summary
Enable Disable
DisableEnable
Press the MENU key
Display Name:
kevin
ADSL DIALUP:
ENABLE/DISABLE
ADSL DIALUP:
ENABLE
ADSL DIALUP:
DISABLE
ADSL ID:
mike_2004
ADSL Password:
********
DHCP:
ENABLE/DISABLE
IP Address:
AUTO
IP Address:
061.063.083.254
Subnet Mask:
AUTO
Router IP:
AUTO
Subnet Mask:
255.255.254.000
Router IP:
061.063.083.254
SNTP Server IP:
216.133.140.77
SNTP Cycle:
01
ENABLE/DISABLE – select
enable or disable
AUTO – IP address given by
the router or ISP

6
Do Not Disturb:
ENABLE/DISABLE
CF Unconditional:
ENABLE/DISABLE
CF User Busy:
ENABLE/DISABLE
CF No Answer:
ENABLE/DISABLE
Anonymous Call:
ENABLE/DISABLE
Anony Call Rej:
ENABLE/DISABLE
Ring Type:
Ringing1/2/3/4
MAC Address:
00D0E90137DB
Version:
V: 02.08
Press the MENU key
UPDATE CHANGES?
<OK> OR <CANCEL>
Ringing1/2/3/4 - select
ringing1, 2, 3 or 4

7
NOTE 1: If you made any modifications, you may quit setup at any time by pressing MENU +
OK to save and exit or MENU + CANCEL to quit without saving. The phone will automatically
exit from the menu screen if there are no inputs from the user.
NOTE 2: Use or to select ENABLE or DISABLE.
NOTE 3: Left arrow key can be used as Backspace key.
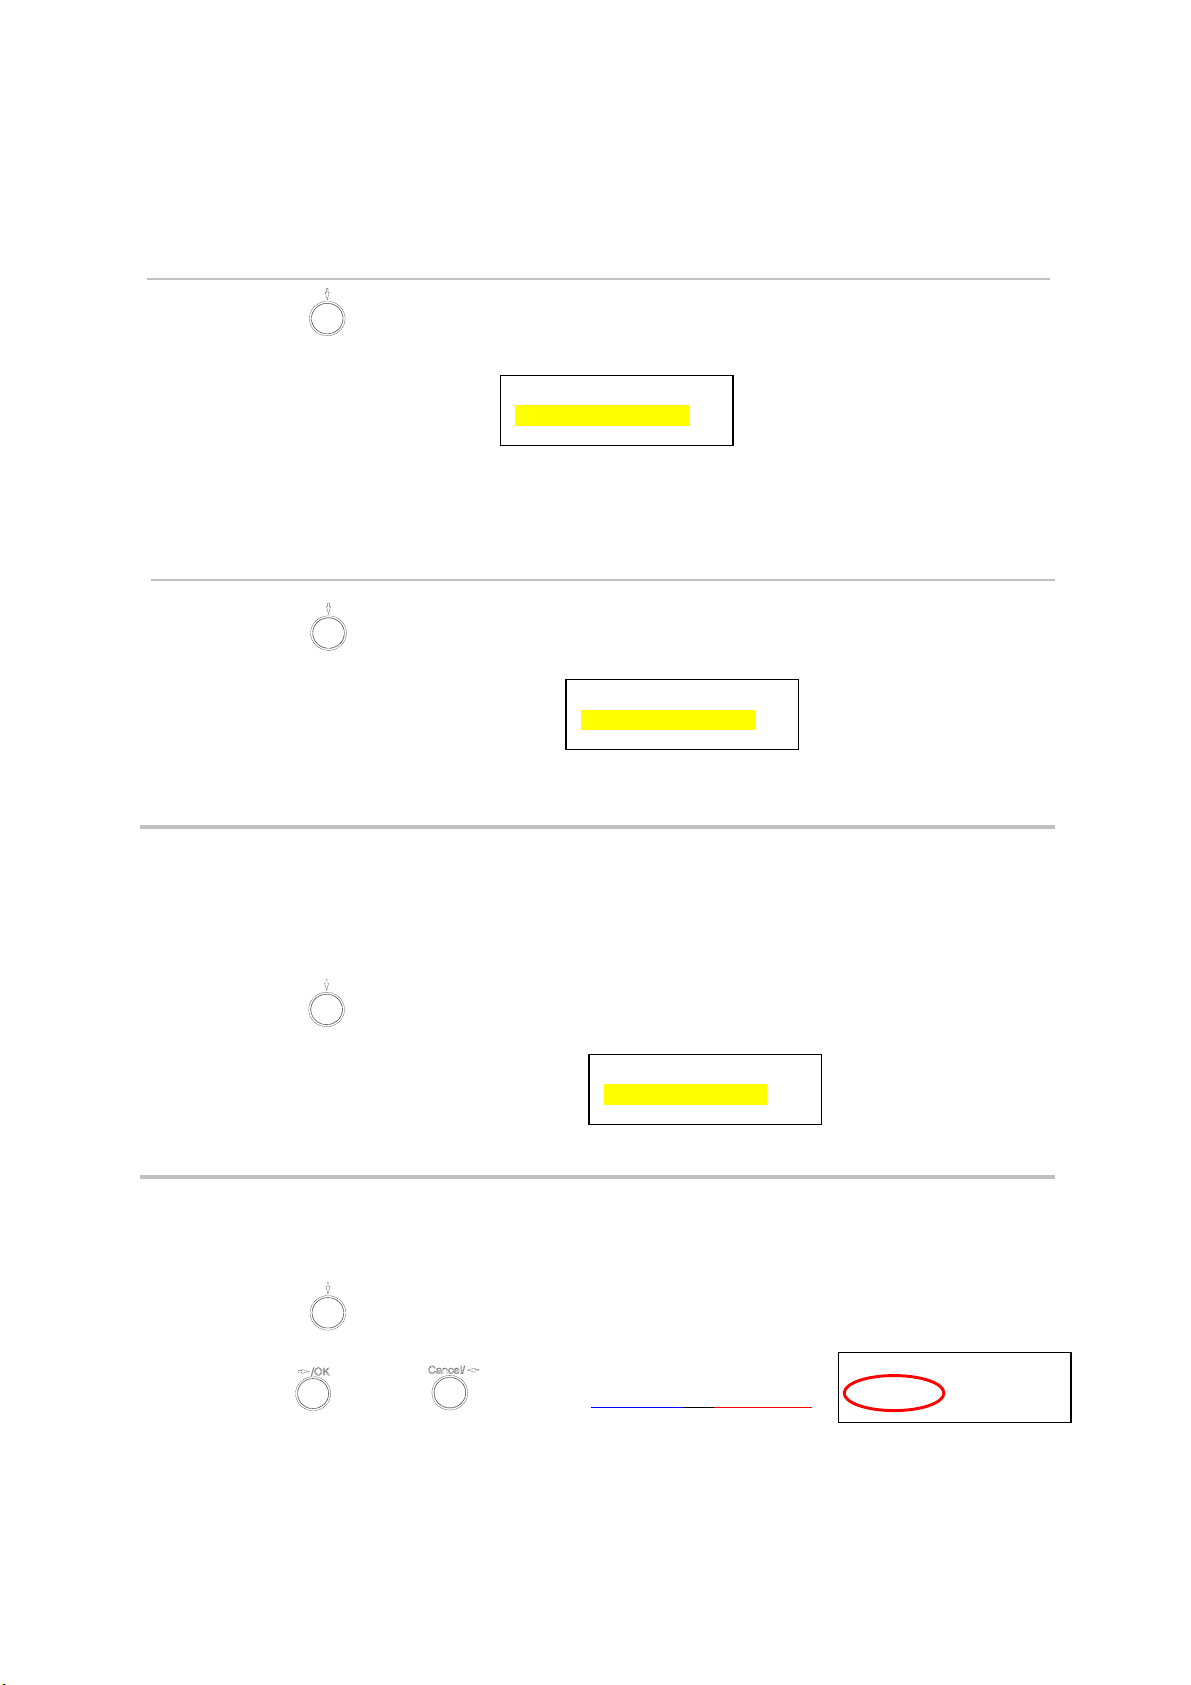
6.2 Display Name
6.3 ADSL Dialup
Some Internet Service Provider (mostly ADSL) uses PPPoE which requires that the user enter an
ID and a password to access the Internet. In this case, enable ADSL DIALUP and enter the
PPPoE ID and PPPoE password.
ENABLE ADSL Dialup
1
2
•Press
•Enter the display name Display Name:
kevin
•Press
•Use to select ENABLE
•Press
•Enter the ADSL ID
MENU
ADSL ID:
My_ID
ADSL DIALUP:
ENABLE
8
3
DISABLE ADSL Dialup
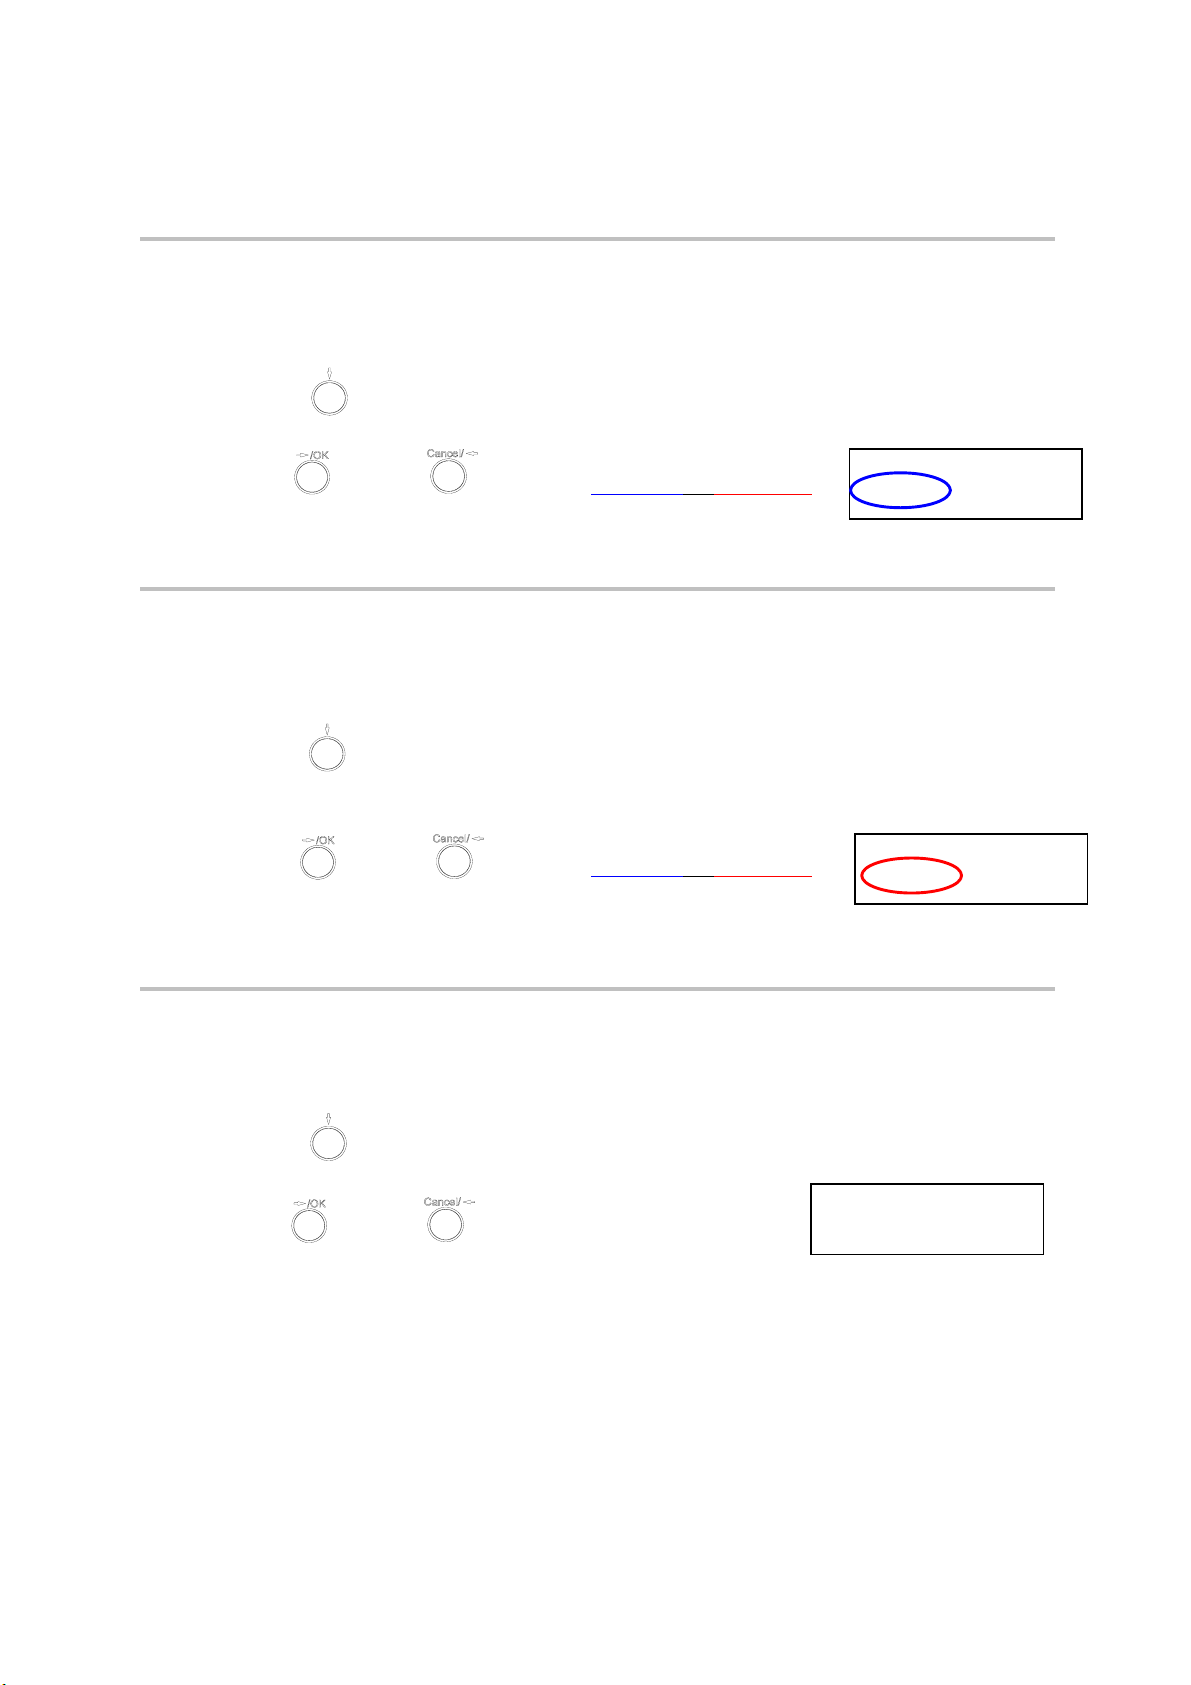
6.4 DHCP (Dynamic Host Configuration Protocol)
DHCP allows the network administrator to distribute IP addresses when a computer is plugged
into a different place in the network. If your ISP provides static IP address, you must disable
DHCP and enter the IP address provided.
ENABLE DHCP
1
2
•Press
•Enter ADSL password
•Press
•Press to select DISABLE
•Press
•Use or to set DHCP to ENABLE
•Press
•IP address automatically acquired
ADSL Password:
*******
ADSL DIALUP:
DISABLE
DHCP:
ENABLE
IP Address:
61. 63. 83. 96

9
3
4
DISABLE DHCP
1
2
•Press
•Subnet mask automatically acquired Subnet Mask:
255.255.254. 0
•Press
•Use or to set DHCP to DISABLE
•Press
•Enter the IP address
•Press
•Router IP automatically acquired
Router IP:
61. 63. 83.254
DHCP:
DISABLE
IP Address:
061.063.083.019
10
3
4
6.5 SNTP Server IP
Simple Network Time Protocol (SNTP) is a protocol used to help match your system clock with
an accurate time source. If you do not know your SNTP Server IP, please ignore this section.
SNTP Server IP address can be either URL or IP.
6.6 Do Not Disturb
This setting allows the user to reject all incoming phone calls.
•Press
•Enter the subnet mask
•Press
•Enter the router IP address
•Press
•Enter SNTP server IP or URL
•Press
•Use or to select ENABLE or DISABLE
Subnet Mask:
255.255.254.000
Router IP:
061.063.088.019
SNTP Server IP:
216.133.140.78
Do Not Disturb:
DISABLE

11
6.7 CF (call forward) Unconditional
Enable CF Unconditional to forward all the incoming calls to another number. Otherwise set to
disable. You will need to use a web-browser to input the forwarded phone number. Refer to
section 7.0 for more information on call forwarding.
6.8 CF (call forward) User Busy
Forward all the incoming calls to another number when user is busy on the phone.
6.9 CF (call forward) No Answer
Forward all incoming calls to another phone number after a certain number of rings.
•Press
•Use or to select ENABLE or DISABLE
•Press
•Use or to select ENABLE or DISABLE
•Press
•Use or to select ENABLE or DISABLE
CF Unconditional:
DISABLE
CF User Busy:
DISABLE
CF No Answer:
ENABLE
12
6.10 Anonymous Call
Enables the caller (user) to hide the name and phone number from the receiver.
6.11 Anony Call Rej (Anonymous Call Rejection)
Reject any anonymous incoming calls.
6.12 Ringing Type
Select the ring tone. There are four ring tones in total.
•Press
•Use or to select ENABLE or DISABLE
•Press
•Use or to select ENABLE or DISABLE
•Press
•Use or to select the ring type
Anonymous Call:
ENABLE
Anony Call Rej:
DISABLE
Ringing Type:
Ringing4

13
NOTE: At this point, you may save the settings and exit. The next two sections explain how to
obtain the MAC address and firmware version.
6.13 MAC Address
This menu displays the MAC address. User cannot modify MAC address.
6.14 Version
Version menu displays the firmware version. You cannot modify the version number.
•Press
•MAC address is displayed on the screen
•Press
•Firmware version is displayed on screen
MAC Address:
00D0E9017DB
•Press to exit menu
•When asked to save or cancel, press to SAVE
Version:
V: 02.08
MENU
14
6.15 Language Selection
The VoIP Phone (model no. P160S) supports two languages: Japanese and English.
6.16 Time Format
You may select the 12hr or 24hr time format.
6.17 Volume Adjustment
6.17.1 Ringer Volume
While the handset is in place,
•Press to increase the ringer volume and to decrease the
ringer volume
•Press followed by
•Use or to select the preferred language
•Press when done
Language:
English
•Press followed by
•Use or to select the time format
•Press when done
Time Format:
24Hours

15
6.17.2 Speaker Volume
While the handset is in place,
•Press
•Press to increase the speaker volume and to decrease the
speaker volume
6.17.3 Handset Volume
•Pick up the handset and press to increase the volume or press
to decrease the volume

16
7.0 USING THE CONFIGURATION MENU
The configuration menu can be accessed using a web browser. Some advanced features such as
CF Unconditional, CF User Busy and CF No Answer must be setup from the web browser.
7.1 Accessing Configuration Menu
•Open the web browser (ie. Internet
Explorer, Netscape…)
•Type in the IP Address of the phone
followed by :9999
IP address is provided by your Internet Service Provider (ISP). If your ISP supports DHCP, you
may obtain the IP address from you phone. Press MENU and scroll down to IP address.
•Enter User Name and Password (leave
User Name and Password blank if you
are installing the phone for the first
time)
•Click OK
7.2 Web Login Setting

17
User Name Configuration menu login name.
Password Configuration menu login password.
NTP Server IP Network Time Protocol (NTP) is a protocol used to help
match your system clock with an accurate time source (eg
atomic clock, time server). It is good practice to have all
your networked computers synchronized with one server.
Time Zone Select your time zone. If there is daylight saving in your
area, click the check box.
TFTP Server Enable or disable TFTP server to allow transfer of
firmware from a computer to the IP phone.
FTP Client Enable or disable IP phone to download files from FTP
server and update the firmware automatically.
Remote Config Password Remote password to access the configuration menu from
VoIP software (You may download this software from
your supplier’s website). Default password is 1234.
7.3 Management Setting – Restore Factory Setting
Click on Management. Select Restore Factory Setting and the above screen will display on the
screen.
Restore Factory Setting Restores all the settings back to factory default settings.
Table of contents
Other Telecom IP Phone manuals


