Teletechno Vista WIFI User manual

Quick
Installation
Guide
3
2
Instructions
The installation of VISTA WIFI cameras is based on 3
different phases, with which we will be able to obtain a good
monitoring experience:
Physical installation Installing the APP
and configuración the
camera.
1
Phase
2
Phase Phase
Using the APP

1
2
1
2
3
4
5
6
34
5
6
7
3
Front view Rear View
Microphone
Light detectors
Speaker
Connector and Power CABLE
Reset button
Power LEDS
MICRO SD Memory Slot
Allows the camera to capture nearby sounds and send them with the video.
They detect the amount of incoming light and turn on the IR LEDS for night vision when necessary.
The alarms and audio will be heard here.
Press and Mantengapor 15 seconds to reset the camera to factory defaults.
Power and Wi-Fi light.
7to store video. Memory up to 32 GB (optional).
Knowing
The Camera
AB
MODEL: VISTA WIFI
DEVICE ID: XXXXXXXXXX
www.teletechnonet.com
1
4
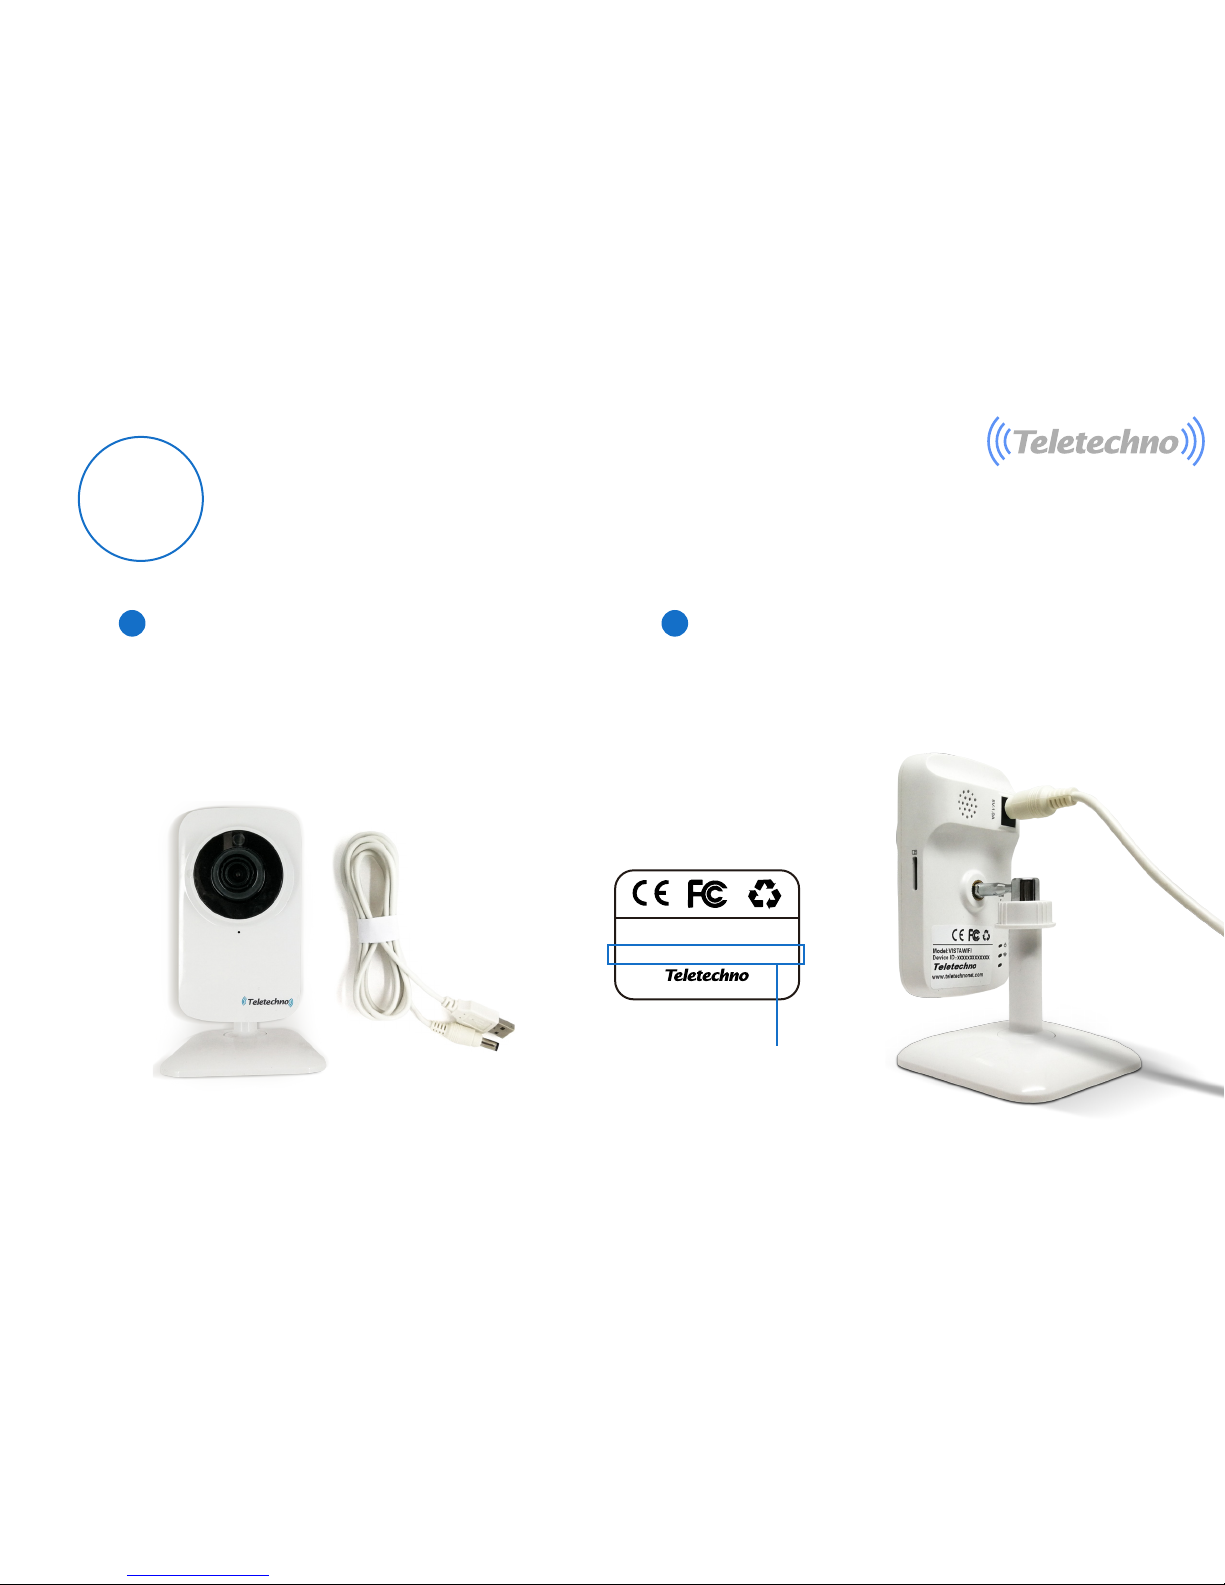
Physical Installation
Phase
As a first step it is necessary to
remove the objects from the box: Connect the electrical connection cable to the
back of the camera and record or keep in mind
the serial number, as shown in the following
image.
- Camera
- Electrical connection Cable.
- Reset PIN accesorie.
Serial Number
CD
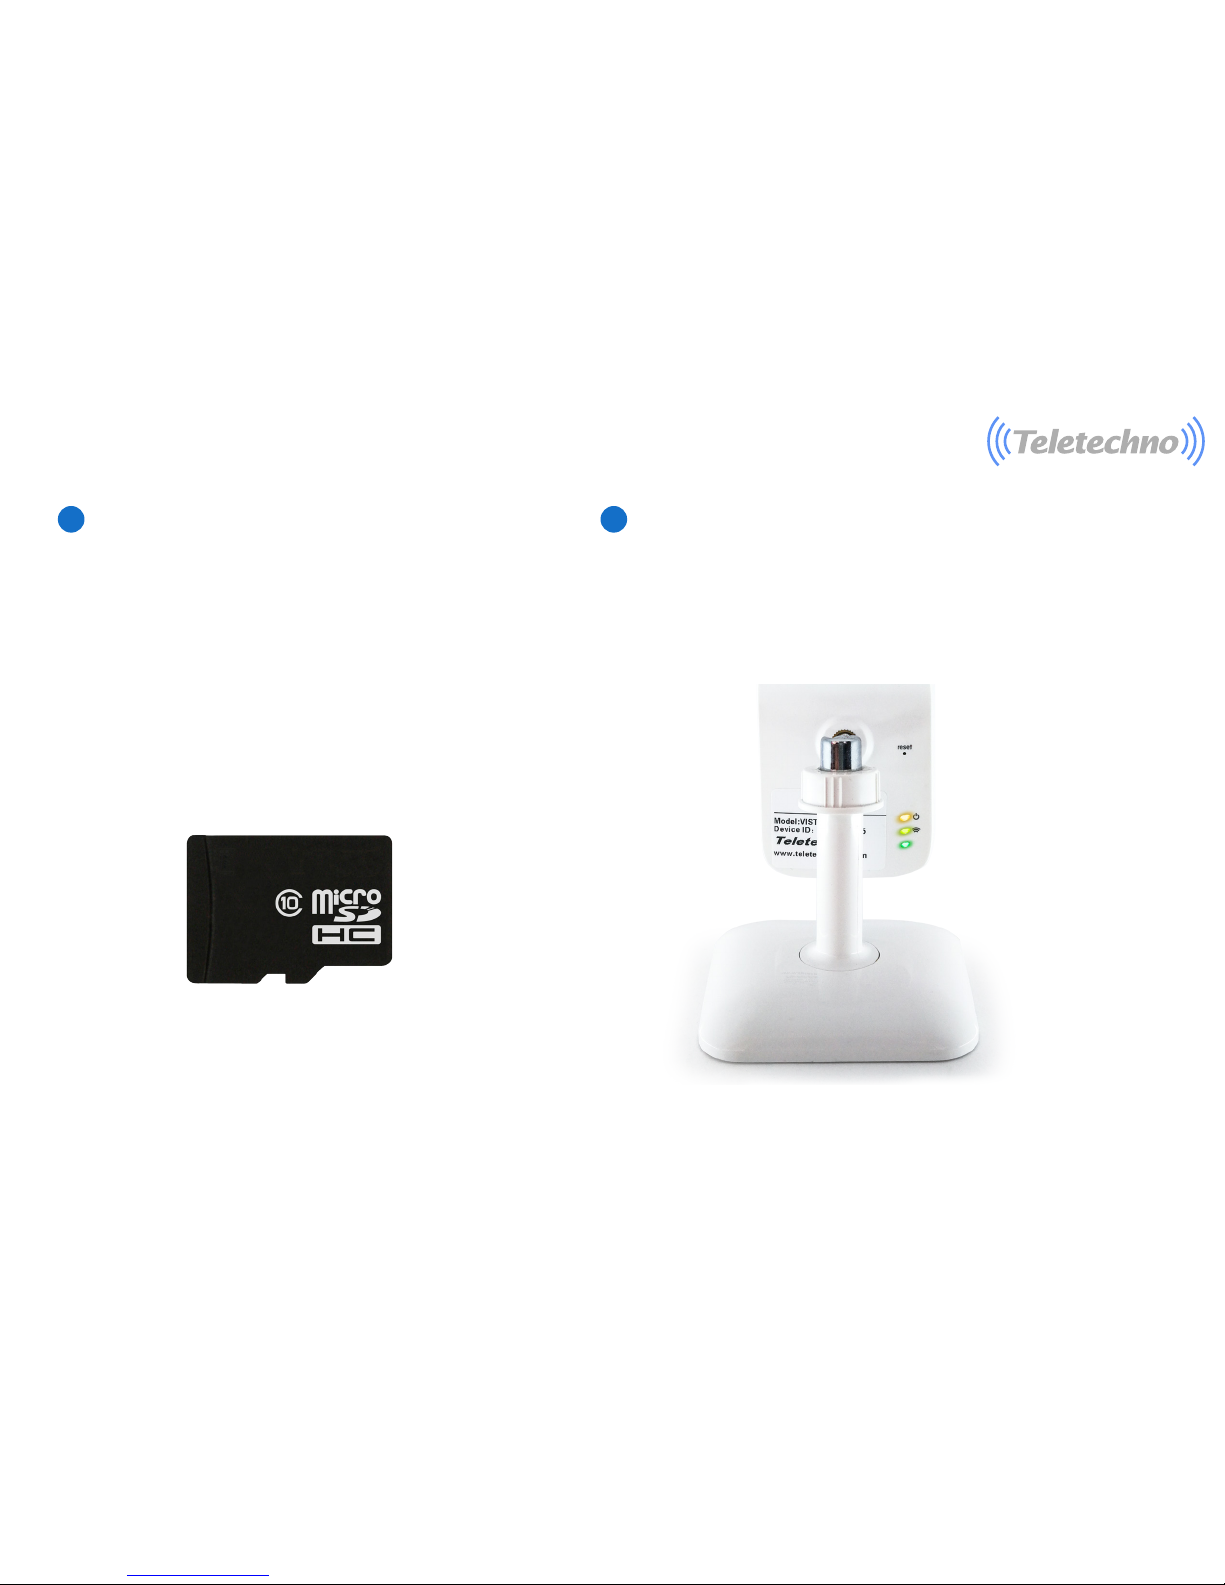
5
As an option the user can insert a "MicroSD"
memory card. The camera is compatible with
a memory of up to 32 GB, so you can insert
an external memory of this type to the device
and have video recording capacity up to 4
days with continuous video in high Definición,
if configura the option of recording by
motion detection pod Record up to 30 days.
Finally you must wait for the camera to turn
on its LED lights intermittently, when red
and green light is observed it is when the
camera is to be set up.
The camera will audibly indicate: "Waiting for Configuracion".

App Store VISTA WIFI Google Play VISTA WIFI
2
6
Installing The APP
and Logging
Phase
1 Go to APP STORE
2 Search“VISTA WIFI”
3Install the APP
1 Go to GOOGLE PLAY
2Search “VISTA WIFI”
3Install the APP

1 2
7
Registration (account creation):
Note: email support up to 31 characters
Click on "Register" (Fig. 1).-
Enter a valid email address (fig. 2).
-click "Next" (Fig. 2).

3 4
8
Verification:
Enter the password you want to enter the application (Fig. 3).
Click on "Get Code" (Fig. 3). Enter the code that was sent to your email. (Fig. 3).
If the Verification message does not arrive, click "Get Code"
Click on "Start VISTA WIFI" (Fig. 4).

Add new device by WiFi:
5 6 7
-Click on "Add New Device" (Fig. 5) .
-Click on "Wireless configuration (Fig. 6).
-Wifi conection with camera" (Fig. 7)
9

10
8 9
-Click on "Next Step" (Fig. 8).
-Enter the SSID and password of the Wifi network
to which you want to add your camera (Fig. 9).
"Note: This camera do not support 5Ghz wireless lan"
Datasheet Teletechno UPS Series E3
correctly.
.
-Click on "WiFi Configuration", to set
the WiFi view (Fig. 9).
Click Next, after listening, it has configured

3Monitoring
Phase
10 11
Watchvideo: The camera has been successfully added, click on your camera to view the video in
real time (Fig. 10 and 11).
11

Configure Date/Time:
12
12 13 14
Click "Settings" (Inside Camera monitoring) (Fig. 12).
Select the "Time" option (Fig. 13).
Select Time Zone (UTC) Select the time zone according to your country (countries in Central America select UTC-6), (Fig. 14).
Or you can select time setting to Configure the time and date manually.
Use the arrow at the top left to return to the main menu, (Fig-14)

13
15 16
Configure Admin Password:Enter "Configuration" (Inside Camera monitoring) (Fig. 15). Select the "System" option (Fig. 16).

If you want to re-configure the camera, click on the "RESET" button for 15 seconds and follow the above steps described above.
14
17 18
-Select "Change the Administrator password" (Fig. 17).
-Enter the new "password" of 0-18 characters (Fig. 18) Click "Save".

Mobile application-Horizontal view options (Android)
Note: IOS and Android vertical view is different from the top image but with the same options
To record videos on the iOS device you need to click on the respective button.
To record with audio, click Audio button.
To make recordings on iOS, disable Icloud > images ( ) On your device
,
iphone & ipad, Then click on the Register button.
15
IOS Recording

Talk: This enables or disables the microphone on your mobile device. While
enabled, it acts as an intercom, allowing sound capture to be heard on the
camera speaker.
Capture: Take an instant snapshot and save it in
the photo gallery of your mobile device.
Record:Start the video recording. The
video capture quality will be equal to the
range or quality you are viewing.
The videos will be saved in the local storage of
your cell phone.
Speaker:While disabled, audio will not be heard on
your mobile device. When the live streaming video is
enabled, it will include the audio that is captured by the
camera's microphone.
HD/SD/Fluent: Shows the live video in High Definition HD
(720p), Definition Standard or Fluent. Choose the video
definition depending on the internet speed of both the
phone and the camera VISTA WIFI (for low speeds select
"Fluent"). Extends the monitoring screen in full mode or
collapses the screen
16

Support
For support you can send an email to soporte@teletechnonet.com
Or you can contact our call center support team in each country:
G
u
a
t
e
m
a
l
a
:
+5022218
9444
El
S
a
l
v
a
d
o
r
:
+5032113
0231
Honduras: +5042280
2183
N
i
c
a
r
a
g
u
a
:
+5052252
4369
Costa
R
i
c
a
:
+5064001
6716
Usa&Canada: +13052030872
www.t
eletechnonet.com
Table of contents
Popular Digital Camera manuals by other brands


Olympus
Olympus E620 - Evolt 12.3MP Live MOS Digital SLR... Brochure & specs

Balluff
Balluff MATRIX VISION mvBlueGEMINI Technical manual

GE
GE Smart C1640W Návod k použití

Megxon
Megxon TX6000 install guide

Sealife
Sealife Micro 2.0 UW Camera instruction manual

Hyndsight Vision Systems
Hyndsight Vision Systems Journey series Instructions for use


