Tempilot Tempilot-H8 User manual

User Guide - Tempilot-H8(Multi-use)
Temperature & Humidity Data Logger
MARK
REC
DAY(S)
HR(S)
MIN(S)
REC
STOP
MARK
MARK
REC
MARK
REC
MAX MIN AVG MKT
MARK
MARK
REC
READY
READY
I. Inspecting the Logger
II. Start the Logger
III. Mark and View in Transit
IV. Stop the Logger
V. Get the Reports
USB Interface
View/Mark
Start/Stop
Tempilot(H:)
START/STOP VIEW/MARK
MARK
REC
Data Report
Temp Summary
℃
Share
START/STOP VIEW/MARK
MARK
REC
PDF X
CSV
START/STOP VIEW/MARK
HS
MARK
REC
www.etomatoes.com
RH
MARK
REC
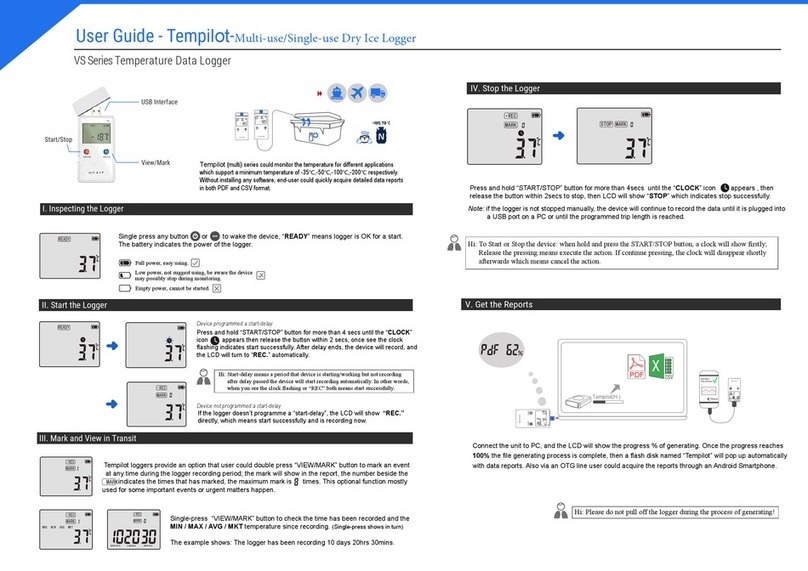
Tempilot-H8(multi) could monitoring both temperature & humidity. Without
installing any software, end-user could quickly acquire detailed data reports in both
PDF and CSV format.
Single press any button or to wake the device, “READY” means logger is OK for a start.
The battery indicates the power of the logger.
Full power, easy using.
Low power, not suggest using, be aware the device
may possibly stop during monitoring.
Empty power, cannot be started.
Press and hold “START/STOP” button for more than 4 secs until the “CLOCK”
icon appears then release the button within 2 secs, once see the clock
flashing indicates start successfully. After delay ends, the device will record, and
the LCD will turn to “REC.” automatically.
Hi: Start-delay means a period that device is starting/working but not recording
after delay passed the device will start recording automatically. In other words,
when you see the clock flashing or “REC” both means start successfully.
If the logger doesn’t programme a “start-delay”, the LCD will show “REC.”
directly, which means start successfully and is recording now.
Device programmed a start-delay:
Device not programmed a start-delay:
Tempilot loggers provide an option that user could double press “VIEW/MARK ” button to mark an
event at any time during the logger recording period; the mark will show in the report, the number
MARK
beside the indicates the times that has marked, the maximum mark is times.
This optional function mostly used for some important events or urgent matters happen.
Single-press “VIEW/MARK” button to check the time has been recording and the MIN / MAX / AVG
/ MKT temperature and humidity since recording. (Single-press shows in turn)
The example shows: The logger has been recording 10 days 20hrs 30mins.
Press and hold “START/STOP” button for more than 4secs until the “CLOCK” icon appears , then
release the button within 2secs to stop, then LCD will show “STOP” which indicates stop successfully.
Hi: To Start or Stop the device: when hold and press the START/STOP button, a clock will show firstly;
Release the pressing means execute the action. If continue pressing, the clock will disappear shortly
afterwards which means cancel the action.
Note: if the logger is not stopped manually, the device will continue to record the data until it is plugged into
a USB port on a PC or until the programmed trip length is reached.
Connect the unit to PC, and the LCD will show the progress % of generating. Once the progress reaches
100% the file generating process is complete, then a flash disk named “Tempilot” will pop up automatically
with data reports. Also via an OTG line user could acquire the reports through an Android Smartphone.
Hi: Please do not pull off the logger during the process of generating!
Tempilot

User Guide - Tempilot-H8(Multi-use)
READY
MARK
REC
MARK
REC
MARK
REC
VI. Tempilot-Software
“Tempilot-Software” innovative inspecting function could effectively ensure the safe use of the device
after configuration. “Double click” Software icon to enter and then connect the device to your computer,
the software will automatically examine the device including battery power, hardware,and connection
status. Red light means error; green light means OK to start a configuration.
Hi: Sometimes due to an aging of PC USB port, or not connect USB port entirely will lead to a missing.
If this happens, please double check the PC USB port or try another port.
Hi: Temp & Humidity Alarm is not when temperature exceeds the
selected range will alert in the way of sounding, but to indicates on
the LCD screen and the reports. If no need then un-select the function
then won’t show the alarm information. (Image 3 )
1
1
2
2
3
3
3
4 5
4
4
7
7
5
5
6
6
1. Device Examination
2.Device Configuration
3.Other Functions
Device information area , each unit has a unique serial number, and user could configure the device on their
preference.
a) Start Type:
Manual: after configured successfully, the device need manually press button to start.
Auto : after configured successfully, the device will auto-execute.
c) Temp and Humidity Alarm:
Select a temperature and humidity range, alarm type and delay time for the alarm settings.
b) Start Mode:
Delay: after the delay period passed, the device will start recording automatically (if no need delay, select 0 min)
Timing: the logger will auto-start on a given time.
Temperature: the logger will auto-start recording once meet the selected range.
b) Forbid Manual Stop:
After selected, user cannot stop the device manually only by connecting
the device to a PC and after configurated the LCD will show a lock icon:
a) Trip Information:
Type any information in area 5,the info will be presented on the generated reports. The info could be:
customer, location, order number, etc.
c) Restart:
After selected, user doesn’t need config the device every time. To restart is the same as start operation.
Note: the orginal data will be formatted once restart, please acquire the reports before restarting.
d) Auto Config
When user need to config many units at one time, for time efficiency, select the required configuration,
and then choose “Auto Config”, the software will config the units automatically: just plug in and out, which
no need any more operations.
H85080467

VI. Technical Specification VII. Important Notes
VIII. After Sale
User Guide - Tempilot-H8(Multi-use)
Model
Type
Sensor
Range
Accuracy
Multi-use
NTC
H8Multi
Resulation
Capacity
Calibration
Battery Life
Certification
Connection
Software
Water-proof
Size
Weight
0.1
16000 points (8000 temp,8000 humidity)
Battery
The manufacturer shall not be held liable:
a) Do not use under microwaves, there is an explosion risk.
b) X-ray can damage the logger.
a) During the time of reports generating, please do not pull off the logger.
b) To make sure long-term effectiveness of logger, please store at regular temperature before using.
c) It might be shorting the shelf life of the logger when using out of measurement range.
d) Please recycle or dispose the logger in accordance with local laws and regulations.
Battery:
Liability:
Security Note:
Usage:
a) Do not throw devices with batteries in the fire or expose to extreme tempearture and may lead to
destruction of the battery and may cause injuries.
b) Do not short-circuit or reload batteries: Safety and hidden risk!
c) Batteries are to be kept away from children.
a. If the device was used beyond the manufacturer’s given limitations
b. For any claims due to the imporper storage and use of the deivce
c. For any problems with the cooling unit
d. For the bad quality of the monitored goods, if any.
e. For incorrect readings if the device was used with activated low battery sign.
Attention: The Tempilot loggers monitor temperature and humidity exposure and not the product quality.
Its purpose is to signal if product quality evaluation/testing is required.
-35ºC~+70ºC (-31℉~+158℉)
±0.3ºC (±0.54
℉)
±3%RH (30ºC,10%~70%)
±0.4% RH (Rest)
Warranty
3.6v Li
2-3 years or longer
Factory Calibration and NIST CNAS
CE、RoHS、DO160、IATA PI970 II
1 year
106*51*18mm
65g
IP54
USB 2.0
Tempilot-Software
This manual suits for next models
1
Other Tempilot Data Logger manuals
Popular Data Logger manuals by other brands
IRROMETER
IRROMETER IRROmesh Installation and operating instructions
Grant
Grant Squirrel SQ2010 SERIES Getting started
Omega Engineering
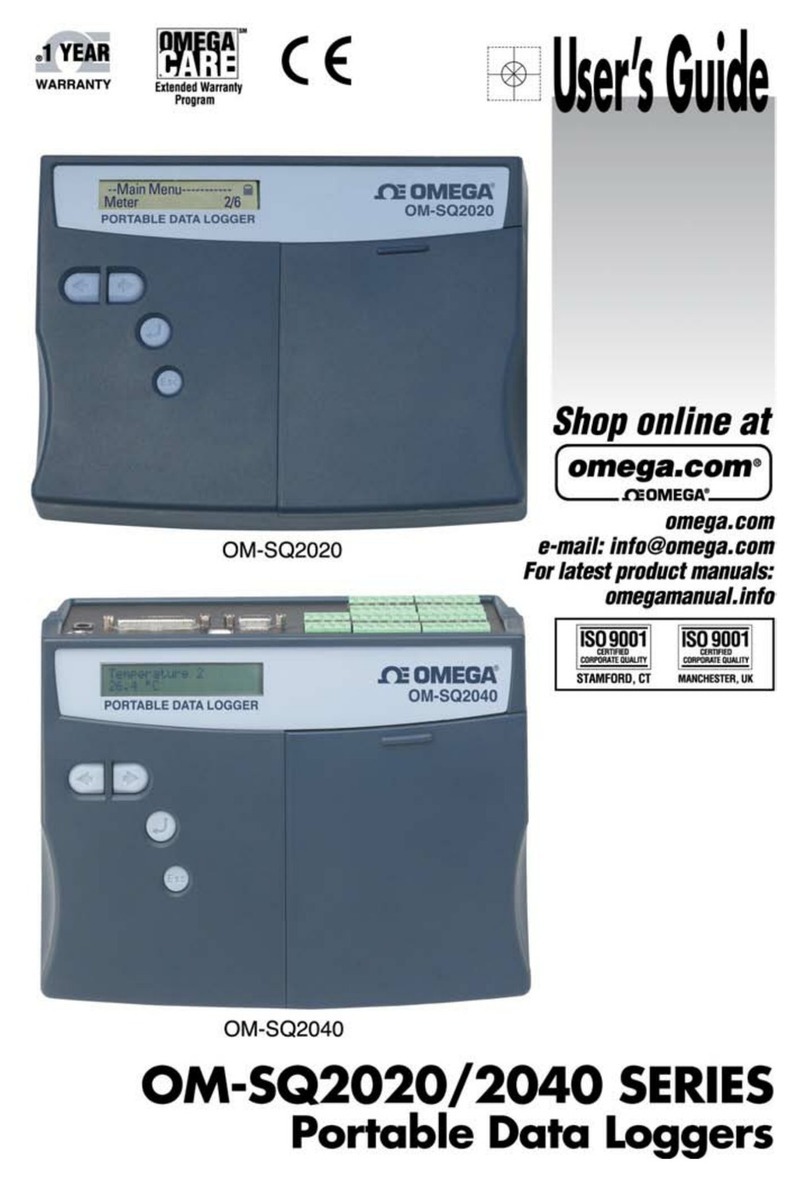
Omega Engineering OM-SQ2020 Series user guide

Hobo International
Hobo International PENDANT G UA-004-64 user manual
Sutron
Sutron XPERT Series manual
Nivus
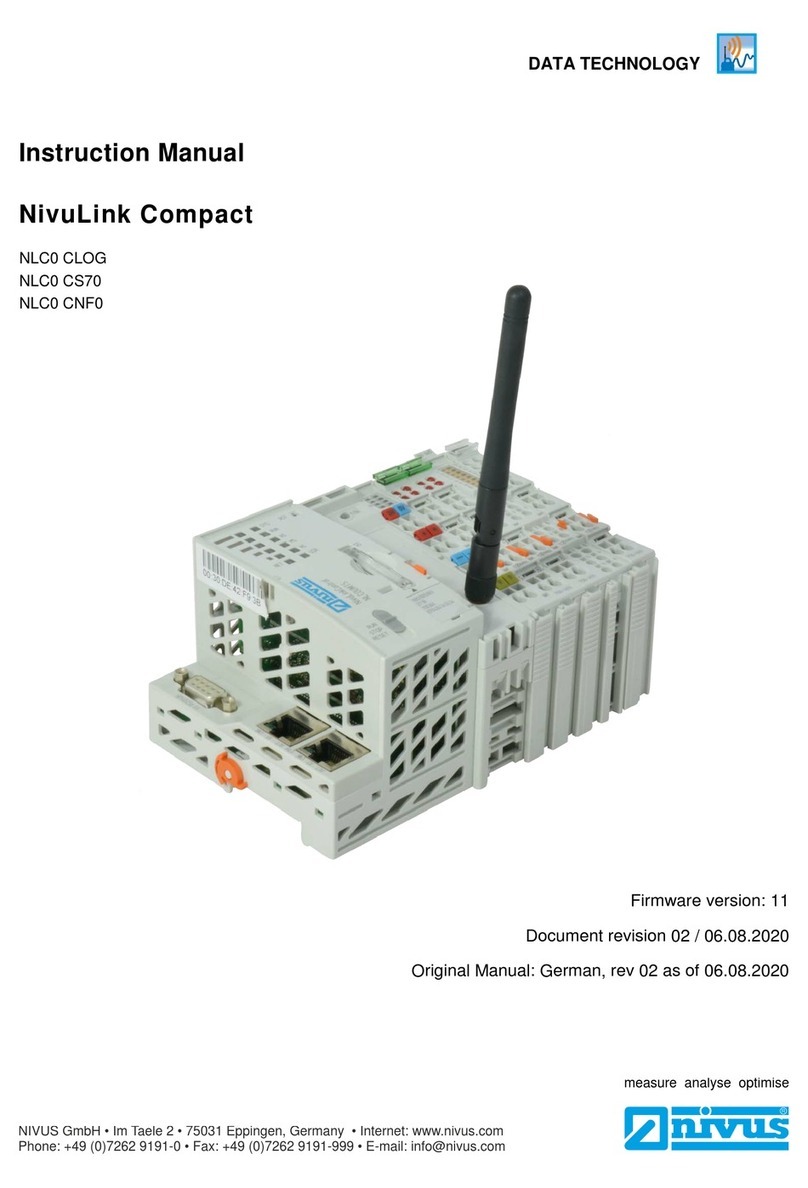
Nivus NivuLink Compact Series instruction manual
