manuals.online logo
Brands
  1. Home
  2. •
  3. Brands
  4. •
  5. The Sensor Connection
  6. •
  7. Control Unit
  8. •
  9. The Sensor Connection PMD1XT-XX-012-0 Series User manual

The Sensor Connection PMD1XT-XX-012-0 Series User manual

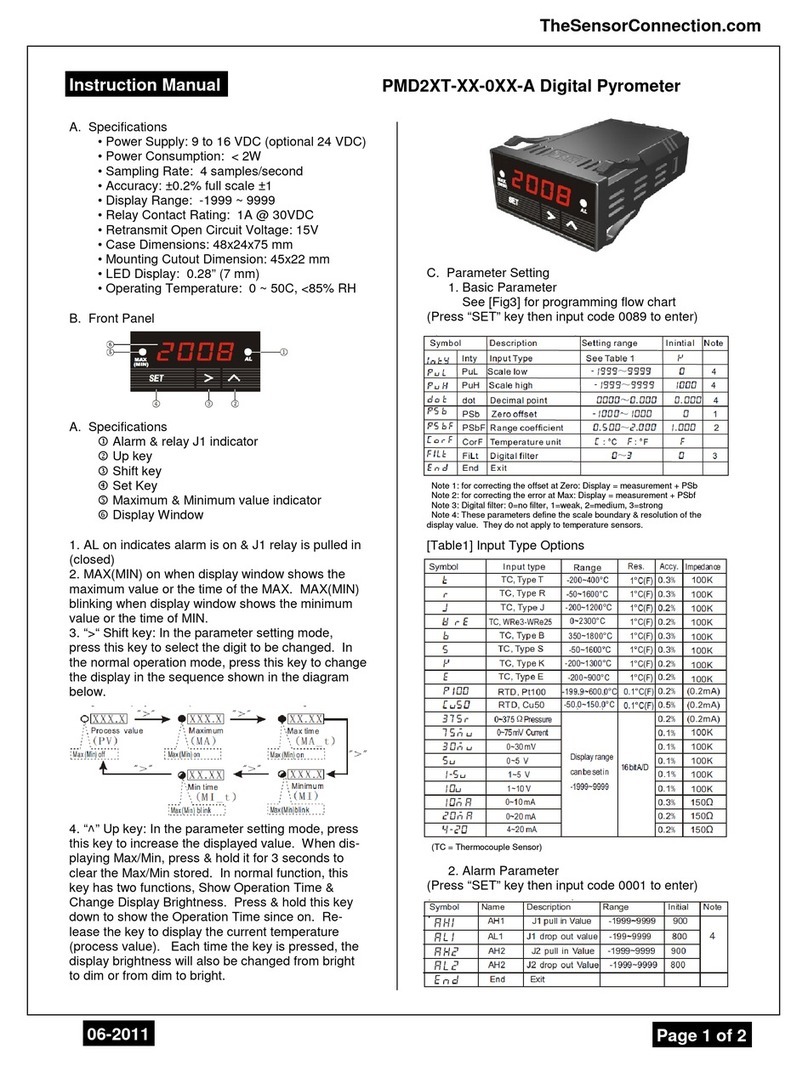
A. Specifications
• Power Supply: 9 to 16 VDC (optional 24 VDC
• Power Consumption: < 2W
• Sampling Rate: 4 samples/second
• Accuracy: ±0.2% full scale ±1
• Display Range: -1999 ~ 9999
• Relay Contact Rating: 1A @ 30VDC
• Case Dimensions: 48 x 24 x 75 mm
• Mounting Cutout Dimension: 45 x 22 mm
• LED Display: 0.28” (7 mm
• Operating Temperature: 0 ~ 50C, <85% RH
B. Front Panel
A. Specifications
1 Alarm & relay J1 indicator
2 Up key
3 Shift key
4 Set Key
5 Maximum & Minimum value indicator
6 Display Window
1. AL on indicates alarm is on & J1 relay is pulled in
(closed
2. MAX(MIN on when display window shows the
maximum value or the time of the MAX. MAX(MIN
blinking when display window shows the minimum
value or the time of MIN.
3. “>“ Shift key: In the parameter setting mode,
press this key to select the digit to be changed. In
the normal operation mode, press this key to change
the display in the sequence shown in the diagram
below.
4. “˄” Up key: In the parameter setting mode, press
this key to increase the displayed value. When dis-
playing Max/Min, press & hold it for 3 seconds to
clear the Max/Min stored. In normal function, this
key has two functions, Show Operation Time &
Change Display Brightness. Press & hold this key
down to show the Operation Time since on. Re-
lease the key to display the current temperature
(process value . Each time the key is pressed, the
display brightness will also be changed from bright
to dim or from dim to bright.
C. Parameter Setting
1. Basic Parameter
See [Fig3] for programming flow chart
(Press “SET” key then input code 0089 to enter
Note 1: for correcting the offset at Zero: Display = measurement + PSb
Note 2: for correcting the error at Max: Display = measurement + PSbf
Note 3: Digital filter: 0=no filter, 1=weak, 2=medium, 3=strong
Note 4: These parameters define the scale boundary & resolution of the
display value. They do not apply to temperature sensors.
[Table1] Input Type Options
(TC = Thermocouple Sensor
2. Alarm Parameter
(Press “SET” key then input code 0001 to enter
PMD1XT-XX-012-0 Digital Panel Meter
Instruction Manual
07-2014 Page 1 of 2
TheSensorConnection.com
Alarm Parameter setting is similar to the Basic
Parameters setting in [Fig3] except the access code
is 0001 instead of 0089
[Fig3] Basic Parameter setting flow chart
The Sensor Connection
55 East Long Lake Road, #505, Troy, MI 48085 USA
Tel: 248-636-1515 [email protected]
07-2014 Page 2 of 2
TheSensorConnection.com
Note 4: Relay action setting (PMD-A meter does not contain J2 relay. Its
settings (AH2 & AL2 can be ignored .
1 Set AH1=AL1, relay is disabled
2 Set AH1>AL1, relay is for high alarm limit. See [Fig1]
3 Set AH1<AL1, relay is for low limit alarm. See [Fig2]
3. Peak Value
(Press “SET” key then input code 0037 to enter
Note 5: Peak function is interlocked.
1 When MA is turned off, MA-t can’t be set
2 When MI is turned off, MI-t can’t be set
Peak Value setting is similar to the Basic
Parameters setting in [Fig3] except the access code
is 0037 instead of 0089
Reset the Peak value:
The peak values are stored in the memory even
after the meter is powered off. To reset them,
change the display to show MA, MA-t, MI, or MI-t.
Then, press & hold “˄” key for 3 seconds. The
display will show “——” indicating the memory (for
all four parameters is reset. The meter will start to
catch the new peak after 2 seconds.
D. Terminal Assignment
1 1 & 2 are for power input
2 4 & 5 are for alarm relay output. When alarm is turned on, terminals 2 & 5
are internally connected. To drive a 12V buzzer, connect one lead of the
buzzer to the +12V. Connect the other lead to terminal 5.
3 3 is for display brightness control. When connecting the illumination signal
(+12V to it, the brightness will be synchronized with headlight. If not connect-
ed, the brightness can still be controlled by “˄” key.
4 6, 7, 8, & 9 are for different type of signal input.
Example: Use 6 & 7 for EGT thermocouple probe.
5 10 outputs a regulated 5VDC for powering a pressure transducer or other
type of sensor requiring power.
E. Application Example
Exhaust Gas Temperature Measurement

Other The Sensor Connection Control Unit manuals

The Sensor Connection PMD2XT-XX-0XX-A Series User manual

The Sensor Connection

The Sensor Connection PMD2XT-XX-0XX-A Series User manual

Popular Control Unit manuals by other brands

Franke F5EV1013 Installation and operating instructions

Franke

Franke F5EV1013 Installation and operating instructions

Honeywell DS06D Product data

Honeywell

Honeywell DS06D Product data

National Instruments cRIO-9068 Getting started guide

National Instruments

National Instruments cRIO-9068 Getting started guide

Buderus MCM10 installation instructions

Buderus

Buderus MCM10 installation instructions

Emerson Fisher 8540 instruction manual

Emerson

Emerson Fisher 8540 instruction manual

BENE FREE DESK Assembly instructions

BENE

BENE FREE DESK Assembly instructions

Pentair FLECK 2850 SXT Installer manual

Pentair

Pentair FLECK 2850 SXT Installer manual

Kessel Comfort PLUS Instructions for installation and operation

Kessel

Kessel Comfort PLUS Instructions for installation and operation

NEC SFP+ user guide

NEC

NEC SFP+ user guide

CALEFFI SATK series HIUs installation manual

CALEFFI

CALEFFI SATK series HIUs installation manual

MVP TAS 14 instructions

MVP

MVP TAS 14 instructions

WAGNER PV 100 Translation of the original operating manual

WAGNER

WAGNER PV 100 Translation of the original operating manual

Vision tools 09V0002B Technical manual

Vision tools

Vision tools 09V0002B Technical manual

Stid ARC1-XY installation instructions

Stid

Stid ARC1-XY installation instructions

BRAHMA EG12 Series manual

BRAHMA

BRAHMA EG12 Series manual

Danfoss ASV-PV DN 15 installation guide

Danfoss

Danfoss ASV-PV DN 15 installation guide

Honeywell RMG 213 OPERATING AND MAINTENANCE INSTRUCTIONS/ SPARE PARTS

Honeywell

Honeywell RMG 213 OPERATING AND MAINTENANCE INSTRUCTIONS/ SPARE PARTS

MSA FireHawk M7 Maintenance and repair guide

MSA

MSA FireHawk M7 Maintenance and repair guide

manuals.online logo
manuals.online logoBrands
  • About & Mission
  • Contact us
  • Privacy Policy
  • Terms and Conditions

Copyright 2025 Manuals.Online. All Rights Reserved.