Thermo Scientific CW3 User manual


Thermo Scientic CW3 |3
Table of Contents
1. Preface ............................................................... 5
1. 1. Items Supplied .............................................................5
1. 2. Intended Use...............................................................7
1. 3. Precautions ................................................................7
1. 4. Symbols Used on the Cell Washer .............................................10
1. 5. Symbols Used in the Manual .................................................11
2. Technical Specifications ................................................ 12
2. 1. Directives and Standards ....................................................13
2. 2. Mains Supply .............................................................13
2. 3. Location and Function of Parts................................................14
2. 4. Control Panel. . . . . . . . . . . . . . . . . . . . . . . . . . . . . . . . . . . . . . . . . . . . . . . . . . . . . . . . . . . . . . 17
2. 5. Condition-setting Panel .....................................................18
3. Transport and Set Up ................................................... 20
3. 1. Before Setting Up ..........................................................20
3. 2. Location .................................................................20
3. 3. Transporting ..............................................................20
3. 4. Leveling..................................................................21
3. 5. Check Mains Connection ....................................................21
3. 6. Setting Up ................................................................21
3. 7. Storage ..................................................................32
3. 8. Shipping .................................................................32
4. Operation ............................................................ 33
4. 1. Preparation ...............................................................33
4. 1. 1. Injection Volume Adjustment and Pump Ventilation..........................................33
4. 1. 2. Setting the Operating Conditions .......................................................35
4. 1. 3. Preparation of the Sample............................................................35
4. 2. Operation Modes...........................................................36

4|CW3 Thermo Scientic
4. 2. 1. Automatic Mode ...................................................................36
4. 2. 2. Manual Mode .....................................................................36
4. 2. 3. Agitation-Centrifugation..............................................................36
4. 2. 4. Operational Sequence for Antiglobulin Test................................................37
5. Maintenance .......................................................... 38
5. 1. Cleaning .................................................................38
5. 1. 1. Pump, Tank and Tubing..............................................................39
5. 1. 2. Rotor, Distributor and Bowl ...........................................................39
5. 1. 3. Chamber, Splash Guard, Drain Cover and Door Stopper Parts..................................40
5. 2. Preventive Maintenance .....................................................41
5. 3. Shipping and Disposal ......................................................41
6. Troubleshooting ....................................................... 42
6. 1. Mechanical Emergency Door Release ..........................................42
6. 2. Error Codes ...............................................................43
6. 3. Troublshooting when no Error Code is indicated ..................................44
Decontamination Information Certificate ..................................... 45
Chemical Compatibility ................................................... 46
Index .................................................................. 49

Items Supplied
Thermo Scientic CW3 |5
1. Preface
1. 1. Items Supplied
Article No. Description Quantity
Thermo Scientific CW3 cell washer 1
S402776A Bowl Assembly 1
S413259C Tank (5 L) 1
4744346 Tubing 3 m
75000015 Tube Connector 1
S4011034 Drain Tube 2.5 m
480270 Test Tubes (12 mm in diameter and 75
mm in length) 50 (1 box)
483719 Grease 1
8046004 Hex. Wrench 1
S411107 Motor Guard Plate 1
4666354
4666357
4666355
Hose Band
Small
Medium
Big
1
1
2
S413181A L-shaped Adapter 1
480879 D10 Adapter 25
Power Cord 1
Instruction Manual 1
Rotor Assembly Options 1
75000020 24 place rotor assembly with distributor
75000021 12 place rotor assembly with distributor

Items Supplied
6|CW3 Thermo Scientic
Article No. Description Quantity
Replacement Parts
Rotor Assembly 1
75000022 24 places
75000023 12 places
Distributor Assembly 1
75000024 24 places
75000025 12 places

Intended Use
Thermo Scientic CW3 |7
1. 2. Intended Use
The Thermo Scientific CW3 cell washer is designed to perform cell washing in multiple washing cycles using saline
solution. The cell washer provides blood cells after sample separation, which can be used for further blood testing such
as Antiglobulin test, ABO compatibility, Rh testing, Cross-matching and Antibody screening.
The centrifuge should always be operated by a trained individual such as a clinical laboratory technologist or a person
with a similar education.
1. 3. Precautions
Carefully read the following safety precautions for a thorough understanding.
Protection is impaired if the cell washer is not used as specified in the intended use.
Follow the instructions and procedures described in this instruction manual to operate this cell washer safely.
Be sure to observe the precautions in this instruction manual and on your equipment.
It is the general obligation of the operator to make sure, that the proper protective clothing is used. Mind the „Laboratory
Biosafety Manual“ of the World Health Organization (WHO) and the regulations in your country.
Safety messages are indicated as follows. They are stated with signal words combined with the safety alert symbol to call
your attention to items or operations that could be dangerous to you or other persons using this equipment. The definitions
of signal words are as follows:
WARNING: Warning notes indicate any condition or practice, which if not strictly observed, could result in seri-
ous injury or possible death.
CAUTION: Caution notes indicate any condition or practice, which if not strictly observed or stopped, could
result in personal injury, damage or destruction of the equipment.
NOTICE: Notes indicate an area or subject of special merit, emphasizing either the product’s capabilities or
common errors in operation or maintenance.
Do not operate this cell washer in any manner not described in this Instruction Manual. Should you have any troubles with
this cell washer, call a Thermo Fisher Scientific authorized sales/service representative.
The precautions described in this Instruction Manual are carefully developed to cover all possible risks. It is important that
you are alert for unexpected incidents. Be careful when operating this cell washer.

Precautions
8|CW3 Thermo Scientic
WARNING
1. The cell washer is neither inert nor protected against explosion. Never use the cell washer in an explosion-prone
environment.
2. Do not set up the cell washer in or near places where flammable gases are generated or chemicals are stored.
3. If centrifuging any hazardous materials mind the „Laboratory Biosafety Manual“ of the World Health Organization
(WHO). Look on the internet page of the World Health Organization (www.who.int) for the „Laboratory Biosafety
Manual“.
For materials in a higher risk group, extra safety measures have to be taken.
4. Take all necessary safety measures before using samples that are toxic or radioactive, or blood samples that are
pathogenic or infectious. You use such samples at your own responsibility.
a. If the cell washer, rotor, or an accessory is contaminated by samples that are toxic or radioactive, or blood
samples that are pathogenic or infectious, be sure to decontaminate the item according to good laboratory
procedures and methods.
b. If there is a possibility that the cell washer, rotor, or an accessory is contaminated by samples that might
impair human health (for example, samples that are toxic or radioactive, or blood samples that are
pathogenic or infectious), it is your responsibility to sterilize or decontaminate the cell washer, rotor, or
the accessory properly before requesting repairs from a Thermo Fisher Scientific authorized sales/service
representative.
c. It is your responsibility to sterilize and/or decontaminate the cell washer, rotor, or parts properly before
returning them to a Thermo Fisher Scientific authorized sales/service representative.
5. Do not centrifuge explosive or flammable materials or substances which could react violently
6. Because the liquid samples, the saline, etc. are used in this cell washer, your cell washer must be grounded
properly.
7. To avoid electrical shocks, do not handle the power cord or turn on or off the POWER switch with wet hands.
8. The cell washer itself may move if the rotor fails during high-speed rotation. Make sure there is a 30 cm area
around the cell washer that will allow for such movement and do not allow individuals to enter into that area
during operation. Also do not place dangerous objects such as flammable or explosive materials on top of the
cell washer or in the surrounding area.
9. While the rotor spins, never unlock the door.
10. Repairs, disassembly, and other modifications to the cell washer are strictly prohibited unless performed by a
Thermo Fisher Scientific authorized sales/service representative.

Precautions
Thermo Scientic CW3 |9
CAUTION
1. Turn off the cell washer at the main switch. The mains plug must be freely accessible at all times.
Press STOP to shut the cell washer down.
Pull out the power supply plug or disconnect the power supply in an emergency.
2. Use the cell washer only with correct installed rotor and distributor assembly and correct inserted bowl, splash
guard and drain cover.
3. Do not move or relocate the cell washer while the rotor spins.
4. Do not lean on the cell washer.
5. Do not pour any solution such as water, detergent, or disinfectant directly into the rotor chamber. If you do so,
the bearings of the drive unit might corrode or deteriorate.
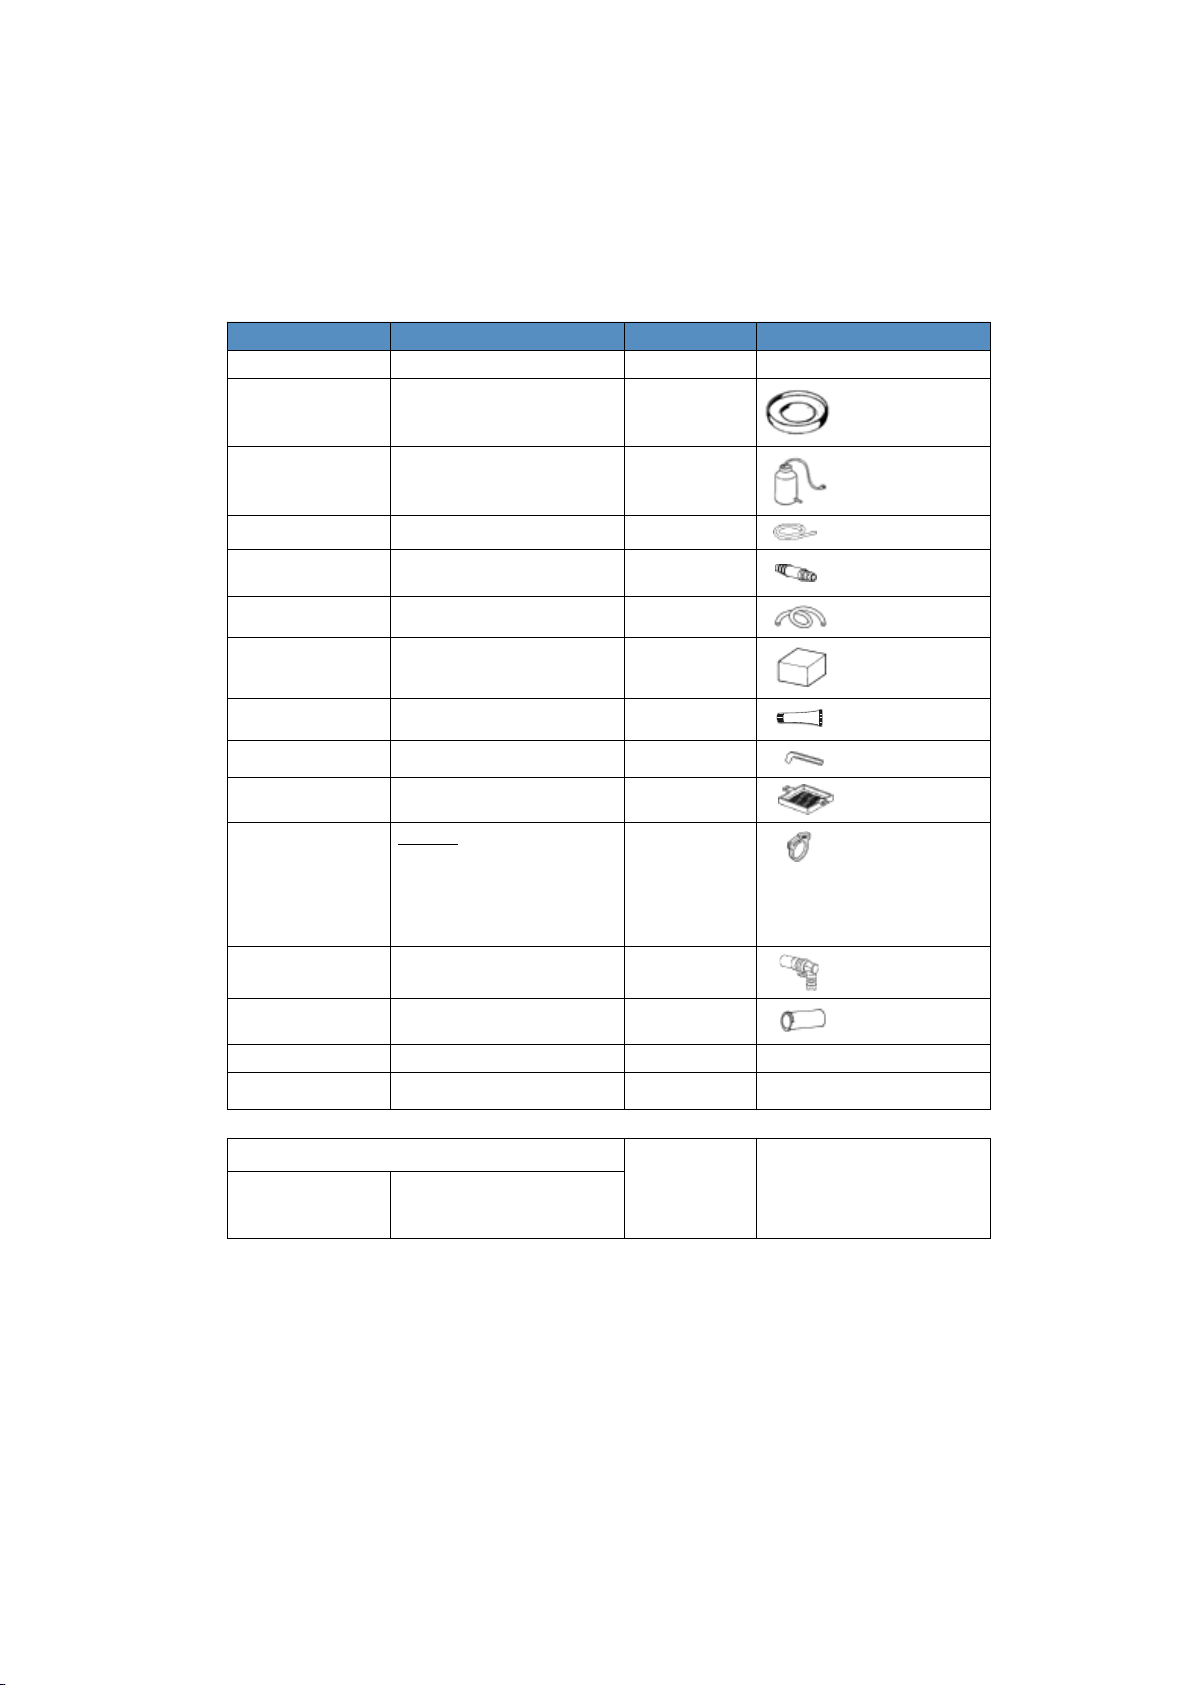
6. Connect the saline tank to the pump inlet connector of the cell washer correctly with the hose bands (standard
accessories). Otherwise the liquid might leak from the tube and the liquid might get into the inside of the cell
washer. If you think liquid is inside of the cell washer, contact a Thermo Fisher Scientific authorized sales/service
representative to clean and dry the cell washer.
7. Before you operate the cell washer, remove any dropped objects and tube fragments from inside the rotor
chamber.
8. Always check for corrosion and damage on the rotor before using it. Do not use a corroded or damaged rotor.
9. Be sure to use the specified test tubes with a wall thickness of 1 mm or more. When using thin test tubes such
as disposable test tubes, do not use them repeatedly. If any scratches, crack, inside warp, etc. is found on the
test tubes, do not use them because they cannot bear a centrifugal force.
10. Be sure to load test tubes to all the holders.
11. Use one or two drops (about 50 μl) of 3-5% erythrocyte suspension as sample volume for blood cell washing.
When using precipitated erythrocyte layer, use one or two drops (about 50 μl or less) per test tube. Use the 80%
or less of the test tube capacity as sample volume for centrifugation.
12. If you observe some abnormality in this product, stop using it immediately and contact a Thermo Fisher Scientific
authorized sales/service representative. Notify the service representative of the alarm code if displayed.
13. If the cell washer will not be used for a long time, remove the power cord from the socket.
14. For connection to a different outlet, the power cord might be needed to be replaced.
15. Follow local electrical codes.
16. Depending on the magnitude, an earthquake might damage the cell washer.
If you observe some abnormality, contact a Thermo Fisher Scientific authorized sales/service representative.
NOTICE
Usually the control panel and the surface of the cell washer get warm during operation.

Symbols Used on the Cell Washer
10 |CW3 Thermo Scientic
1. 4. Symbols Used on the Cell Washer
This symbol refers to general hazards.
CAUTION means that material damage could occur.
WARNING means that injuries or material damage or contamination could occur.
This symbol refers to biological hazards.
Observe the information contained in the instruction manual to keep yourself and your environment safe.
This symbol refers to information on hazards, described within the manual.
This symbol demands to disconnect mains before transporting or servicing the cell washer.
This symbol demands to not pour the open cell washer with water.
This symbol shows the inflow and draining directions of the cell washer. The arrow pointing towards the cell
washer shows the inflow direction. The arrow pointing away from the cell washer shows the draining
direction.
This symbol demands to make sure, that the drain cover is installed in the cell washer door before you start
the CW3 cell washer. If not, biological hazard is possible when contaminated samples are used.
See “5. 1. 4. 4. Drain Cover” on page 40 for removing and installation.
Caution: Federal law restricts this device to sale by or on the order with a qualified clinical facility manager or
equivalent.

Symbols Used in the Manual
Thermo Scientic CW3 |11
The CE mark states that this product is meeting all requirements for the European Economic Area.
This CSA mark states that this product is meeting all requirements for Canada and USA.
This symbol marks the manufacturer of this product.
This symbol marks the manufacturing date of this product.
This symbol marks the catalogue number of this product.
This symbol marks this product as intended to be used as an in vitro diagnostic medical device.
1. 5. Symbols Used in the Manual
This symbol refers to general hazards.
CAUTION means that material damage could occur.
WARNING means that injuries or material damage or contamination could occur.
This symbol refers to biological hazards.
Observe the information contained in the instruction manual to keep yourself and your environment safe.

Symbols Used in the Manual
12 |CW3 Thermo Scientic
2. Technical Specifications
Environmental Conditions Altitudes of up to 2000 m above sea level
Max. relative humidity 80% up to 31°C;
decreasing linearly up to 50% relative humidity at 40°C
Environmental Conditions
during Storage and Shipping
Temperature: -10 °C to +55 °C
Humidity: 15% to 85%
Permissible Ambient Temperature
during Operation +2 °C to +35 °C
Average Heat Dissipation 54 Wh / 184 Btu/h / 194 kJ/h
Overvoltage Category II
Pollution Degree 2
IP 20
Running Time Automatic: 1 – 99 sec / manual: 1 – 999 sec
Maximum Speed²nmax 3000 rpm
Minimum Speed³nmin 330 rpm
Maximum RCF-Value at nmax 1180 x g
Noise Level at Maximum Speed¹< 53 dB (A)
Maximum Kinetic Energy 0.46 kJ
Dimensions
Height (open door / closed door) 630 mm / 410 mm
370 mm
450 mm
Width
Depth
Weight²28 kg
1 Front Side Measurement, 1 m in front of the instrument at 1.6 m height. 3 washing-cycles each with about 35 s centrifugation.
2 Mode manual centrifuge
2 Mode manual decant

Directives and Standards
Thermo Scientic CW3 |13
2. 1. Directives and Standards
Region Directive Standard
Europe
220-230 V, 50/60 Hz
98/79/EC In Vitro Diagnostic Medical
Devices (IVD)
2014/35/EU Low Voltage (protective goals)
2006/42/EC Machinery (protective goals)
2014/30/EC Electromagnetic Compatibility
(EMC) (protective goals)
2011/65/EC RoHS – Directive on the
Restriction of the use of certain Hazardous
Substances in electrical and electronic
equipment
EN 61010-1
EN 61010-2-020
IEC 61010-2-101
EN 61326-1 Class B
EN ISO 13485
USA & Canada
120 V, 60 Hz
FDA – 510(k) cleared
Regulation Name: Automated Cell-Washing
Centrifuge for Immunohematology
Regulatory Class: 2
Product Code: KSN
CAN/CSA-C22.2 No. 61010-1-04
UL Std. No. 61010-1
CAN/CSA-C22.2 No. 61010-2-020-09- Part 2-020
IEC 61010-2-020
IEC 61010-2-101
China
220-230 V, 50/60 Hz
IEC 61010-1
IEC 61010-2-020
IEC 61010-2-101
EN 61326-1 Class B
2. 2. Mains Supply
The following table contains an overview of the electrical connection data. This data is to be taken into consideration, when
selecting the mains connection socket.
Unit Thermo Scientific CW3 cell washer
Article No. 75007404 75007405
Mains Voltage 120 V 220-30 V
Frequency 60 Hz 50 / 60 Hz
Rated Current 2.7 A 1.5 A
Power Consumption 135 W 135 W
Equipment Fuse 10 AT 10 AT
Building Fuse 15 AT 16 AT

Location and Function of Parts
14 |CW3 Thermo Scientic
2. 3. Location and Function of Parts
Front view
1
11
10
9
8
7
6
5
4
3
2
No. Part Description
1Nozzle Through this nozzle, saline is supplied from the pump to the distributor.
2Drain cover Receives the waste liquid decanted from the rotor and discharges it to the outside.
3Distributor Distributes the saline supplied from the pump to each test tube held on the rotor.
4Rotor A 12 or 24-sample rotor.
5Splash guard Designed to keep saline, waste liquid, etc. from leaking to the internal mechanism of the
cell washer. Removable.
6Condition-setting panel See “2. 5. Condition-setting Panel” on page 18.
7POWER switch Switches on and o the cell washer power. It doubles as a circuit protector. It
automatically switches o the cell washer power if abnormal current passes.
8Control panel See “2. 4. Control Panel” on page 17.
9Door lock lever Keeps the door locked while the rotor is running.
10 Bowl Rotates together with the rotor. It determines the angle to which the test-tube holders of
the rotor swing.
11 Door Test tubes are set on the rotor after opening the door. The drain cover and nozzle are
installed on the back of the door.

Location and Function of Parts
Thermo Scientic CW3 |15
Rear view
1
8
7
6
5
4
3
2
No. Part Description
1View port You can measure the rotor speed through the view port by an optical reflection type
rotation meter.
2Drain connector The overflowed waste liquid is drained through this connector.
3Power connector To be connected to a power supply.
4Sensor connector To be connected to the sensor which detects the level of saline in the tank.
5Auxiliary drain tube The chamber is drained through this tube if the drain connector is blocked.
6Pump Provided for supplying saline into the cell washer.
7Pump inlet connector To be connected to the saline tank by tubing.
8Door stopper parts Designed to keep the open angle (60°) of the door to prevent the door to be wide-open.

Location and Function of Parts
16 |CW3 Thermo Scientic
Top view
1
2
3
2
3
No. Part
1Decatation coil
2O-ring (2x)
3Rubber gasket

Control Panel
Thermo Scientic CW3 |17
2. 4. Control Panel
1
2
3 4 5
6
7
8
9
10
No. Name Function
1PROCESS LED Shows the current process of blood cell washing. Indicates the process setting in manual
mode. While the cell washer operates, the LED of the active process blinks.
2CYCLE indicator Indicates the number of washing cycles. While the cell washer operates, the CYCLE
indicator shows the number of the remaining cycles.
3MANUAL switch To manually start a single process (WASH, CENTRIFUGE, DECANT or AGITATE). The LED
lights when the manual mode is set.
4OPEN switch To open the door. If it is pressed continuously, the cell washer does not accept any input
of the other switches for 4 seconds (alarm buzzer sounds).
5STOP switch To stop a process. It is also used for stopping the end buzzer and alarm buzzer. When the
operation is stopped in the automatic mode or in the agitation/centrifugation (see No. 9),
the operation can be restarted at the stopped point by pressing the START switch. When
the operation is stopped in the manual mode, the operation is not restarted at the
stopped point by pressing the START switch.
The LED lights when the operation is stopped. When the operation is stopped in
automatic mode, its LED blinks.
6AGI/CENT switch Sets the agitation time (agitation of liquid in test tubes) and the centrifugation time
(manual mode) (see the figure below). Its LED lights when it is set.
Operation is started when START is pressed.
Manual-mode set speed
21
1Agitation set time
2Manual-mode centrifugation time
This cell washer does not accept the input of START when the agitation set time is
0second.
7START switch To start a series of processes or a single process.
8FEED switch In automatic mode, it causes the value of washing cycle setting to count down. In manual
mode, it is used for settings desired for one of the processes.
9AUTO switch To start automatic washing cycles. The LED lights when the automatic mode is set.
10 TIME indicator Indicates the remaining time of centrifugation (in 3 digits). In case of an abnormality, the
proper error code is shown. It also shows the rotor speed (×10 rpm) when PUSH SPEED
on the condition-setting panel is pressed.

Condition-setting Panel
18 |CW3 Thermo Scientic
2. 5. Condition-setting Panel
6 1211109875432
1
No. Name Function
1CYCLE setting switch Sets the number of the washing cycles to be repeated (9 cycles at maximum).
2AUTO CENTRI TIME setting switch Sets the centrifugation time of automatic-mode operation (99 seconds at
maximum). The standard centrifugation time is 35 seconds.
3MANUAL CENTRI TIME setting switch Sets the centrifugation time of manual-mode operation (999 seconds at
maximum).
4MANUAL SPEED setting switch Sets one of the following rotor speeds for manual-mode centrifugation:
3,000 rpm (High) and 1,200 rpm (Low)
5DECANT SPEED setting switch Sets the rotor speed for automatic- or manual-mode decantation using the H/L
switch and adjusting a number. If the number is set between 4 and 9, the rotor
speed is the same as if 0 is set.
Switch Number
0 1 2 3
H350 rpm 400 rpm 450 rpm 500 rpm
L330 rpm 370 rpm 410 rpm 450 rpm
Decantation is completed in a short time. Note that the above value may not
necessarily match the speed indicated by the PUSH SPEED switch.
If you increase the DECANT SPEED, the amount of the remained blood cells
tends to decrease.
If you decrease the DECANT SPEED, the amount of the remained blood cells
tends to increase.
6PUSH SPEED switch Keep the PUSH SPEED switch pressed when the cell washer started spinning.
The actual spinning speed of the rotor will be shown (×10rpm) on the TIME
indicator on the control panel. Example: 1200 rpm are shown as 120 on the
TIME indicator (120 x 10 = 1200).
7OVERFLOW setting switch When the pump is set to overflow the cell washer will overflow the inserted
tubes with solution from the saline tank.
Setting Pumping operation for overflow
0No operation
1Operates only the first cycle.
2Operates only the first and the second cycles.
3Operates only the first, second and the third cycles.
4Operates only the first, second, third and the fourth cycles.
5Operates only the first, second, third, fourth and the fifth cycles.
6 to 9 Selectable up to 9 in the same manner.

Condition-setting Panel
Thermo Scientic CW3 |19
No. Name Function
8PROGRAM switch Sets the operation program.
Setting Program (No setting more than 1)
05-second centrifugation is not performed at the final process of
the final cycle in automatic mode.
15-second centrifugation is performed at the final process of the
final cycle in automatic mode.
2You can add the conditions to the centrifugation process at
manual mode:
“3000 rpm for 15 seconds”: “H” is displayed on the
CYCLE indicator and “15” is displayed in the TIME
indicator.
“1200 rpm for 60 seconds”: “L” is displayed on the
CYCLE indicator and “60” is displayed in the TIME
indicator.
See the following procedure:
1. Press MANUAL.
The condition displayed on the condition-setting panel
is performed.
2. Press FEED.
Centrifugation (3000 rpm for 15 seconds) is performed.
3. Press FEED again.
Centrifugation (1200 rpm for 60 seconds) is performed.
5-second centrifugation is not performed at the final process of
the final cycle in the automatic mode.
(If the dial is set between 3 and 9, the operation program is the same as that of
dial setting 0.)
9AGITATE TIME setting switch Sets the agitation time (99 seconds at maximum).
10 MELODY setting switch Sets the end buzzer.
Setting Tunes
0No sound
1Electronic beep (three beeps)
2Oh Susanna
3My Bonnie
4My Old Kentucky Home
5De Camptown Races
6, 7, 8 or 9 Electronic beep (two beeps)
You can turn down the sound level by covering the hole with an adhesive tape
(this hole is above the right side of the CYCLE setting switch).
11 OPTION switch This is a push-button switch for saline calibration purpose.
12 SALINE PRIME switch To be used for pump bleeding at the time of initial operation. The pump for
saline supply operates while this switch is kept depressed.
This switch is ineective while the cell washer is in operation.
Table of contents
Popular Washer manuals by other brands

Bosch
Bosch WGA13400IN User manual and installation instructions

Bosch
Bosch WAN20052IL user manual

Zanussi
Zanussi ZWN 1220 W Instruction booklet

GE
GE GFWN1000 Owner's Manual & Installation Instructions

Siemens
Siemens WM07A160ME Series Instruction manual and installation instructions

GE
GE WBVH5100HWW Dimensions and installation information