manuals.online logo
Brands
  1. Home
  2. •
  3. Brands
  4. •
  5. Timex
  6. •
  7. Alarm Clock
  8. •
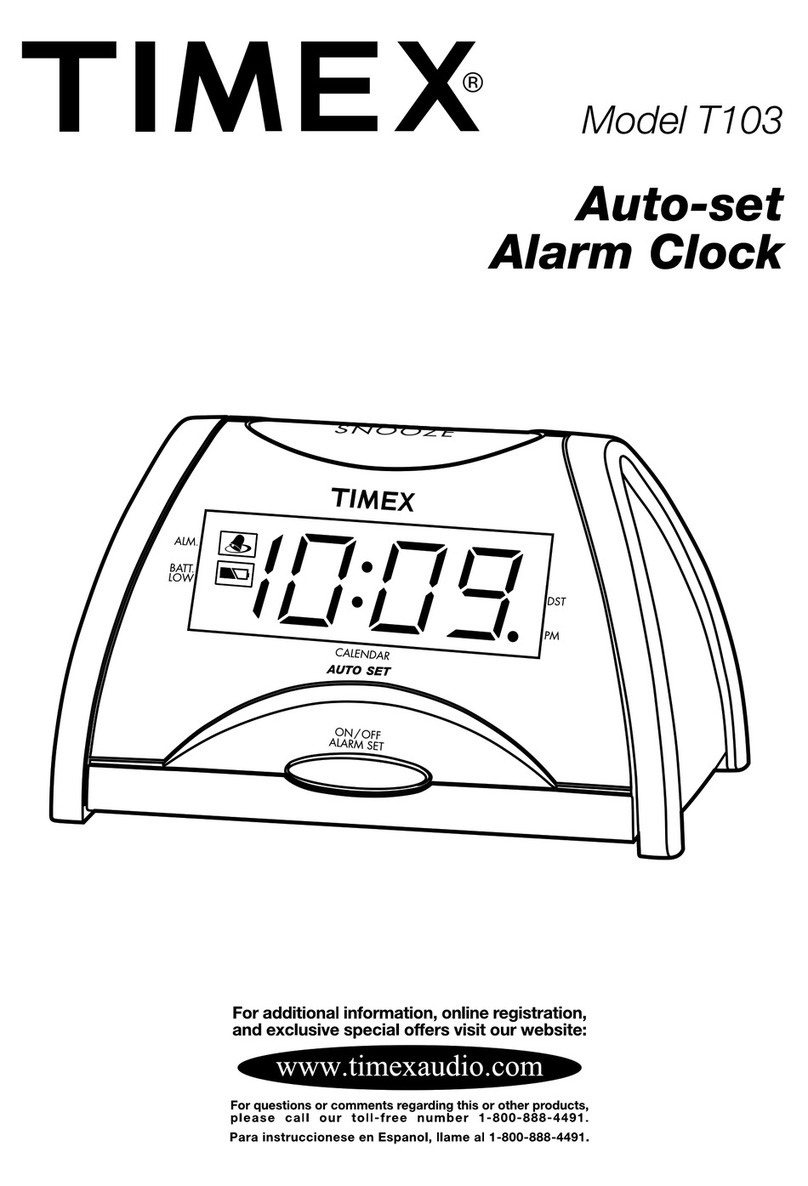
  9. Timex T463 User manual

Timex T463 User manual

Other Timex Alarm Clock manuals

Timex T436B - Clock Radio With Time Projector User manual

Timex

Timex T436B - Clock Radio With Time Projector User manual

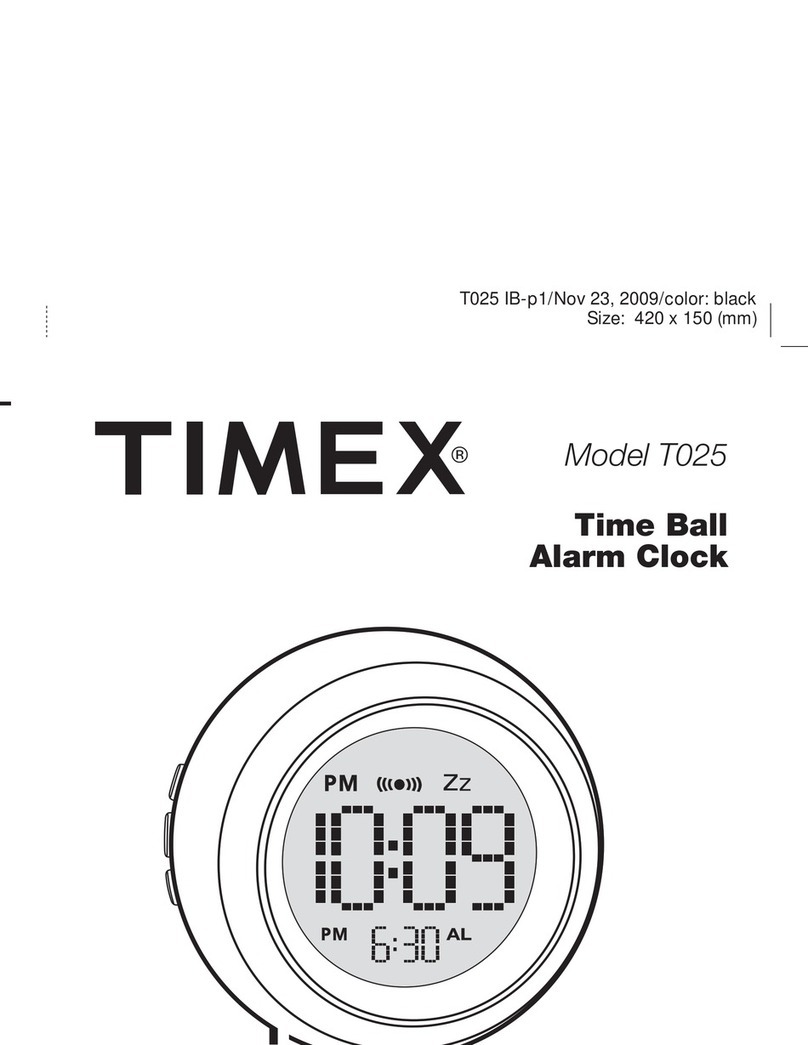
Timex T025 User manual

Timex

Timex T025 User manual

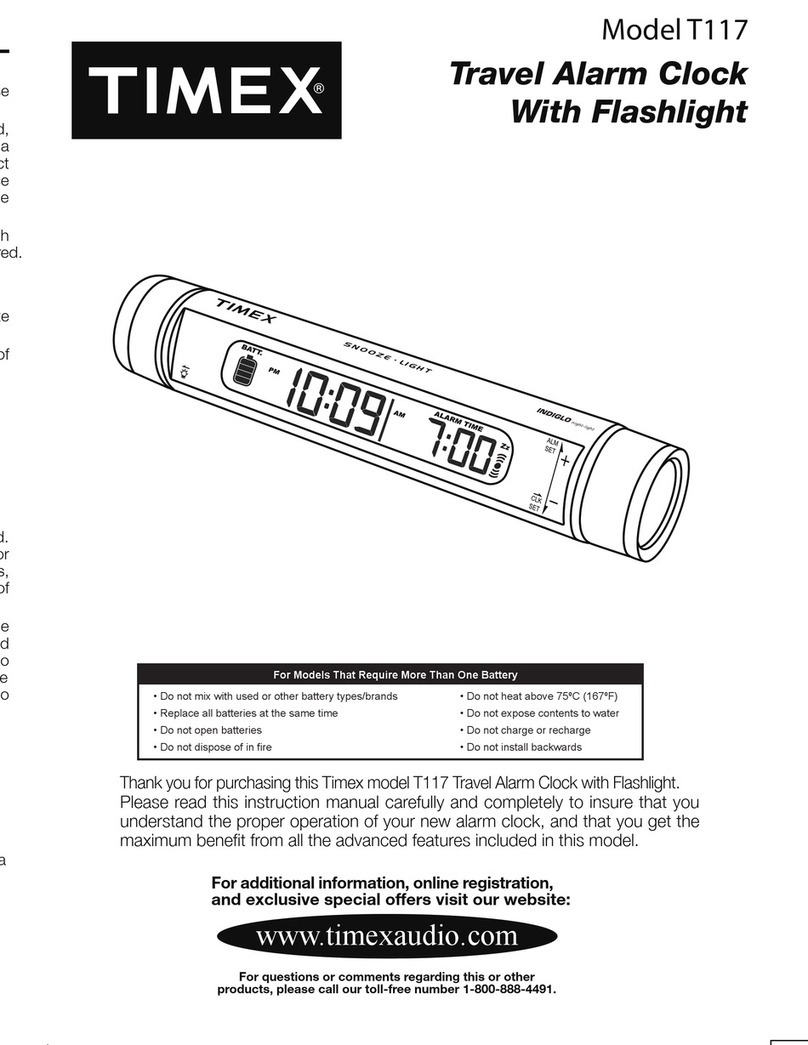
Timex T123 User manual

Timex

Timex T123 User manual

Timex T120 User manual

Timex

Timex T120 User manual

Timex T121 User manual

Timex

Timex T121 User manual

Timex T101 User manual

Timex

Timex T101 User manual

Timex T131 User manual

Timex

Timex T131 User manual

Timex T110 User manual

Timex

Timex T110 User manual

Timex T065 User manual

Timex

Timex T065 User manual

Timex T128 User manual

Timex

Timex T128 User manual

Timex T020 User manual

Timex

Timex T020 User manual

Timex T124 User manual

Timex

Timex T124 User manual

Timex T035 User manual

Timex

Timex T035 User manual

Timex T317 User manual

Timex

Timex T317 User manual

Timex T105 User manual

Timex

Timex T105 User manual

Timex t103 User manual

Timex

Timex t103 User manual

Timex T121 User manual

Timex

Timex T121 User manual

Timex T231 User manual

Timex

Timex T231 User manual

Timex T130 User manual

Timex

Timex T130 User manual

Timex Jelly Clock T116 User manual

Timex

Timex Jelly Clock T116 User manual

Timex T118 User manual

Timex

Timex T118 User manual

Timex TW300 User manual

Timex

Timex TW300 User manual

Timex T128 User manual

Timex

Timex T128 User manual

Timex T129 User manual

Timex

Timex T129 User manual

Popular Alarm Clock manuals by other brands

dyras ALCL-002WH instruction manual

dyras

dyras ALCL-002WH instruction manual

Livoo AR321 user manual

Livoo

Livoo AR321 user manual

Steren CLK-210 user manual

Steren

Steren CLK-210 user manual

COP-USA ALCDVR32-SL user manual

COP-USA

COP-USA ALCDVR32-SL user manual

Casio PQ-70 user manual

Casio

Casio PQ-70 user manual

iHome IA63 user manual

iHome

iHome IA63 user manual

ANJANK AC-190 Instruction manual and warranty

ANJANK

ANJANK AC-190 Instruction manual and warranty

Dexford RCT200 operating manual

Dexford

Dexford RCT200 operating manual

Philips AJL303/37B user manual

Philips

Philips AJL303/37B user manual

RST Q754 Operation manual

RST

RST Q754 Operation manual

Sharper Image 204050 instruction manual

Sharper Image

Sharper Image 204050 instruction manual

Philips HF3505/70 Quick start card

Philips

Philips HF3505/70 Quick start card

SVINZ SCC009 user manual

SVINZ

SVINZ SCC009 user manual

Clas Ohlson 918863 quick guide

Clas Ohlson

Clas Ohlson 918863 quick guide

Krown Visual VibeAlert user manual

Krown

Krown Visual VibeAlert user manual

Coopers 9765 instructions

Coopers

Coopers 9765 instructions

Gro Company groclock How to use

Gro Company

Gro Company groclock How to use

TFA 98.1075 operating instructions

TFA

TFA 98.1075 operating instructions

manuals.online logo
manuals.online logoBrands
  • About & Mission
  • Contact us
  • Privacy Policy
  • Terms and Conditions

Copyright 2025 Manuals.Online. All Rights Reserved.

Model T463
Weather Alert Alarm Clock Radio
with Nature Sounds
FM8892
96100 104
106108
MHz
AM5460
708010012
0140170x10
kHZ
SN
O
OZ
E
/
D
IMM
E
R
ALERT
ALERT
SOUND OFF
LOW
DM
SUN MON TUE WED THU FRI SAT
DST
ALARM
SET RADIO
WEATHER SOUND
OCEAN FOREST BROOK WIND
RADIO ON/ SLEEP
OFF/RESET
SOUNDON/SLEEP
i
WB
WEATHERON/SLEEP
1
CAUTION: TO REDUCE THE RISK OF ELECTRIC
SHOCK, DO NOT REMOVE COVER (OR BACK). NO
USER SERVICEABLE PARTS INSIDE. REFER
SERVICING TO QUALIFIED SERVICE PERSONNEL.
WARNING: TO REDUCE THE RISK OF FIRE OR
ELECTRIC SHOCK, DO NOT EXPOSE THIS
APPLIANCE TO RAIN OR MOISTURE.
These symbols are located on the back of the cabinet.
CAUTION: To prevent electric shock, match wide blade of
plug to wide slot. Fully insert.
ATTENTION: Pour éviter les choc électriques. Introduire la
lame la plus large de la fiche dans la borne correspondante
de la prises et pousser jusqu’au fond.
CAUTION
RISK OF ELECTRIC SHOCK
DO NOT OPEN
This symbol is intended to alert the user to the
presence of important operating and maintenance
(servicing) instructions in the literature accompanying
the product.
This symbol is intended to alert the user of the
presence of uninsulated dangerous voltage within
the product’s enclosure that may be of sufficient
magnitude to constitute a risk of electric shock.
Table of Contents
A Consumer Guide to Product Safety ..............................................................................................3-4
FCC Information
Safety Instructions
Preparation for Use .....................................................................................................................................5
Maintenance
Battery Installation
DC Operation
Battery Low Indicator
Daylight Savings Time and LCD Indicators.............................................................................................6
Controls and Indicators .........................................................................................................................................7
Setting the Clock Time ..............................................................................................................................................8
Setting the Calendar .............................................................................................................................................9
Setting the Alarm Time ...................................................................................................................10-11
Listening to the Radio .............................................................................................................................................12
Listening to Nature Sounds ..................................................................................................................................13
Listening to Weather .............................................................................................................................................14
Sleep Timer Operation .........................................................................................................................................15
Weather Alert Operation..................................................................................................................16-17
Weather Alert with Built-Warning Phrase and Light
Weather Alert with Light Only
Snooze/Dimmer Operation....................................................................................................................................18
Warranty ......................................................................................................................................................19
A Consumer Guide to Product Safety
Important Radio FCC Information
Warning: Changes or modifications to this unit not expressly approved by the party
responsible for compliance could void the user’s authority to operate the equipment.
Note: This equipment has been tested and found to comply with the limits for a Class
B digital device, pursuant to Part 15 of the FCC Rules. There limits are designed to
provide reasonable protection against harmful interference in a residential installation.
This equipment generates, uses and can radiate radio frequency energy and if not
installed and used in accordance with the instruction, may cause harmful interference
to radio communications.
However, there is no guarantee that interference will not occur in a particular installation.
If this equipment does cause harmful interference to radio or television reception, which
can be determined by turning the equipment off and on, the user is encouraged to try
to correct the interference by one or more of the following measures:
• Reorient or relocate the receiving antenna.
• Increase the separation between the equipment and receiver.
• Connect the equipment into an outlet on a circuit different from that to which the
receiver is needed.
• Consult the dealer or an experienced radio/TV technician for help.
3
4
A Consumer Guide to Product Safety
This unit has been designed and manufactured to assure your personal safety. Improper use can result in potential electrical shock or fire hazards. Please
read all safety and operating instructions carefully before installation and use. Keep these instructions handy for future reference. Take special note and
adhere to all warnings, any always follow the instructions on the unit and in the instruction and service manual.
1. Water and Moisture: The unit should not be used near water. For example, near a bathtub, washbowl, kitchen sink, laundry tub, in a wet basement,
or near a swimming pool, etc.
2. Ventilation: The unit should be situated so that its location or position does not interfere with its proper ventilation. For example, it should not be
situated on a bed, sofa, rug, or similar surface that may block the ventilation openings; or placed in a built-in installation, such as bookcase or cabinet
that may impede the flow of air through the ventilation openings.
3. Heat: The unit should be situated away from heat source such as radiators, heat register, stoves, or other appliances (including
amplifiers) that produce heat.
4. Power Sources: The unit should be connected to a power supply only of the type described in the operating instructions or as marked on the
appliance.
5. Grounding or Polarization: This product is equipped with a polarized alternating current line plug (a plug having one blade wider than
the other). This plug will fit into the power outlet only one way. This is a safety feature. If you are unable to insert the plug fully into the outlet, try
reversing the plug. If the plug should still fail to fit, contact your electrician to replace your obsolete outlet. Do not defeat the safety purpose of the
polarized plug.
6. Power Cord Protection: Power supply cords should be routed so that they are not likely to be walked on or pinched by items placed upon or against
them. It is always best to have a clear area from where the cord exits the unit to where it is plugged into an AC outlet.
7. Cleaning: The unit should be cleaned only as recommended by the manufacturer.
8. Non use Periods: The power cord of the unit should be unplugged from the outlet when it is to be left unused for a long period of time.
9. Object and Liquid Entry: Care should be taken so that objects do not fall and liquids are not spilled into the enclosure through openings.
10. Damage Requiring Service: The appliance should be serviced by qualified service personnel when:
A. The power-supply cord or plug has been damaged.
B. Objects have fallen into or liquid has been spilled into the enclosure.
C. The unit has been exposed to rain.
D. The unit has been dropped or the enclosure damaged.
E. The unit does not appear to operate normally or exhibits a marked change in performance.
11. Servicing: The user should not attempt to service the unit beyond that described in the user’s operating instructions. All other
servicing should be referred to qualified service personnel.
12. If you have any questions, call SDI Technologies Inc., Timex Audio Products Division Customer Service, 1-800-888-4491.
IMPORTANT SAFETY INSTRUCTIONS
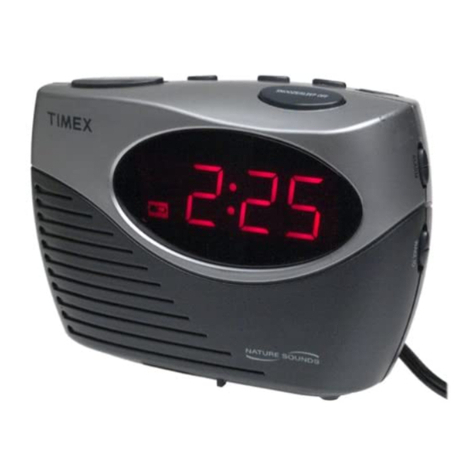
When the batteries are getting weak, a Battery Low Icon ( ) will flash on the lower right side of the time digits. You should replace
the batteries.
Important:
Unit MUST be connected to the AC power while replacing the batteries otherwise, time and alarm settings may be lost.
5
Preparation for Use
Preparation for Use
1. Remove the unit and all packing materials from the carton.
2. It is a good idea to save all the packing materials in case the unit ever needs to be returned for service. If you do dispose of the packing
materials, please do so properly.
3. Remove any feature labels, fact tags, or clear protective films from the front or top of the radio, if applicable. Do not remove any labels
from the back or bottom of the unit.
Maintenance
• Place the unit on the level surface away from sources of direct sunlight or excessive heat.
• Protect your furniture when placing your unit on a natural wood and lacquered finish. A cloth or other protective material should be
placed between the unit and the furniture.
• Clean your unit with a soft cloth moistened only with mild soap and water. Stronger cleaning agents, such as Benzine, thinner, or similar
materials can mark the surface of the case.
• In the remote case that the unit is not operating properly, please unplug the unit, re-install all batteries, and re-program all the settings.
Installation
Note: This Clock Radio operates on both AC or DC supply. When the unit is connected to AC power, the display back light will
light up.
Important:
To ensure that you will not miss the weather alert warning, we recommend the user to install the batteries even when using AC supply.
DC Operation
1. Gently turn the unit over and remove the battery compartment door.
2. Install 5 “AA” alkaline batteries while making sure that the polarity is correct as shown
inside compartment. For best performance and longer life, we recommend using
alkaline batteries.
3. Close the battery compartment door and gently turn the unit right side up.
Battery Low Indicator
LOW
Daylight Savings Time and Leap Years
This unit will automatically adjust the clock at the beginning and end of Daylight Savings time each year. It will also adjust the month/date
display for Leap Year automatically. This unit automatically advances by one hour at the start of Daylight Savings on the first Sunday of
April and automatically moves back by one hour at the end of Daylight Savings on the last Sunday of October. If you live in an area that
does not observe Daylight Savings, it will be necessary for you to manually adjust the clock back one hour at the beginning of Daylight
Savings and forward one hour at the end of Daylight Savings.
PM Indicator
6
LOW
DM
SUN MON TUE WED THU FRI SAT
DST
ALERT
ALERT
Nature Sound Indicators
DST (Daylight Savings Time)
Wake To Alarm Sound
and Alarm On/Off Icons
Clock Time
Day of Week
Power On Indicator
Steady Light:
Indicates that the
Weather Channel
is Being Broadcasted
Flashing Light:
Indicates the Weather
Alert Warning
Sleep Volume Indicators
Battery Low Indicator
Month/Date
Audible Weather
Alert Off Indicator
Sleep Time
LCD Indicators
7
FM8892
96100104
106108
MHz
AM5460
708010012
0140170x10
kHZ
SN
O
OZ
E
/
D
IMM
E
R
ALERT
ALERT
SOUND OFF
LOW
DM
SUN MON TUE WED THU FRI SAT
DST
ALARM
SET RADIO
WEATHER SOUND
OCEAN FOREST BROOK WIND
RADIO ON/ SLEEP
OFF/RESET
SOUNDON/SLEEP
i
WB
WEATHERON/SLEEP
Alarm Off/Reset
Button
Volume Control
Tuning Switch
Band Switch
Instant Weather
On/Sleep Button
Snooze/Dimmer
Button
Alarm
Buttons
Sound Buttons
Weather
Alert Sound
Switch
Test
Switch
Weather
Channel
Switch
Radio On/Sleep Button
Sound/On
Sleep Button
SN
O
OZ
E
/
D
IMM
E
R
CAL. SET
OFF/RESET
SOUND ON/SLEEP
i
WB
FWDBUTTON
FWDBUTTON
7-
5-2
DA
IL
Y
AL
ARM
SLEEP VOL.
TIME SET.
FWD
Button
REV Button
Sleep Volume
Button
Time Set Button
7.5.2 Button Calendar Set
Button
Controls and Indicators
Important: While setting the time or calendar, if you do not press the appropriate buttons within 8 seconds, the display will stop
flashing with a ‘Beep’ sound and return to normal mode. If this happens, you must follow the instructions again from Step 1.
8
Setting the Clock Time
Step 1
• Press and hold until the clock digits begin flashing.
TIME SET
Step 2
• While the clock digits are flashing, press and hold
either button to set the correct time. Remember
to set the correct AM or PM. The PM Indicator
is located next to the Hour Digit. Press and hold
FWD or REV Button to rapidly advance the
setting of time.
FWD or REV
Step 3
• Press again to return the display to normal mode.
A ‘Beep’ sound will confirm that the time is set.
Note: You can also allow the display to flash for
approximately 8 seconds to return to normal mode.
TIME SET
LOW
DM
SUN MON TUE WED THU FRI SAT
DST
PM Indicator
TIME SET
CAL. SET
SLEEP VOL.
7-5-2
DAILY ALARM
Important: While setting the time or calendar, if you do not press the appropriate buttons within 8 seconds, the display will stop
flashing with a ‘Beep’ sound and return to normal mode. If this happens, you must follow the instructions again from Step 1.
9
Setting the Calendar
LOW
DM
SUN MON TUE WED THU FRI SAT
DST
Day of
The Week
Step 4
• Press to return to the normal mode. A ‘Beep’
sound will confirm that the calendar is set.
Note: You can also allow the display to flash for
approximately 8 seconds to return to normal mode
CALENDAR SET
Step 1
• Press and hold until the Month/Date Display
begin flashing.
CALENDAR SET
Step 2
• While the Calendar digits are flashing, press
FWD to set the correct month and REV
to set the correct date.
FWD or REV
Step 3
• While the Calendar digits are flashing, press
repeatedly until the correct day of the
week is flashing on the display.
7.5.2
SNOOZE / DIMMER
OFF/RESET
SOUND ON/SLEEP
TIME SET
CAL. SET
SLEEP VOL.
7-5-2
DAILY ALARM
iWB
RADIO ON/SLEEP
SNOOZE / DIMMER
OFF/RESET
SOUND ON/SLEEP
TIME SET
CAL. SET
SLEEP VOL.
7-5-2
DAILY ALARM
iWB
RADIO ON/SLEEP
Date Month