Timsen TR-W286 User manual

MODEL: TR-W286
Instructions Manual
VERTICAL TURNTABLE WITH USB
PLAYER,BLUETOOTH
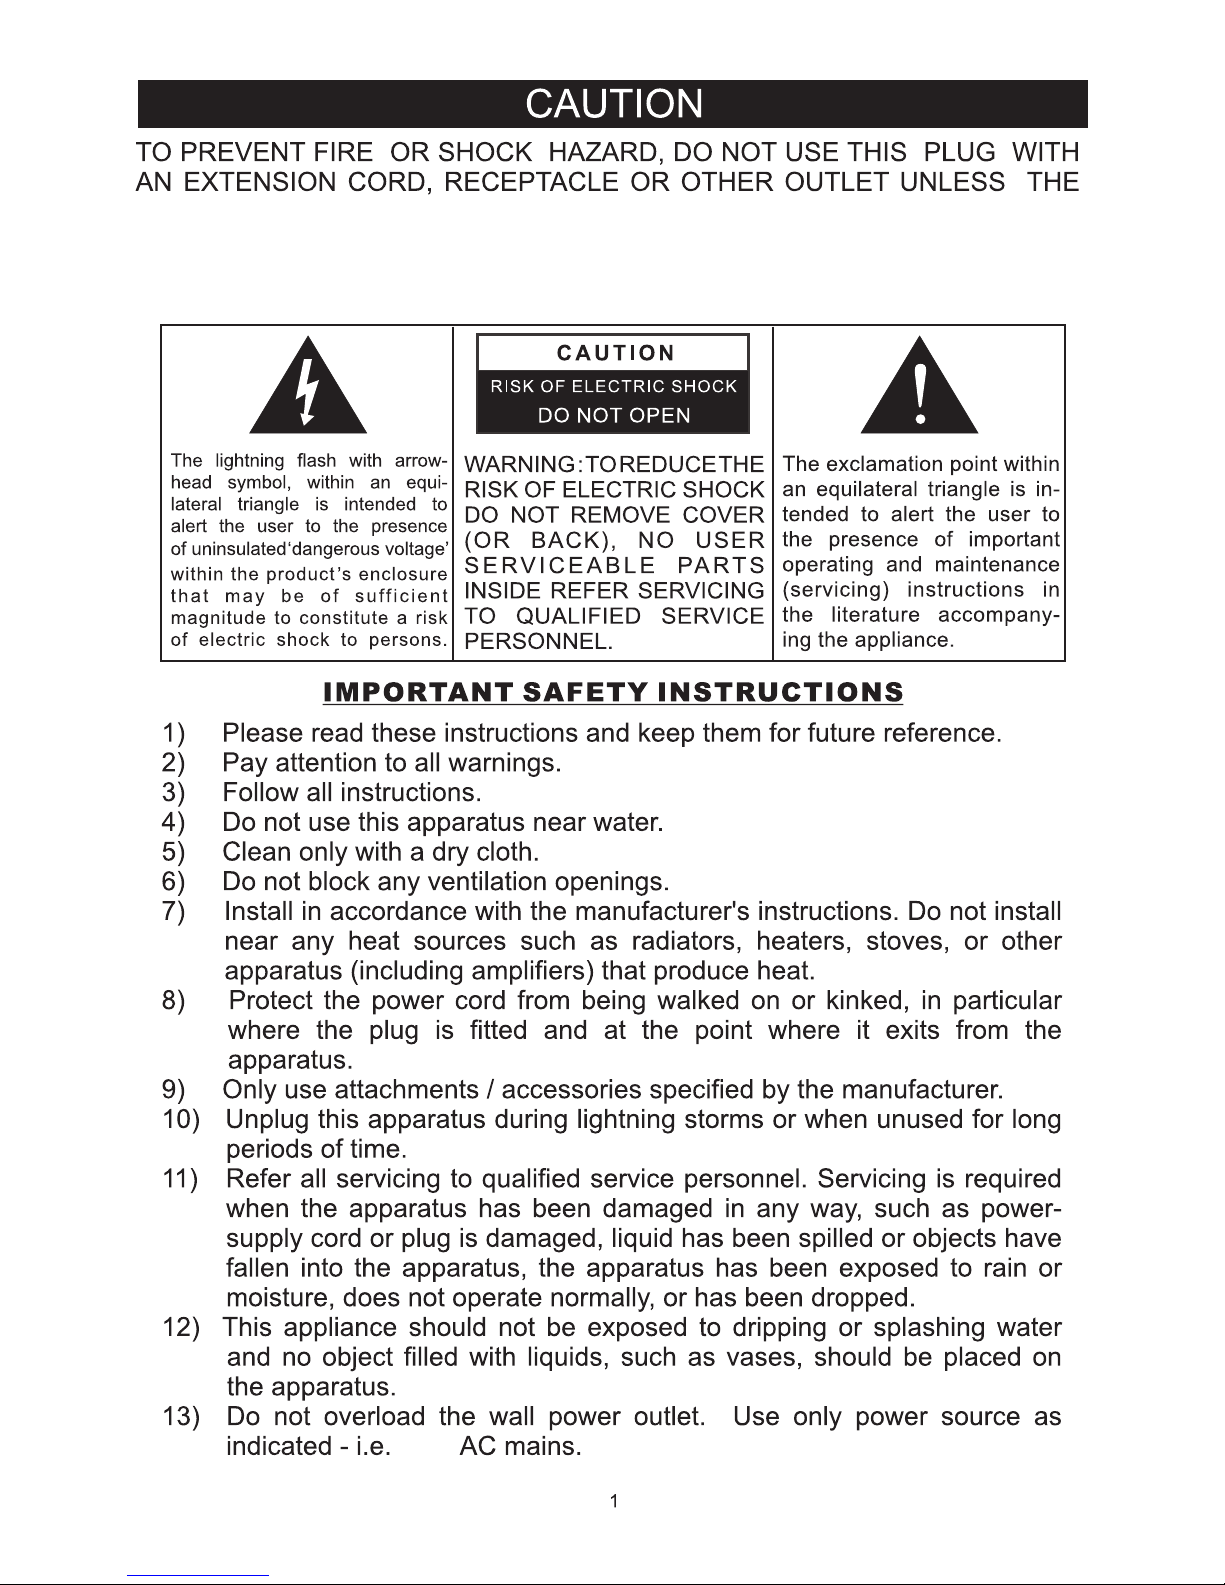
BLADES CAN BE FULLY INSERTED TO PREVENT BLADE EXPOSURE.
TO PREVENT FIRE OR SHOCK HAZARD, DO NOT EXPOSE THIS
APPLIANCE TORAIN OR MOISTURE.
120V
PREPARATION FOR USE
UNPACKING AND SET UP
• Carefully remove the unit from the display carton and remove all packing
material from the unit.
• Unwind the AC power cord and extend it to its full length.
• Place the unit on a stable, level surface, convenient to an AC outlet, out of a
strong magnetic field.
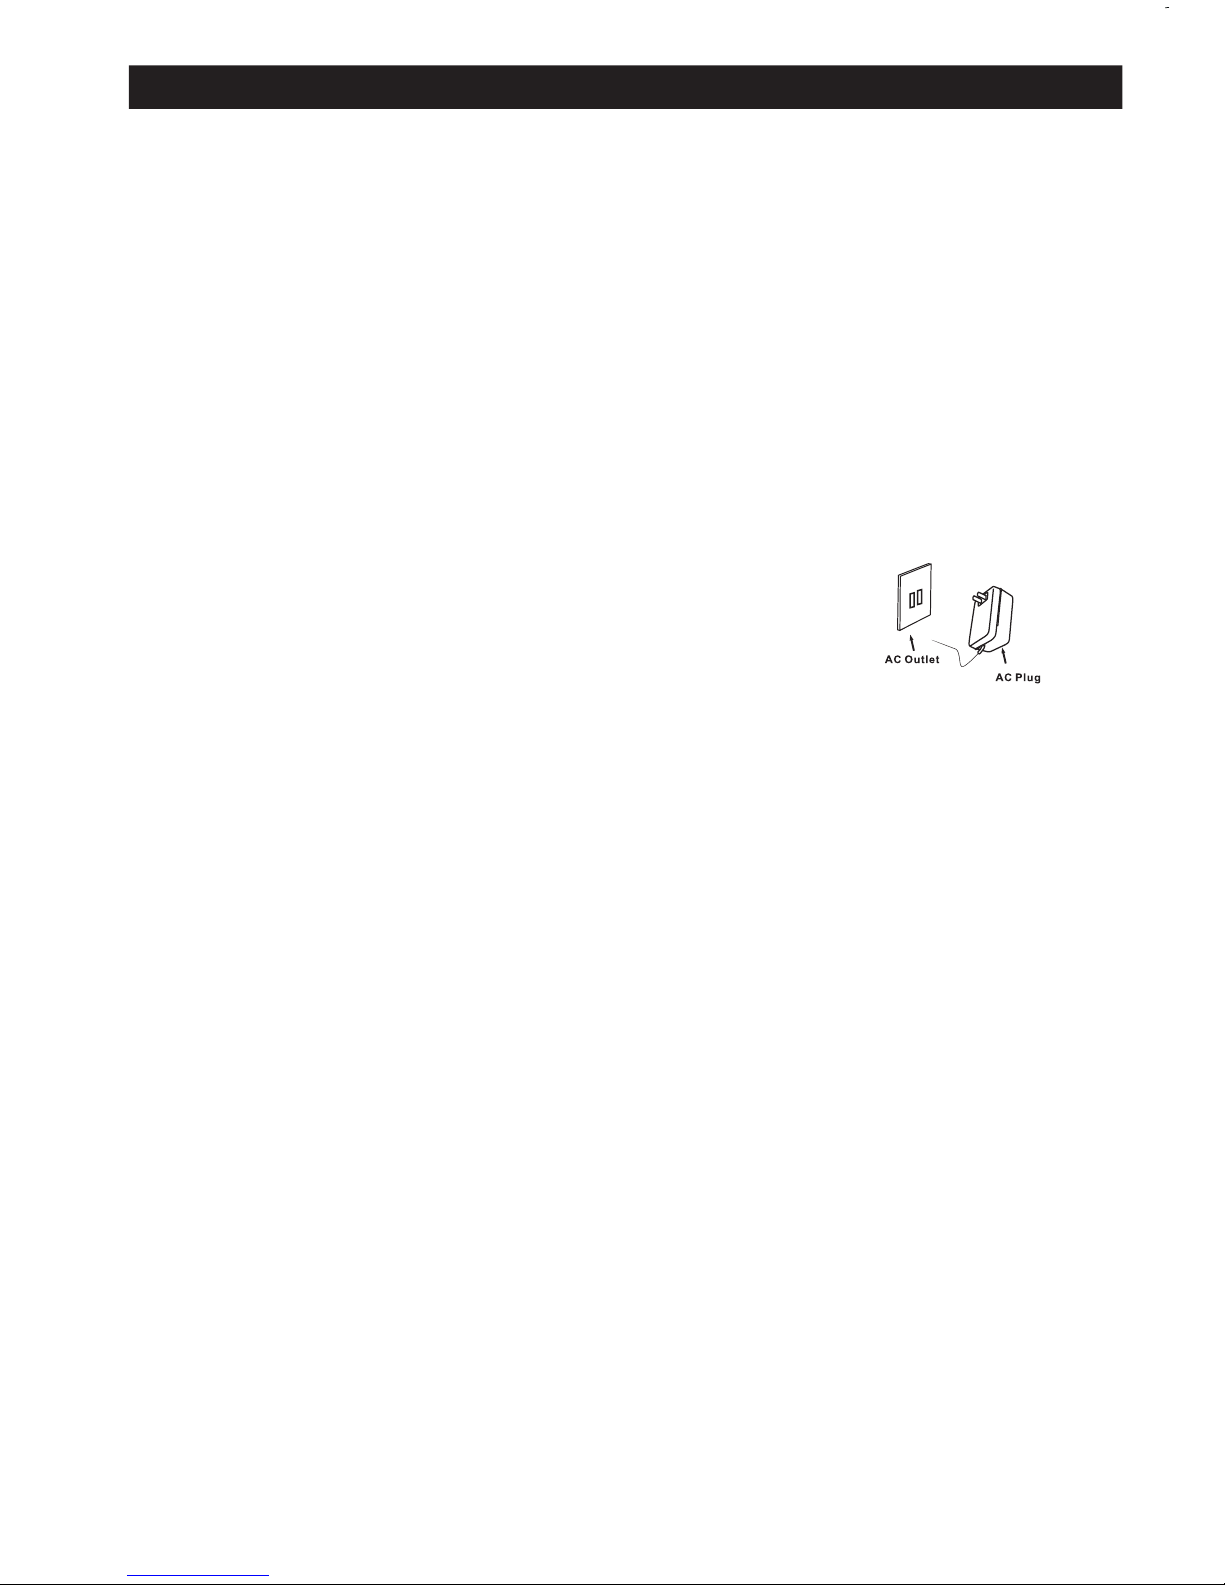
• Connect the plug to your AC outlet.
• Remove the white plastic stylus cover from the phonograph stylus by sliding it
in the direction of the arrow.
• During this operation pay attention to the stylus, because the stylus damage is
not covered by guarantee.
This product is designed to operate by 12V 1A AC-DC adapter. Attempting to
operate this system from any other power source may cause
damage to the system, and such damage is not covered by
your warranty.
NOTE: You will note that this system is equipped with
domestic standard AC power plug. If this plug does not fit into your existing AC
outlet, do not try to defeat this safety feature by filing the wide blade to make it
fit into your outlet. If this plug will not fit into your outlet, you probably have
an outdated non-polarized AC outlet. You should have your outlet changed
by a qualified licensed electrician.
PROTECT YOUR FURNITURE
This model is equipped with non-skid rubber 'feet' to prevent the product from
moving when you operate the controls. These 'feet' are made from non-migrating
rubber material specially formulated to avoid leaving any marks or stains on your
furniture. However certain types of oil based furniture polishes, wood
preservatives, or cleaning sprays may cause the rubber 'feet' to soften, and
leave marks or a rubber residue on the furniture. To prevent any damage to your
furniture we strongly recommend that you purchase small self-adhesive felt
pads, available at hardware stores and home improvement centers everywhere,
and apply these pads to the bottom of the rubber 'feet' before you place the
product on fine wooden furniture.
CARE OF THE CABINETS: You should care for the cabinet as you would care
for any piece of the fumiture. When the cabinet becomes dusty wipe it with a
soft, non-abrasive dust cloth.If the cabinet becomes smudged with fingerprints
you may use any good quality commercial dusting and polishing spray
cleaner,however avoid spraying the plastic or metal parts of this system.We
recommend that you spray the cleaner on your dust cloth. Not directly on the
cabinet. to avoid getting any of the spray on the plastic or metal parts.
2

LOCATION OF CONTROLS AND INDICATORS
3
9 10 11 12 13 15
1) Cartridge & Stylus 9) USB ON/OFF Button
2) Turntable 10) Forward Skip Button
3) Tone Arm 11) Play/Pause Button
4) Speakers 12) Backward Skip Button
5) Tone arm lever 13) USB Indicator Light
6) Bluetooth Indicator Light 14) Magnetic Adapter
7) OFF/VOLUME Knob 15) USB socket
8) Speed Control Knob
16
17
16) Power Jack
17) Line Out Jack
18) AC Adapter
18

OPERATING INSTRUCTIONS
Playing USB
1. Press USB ON/OFF button to set the unit to the USB mode, USB indicator
light will be on.
2. Insert the U disk, the unit will begin to play the first song of the U disk
automatically. And the indicator light will flash.
3. Press the Forward skip button or the Backward skip button to select
the song.
4. To pause playback, press Play/Pause button , the indicator light will be on;
press Play/Pause button again to resume playback.
5. To stop playback, press USB ON/OFF button, the indicator light will go off.
Noted: When playing USB(the USB indicator light is on), only the Volume
control knob on the front panel can be used.
TURNTABLE OPERATION
1. Rotate the ON/OFF knob to turn on the unit.
2. Rotate the SPEED CONTROL KNOB to the correct speed (33 1/3, 45 or 78
rpm) for the select record.
3. Take out the MAGNETIC ADAPTER, put a record on the TURNTABLE lightly,
then put the MAGNETIC ADAPTER back to fix the record.
4. Move the tone arm over the record and lower it to point from which you want
the record to start.
5. Remove the stylus protector from the stylus assembly.
6. Release the tonearm lock, use the Cue Lever too lift up the tonearm.
7. Move the tonearm over the record where play is desired to begin. Use the Cue
Lever back to the down position, the tonearm will descend slowly onto the
record and begin to play.
8. Rotate the volume control knob to get desired sound level.
9. At the end of the record, the tone arm will stop automatically.
4

BLUETOOTH FUNCTION OPERATION:
1. Turn on the unit, rotate the volume control to desert level.
2.
LINE OUT OPERATION
This system includes a set of LINE OUT jacks which allow you to record from the
Phonograph of this system to an external recording device such as a cassette
recorder, Mini-Disc, etc. ln any play mode, insert the audio cable (not include)
into the matching " LINE OUT" socket of the unit, operate as usual, and through
the speakers of A, we can hear the sound exported from the external device(A).
The bluetooth function is setting as acquiescent function when turn on the unit.
and make sure the tone-arm is on the resetting state. A short Bluetooth starting
tone can be heard. then the Bluetooth indicator will be flashing.
3. Turn on your Bluetooth device and scan. It will be displayed as “TR-W286” when
discovered by your Bluetooth device. Enter password “0000” during pairing if
necessary.
4. When the unit is paired with your Bluetooth device, you can hear a short tone
from the speakers.
5. Play your Bluetooth device as you normally do and the sound will be played from
this unit .Then you may enjoy the music.
Note:
1. Make sure your Bluetooth device and this unit is within 10 meters.
2. Check and see if there are other Bluetooth devices nearby interfering the signal
and connection.
3. This unit is could be paired by multiple different Bluetooth devices, but could
only be connected and played by one of them at a time. Make sure no others
device is actively connected to it already when you are trying to connect the
one you are working on.
5
OPERATING INSTRUCTIONS

NOTE: This equipment has been tested and found to comply with the limits for a
Class B digital device, pursuant to part 15 of the FCC Rules. These limits are
designed to provide reasonable protection against harmful interference in a
residential installation. This equipment generates uses and can radiate radio
frequency energy and, if not installed and used in accordance with the instructions,
may cause harmful interference to radio communications. However, there is no
guarantee that interference will not occur in a particular installation. If this
equipment does cause harmful interference to radio or television reception, which
can be determined by turning the equipment off and on, the user is encouraged to
try to correct the interference by one or more of the following measures:
- Reorient or relocate the receiving antenna.
- Increase the separation between the equipment and receiver.
-Connect the equipment into an outlet on a circuit different from that to which the
receiver is connected.
-Consult the dealer or an experienced radio/TV technician for help
Changes or modifications not expressly approved by the party responsible for compliance
could void the user's authority to operate the equipment.
This device complies with Part 15 of the FCC Rules. Operation is subject to the following
two conditions:
(1) this device may not cause harmful interference, and
(2) this device must accept any interference received, including interference that may
cause undesired operation.
Table of contents


