manuals.online logo
Brands
  1. Home
  2. •
  3. Brands
  4. •
  5. TLC Electrical Supplies
  6. •
  7. Floodlight
  8. •
  9. TLC Electrical Supplies LEDlite LTFL30PIR Assembly instructions

TLC Electrical Supplies LEDlite LTFL30PIR Assembly instructions

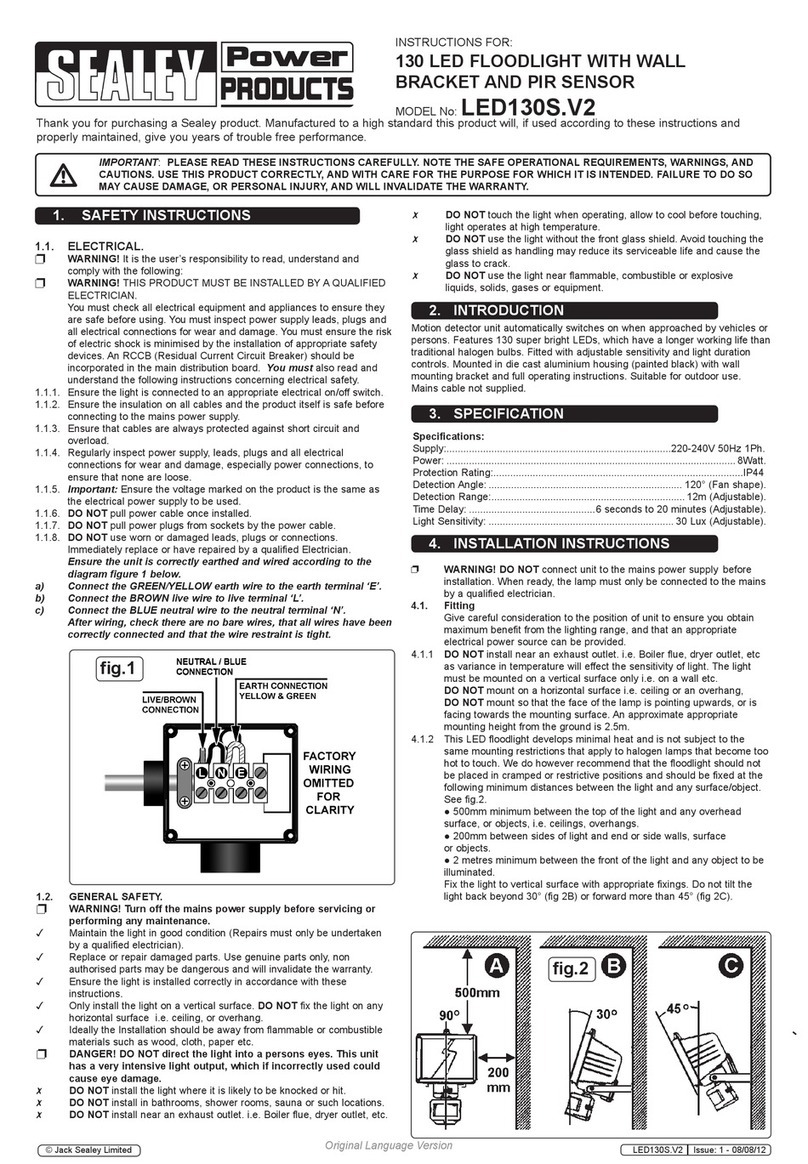
30 WATT PIR LED Floodlight
Please read these instructions before commencing installation
and retain them for future reference.
Installation Sheet LTFL30PIR
220-240V 30WIP44
• Switch off the power source before installation.
• Install a minimum distance of 1m away from ground.
• The unit must be installed in the horizontal position (Figure 1a), not vertically (Figure 1b).
SAFETY PRECAUTIONS
1a
HORIZONTAL
1b
VERTICAL
Figure 1a & 1b
Figure 2
1 2 3
4
1. If in doubt consult a professional electrician.
2. Unscrew the floodlight from its wall bracket as indicated in Figure 2, part 4.
3. Line up the wall bracket holes and drill three holes into the wall. Use appropriate size rawl
plugs and screws to fix the bracket to the wall.
4. Screw the floodlight on to its wall bracket and tighten firmly, angling the light as required.
5. When connecting the power cable into the PIR sensor housing, please follow the wiring
instructions opposite.
6. After connecting the power supply, the installation has been completed.
INSTALLATION INSTRUCTIONS
CHOOSING A MOUNTING LOCATION
• For the best results, fix your sensor on a solid surface, 1.8~2.5M above the ground.
• For outdoor installation, a location under eaves is preferable.
• Avoid aiming the motion sensor at pools, heating vents, air conditioners or objects that may
change temperature rapidly.
• Do not allow sunlight to fall directly on the front of unit.
• Try to avoid pointing the unit at trees or shrubs or where the motion of pets may be detected.
• When choosing the mounting position consider that the sensor is more sensitive to motion across
the detection field (A) and less sensitive to motion directly towards the sensor (B) (Figure 3).
• Select a location for the unit based on the coverage angles shown in Figure 4.
SENSOR
LESS SENSITIVE
SENSOR
MORE SENSITIVE
SENSITIVITY TO MOTION
Figure 3
COVERAGE ANGLES
Figure 4
UNIT (M)
WIRING INFORMATION
Wired with three
core (w/o plug)
240V Input (Figure 5)
Brown = Live
Blue= Neutral
Green/Yellow = Earth
240V Input Figure 5
Walking Towards
Walking across
1
2
COVERAGE RANGE
Live
Neutral
Earth
PIR
L
N
E
L
N
L'
N
LED Floodlight
Brown = Live wire - L
Blue = Neutral Wire - N
Green/Yellow = Earth wire - E
• Pulse Override facility to enable lighting to be switched on for long periods using an existing switch.
For pulse override switch the power OFF then ON again within 2 seconds to enable constant light.
In constant light mode turn OFF and ON after 5 seconds to enable sensor mode.
A B
SETTING THE LIGHT SYSTEM
• Turn on the wall switch. The floodlight will turn on for about 1 minute to warm up. Then it turns off.
Walk through the detection area. The floodlight turns on when you move and turns off when you
stop. Wait for the floodlight to turn off before moving again to test the sensor.
• Adjust the motion sensor to cover the desired detection area. For a smaller coverage area, point
the sensor down; for a larger coverage area, point the sensor up.
(1) TEST MODE
• Set the SENS control to its midpoint. Turn the Light control clockwise and the time control
anti-clockwise to the edge – the TEST position (Figure 6).
Figure 6
(2) TIME ADJUSTMENT
• The TIME adjustment controls how long the floodlight will stay on after the motion has been detected.
• Turn the time control knob clockwise to increase (up to about 10 minutes) how long the floodlight
stays on or anti-clockwise to decrease (down to about 5 seconds) the time delay (Figure 7).
Figure 7
( 3 ) LUX ADJUSTMENT
• The LUX adjustment determines at what light level the lighting system will
start operating when you set the sensor to automatic operation.
• Provisionally turn the LUX control knob to the edge anti-clockwise at the
moon (dusk) position (Figure 8). In this provisional setting mode, the
motion sensor remains inactive during daylight. At dusk when the light level
is at the LUX required, simply set the LUX control knob to the position that
the motion sensor will become active as daylight declines. Figure 8
ABOUT 5 SECONDS ABOUT 10 MINUTES
( 4 ) SENSOR ADJUSTMENT
The sensitivity adjustment may be adjusted to compensate for seasonal variations in temperature
and to reduce unwanted triggering. The optimum sensitivity can be achieved by setting the SENS
control knob initially to its mid-point and then adjusting the control knob clockwise to increase (up
to 12 meters) the detecting distance or anti-clockwise to decrease (down to 3 meters) the detecting
distance.
SPECIFICATIONS:
INSTALLATION NOTICE:
1. When installing or replacing the fixture, the electrician should be clear about the product model
number and power supply data. The power source should be isolated and switched off.
0 0
2. Working temperature: -30 - +55 , using under ventilated condition.
TIMESENS LUX
Power Requirement
Lighting Load
Detection Angle
Detection Distance
Swiveling Angle
Mounting Height
Time Adjustment
Lux Adjustment
Operating Temperature
Floodlight Protection Rating
PIR Protection Rating
220V - 240V
Max. 200W
Up to 110° at 20°C
Up to 12m at 20°C
Lamp Part: Vertical 90 ; °
Sensor Part: Horizontal 50 ,°
Vertical 40°
Recommended 1.8 ~ 2.5m
(5.9 ~ 8.2 ft) Wall Mount
5 sec ~ 10 min
Approx. 0 ~ 1,000 Lux.
-20 C ~ +40 C° °
IP65
IP44
Protection Class Class I
Wall Switch Control
Pulse Override
TESTTEST
TEST
LUX

Popular Floodlight manuals by other brands

Elinchrom ScanLight Halogen - 20998 user manual

Elinchrom

Elinchrom ScanLight Halogen - 20998 user manual

Tranberg TEF 2500 030/50 user manual

Tranberg

Tranberg TEF 2500 030/50 user manual

Biral BTD-200 user manual

Biral

Biral BTD-200 user manual

Chauvet Firebird LED user manual

Chauvet

Chauvet Firebird LED user manual

KSE-LIGHTS TL-41 Series user manual

KSE-LIGHTS

KSE-LIGHTS TL-41 Series user manual

Beamz professional PAR 64 36x3W RGBW LED's IR DMX instruction manual

Beamz professional

Beamz professional PAR 64 36x3W RGBW LED's IR DMX instruction manual

GLP Impression X4 XL instruction manual

GLP

GLP Impression X4 XL instruction manual

Allen + Roth 18302-000 user manual

Allen + Roth

Allen + Roth 18302-000 user manual

ACME Dragonfly user manual

ACME

ACME Dragonfly user manual

Bartec FEAM SFDN Series Instructions for use

Bartec

Bartec FEAM SFDN Series Instructions for use

Cooper Lighting MX1 Instruciton manual

Cooper Lighting

Cooper Lighting MX1 Instruciton manual

Chauvet TFX-900 Stage Wash user manual

Chauvet

Chauvet TFX-900 Stage Wash user manual

Advanced Arianna Petrarca installation instructions

Advanced

Advanced Arianna Petrarca installation instructions

EXTOL LIGHT 43201 Translation of the original user manual

EXTOL LIGHT

EXTOL LIGHT 43201 Translation of the original user manual

Chalmit 503 Installation, operation and maintanance instructions

Chalmit

Chalmit 503 Installation, operation and maintanance instructions

Chauvet 4 Bar Flex user manual

Chauvet

Chauvet 4 Bar Flex user manual

Philips VL500 Wash Luminaires Service manual

Philips

Philips VL500 Wash Luminaires Service manual

Blizzard Lighting Snowblind FX manual 

Blizzard Lighting

Blizzard Lighting Snowblind FX manual 

manuals.online logo
manuals.online logoBrands
  • About & Mission
  • Contact us
  • Privacy Policy
  • Terms and Conditions

Copyright 2025 Manuals.Online. All Rights Reserved.