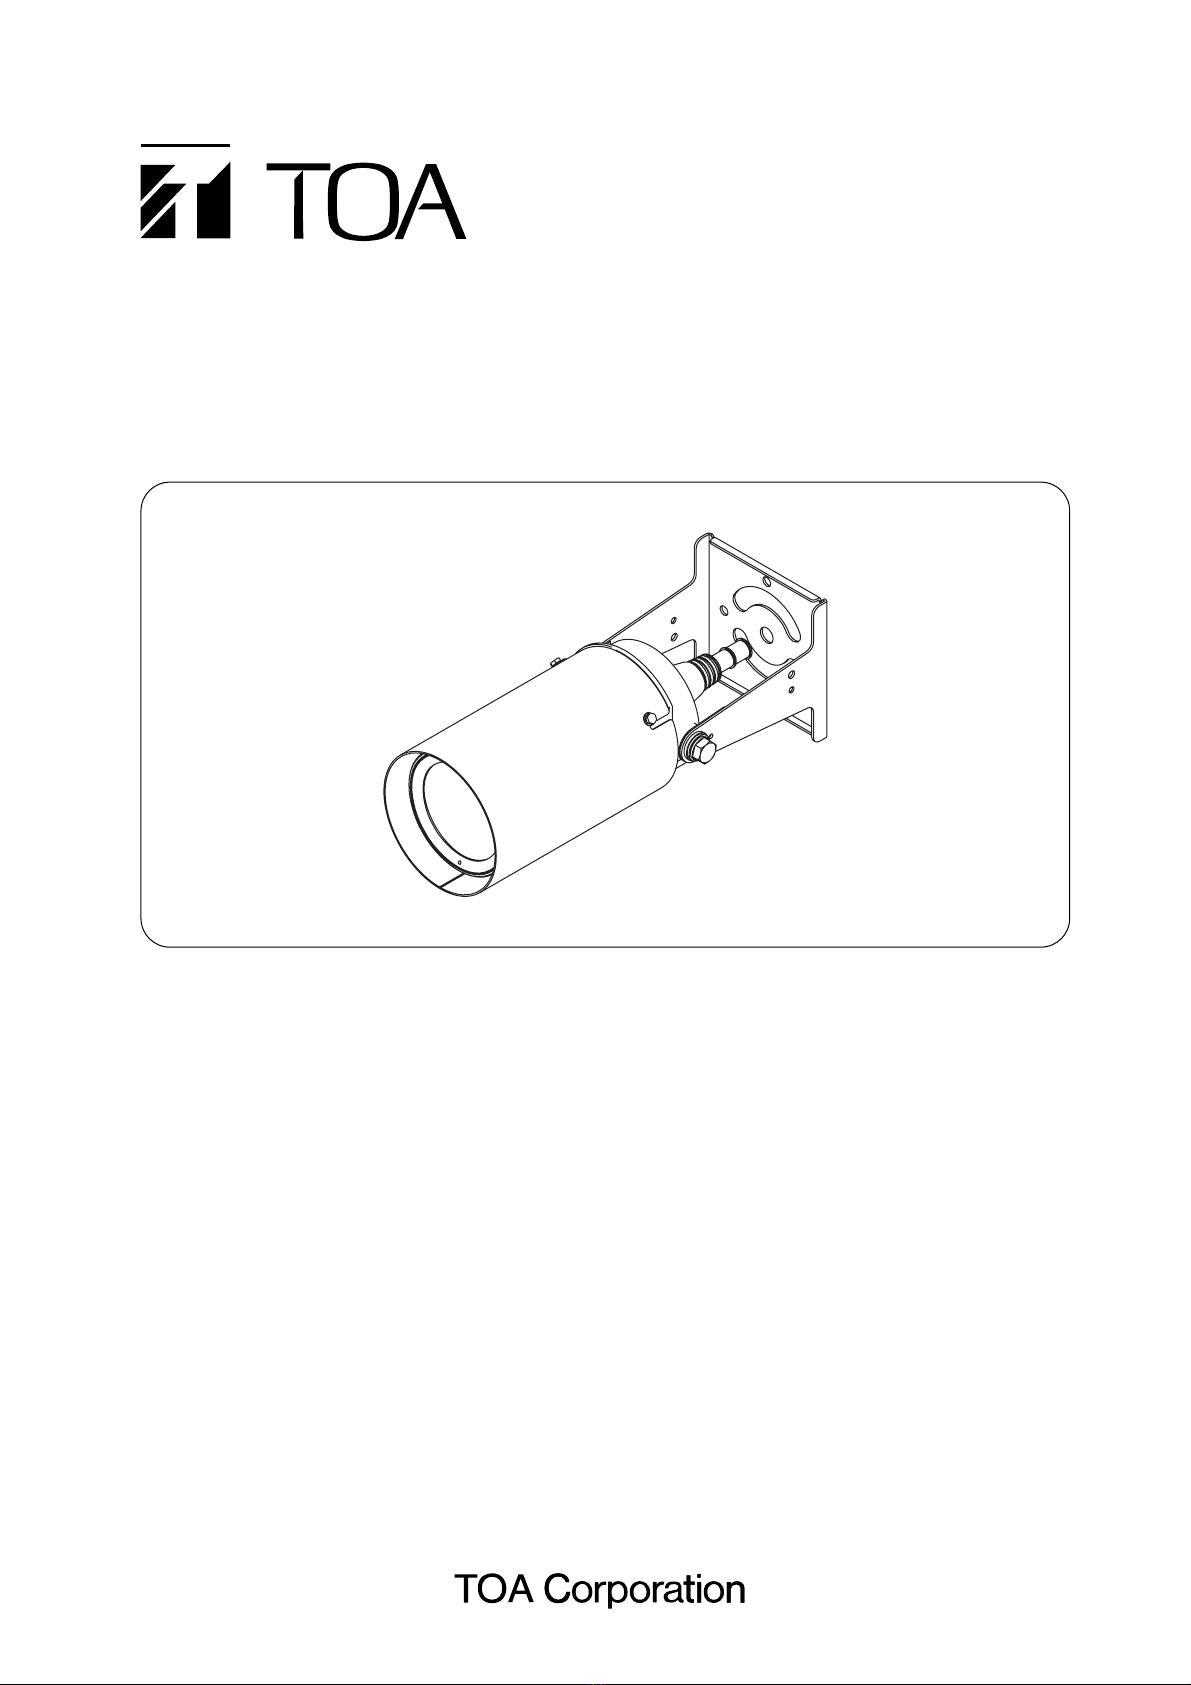
3
Indicates a potentially hazardous situation which, if mishandled, could
result in moderate or minor personal injury, and/or property damage.
CAUTION
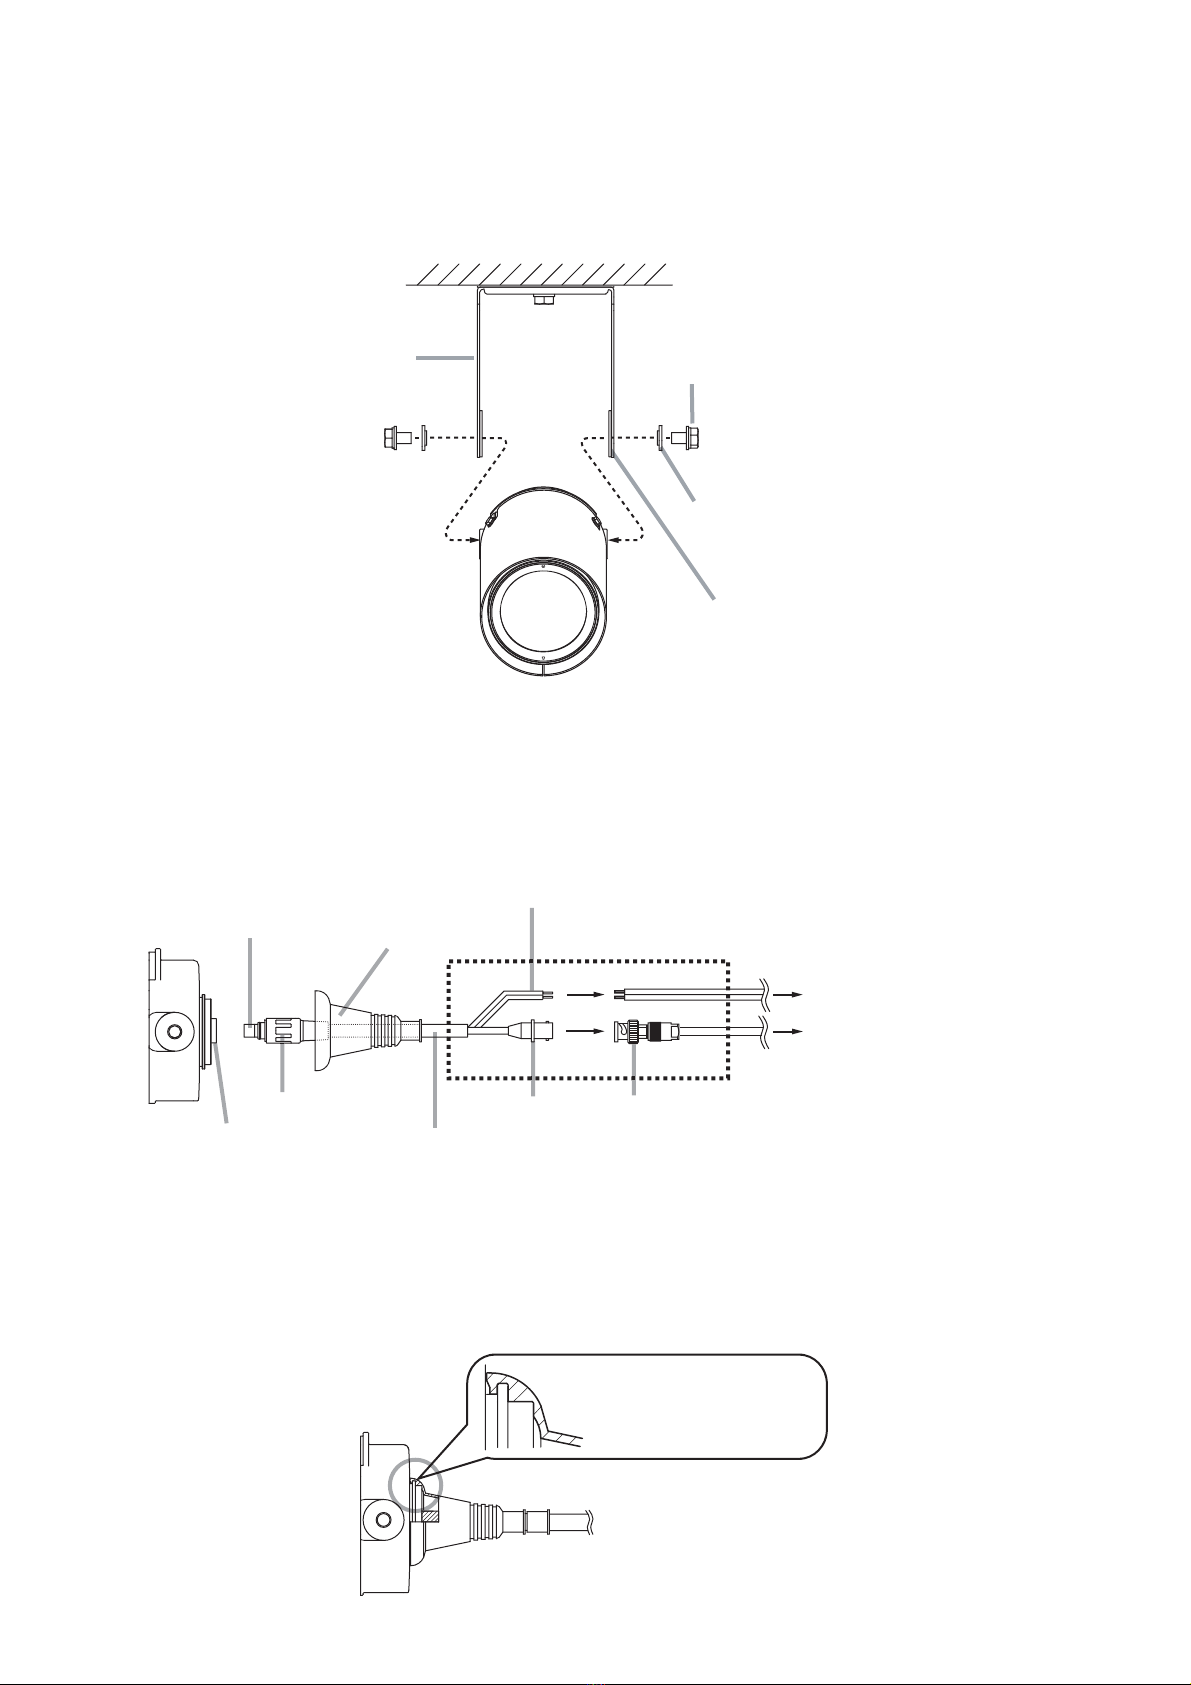
• Leave the installation of the unit to your TOA dealer because the installation requires expert experience and
skills. The unit may fall off if incorrectly installed, resulting in possible personal injury.
• Do not stand or sit on, nor hang down from the unit as this may cause it to fall down or drop, resulting in
personal injury and/or property damage.
• Be sure to inspect the unit periodically for safety use. Deterioration of the installed part may cause dropping
of the unit, resulting in personal injury and/or property damage. Contact your TOA dealer as to the periodical
inspection.
• Avoid touching the unit's sharp metal edge to prevent injury.
• Switch off the power for safety purposes when cleaning or leaving the unit unused for 10 days or more.
Doing otherwise may cause a fire or electric shock.
Note
This equipment has been tested and found to comply with the limits for a Class B digital device,
pursuant to Part 15 of the FCC Rules. These limits are designed to provide reasonable protection
against harmful interference in a residential installation. This equipment generates, uses and can
radiate radio frequency energy and, if not installed and used in accordance with the instructions, may
cause harmful interference to radio communications. However, there is no guarantee that interference
will not occur in a particular installation. If this equipment does cause harmful interference to radio or
television reception, which can be determined by turning the equipment off and on, the user is
encouraged to try to correct the interference by one or more of the following measures:
•Reorient or relocate the receiving antenna.
•Increase the separation between the equipment and receiver.
•Connect the equipment into an outlet on a circuit different from that to which the receiver is connected.
•Consult the dealer or an experienced radio/ TV technician for help.
Modifications
Any modifications made to this device that are not approved by TOA Corporation may void the authority
granted to the user by the FCC to operate this equipment.
CU version complies with Part 15 of the FCC Rules.
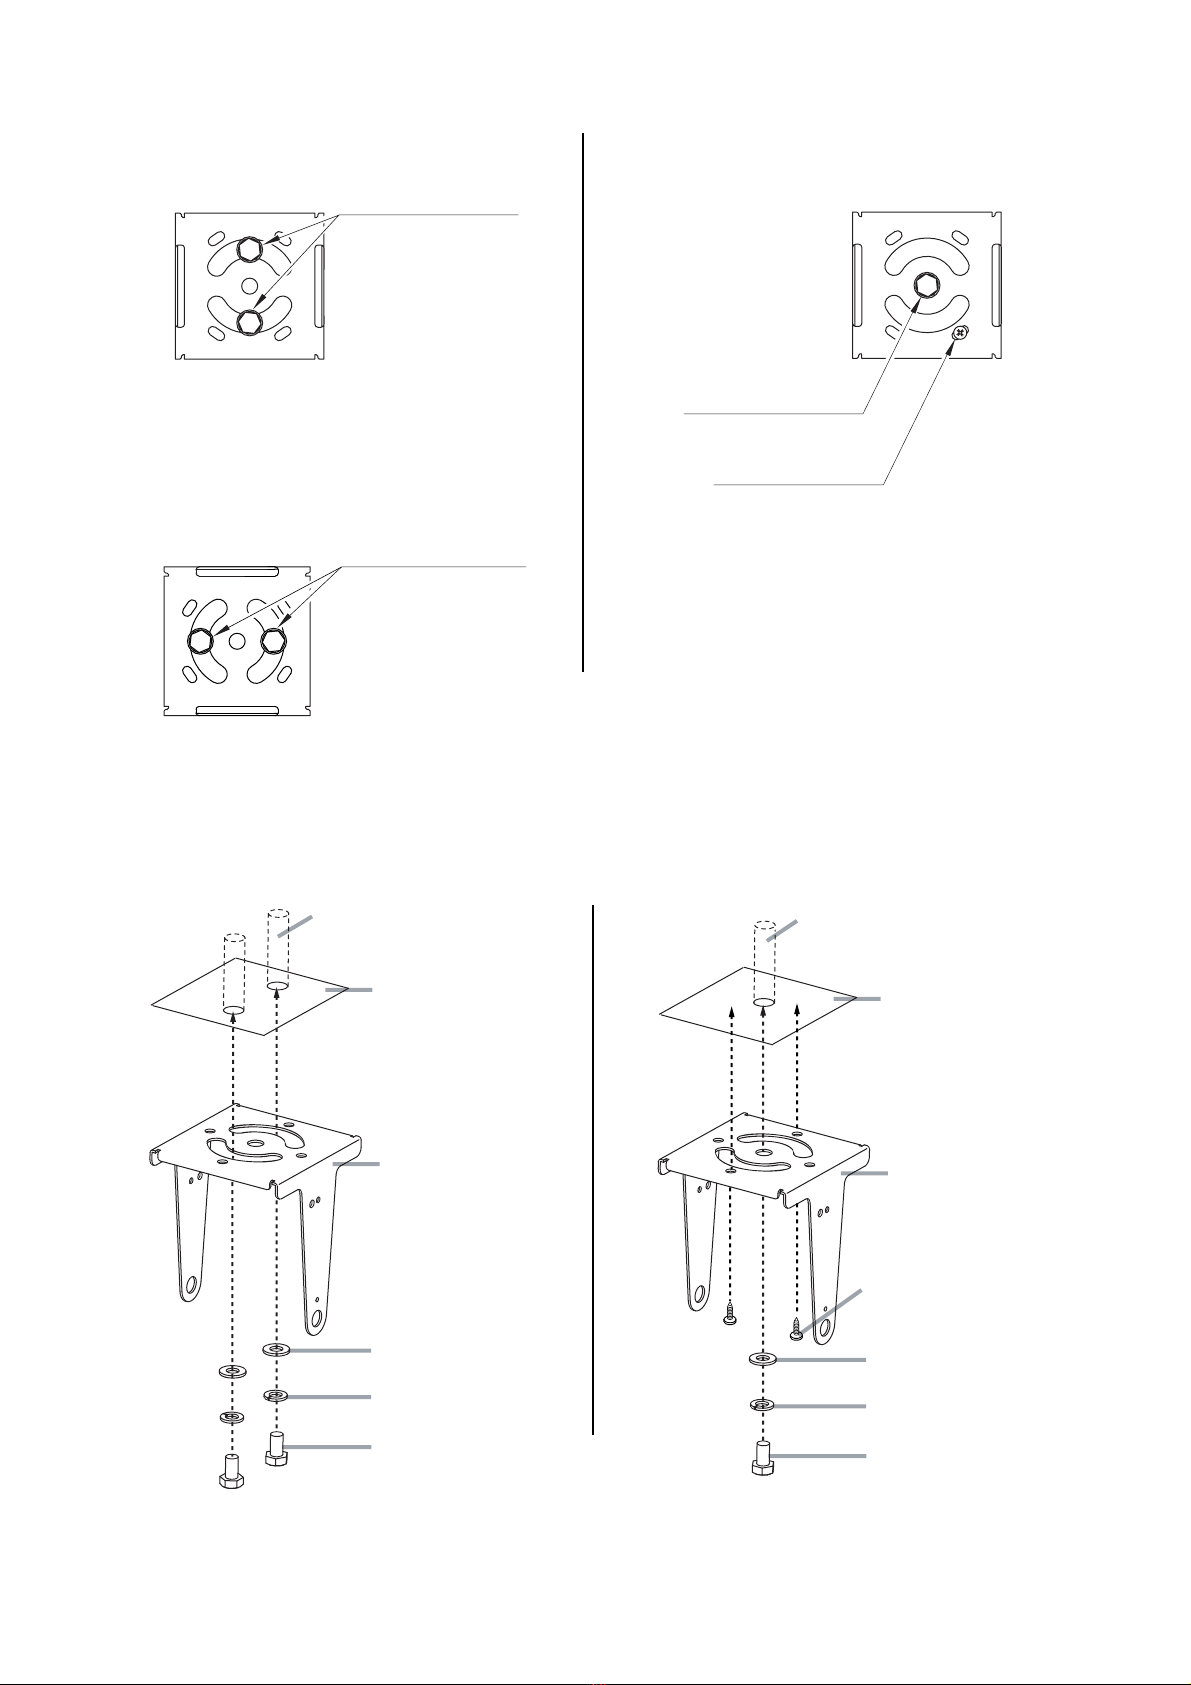
2. HANDLING PRECAUTIONS
• Do not direct the camera lens to the sun, strong lighting, or reflected light. If strong light enters the lens, this
may cause the CCD's internal color filter to deteriorate, leading to image discoloration.
• Do not give the camera a great shock or vibration to avoid camera damage.
• It is recommended that the camera be always used in locations where the ambient temperature ranges from
-
10°C to +50°C (14°F to 122°F) and humidity levels of less than 90% to ensure that no condensation is
formed.
• To clean, wipe with a dry soft cloth. Never use benzene, thinner or chemically processed towel as the
camera's plastic or other parts may be deformed or discolored.
• When dust has settled on the unit's lens, lightly clean using a commercial camera blower or cleaning paper.
• Installing the camera cables in close proximity to fluorescent lamps or other electrical appliances can
downgrade the picture quality. In such cases, change the wiring.
• If there is a strong electric or magnetic field near the camera, such as television transmission antennas,
motors or transformers, this may distort or roll the monitor picture. In such cases, run the entire wiring route
through metal conduit tubing.
• When operating on 12 V DC, use the external power supply rated at 12 V DC and over 1.0 A.