Tork Craft RT001 User manual
RT001
ROUTER TABLE W/FENCE & FEATHER
BOARD
Made in China to Tork Craft specifications
Instruction manual
Introduction
Thank you for purchasing the Tork Craft™ router table. This instruction
manual will assist you with safety instructions and how to assemble and
use the router table.
The router table is designed to convert a portable plunge router into a
stationary router. It is designed for small routers that only use a 1/4” or
8mm collet with a base diameter smaller than 150mm.
Parts of the router table
1. Extension table
2. Table top
3. Legs
4. Dust extraction port
5. Vertical fence
6. Miter fence
7. Chip guard
2 | P a g e
Safety instructions
Before using the router table, please make sure that the following is installed correctly:
The table top, legs and extension tables are correctly assembled.
All fittings and bolts are tightened.
The mounting plates to secure the router underneath the table is secured in place.
The cutter is correctly installed in the router.
The working area is free from sawdust and debris..
It is advised not to use the router table as a workbench.
The best finish is achieved by making use of the vertical fence to assist in guiding the wood along the router bit.
It is dangerous to use the router table to cut profiles freehand when a router bit is not equipped with a bearing.
Make use of support table or roller stands to support long lengths of wood.
Do not use the router table as a stepping ladder.
Safely store away the router table when it is not in use.
Always feed the wood against the router bit’s rotation.
Always make sure that your hands are kept at a safe distance away from the router bit when in use.
Unplug the router when the cutter is changed.
Care should be taken when handling router bits, as the cutting edges are very sharp.
The largest router diameter to be used with the router table is Ø41mm.
Make sure that the locking lever is released on the router before adjusting the height.
Never do height adjustments while the router is switched on.
Parts inside of the box
Feather boards with parts to
attach it to the table and
vertical fences.
Table inserts to provide a better clearance
between the router bit and the router table.
Mounting plates used to secure
the router onto the router table.
3 | P a g e
(x16) screw bolts with washers and
nuts used to secure the table
extension and legs to the router
table.
The legs used to support the router table. The narrow end of each leg includes
(x2) 3mm diameter holes to secure the router table to a workbench.
The miter fence is
used to support
end-grain cuts in
wood at specific
angles.
The vertical fences includes the dust extraction port as well as an
offset fence for edge planing.
Knobs and bolts used
to secure the vertical
fences on the router
table.
Router table with a recessed guide to allow
the miter fence to slide in it.
Table extensions are used to help support longer lengths of wood.
A few tools are required to assemble the router table:
A Philips #2 screwdriver
8mm combination wrench
Cordless drill to secure legs on workbench.
4 | P a g e
Assemby and setup of the router table
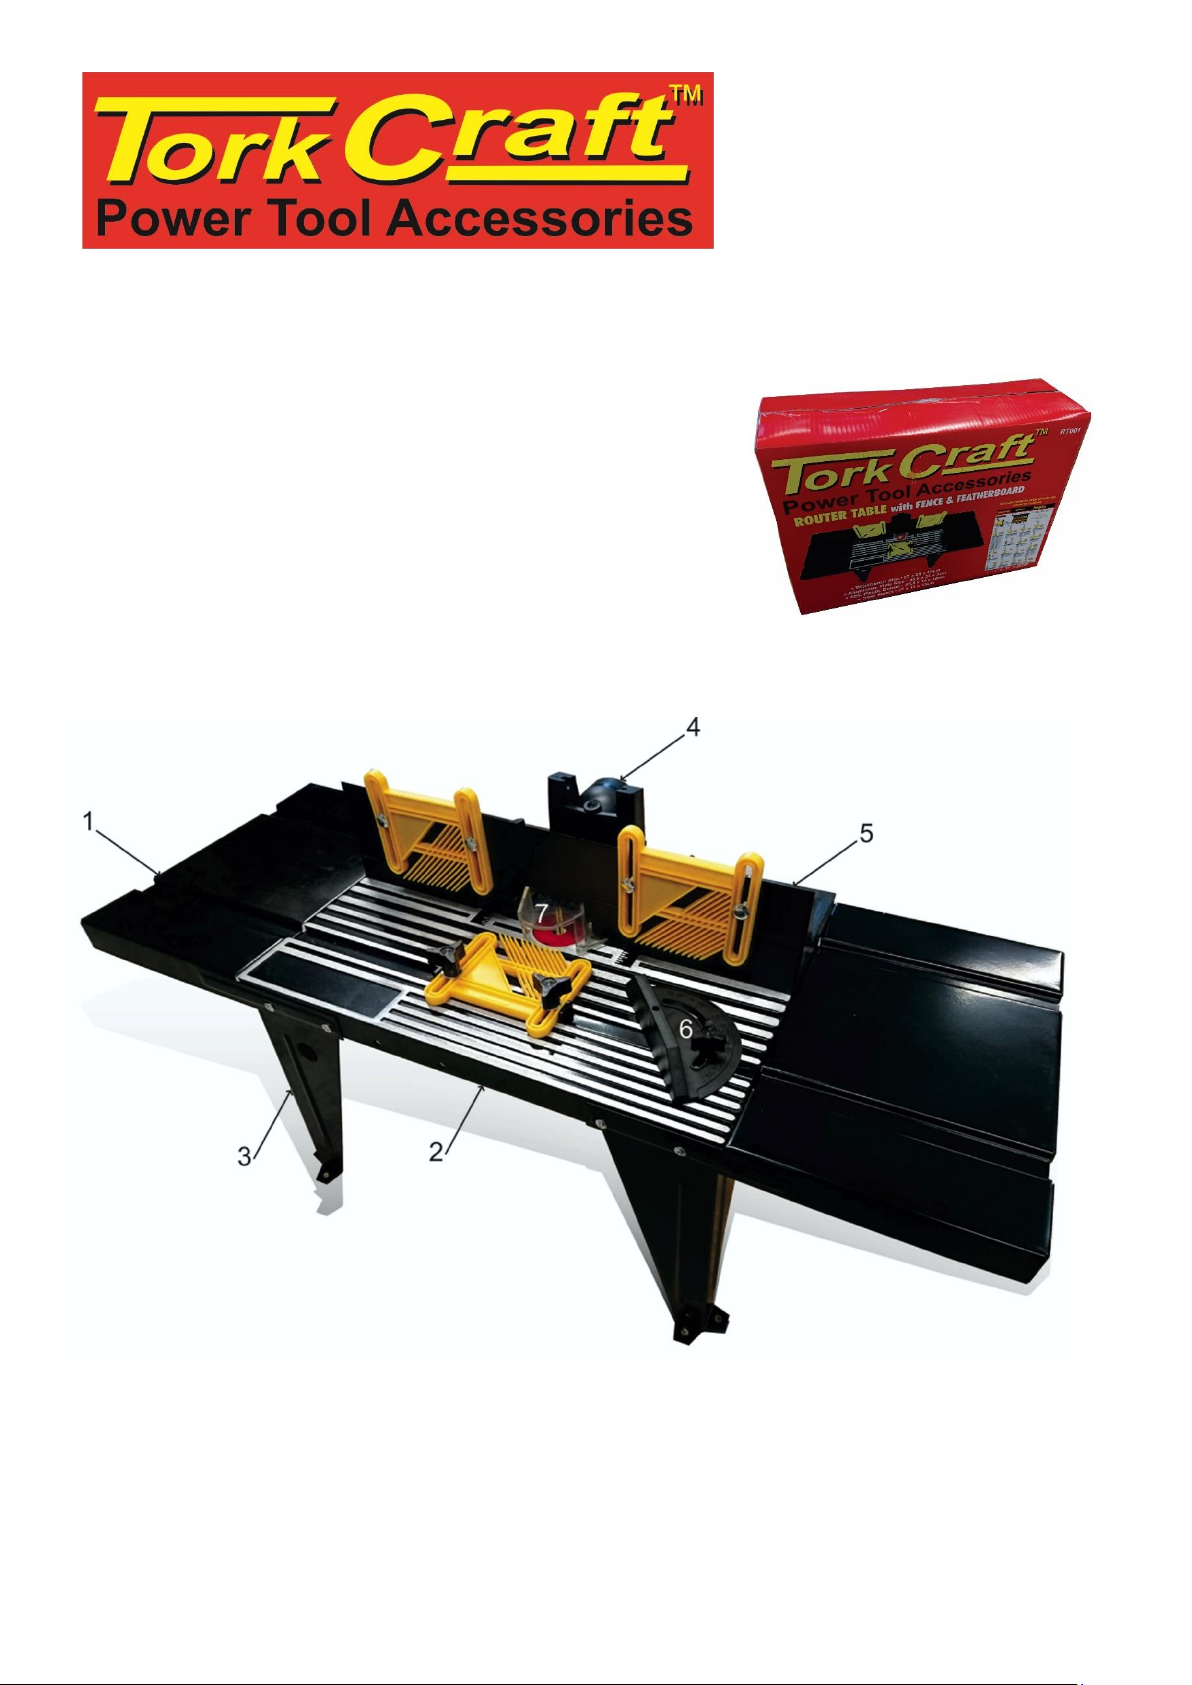
Step 1: Assembly of the router table, table extensions and the legs
Use a flat surface (floor or workbench) and position the router table
and table extensions upside down. Connect the extensions on either
end of the router table. Position the legs on either corner of the router
table and use the (x16) short bolts, washers and nuts to attach the legs
and the table extensions to the router table.
The Phillips screwdriver and the combination wrench will be required to
secure the bolts.
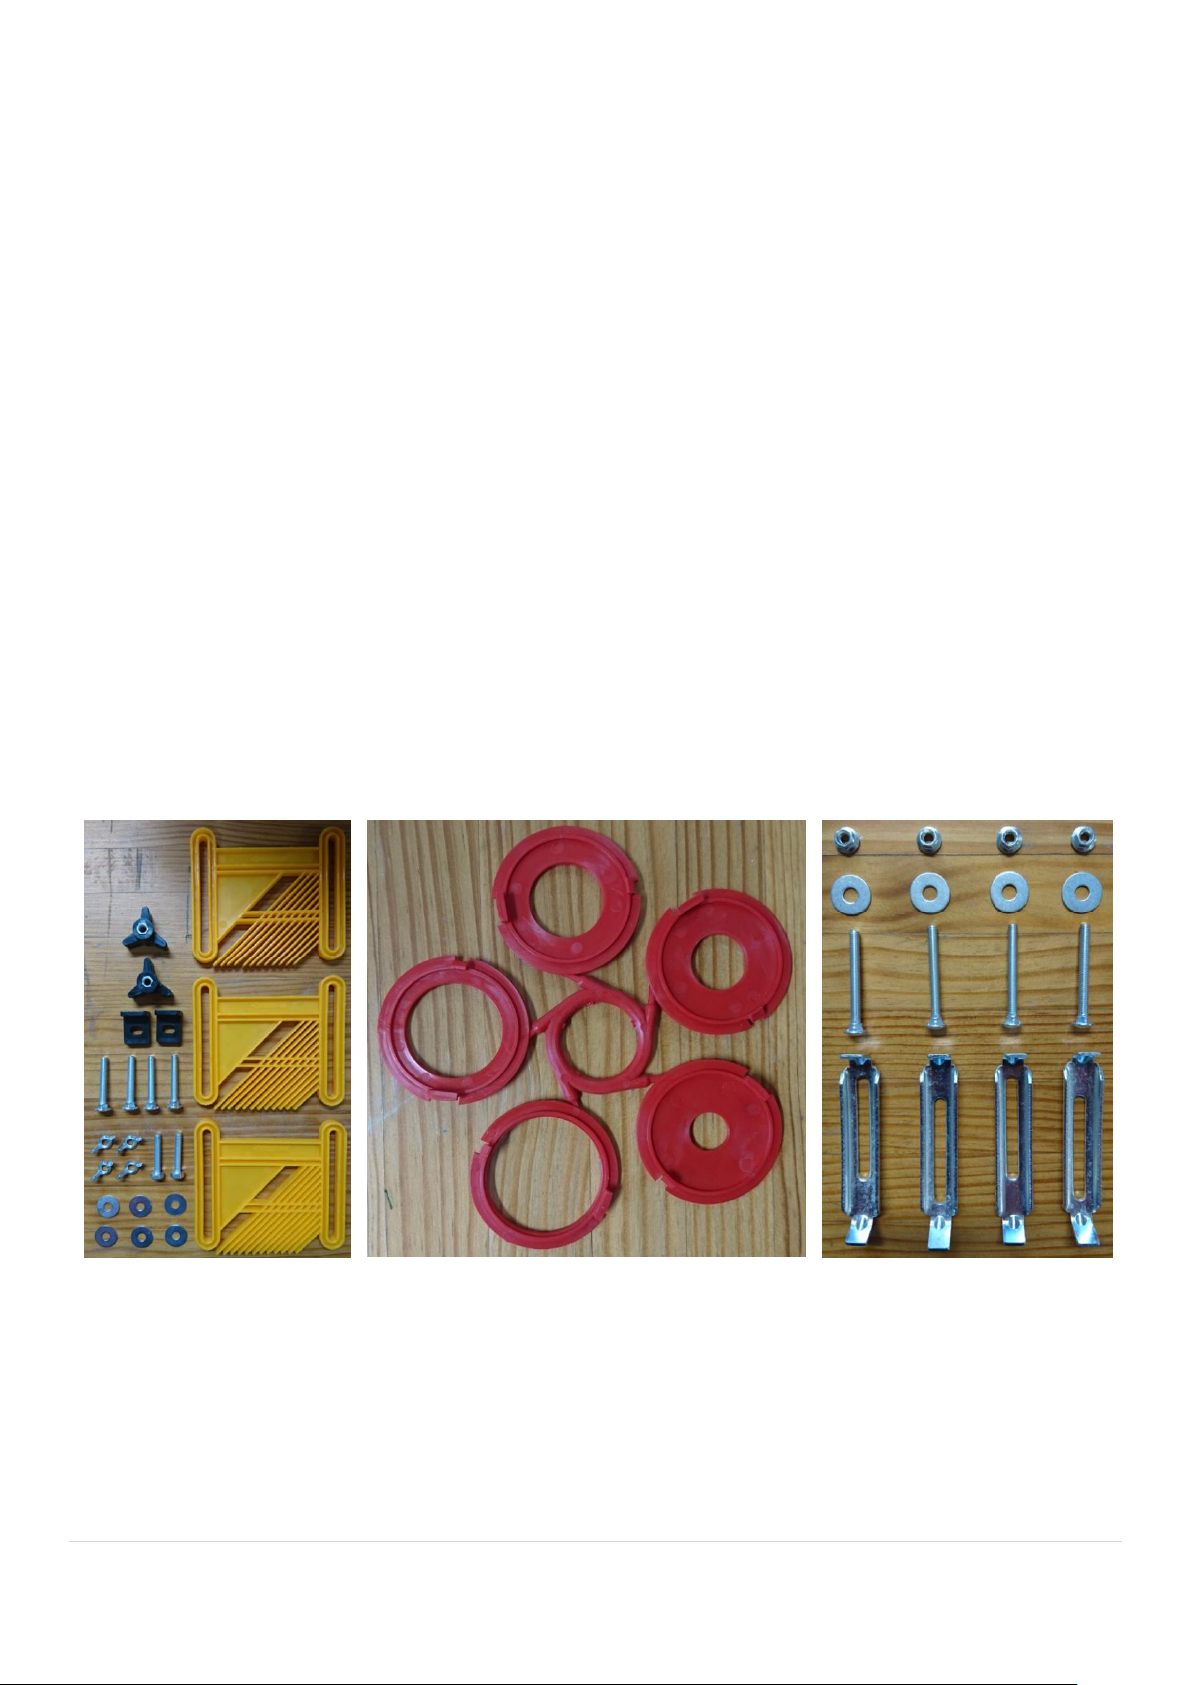
Step 2: Align and secure the router to the router table
The underside of the router table is manufactured to have a 150mm
diameter space available to position and center the router base to the
table. It is important that the opening in the base of the router is
centered with the opening in the table. Position the router correctly and
secure it in place with the mounting plates. At least two mounting
plates should be used.
The assembled router table parts should look like this when it is flipped
over.
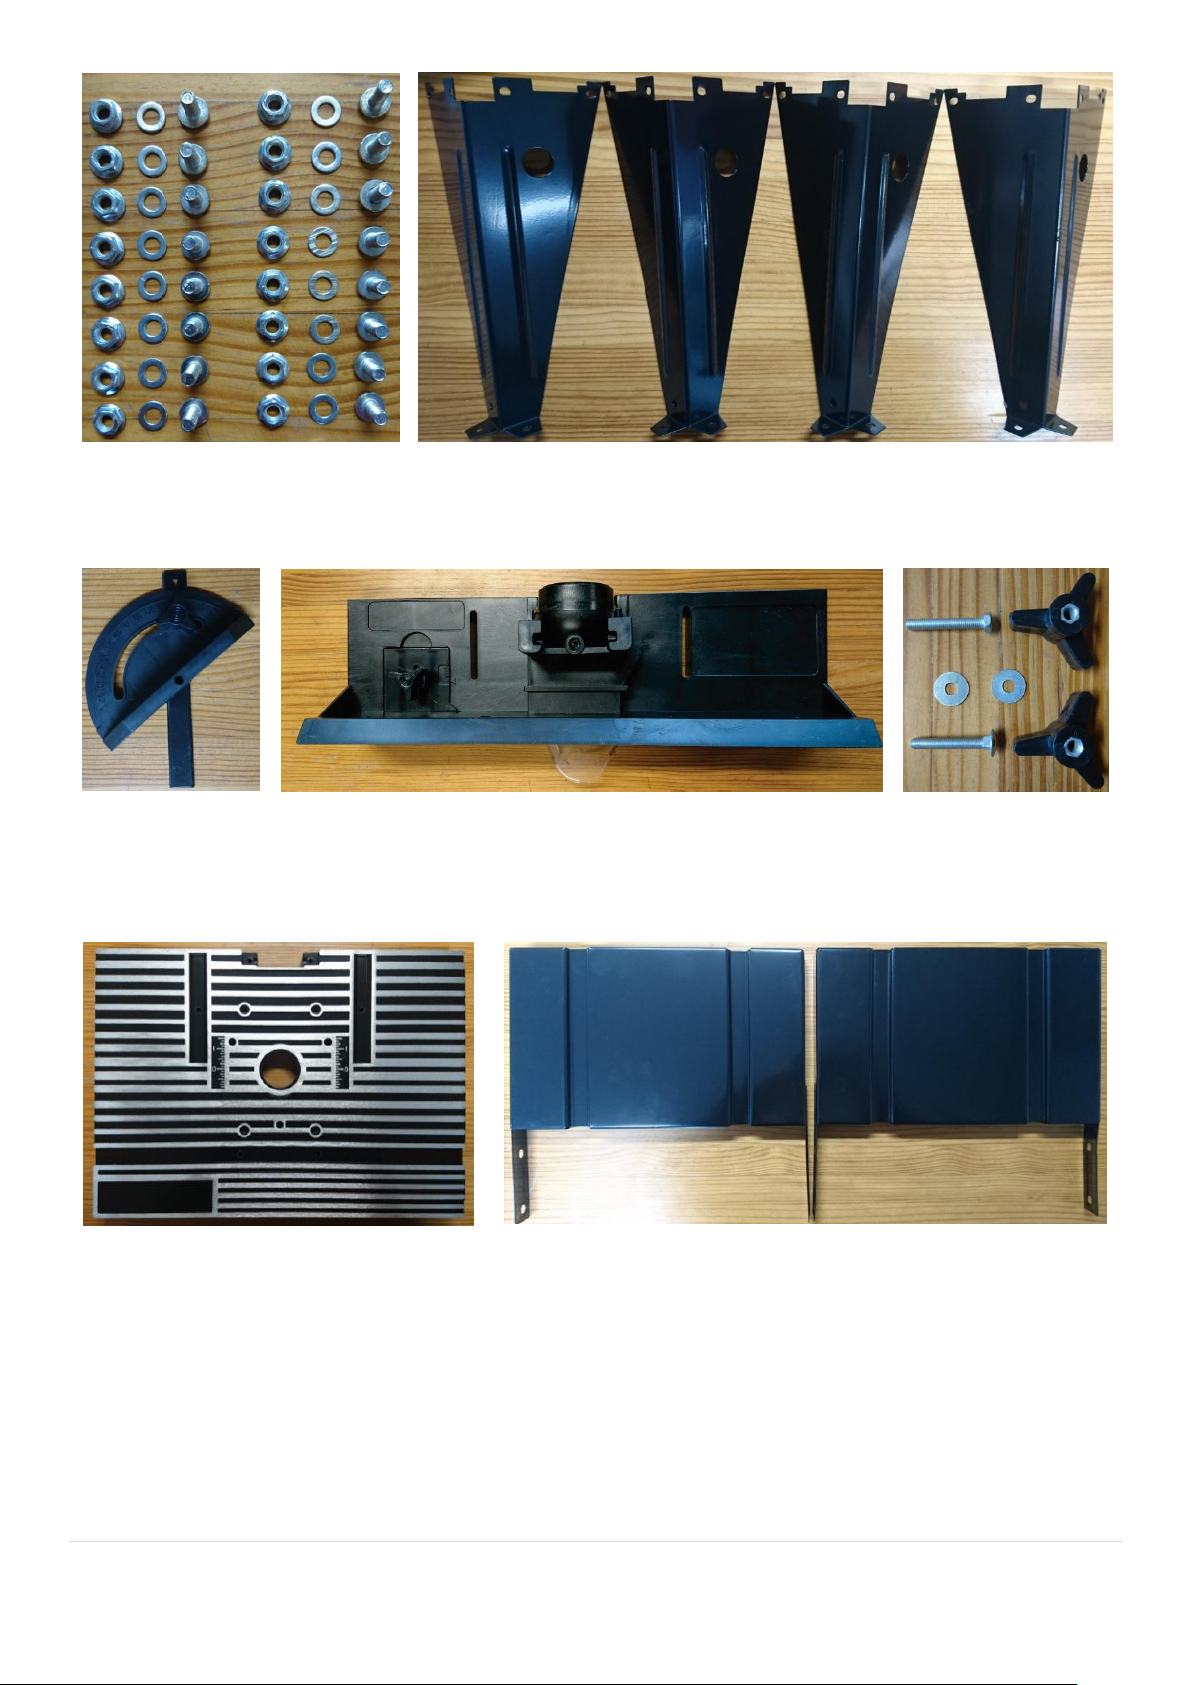
Step 3: Securing the legs to a workbench
Short chipboard screws can be used to secure the legs to a table or a
workbench. We recommend the Tork Craft workbench TCWS001.
Step 4: Installing the vertical fence to the router table
The knobs and bolts are used to install the vertical fence on the router
table.

5 | P a g e
The vertical fence has a built-in offset fence that is only used when the
entire thickness of the wood is profiled. The offset can be adjusted by
using this scale.
The scale should be positioned to the 0 marking when the thickness of
the wood is partially profiled.
The edge of the offset fence should be aligned correctly to the edge of
the router bit, otherwise the cutter will snipe the end of the wood.
This alignment can be achieved by using a straight edge such as a
steel ruler.
For added safety, a chip guard is installed in the vertical fence to help
assist in chip clearing. It is spring loaded and will retract when wood is
pushed along the fence.
Remember to use the correct table insert to increase the table surface
around the router bit.
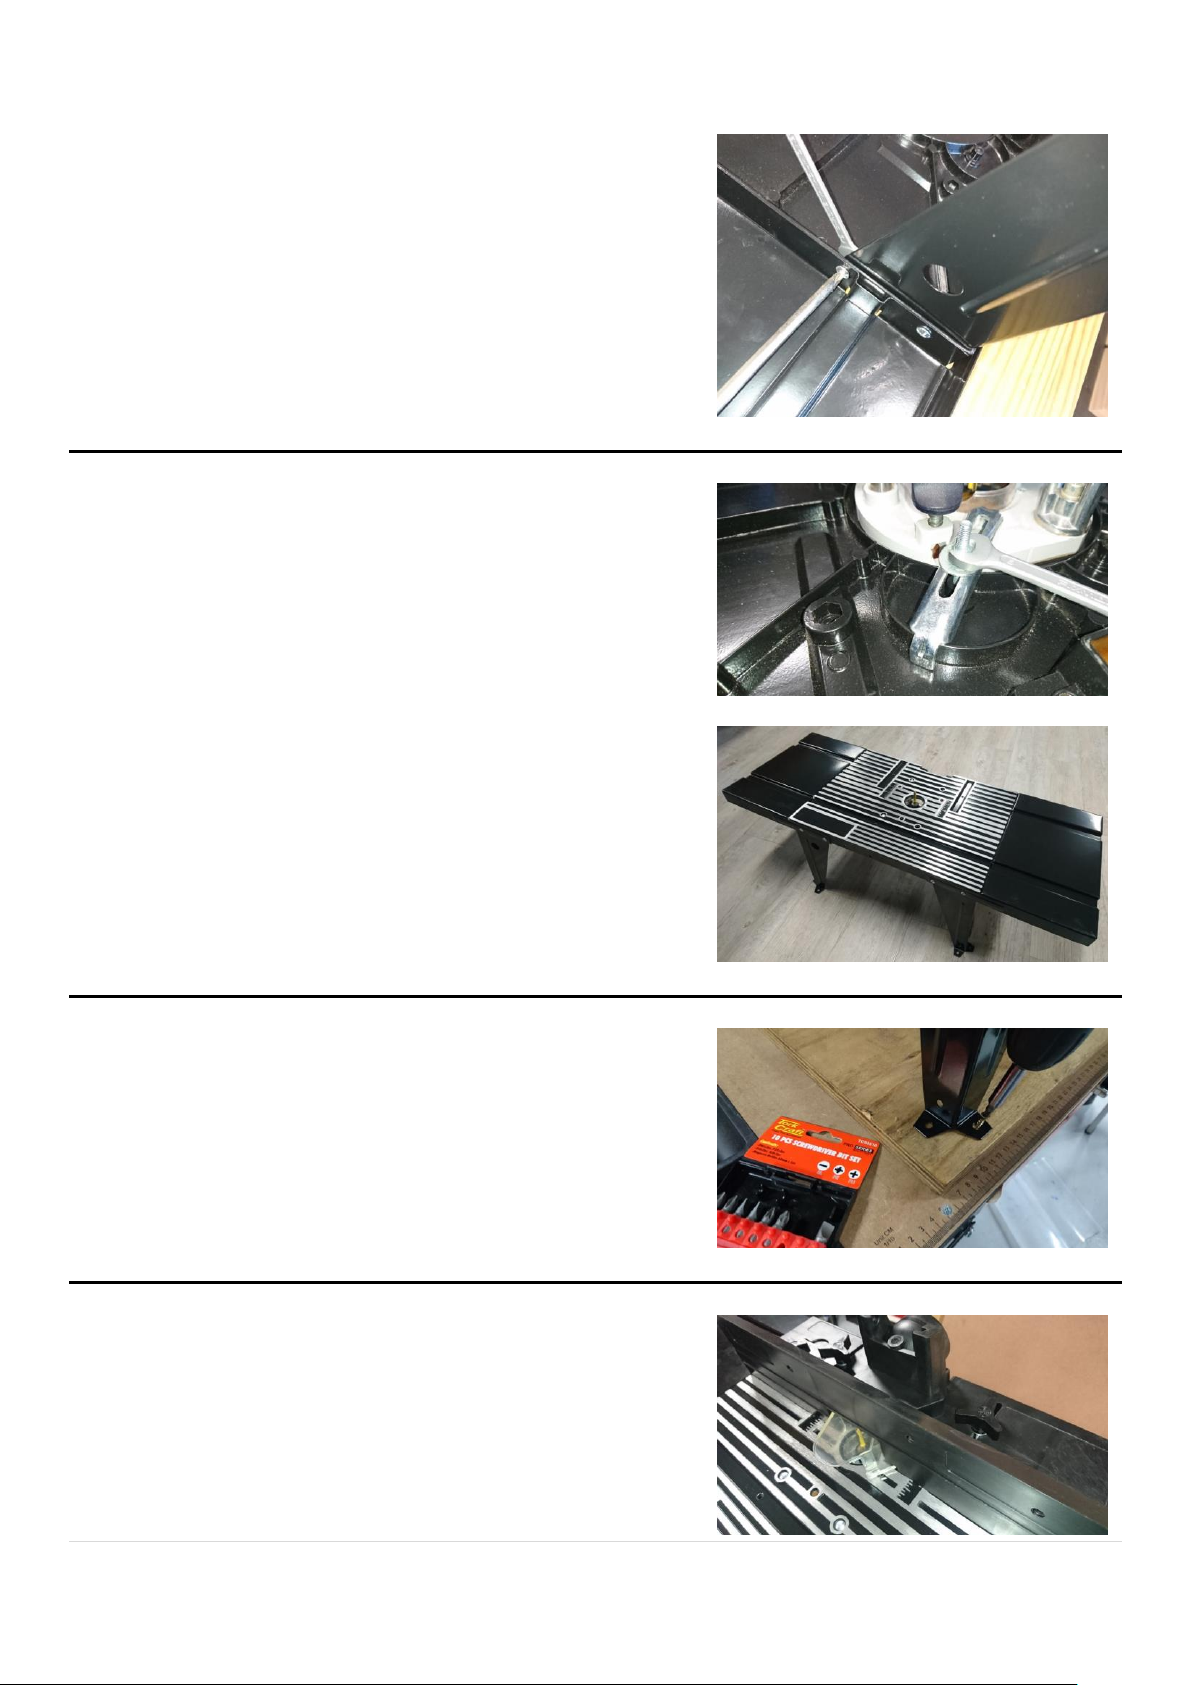
Step 5: Fitting the feather boards
The feather boards are used to apply feeding pressure. Two are fitted
on the vertical fence with bolts and wing nuts. One is fitted on the router
table with two knobs.
The pressure of the feather boards will apply feeding pressure and it
only allows movement in one direction, preventing kickback.
Inside diameter on table insert
Maximum outside diameter on router bit
13mm
10mm
20mm
16mm
25mm
22mm
32mm
28mm
38mm
35mm
Table of contents


