Toro 30349 User manual

FormNo.3408-251RevD
WhiteorRedUniversalSunshade
Groundsmaster®andReelmaster®TractionUnits
ModelNo.30349
ModelNo.30552
InstallationInstructions
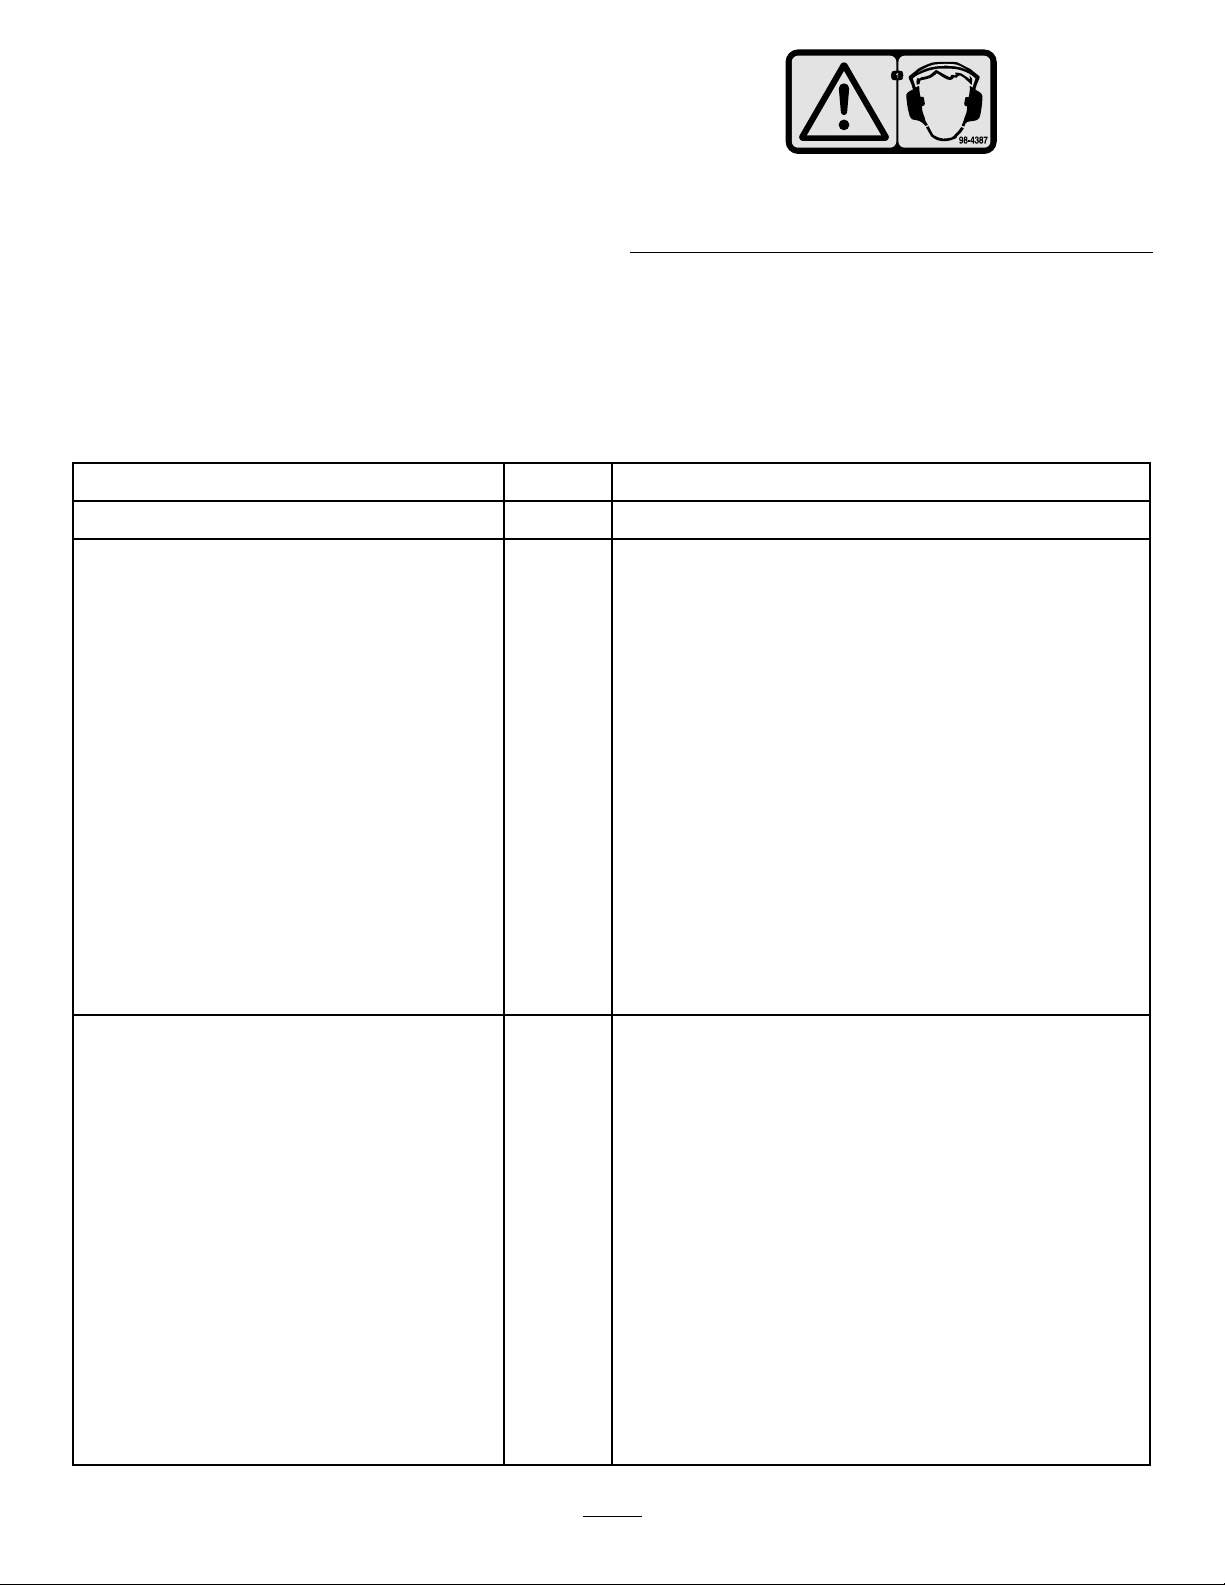
WARNING
CALIFORNIA
Proposition65Warning
Thisproductcontainsachemical
orchemicalsknowntotheStateof
Californiatocausecancer,birthdefects,
orreproductiveharm.
Safety
General
Althoughhazardcontrolandaccidentprevention
partiallydependonthedesignandcongurationofthe
machine,thesefactorsalsodependontheawareness,
concern,andpropertrainingofthepersonnelinvolved
intheoperation,transport,maintenance,andstorage
ofthemachine.Improperlyusingormaintainingthe
machinecanresultininjuryordeath.T oreducethe
potentialforinjuryordeath,complywiththefollowing
safetyinstructions.
BeforeOperating
1.Reviewandunderstandthecontentsofthe
InstallationInstructionsbeforeinstallingthe
sunshade.
2.Keepallshields,safetydevicesanddecals
inplace.Ifashield,safetydeviceordecal
isdefective,illegible,ordamaged,repairor
replaceitbeforeoperatingthemachine.
3.Donotweld,cut,drill,modify,orremovetheroll
barinanymatter.
4.Tightenanyloosenuts,bolts,orscrewsto
ensurethatthemachineisinsafeoperating
condition.
WhileOperating
1.Useextremecarewhenworkingclosetofences,
ditches,oronhillsides.
2.Checkcarefullyforoverheadclearances(i.e.,
branches,doorways,electricalwires)before
drivingunderanyobjectsanddonotcontact
them.
3.Tiedownthesunshadeframewhentransporting
themachine.
4.Wearhearingprotectionwhenoperatingany
machinewithasunshade.
MaintenanceandService
1.Beforeservicingormakingadjustments,lower
theimplement,shutofftheengine,engagethe
parkingbrake,andremovethekey.
2.Makesurethatthemachineisinsafeoperating
conditionbykeepingallnuts,bolts,andscrews
tight.
3.Whenworkingonthesunshadeinstallation,
weareyeprotection.
4.Replaceadamagedsunshade.Donotrepair
orrevise.
5.Wheninstallingthesunshadeorperforming
service,usecorrectsupports,hoists,andjacks.
Ifthesunshadeisnotproperlysupported,itmay
moveorfall,whichmayresultinpersonalinjury.
6.Toensureoptimumperformanceandsafety,
alwayspurchasegenuineTororeplacement
partsandaccessories.Replacementpartsand
accessoriesmadebyothermanufacturerscould
bedangerous.Suchusecouldvoidtheproduct
warrantyofTheToroCompany.
©2017—TheToro®Company
8111LyndaleAvenueSouth
Bloomington,MN55420
Registeratwww.T oro.com.OriginalInstructions(EN)
PrintedintheUSA
AllRightsReserved*3408-251*D
SafetyandInstructional
Decals
Safetyandinstructiondecalsareafxedtoyour
sunshade.Ifanydecalbecomesillegibleordamaged,
installanewdecal.
decal98-4387
98-4387
1.Warning—wearhearingprotection.
Installation
LooseParts
Usethechartbelowtoverifythatallpartshavebeenshipped.
DescriptionQty.Use
Nopartsrequired–Preparethemachine.
Frameassembly1
LeftROPS-mountingbracket1
RightROPS-mountingbracket1
Brace2
Leftbracebracket1
Rightbracebracket1
Leftbracebracket1
Rightbracebracket1
Bolt(1/2x2-1/2inches)4
Largewasher4
Flangenut(1/2inch)4
ROPS-mountingbracket2
U-bolt(4inches)6
Flangenut(3/8inch)12
Sunshade1
Flange-headbolt(5/16x1-1/4inches)4
Smallwasher8
Frame-alignmentbar1
InstallthesunshadeontheGroundsmaster5900machine.
Bolt(3/4x4inches)2
Nut(3/4inch)2
Washer(13/16x1-1/2inches)4
LeftROPS-mountingbracket1
RightROPS-mountingbracket1
Brace2
Leftbracebracket1
Rightbracebracket1
Bolt(1/2x2-1/2inches)4
Largewasher4
Flangenut(1/2inch)4
U-bolt(2-3/4inch)6
Flangenut(3/8inch)12
Sunshade1
Flange-headbolt(5/16x1-1/4inches)4
Smallwasher8
Frame-alignmentbar1
InstallthesunshadeontheGroundsmaster3280machine.
2

DescriptionQty.Use
Bolt(3/4x4inches)2
Nut(3/4inch)2
Washer(13/16x1-1/2inches)4
Frameassembly1
LeftROPS-mountingbracket1
RightROPS-mountingbracket1
Brace2
Leftbracebracket1
Rightbracebracket1
Bolt(1/2x2-1/2inches)4
Largewasher4
Flangenut(1/2inch)4
ROPS-mountingbrackets2
U-bolt(2-3/4inch)6
Flangenut(3/8inch)12
Sunshade1
Flange-headbolt(5/16x1-1/4inches)4
Smallwasher8
Frame-alignmentbar1
InstallthesunshadeontheGroundsmaster360or7200
machines.
Bolt(3/4x4inches)2
Nut(3/4inch)2
Washer(13/16x1-1/2inches)4
Frameassembly1
LeftROPS-mountingbracket1
RightROPS-mountingbracket1
Brace2
Leftbracebracket1
Rightbracebracket1
Bolt(1/2x2-1/2inches)4
Largewasher4
Flangenut(1/2inch)4
ROPS-mountingbrackets2
U-bolt(2-3/4inch)4
U-bolt(4inches)2
Flangenut(3/8inch)12
Sunshade1
Flange-headbolt(5/16x1-1/4inches)2
Flange-headbolt(5/16x2-1/4inches)4
Smallwasher8
Spacer4
Frame-alignmentbar1
InstallthesunshadeontheGroundsmaster4000machine
orReelmaster3555and3575machines.
3

DescriptionQty.Use
Bolt(3/4x4inches)2
Nut(3/4inch)2
Washer(13/16x1-1/2inches)4
Frameassembly1
LeftROPS-mountingbracket1
RightROPS-mountingbracket1
LeftROPS-mountingbracket(fromkit
136-1830)1
RightROPS-mountingbracket(fromkit
136-1830)1
Brace2
Leftbracebracket1
Rightbracebracket1
Bolt(1/2x2-1/2inches)4
Largewasher4
Flangenut(1/2inch)4
ROPS-mountingbrackets2
U-bolt(2-3/4inch)4
U-bolt(4inches)2
U-bolt(3-1/2x5inches—fromkit136-1830)4
U-bolt(4-1/2x3inches—fromkit136-1830)4
Flangenut(3/8inch)12
Sunshade1
Flange-headbolt(5/16x1-1/4inches)4
Smallwasher8
Frame-alignmentbar1
InstallthesunshadeontheGroundsmaster4500and4700
machinesorReelmaster6700and7000machines.
Frameassembly1
LeftROPS-mountingbracket1
RightROPS-mountingbracket1
Brace2
Leftbracebracket1
Rightbracebracket1
Bolt(1/2x2-1/2inches)4
Largewasher4
Flangenut(1/2inch)4
ROPS-mountingbrackets2
U-bolt(2-3/4inch)6
Flangenut(3/8inch)12
Sunshade1
Flange-headbolt(5/16x1-1/4inches)4
Smallwasher8
Frame-alignmentbar1
InstallthesunshadeontheReelmaster5010machineor
Groundsmaster4300machine.
4

DescriptionQty.Use
Frameassembly1
LeftROPS-mountingbracket1
RightROPS-mountingbracket1
Brace2
Leftbracebracket1
Rightbracebracket1
Bolt(1/2x2-1/2inches)4
Largewasher4
Flangenut(1/2inch)4
U-bolt(2-3/4inch)4
Flangenut(3/8inch)12
Sunshade1
Flange-headbolt(5/16x1-1/4inches)4
Smallwasher8
Frame-alignmentbar1
U-bolt(4inches)2
InstallthesunshadeontheReelmaster3100and3550
machinesorGroundsmaster3500and3505machines.
PreparingtheMachine
1.Parkthemachineonalevelsurface.
2.Lowerthecuttingunitsandengagetheparking
brake.
3.Shutofftheengineandremovethekey.
5
This manual suits for next models
1
Table of contents
Popular Indoor Furnishing manuals by other brands

Regency
Regency LWMS3015 Assembly instructions

Furniture of America
Furniture of America CM7751C Assembly instructions

Safavieh Furniture
Safavieh Furniture Estella CNS5731 manual

PLACES OF STYLE
PLACES OF STYLE Ovalfuss Assembly instruction

Trasman
Trasman 1138 Bo1 Assembly manual

Costway
Costway JV10856 manual


