(& -/- -+.#,45
** )'(10 &0&/2&%
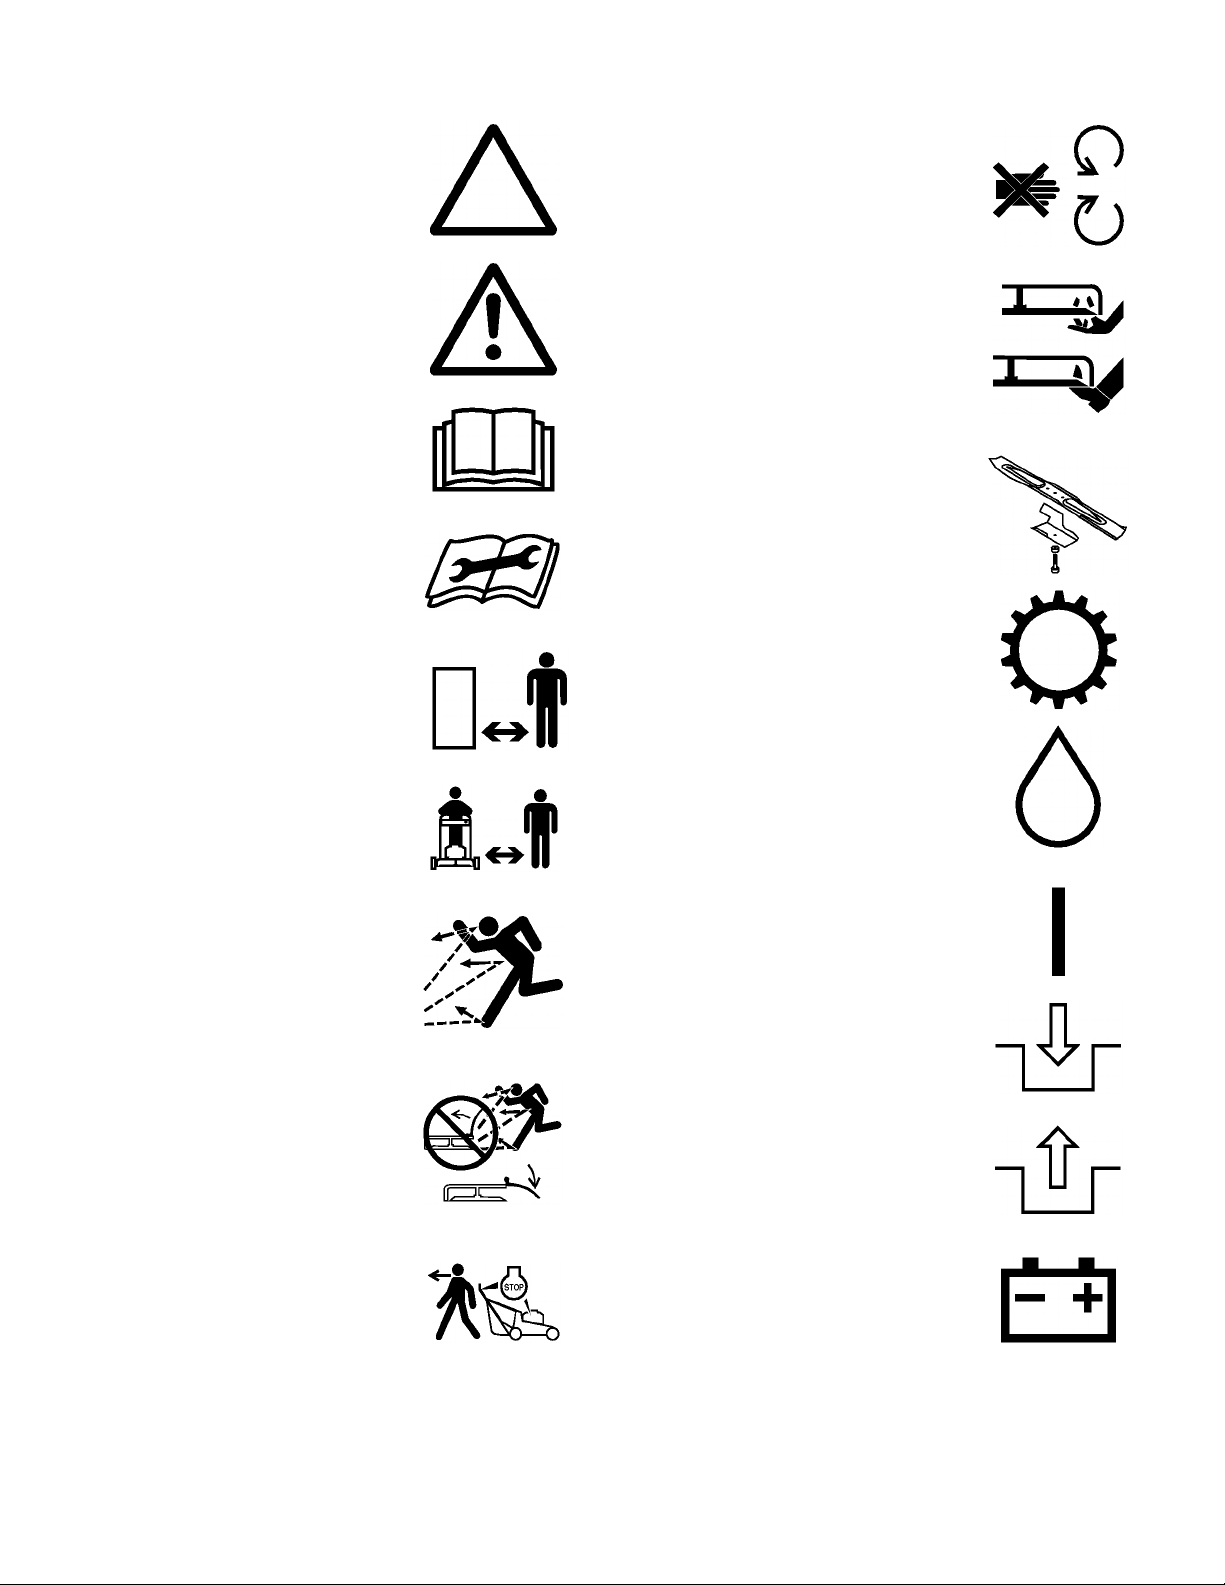
!
!
&$4$*&/ -3&/
" !
-! "',-+.-"(', +.%%2 &"%"+ 0"-!
-! ('-+(%, ' -! )+()+ ., ( -! *.")&'-
/+ %%(0 !"%+' (+ )()% .'&"%"+ 0"-!
-!, "',-+.-"(', -( ., -! %0'&(0+ (%
+ .%-"(', &2 +,-+"- -! ( -! ()+-(+
/+ &(0 0!"% )()% ,)"%%2 !"%+' (+
)-, + '+2
) "' &"' -!- -! ()+-(+ (+ .,+ ",
+,)(',"% (+ "'-, (+ !3+, (.++"' -(
(-!+ )()% (+ -!"+ )+()+-2
!"% &(0"' %02, 0+ ,.,-'-"% ((-0+
' %(' -+(.,+, ( '(- ()+- -! *.")&'-
0!' +((- (+ 0+"' ()' ,'%,
%02, 0+ ,-2 %,,, (+ 2 ,!"%, .+"'
()+-"(' -( )+(-- 2, +(& (+" ' (#-, -!-
&2 -!+(0' +(& -! &!"' +"' (
!+"' )+(--"(' )+(--"/ %(/, ' ,-2
!%&- ", /",%
!(+(. !%2 "',)- -! + 0!+ -!
*.")&'- ", -( ., ' +&(/ %% (#-,
0!"! &2 -!+(0' 2 -! &!"'
-+(% ", !" !%2 %&&%
-(+ .% "' ('-"'+, ,)""%%2 ," ' (+
-!", ).+)(,
.% (.-((+, ('%2 ' ( '(- ,&($ 0!"%
+.%%"'
.% (+ ,-+-"' -! ' "' /+
+&(/ -! ) ( -! .% -'$ (+ )-+(% 0!"%
-! ' "' ", +.''"' (+ 0!' -! ' "' ", !(-
)-+(% ", ,)"%% ( '(- --&)- -( ,-+- -!
' "' .- &(/ -! &!"' 02 +(& -! + (
,)"%% ' /(" +-"' '2 ,(.+ ( " '"-"('
.'-"% )-+(% /)(+, !/ ",,")-
)% %% .% -'$, ' ('-"'+ ),
,.+%2
)% .%-2 ,"%'+,
(+ .,"' %02, /",.%%2 "',)- -( , -!-
-! %, % (%-, ' .--+ ,,&%2 + '(-
0(+' (+ & )% 0(+' (+ & %,
' (%-, "' ,-, -( )+,+/ %'
' &.%-"4% &!"', -$ + , +(--"'
(' % ' ., (-!+ %, -( +(--
( '(- ()+- -! ' "' "' ('"' ,)
0!+ ' +(., +(' &('(1" .&, '
(%%-
(0 ('%2 "' 2%" !- (+ "' (( +-"""% %" !-
/(" ()+-"' -! *.")&'- "' 0- +,,
0!+ ,"%
%02, ,.+ ( 2(.+ ((-"' (' ,%(),
%$ '/+ +.'
(+ 0!% +(-+2 &!"', &(0 +(,, -!
( ,%(), '/+ .) ' (0'
1+", 1-+& .-"(' 0!' !' "'
"+-"(' (' ,%(),
( '(- &(0 1,,"/%2 ,-) ,%(),
, 1-+& .-"(' 0!' +/+,"' (+ ).%%"'
-! %0'&(0+ -(0+, 2(.
-() -! %, " -! %0'&(0+ !, -(
-"%- (+ -+',)(+--"(' 0!' +(,,"' ,.+, (-!+
-!' +,, ' 0!' -+',)(+-"' -! %0'&(0+ -(
' +(& -! + -( &(0
/+ ()+- -! %0'&(0+ 0"-! -"/
.+, (+ ,!"%, (+ 0"-!(.- ,-2 /", (+
1&)% %-(+, '(+ +,, -!+, "' )%
( '(- !' -! ' "' (/+'(+ ,--"' , (+
(/+,) -! ' "'
",' %% % ' +"/ %.-!, (+
,-+-"' -! ' "'
-+- -! ' "' (+ ,0"-! (' -! &(-(+ +.%%2
(+"' -( "',-+.-"(', ' 0"-! - 0%% 02
+(& -! %,
( '(- -"%- -! %0'&(0+ 0!' ,-+-"' -!
' "' (+ ,0"-!"' (' -! &(-(+ 1)- " -!
%0'&(0+ !, -( -"%- (+ ,-+-"' ' -!", ,
( '(- -"%- "- &(+ -!' ,(%.-%2 ',,+2 ' %"-
('%2 -! )+- 0!"! ", 02 +(& -! ()+-(+
( '(- ,-+- -! ' "' 0!' ,-'"' "' +('- (
-! ",!+ !.-
( '(- ).- !', (+ - '+ (+ .'+ +(--"'
)+-, ) %+ ( -! ",!+ ()'"' - %%
-"&,