manuals.online logo
Brands
  1. Home
  2. •
  3. Brands
  4. •
  5. Toshiba
  6. •
  7. Laptop
  8. •
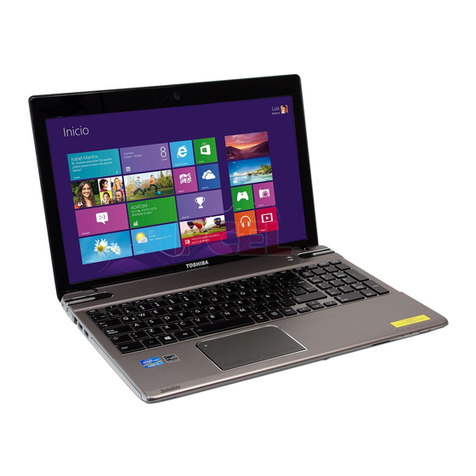
  9. Toshiba Satellite L755 Installation instructions

Toshiba Satellite L755 Installation instructions

Other manuals for Satellite L755

2

This manual suits for next models

3

Other Toshiba Laptop manuals

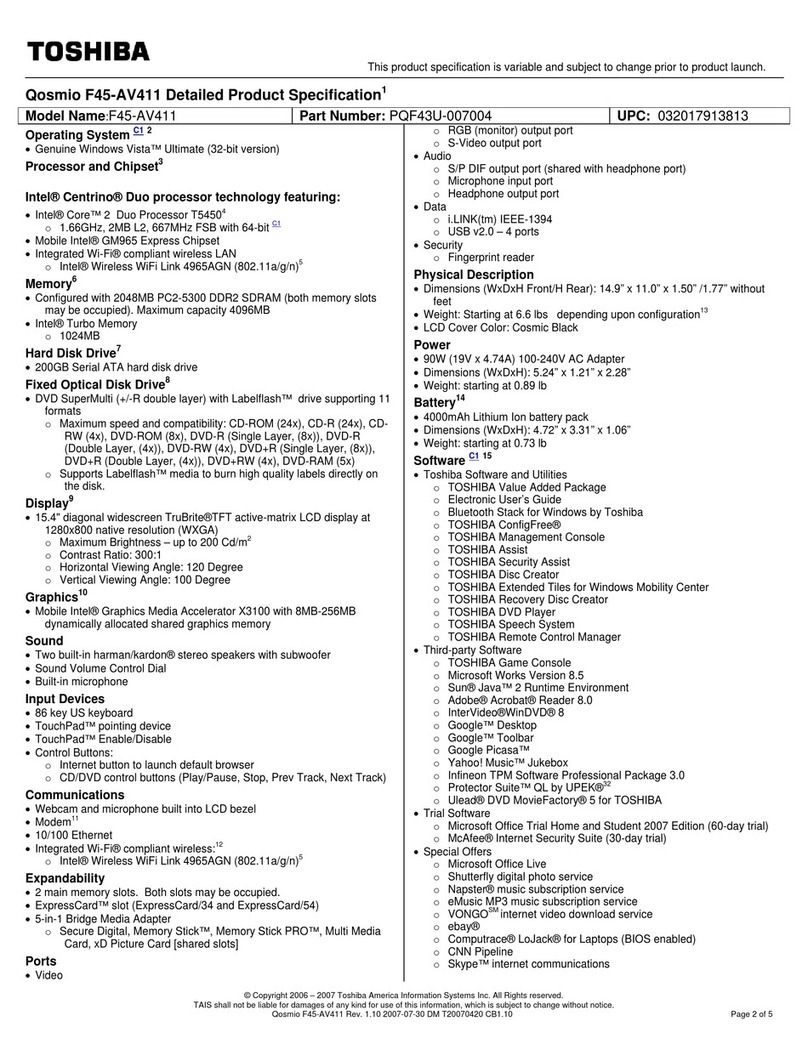
Toshiba A105-S2111 User manual

Toshiba

Toshiba A105-S2111 User manual

Toshiba P25-S477 User manual

Toshiba

Toshiba P25-S477 User manual

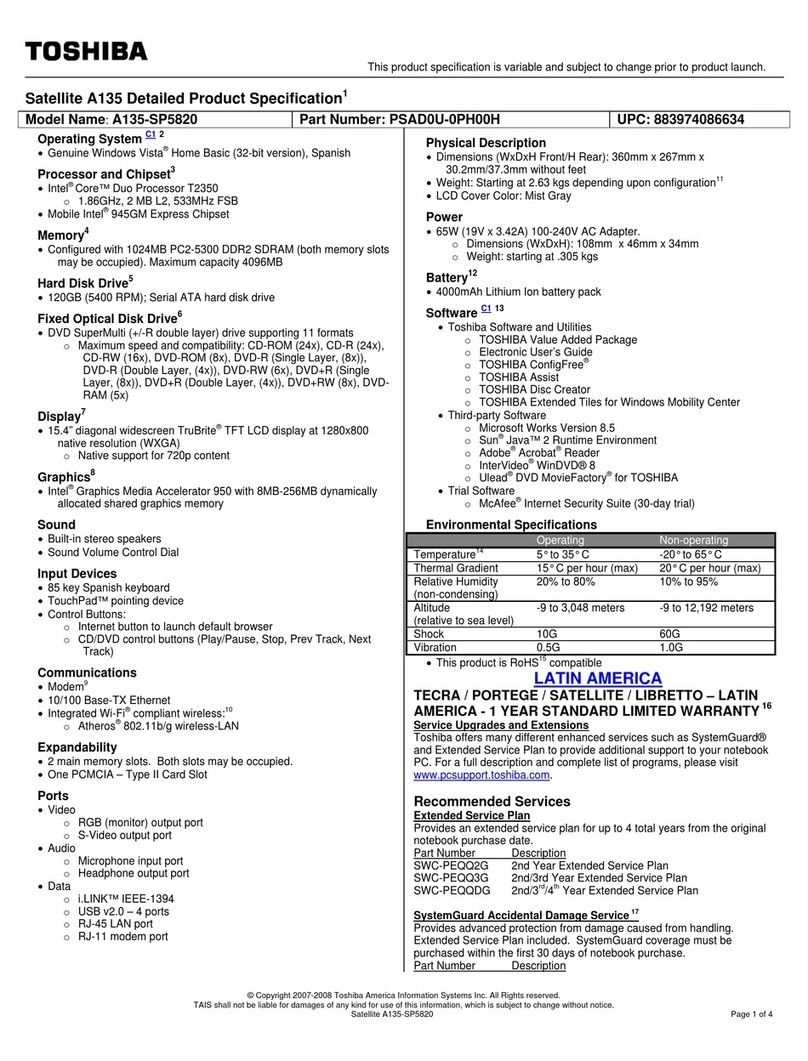
Toshiba M9-S5513X User manual

Toshiba

Toshiba M9-S5513X User manual

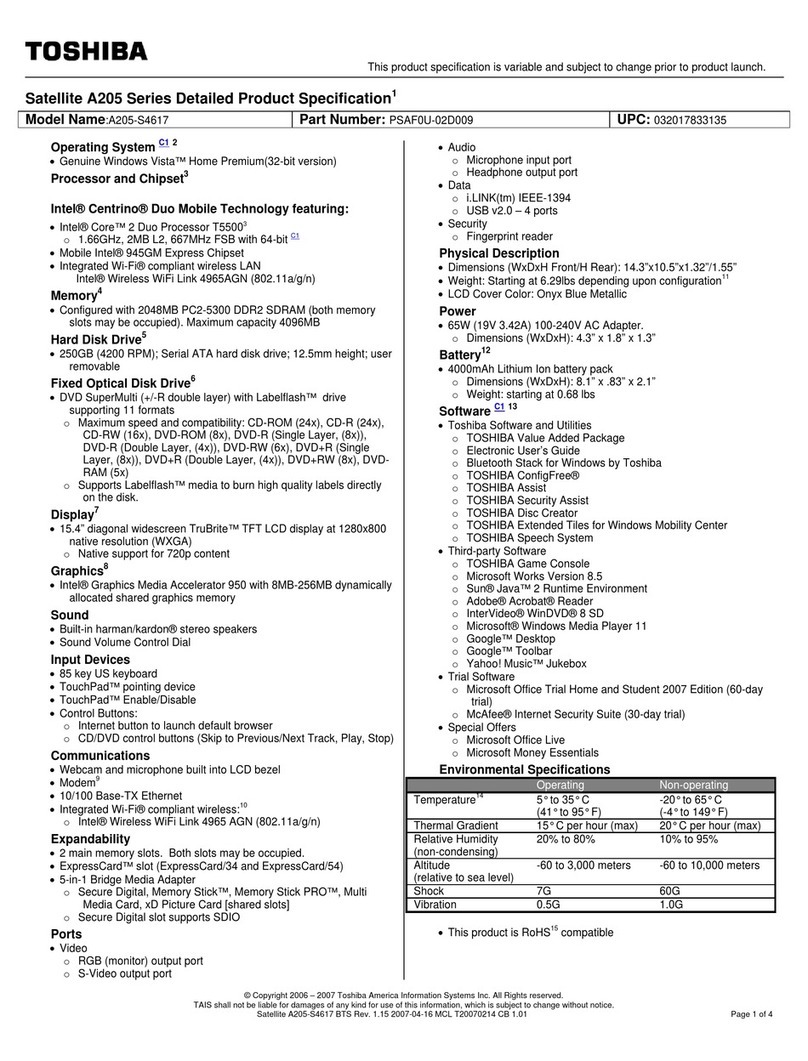
Toshiba M55-S139 User manual

Toshiba

Toshiba M55-S139 User manual

Toshiba L655D-S5066 User manual

Toshiba

Toshiba L655D-S5066 User manual

Toshiba Chromebook CB30 Series User manual

Toshiba

Toshiba Chromebook CB30 Series User manual

Toshiba Satellite R850 Series User manual

Toshiba

Toshiba Satellite R850 Series User manual

Toshiba Satellite L300 Series User manual

Toshiba

Toshiba Satellite L300 Series User manual

Toshiba A665-S6100X User manual

Toshiba

Toshiba A665-S6100X User manual

Toshiba Satellite 1555CDS User manual

Toshiba

Toshiba Satellite 1555CDS User manual

Toshiba A665-S5170 User manual

Toshiba

Toshiba A665-S5170 User manual

Toshiba Satellite Pro R50-B Series User manual

Toshiba

Toshiba Satellite Pro R50-B Series User manual

Toshiba PPR50C-02G08C User manual

Toshiba

Toshiba PPR50C-02G08C User manual

Toshiba P105-S6024 User manual

Toshiba

Toshiba P105-S6024 User manual

Toshiba P750-BT4N22 User manual

Toshiba

Toshiba P750-BT4N22 User manual

Toshiba M45-S165 User manual

Toshiba

Toshiba M45-S165 User manual

Toshiba Satellite U305-S5127 User manual

Toshiba

Toshiba Satellite U305-S5127 User manual

Toshiba P755-S5272 User manual

Toshiba

Toshiba P755-S5272 User manual

Toshiba P105-S9722 User manual

Toshiba

Toshiba P105-S9722 User manual

Toshiba M400 - Portege - Core 2 Duo 1.83 GHz User manual

Toshiba

Toshiba M400 - Portege - Core 2 Duo 1.83 GHz User manual

Toshiba Tecra M9 User manual

Toshiba

Toshiba Tecra M9 User manual

Toshiba M65-S8092 User manual

Toshiba

Toshiba M65-S8092 User manual

Toshiba A9-S9016X User manual

Toshiba

Toshiba A9-S9016X User manual

Toshiba M50-S4182TD User manual

Toshiba

Toshiba M50-S4182TD User manual

Popular Laptop manuals by other brands

EUROCOM ARMADILLO 2 W840AU Service manual

EUROCOM

EUROCOM ARMADILLO 2 W840AU Service manual

HP EliteBook 8570p Maintenance and service guide

HP

HP EliteBook 8570p Maintenance and service guide

HP Compaq 6520s Maintenance and service guide

HP

HP Compaq 6520s Maintenance and service guide

Lenovo ThinkPad T530 null

Lenovo

Lenovo ThinkPad T530 null

IBM THINKPAD T41 - Warranty user manual

IBM

IBM THINKPAD T41 - Warranty user manual

Lenovo ThinkPad X1 Carbon user guide

Lenovo

Lenovo ThinkPad X1 Carbon user guide

Lenovo ThinkPad T400s Ghid de service şi depanare

Lenovo

Lenovo ThinkPad T400s Ghid de service şi depanare

Acer SP514-51N user manual

Acer

Acer SP514-51N user manual

Fujitsu P1620 - LifeBook - Core 2 Duo 1.2 GHz Getting started

Fujitsu

Fujitsu P1620 - LifeBook - Core 2 Duo 1.2 GHz Getting started

IBM ThinkPad 240 Quick reference guide

IBM

IBM ThinkPad 240 Quick reference guide

Dell G3 15 Setup and specifications

Dell

Dell G3 15 Setup and specifications

Clevo D400P Service manual

Clevo

Clevo D400P Service manual

HP EliteBook 840r G4 Maintenance and service guide

HP

HP EliteBook 840r G4 Maintenance and service guide

Clevo NL51CU Service manual

Clevo

Clevo NL51CU Service manual

Dell Inspiron 3700 Get started

Dell

Dell Inspiron 3700 Get started

Lenovo ThinkPad 310D reference guide

Lenovo

Lenovo ThinkPad 310D reference guide

Sony PCG-F801A user guide

Sony

Sony PCG-F801A user guide

Lenovo ThinkPad P15 Gen 1 user guide

Lenovo

Lenovo ThinkPad P15 Gen 1 user guide

manuals.online logo
manuals.online logoBrands
  • About & Mission
  • Contact us
  • Privacy Policy
  • Terms and Conditions

Copyright 2025 Manuals.Online. All Rights Reserved.

How to disassemble Toshiba Satellite
L755, L755D, L750, L750D laptops
Today I'll show how to dismantle a Toshiba Satellite L755 laptop. I'll be taking
apart the laptop case and removing major internal components.
All dismantling steps should be the same for the following (identical) Toshiba
models:
- Toshiba Satellite L755D.
- Toshiba Satellite L750.
- Toshiba Satellite L750D.
Here are main laptop disassembly steps:
STEP 1- 5: Removing laptop hard drive and DVD drive. Accessing
memory modules, CMOS battery, wireless card.
STEP 6- 13: Disconnecting and removing laptop keyboard.
STEP 14-20: Removing top cover assembly.
STEP 21-27: Disconnecting and removing laptop motherboard.
STEP 28-29: Accessing the cooling fan and DC jack harness.
Step 30-44: Replace the laptop screen
STEP 1
Make sure the laptop is turned off before you
start dismantling it.
Unplug AC adapter. Unlock and remove laptop
battery.
STEP 2
Unscrew five screws securing the hard drive
cover and memory cover.
Lift up covers and remove them from the laptop.
www.battery-adapter.com
STEP 3
When both covers removed you can access the
laptop hard drive, CMOS battery, wireless card
and both memory modules.
It's not necessary to remove the wireless card
and memory modules for the purpose of my
guide. I'll leave them connected to the laptop.
Remove one screw securing the hard drive
mounting bracket to the laptop case.
STEP 4
Slide the hard drive assembly to the left to
disconnect it from the motherboard.
Lift up and remove the hard drive assembly.
Toshiba Satellite L755, L755D, L750, L750D
laptops have a regular 2.5" SATA hard drive
installed. If you are replacing the hard drive,
you'll have to transfer the mounting bracket to
the new drive.
STEP 5
Remove one screw securing the DVD optical
drive.
Pull the drive to the left to disconnect it from the
motherboard.
Remove DVD drive.
www.battery-adapter.com
STEP 6
Remove one screw located in the battery
compartment.
This screw securing the keyboard bezel.
STEP 7
Turn the laptop over and carefully lift up the
keyboard bezel with a small screwdriver.
Continue removing the bezel with your fingers.
You'll have to wiggle it a little bit in order to
separate from the laptop.
STEP 8
Remove four screws securing the keyboard.
STEP 9
After all four screws removed you should be
able to lift up the top side of the keyboard and
turn it upside down.
Place the keyboard on the palmrest. Be careful,
the keyboard still connected to the motherboard.
www.battery-adapter.com
STEP 10
It's necessary to unlock the connector and
release the cable before removing the keyboard.
In the following two steps I explain how to unlock
the connector.
STEP 11
The connector has two pieces:
1. The white base which is soldered to the
motherboard.
2. The brown locking tab - the moving part.
Carefully lift up the left side of the locking tab so
it opens up at a 90 degree angle.
STEP 12
Now you can pull cable from the connector.
STEP 13
Remove the keyboard.
www.battery-adapter.com
STEP 14
Remove shown screws from the bottom of the
laptop.
STEP 15
Don't forget two more screws in the DVD drive
bay.
STEP 16
Remove screws securing the top cover
assembly.
Disconnect the touchpad cable (1). Use same
technique as for disconnecting the touchpad
cable.
Disconnect the speaker cable (2).
STEP 17
The speaker cable has a regular male-female
type connector.
www.battery-adapter.com
STEP 18
Start separating the top cover assembly from
the laptop base using a piece of plastic (I'm
using the guitar pick).
Continue separating the top cover from the base
with your fingers.
STEP 19
Remove the top cover assembly.
STEP 20
On the bottom part of the top cover you can
access both speakers, touchpad and touchpad
button board.
STEP 21
After the top cover assembly removed you can
access the folloing internal laptop components:
- Power button board.
- DC jack.
- USB board.
- Motherboard.
www.battery-adapter.com
STEP 22
Remove three screws securing the motherboard
and cooling fan assembly.
Disconnect the USB board cable (1) and power
button board cable (2). Use same technique as
for disconnecting the keyboard cable.
STEP 23
Carefully unglue the protective film from the
laptop case.
STEP 24
In order to remove the motherboard it's
necessary to disconect the DC jack cable and
both wireless card antennas.
They are located under the memory cover which
we removed in the step 2.
STEP 25
Start removing the motherboard as it shown on
the picture.
www.battery-adapter.com
STEP 26
Remove motherboard from the laptop base.
STEP 27
On the bottom side of the motherboard you can
access the cooling fan assembly and CMOS
battery (on the left side from the wireless card).
STEP 28
In order to remove the cooling fan assembly (fan
and heatsink) you'll have to loosen four screws
and disconnect the fan cable.
After that carefully lift up the assembly and
separate it from the processor.
STEP 29
The DC jack is attached to the harness.
If the DC jack failed, you can remove the whole
harness and replace it with a new DC jack
harness.
How to replace screen on Toshiba Satellite L755, L755D, L750, L750D
www.battery-adapter.com
STEP 30
There are four screw covers on the screen
bezel. One cover in each bezel corner.
STEP 31
Remove all four covers with a sharp object.
Glue covers (they have sticky tape on the
bottom) somewhere on the bezel so they don't
get lost during the disassembly process.
STEP 32
Start separating the screen bezel from the
display back cover.
Here's how I do it:
- insert your fingers between the bezel and LCD
screen on the top of the display assembly.
- insert the guitar pick (you can use any other
piece os plastic) between the bezel and back
cover and slowly move it along the side.
- at the same time wiggle the bezel to unlock
hidden latches inside the display.
STEP 33
Continue separating the screen bezel from the
display assembly.
www.battery-adapter.com
STEP 34
It was kind of difficult to separate the bezel from
the display on the bottom.
Close the display and using the same guitar pick
separate the screen bezel from the display on
the bottom.
The picture shows the battery compartment area
of the laptop.
STEP 35
Now start separating the bezel from the display
hinges.
Insert a small flathead screwdriver under the
hinge cover (part of the screen bezel) and
carefully lift it up.
Do the same with the hinge cover on the left side
of the display.
STEP 36
Remove the screen bezel.
www.battery-adapter.com