13
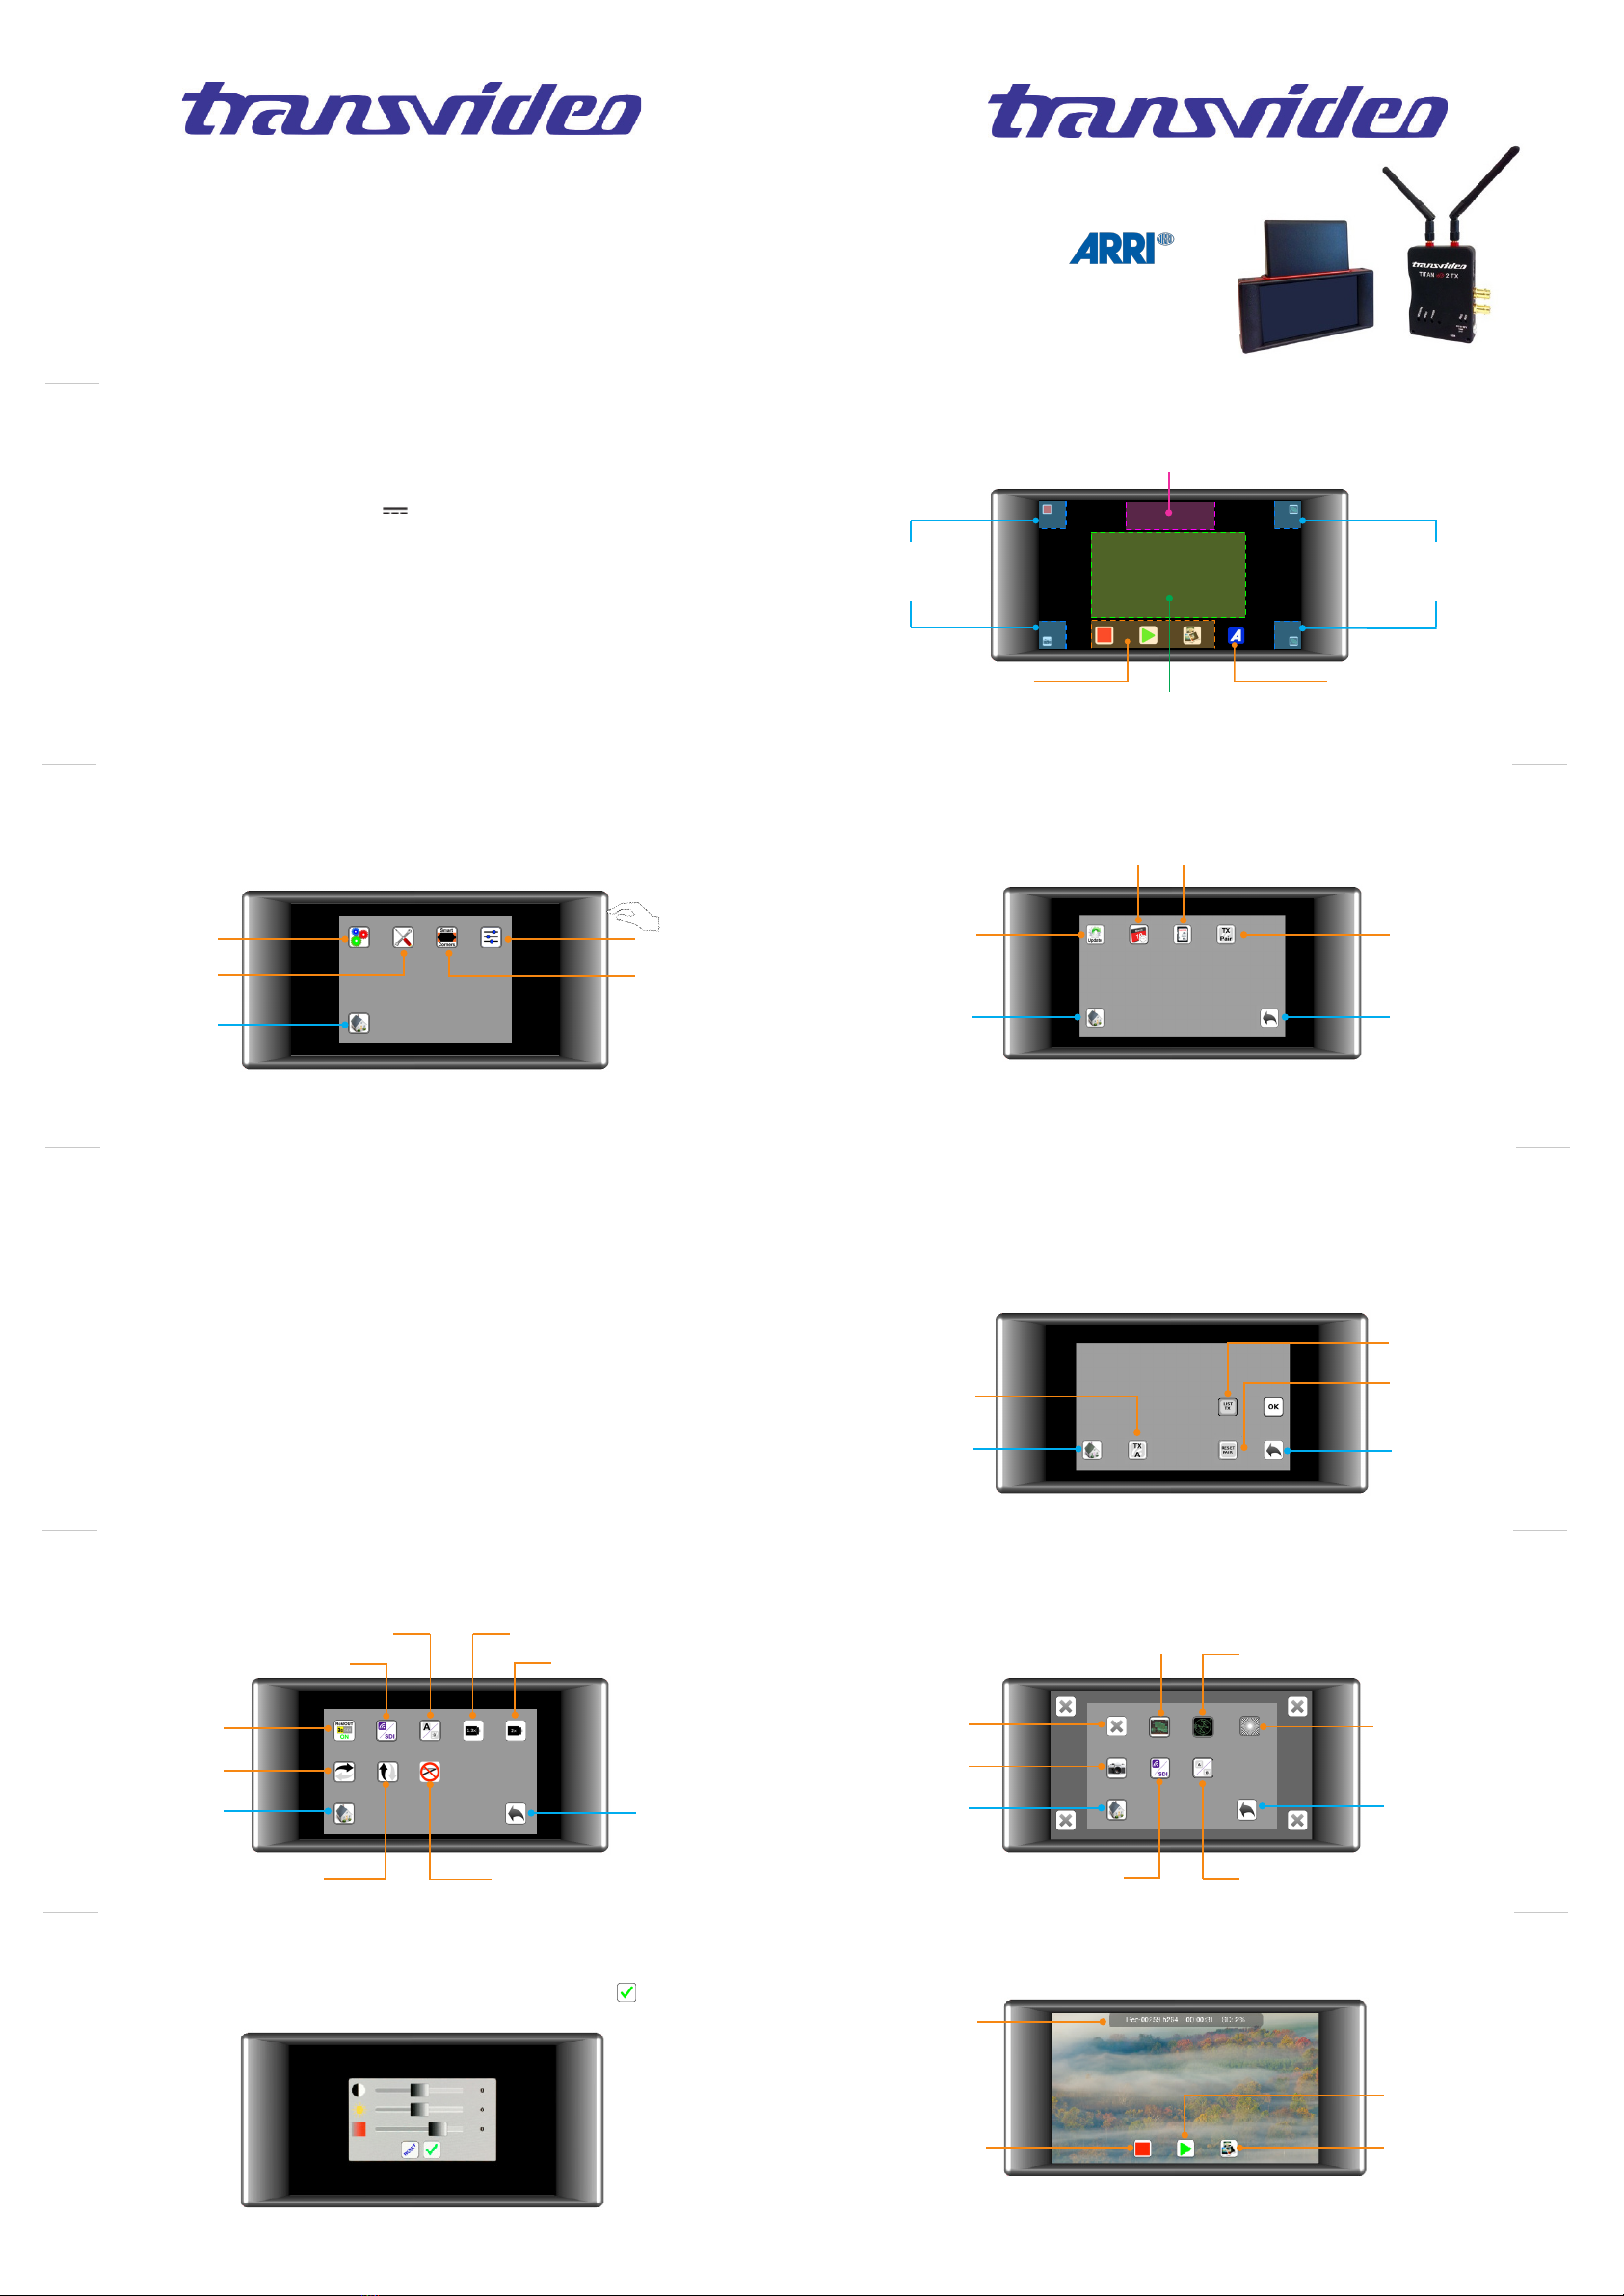
Mini 3D Swing Arm
The clamp for slide on the top allows to mount the monitor
from the bottom slide, its back or any extra slide.
Includes a special 3/8”-16 male thred on the bottom.
P/N 918TS0261
Sun Hood
Material sun hood.
Protects the screen from direct sun.
P/N 918TS0265
Transportation cover plate
Protects the StarliteHD against dust
and shocks during transportation.
P/N 918TS0268
uRecording / Playing / Converting
You can change your StarliteHD conguration which gives ability to:
- Convert the output format from h.264 to mp4 (default) or mkv les
- Adjust the compression level and to choose intra mode for coding
- Choose a default le name for your clips
- And More
User presets options are available via our website.
The generated settings are installed onto the SD card.
For more information, visit http://www.transvideo.eu/support-StarliteHD
Download and uncompress the latest software release (the downloaded le is in zip format)
using your archive utility application.
Open the uncompressed folder then copy the le maj.tar.gz and paste it at the root of the
SD card.
Important:
*Do not rename the update le on the SD card*
*Do not disconnect your monitor from the power supply. We recommend the StarliteHD is
connected
to Mains Power for Updates.
Insert the SD card into the monitor. Turn the monitor ON, then push down the menu button.
Select the Settings icon then Update. Validate your choice and wait...
During the update, you can read the following information on the screen.
- Full system update : may require more than 30 minutes.
- Applicative update in progress.
14
17
Step 3
During the update , you can read the following information on the screen.
- Do not disconnect your monitor from the power supply.
- Applicative update in progress.
After a successful update, the monitor displays “Your monitor is up to date”.
If an error occurs, a report is generated.
You can read the online version at http://www.transvideo.eu/support-StarliteRF
15 16
uHow to update
uTRANSVIDEO EQUIPMENT LIMITED WARRANTY
Transvideo S.A gives the warranty set forward below.
The limited warranty is only eective upon presentation of your Bill of Sale or other proof of purchase.
Transvideo equipment is warranted under normal use, against defective materials or workmanship as follows:
Parts: Defective parts will be exchanged for new parts or comparable rebuilt parts for a period of TWO YEARS from the date of
original purchase.
Labor: For a period of TWO YEARS from the date of original purchase, labor will be provided free of charge by our factory service
centers or designated service facilities located in country where the product have been purchased, or by the factory.
When returning equipment under this warranty, you are responsible for the shipping charges. Please enclose the Bill of Sale or
other proof of purchase with a complete explanation of the problem.
During your TWO-YEAR warranty period, repairs will be made and the equipment return-shipped to you free of charge.
After your warranty period is over, you will be given an estimate of the cost of repair and an opportunity to approve or disapprove
of the repair expense before it is incurred. If you approve, repairs will be made and the equipment return shipped to you. (shipping
charges apply). If you disapprove, we will return-ship the equipment at no charge to you. (shipping charges apply).
Non-Transvideo brand peripheral equipment and software which may be distributed with Transvideo products are sold “AS IS”
without warranty of any kind by Transvideo, including any implied warranty regarding merchantability or tness for a particular
purpose. The manufacturer or producer gives the sole warranty with respect to such non-transvideo brand items Thereof :
Transvideo shall have no responsibility under this limited warranty for use of Transvideo product in conjunction with incompatible
equipment or peripheral equipment.
In order to obtain warranty service, contact the authorized Transvideo retail dealer from whom you purchased the product or
contact the factory :
You will be directed to the nearest service facility for your product.
If there is no service facility in your region, you will receive a RAN (Return Authorization Number) and instruction to return your
product to the factory.
This Limited Warranty covers all defects encountered in normal use of the equipment and does not apply in the following cases:
Loss or damage to the equipment due to abuse, mishandling, accident, improper maintenance, or failure to follow operating
instructions.
NO IMPLIED WARRANTY, INCLUDING MERCHANTABILITY AND FITNESS FOR A PARTICULAR PURPOSE APPLIES TO THIS
EQUIPMENT AFTER THE APPLICABLE PERIOD OF EXPRESS WARRANTY OR GUARANTEE, EXCEPT AS MENTIONED ABOVE,
GIVEN BY ANY PERSON, FIRM OR CORPORATION WITH RESPECT TO THIS EQUIPMENT SHALL BIND THE UNDERSIGNED..
TRANSVIDEO SHALL NOT BE LIABLE FOR LOSS OF REVENUES OR PROFITS, EXPENSE FOR SUBSTITUTE EQUIPMENT OR
SERVICE, STORAGE CHARGES, LOSS OF DATA, OR ANY OTHER SPECIAL, INCIDENTAL OR CONSEQUENTIAL DAMAGES
CAUSED BY THE USE, MISUSE OR INABILITY TO USE THE PRODUCT, REGARDLESS OF THE LEGAL THEORY ON WHICH
THE CLAIM IS BASED, AND EVEN IF TRANSVIDEO HAS BEEN ADVISED OF THE POSSIBILITY OF SUCH DAMAGES. NOR
SHALL RECOVERY OF ANY KIND AGAINST TRANSVIDEO BE GREATER THAN THE PURCHASE PRICE OF THE PRODUCT
SOLD BY TRANSVIDEO AND CAUSING THE ALLEGED DAMAGE. WITHOUT LIMITING THE FOREGOING, YOU ASSUME ALL
RISK AND LIABILITY FOR LOSS, DAMAGE OR INJURY TO YOU AND YOUR PROPERTY AND TO OTHERS AND THEIR PROP-
ERTY ARISING OUT OF USE, MISUSE OR INABILITY TO USE THE PRODUCT NOT CAUSED DIRECTLY BY THE NEGLIGENCE
OF TRANSVIDEO. THIS WARRANTY SHALL NOT EXTEND TO ANYONE OTHER THAN THE ORIGINAL PURCHASER OF THIS
EQUIPMENT.
If the equipment is defective as a result of leaking batteries, sand, dirt or water damage; If defects or damages are caused
by the use of unauthorized parts or by service other than our authorized agent.
If the equipment is defective as a result of leaking batteries, sand, dirt or water damage; If defects or damages are caused
by the use of unauthorized parts or by service other than our authorized agent.
This Limited Warranty does not cosmetic wear or damage (exterior nish).
This warranty does not cover units sold to military operations or avionics. These uses are covered only by such specic warranty
as Transvideo may issue with such sales.
This Limited Warranty does not apply to accessories or consumables for the product, which are sold “AS IS”, without warranty of
any kind by Transvideo.
Please retain this warranty card and your Bill of Sale as a permanent record of your purchase. This card is important.
We also recommend you register your product online, to be sure you are contacted right away should there be a safety inspection,
modication or product recall under applicable laws or regulations.
19 20
21
uAccessories
Video output 1 x 3G / HD / SDI
Supported
Standards
3G: 1080 / 50p, 60p
HD: 1080 / 50i, 60i
1080 / 24p, 25p, 30p
1080 / 25psf, 30psf
720 / 50p, 60p
Display type
& size AMOLED - 5 inches
Pixels Picture zone 1280 x 720
Contrast ratio 3400:1
Viewing angle ±170° H & V
Brightness max 380 Nits
u Technical specications
Color temperature
D56
Power
6 to 30V (-1, +2)
Lemo 2 Mini (EGG.0B.302 CLL)
Battery Socket Sony type L
Power Cons. 12W
SD card slot yes
Built-in receiver
frequency 5.8 Ghz ISM Band
Dimensions
(w x h x d) 144 x 128 x 40 mm
5,66 x 5,03 x 1,57 inches
Weight < 200g / 0.5 lbs
uMechanics & connectors
Audio out
Video in or out
HD-3G SDI
Din 1.0/2,3
Part Number
Serial Number
SD card Slot
Power 6 to 30V
Lemo2 “mini”
(EGG.0B.302.CLL)
(-1, +2)
ON/OFF switch
Main menu
(down)
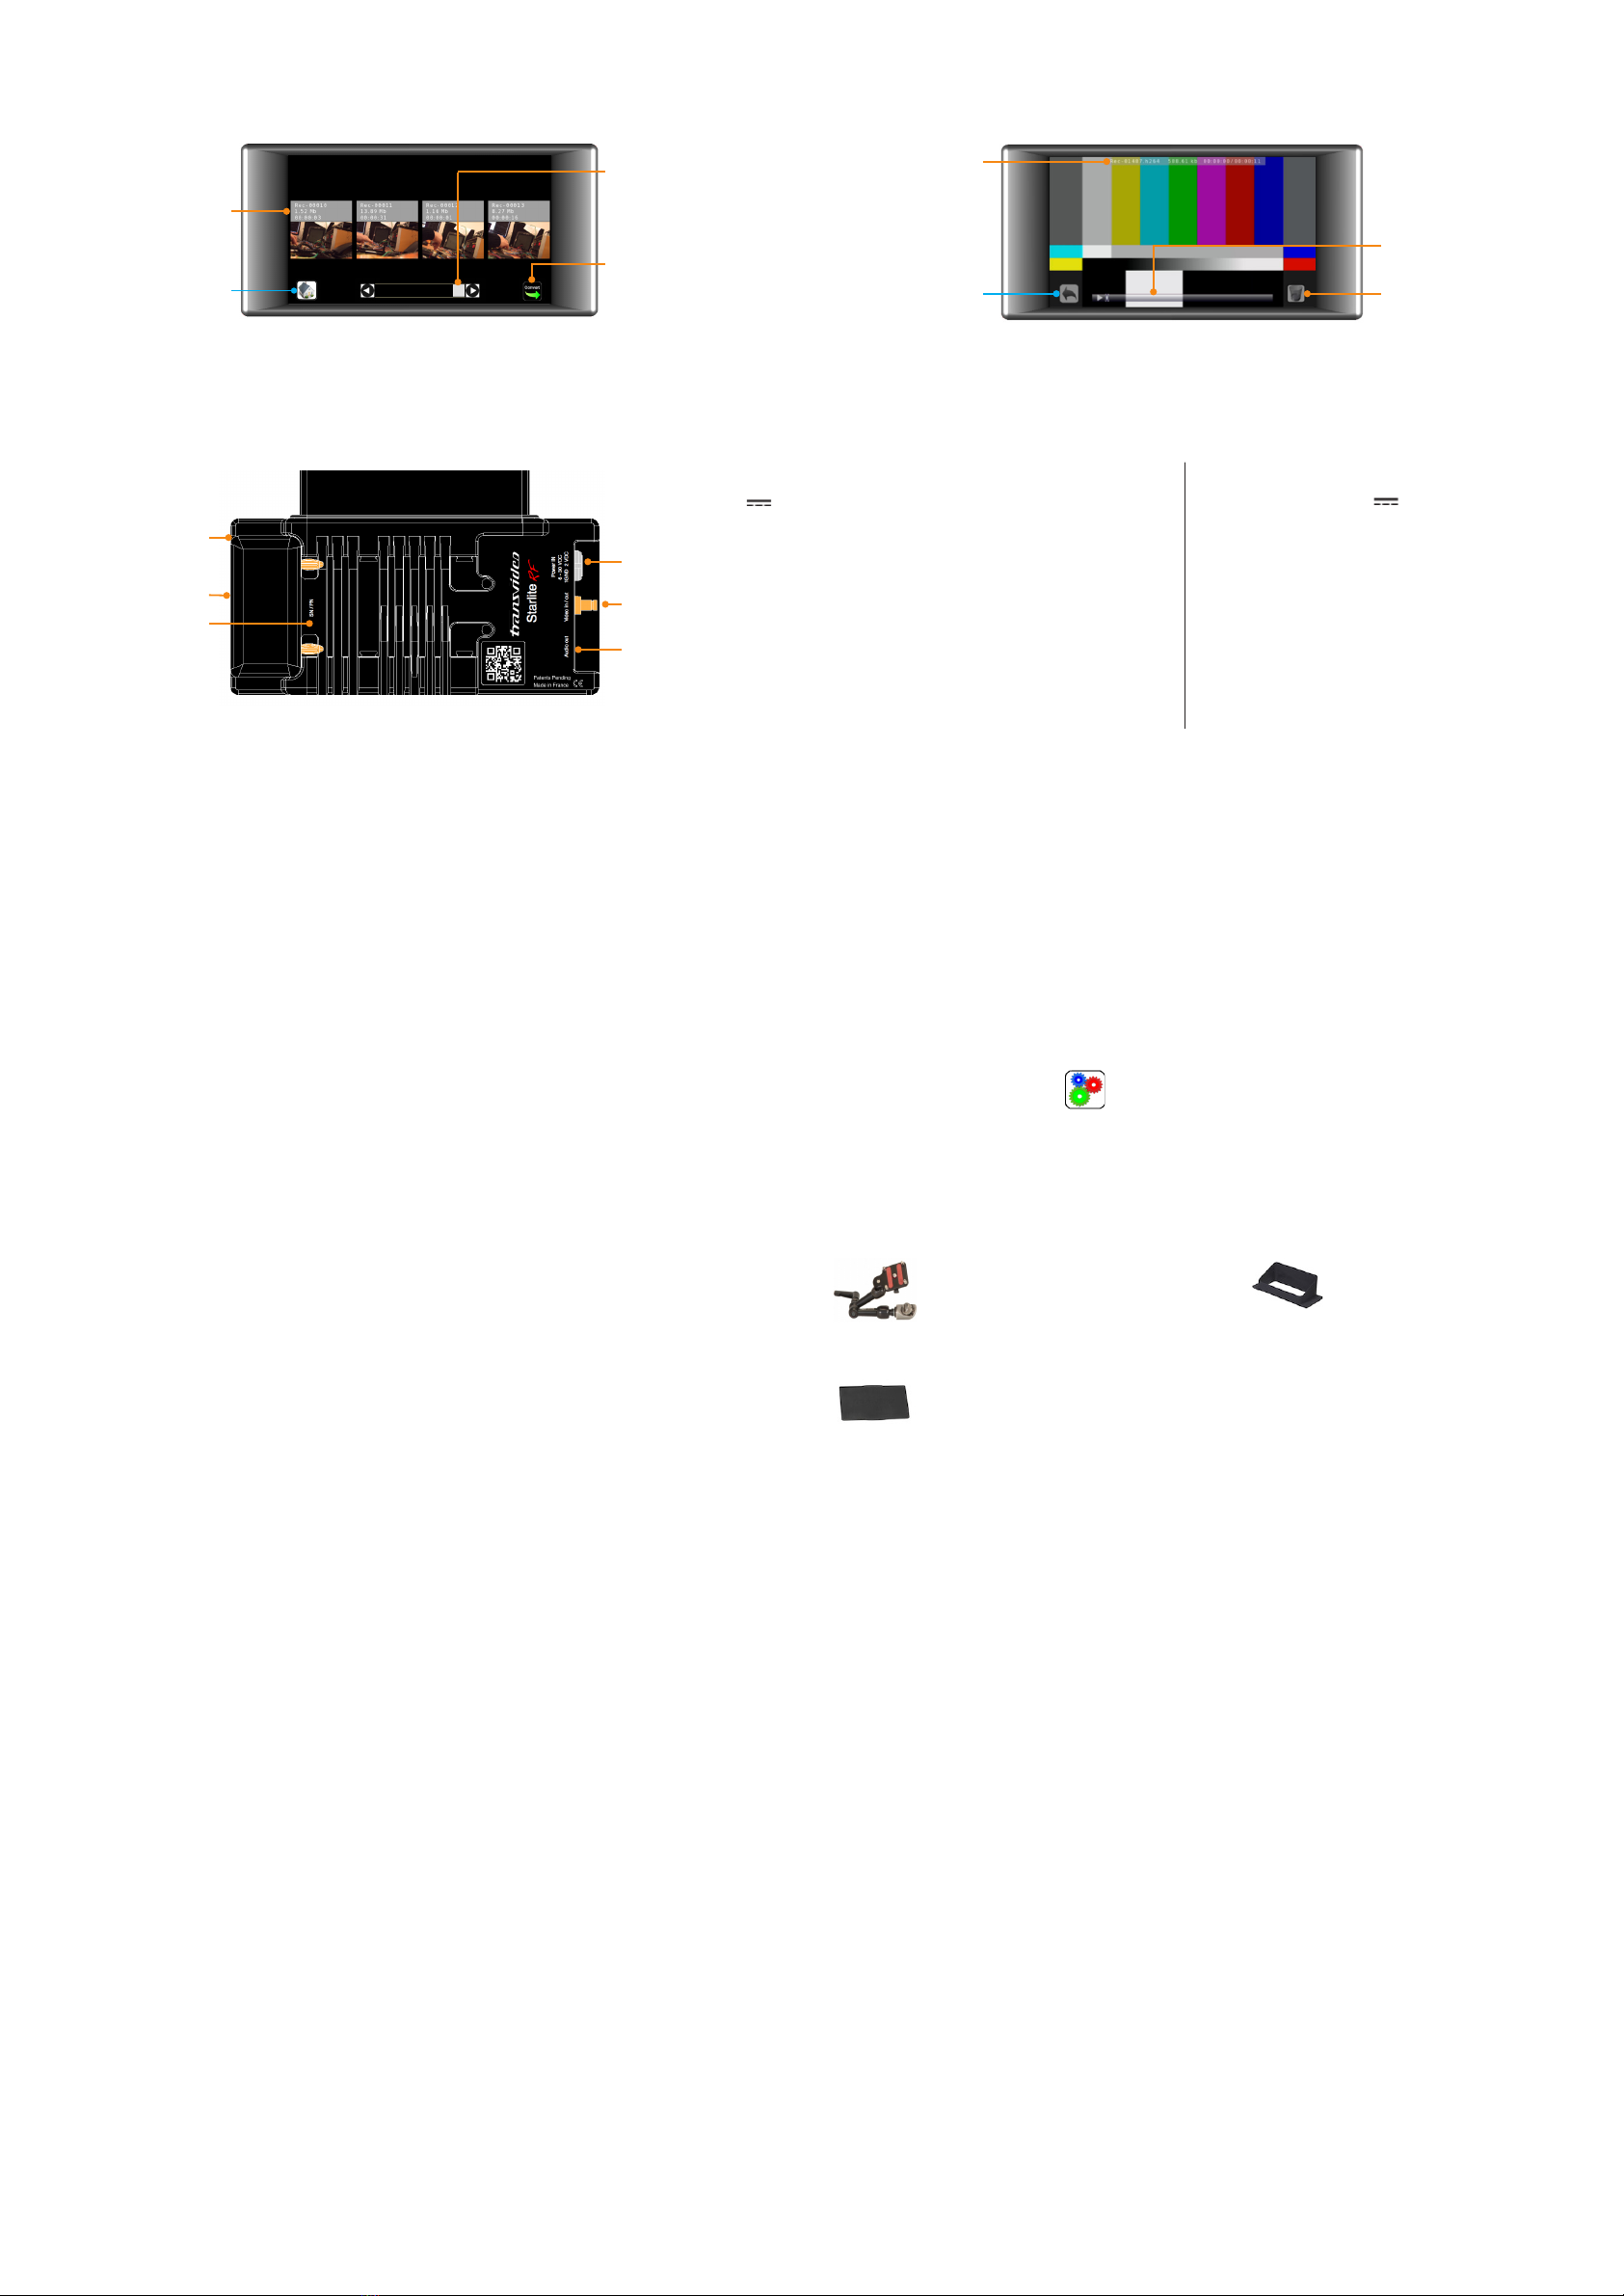
uRecording / Playing
Play Status
Go back to the
records gallery Delete record
Play
Slide to rewind
& forward
File Gallery
Select for Playback
Home view
Navigation
Slide on thumbnails
to navigate
Convert output container
h.264 to mp4 (default)
* Press the “Convert“ icon
then select the video in the
gallery.
* Please note that previously converted les with the same name will be overwritten.
Starlite RFStarlite RF
Starlite RFStarlite RF
Starlite RFStarlite RF
Starlite RFStarlite RF
uCongure le
uHow to update
uU.S. Compliance Information
This device complies with part 15 of the FCC Rules. Operation is subject to the following two conditions :
1. This device may not cause harmful interference.
2. This device must accept any interference that may cause indesired operation.