Gas/Pellet Remote Thermostat
SKU 99300646
Page 1 of 8 11/11/09 - 17601251 © Travis Industries, Inc.
Compatibility
•All Travis Gas Stoves
•33 DVI Insert
•31 DVI Insert
•564 SS GS
•864 TRV GS
•864 ST GS
•All Travis Pellet Stoves or Inserts
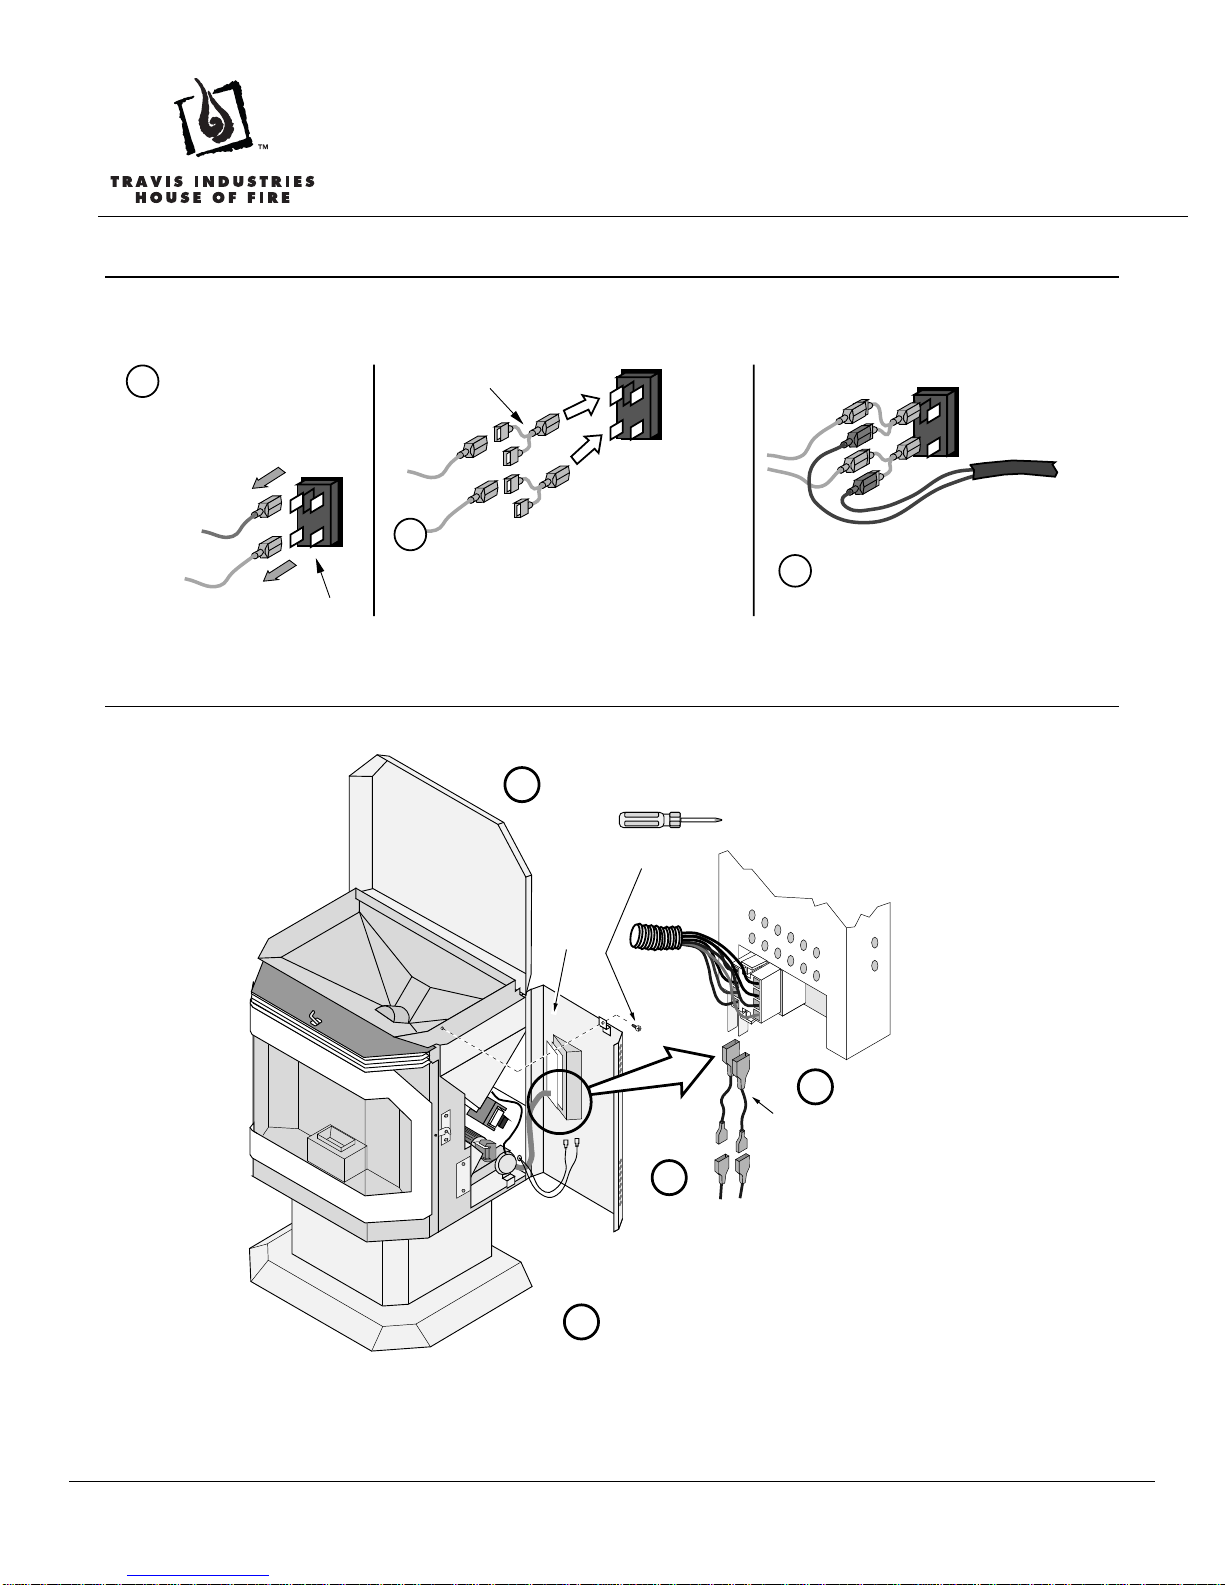
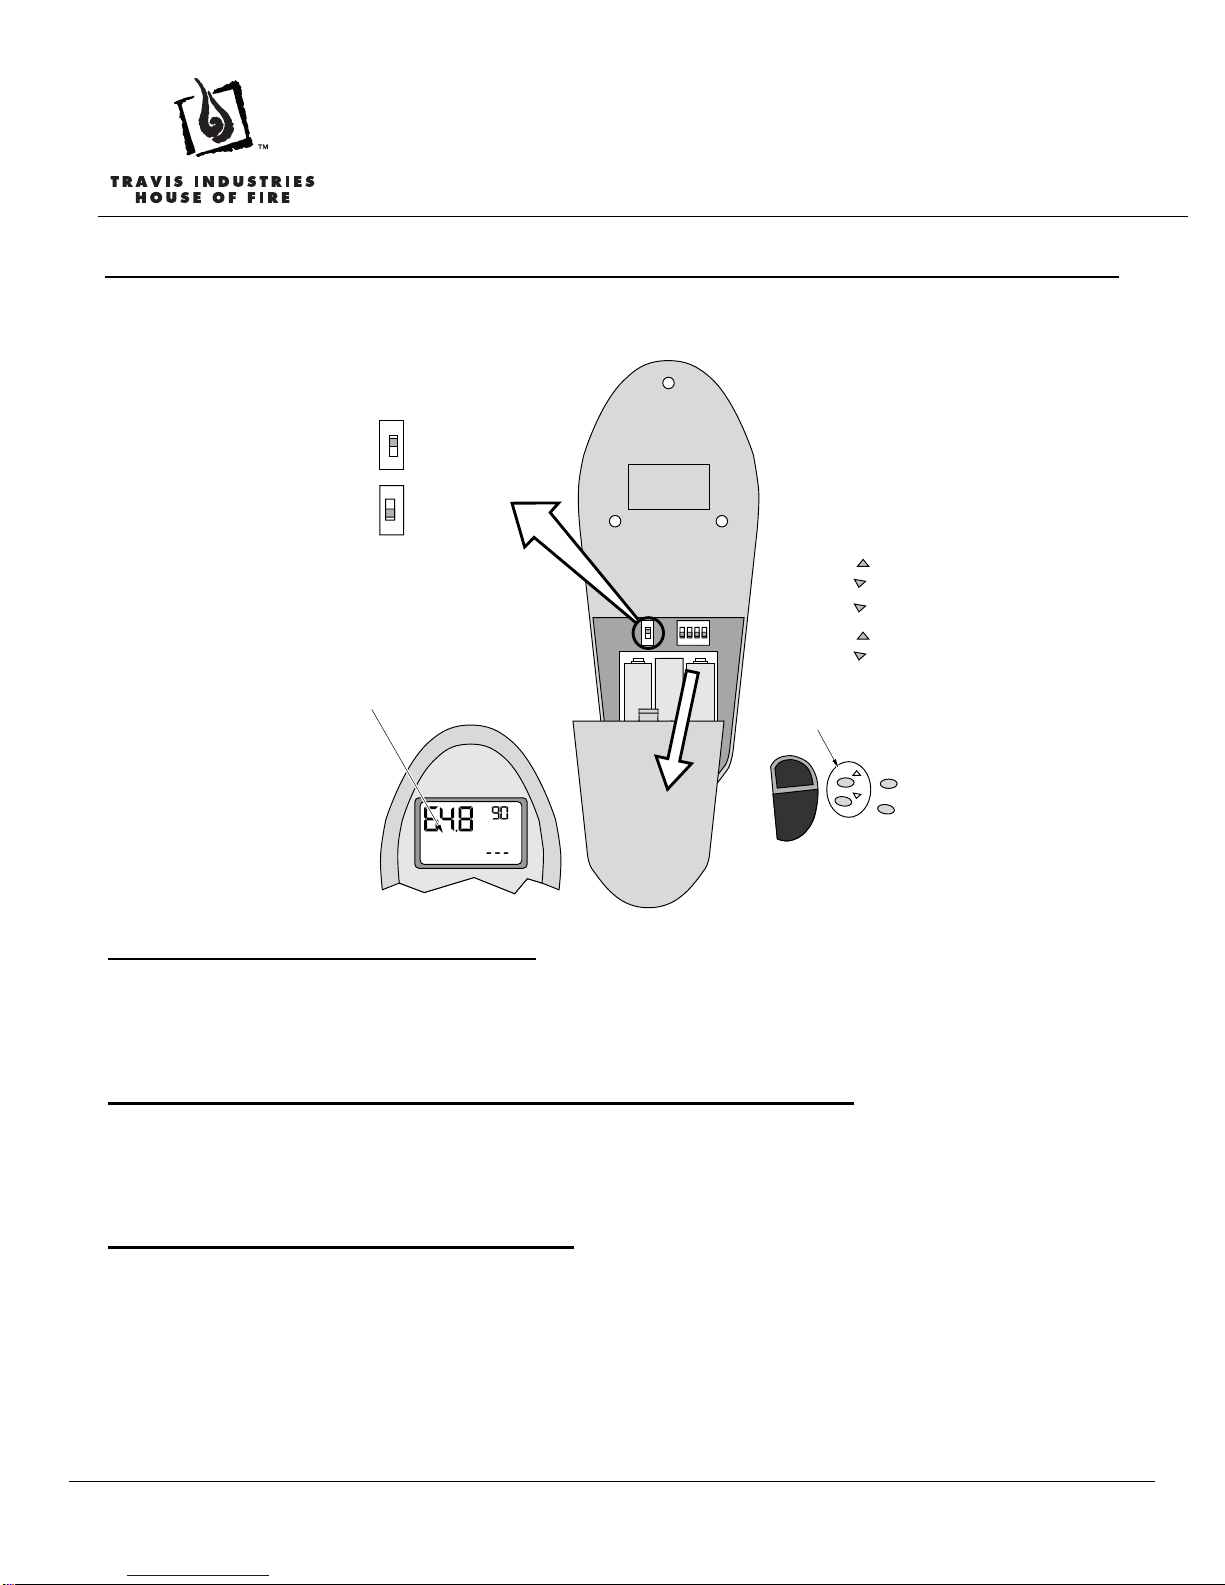
Packing List
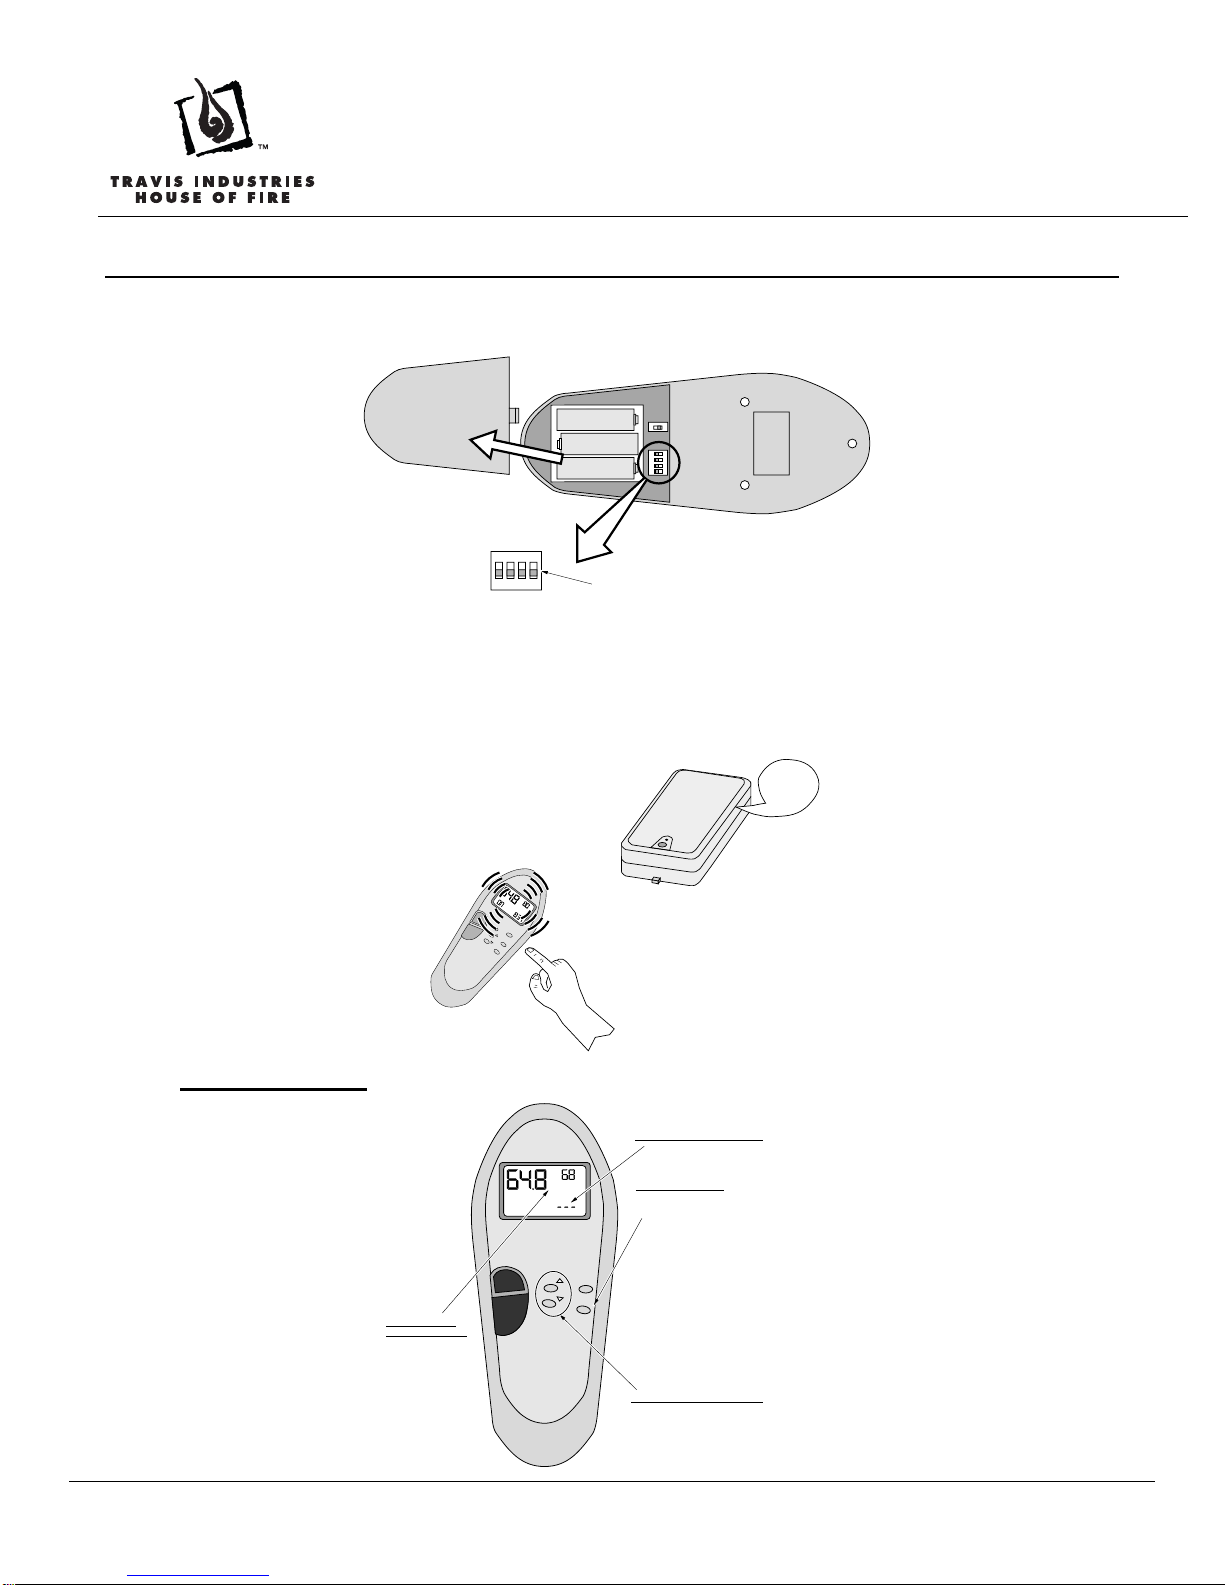
•Transmitter
•Receiver
•Receiver Hanger
•Pellet Stove Connector Wires
•“Y” Jumper Wires (for gas appliances)
•Power Cord Adapter (for gas appliances)
FCC Requirements
Warning: Changes or modifications to this unit not expressly approved by the party responsible for
compliance could void the user's authority to operate the equipment. This equipment has been tested and
found to comply with the limits for a Class B digital device, pursuant to Part 15 of the FCC Rules. These
limits are designed to provide reasonable protection against harmful interference in a residential installation.
This equipment generates, uses, and can radiate radio frequency energy and, if not installed and used in
accordance with the instructions,, may cause harmful interference to radio communications. However, there
is no guarantee that interference will not occur in a particular installation. If this equipment does cause
harmful interference to radio or television reception, which can be determined by turning the equipment off
and on, the user is encouraged to try to correct the interference by one or more of the following measures:
- Reorient or relocate the receiver.
- Increase the separation between the equipment and receiver.
- Connect the equipment into an outlet on a circuit different from that to which the receiver is connected.
- Consult the dealer or an experienced radio TV technician for help.
Canadian Equipment Requirements
This digital apparatus does not exceed the (Class A/Class B) limits for radio noise emissions from
digital apparatus set out in the Radio Interference Regulations of the Canadian Department of
Communications. Le present appareil numerique n'emet pas de bruits radioelectricques depassant les
limites applicables aux appareils numeriques (de la class A/de la class B) prescrites dans le Reglement
sur le brouillage radioelectrique edicte par le ministere des Communications du Canada.
This device complies with RSS-210 of Industry and Science Canada. Operation is subject to the
following two conditions: (1) this device may not cause interference, and (2) this device must accept
any interference, including interference that may cause undesired operation of the device.
Installation Warnings
! Shut off power to the appliance and allow it to cool prior to installation.
! This kit must be installed by a qualified technician.
! All 110 VAC wiring must be done by a qualified electrician and shall be in compliance with local
codes and the National Electric Code ANSI/NFPA No. 70 (in the United States), or with the current
CSA C22.1 Canadian Electric Code (in Canada).
! Do not connect 110 VAC to the gas control valve or on/off switch on gas heaters or the thermostat
posts on pellet heaters.
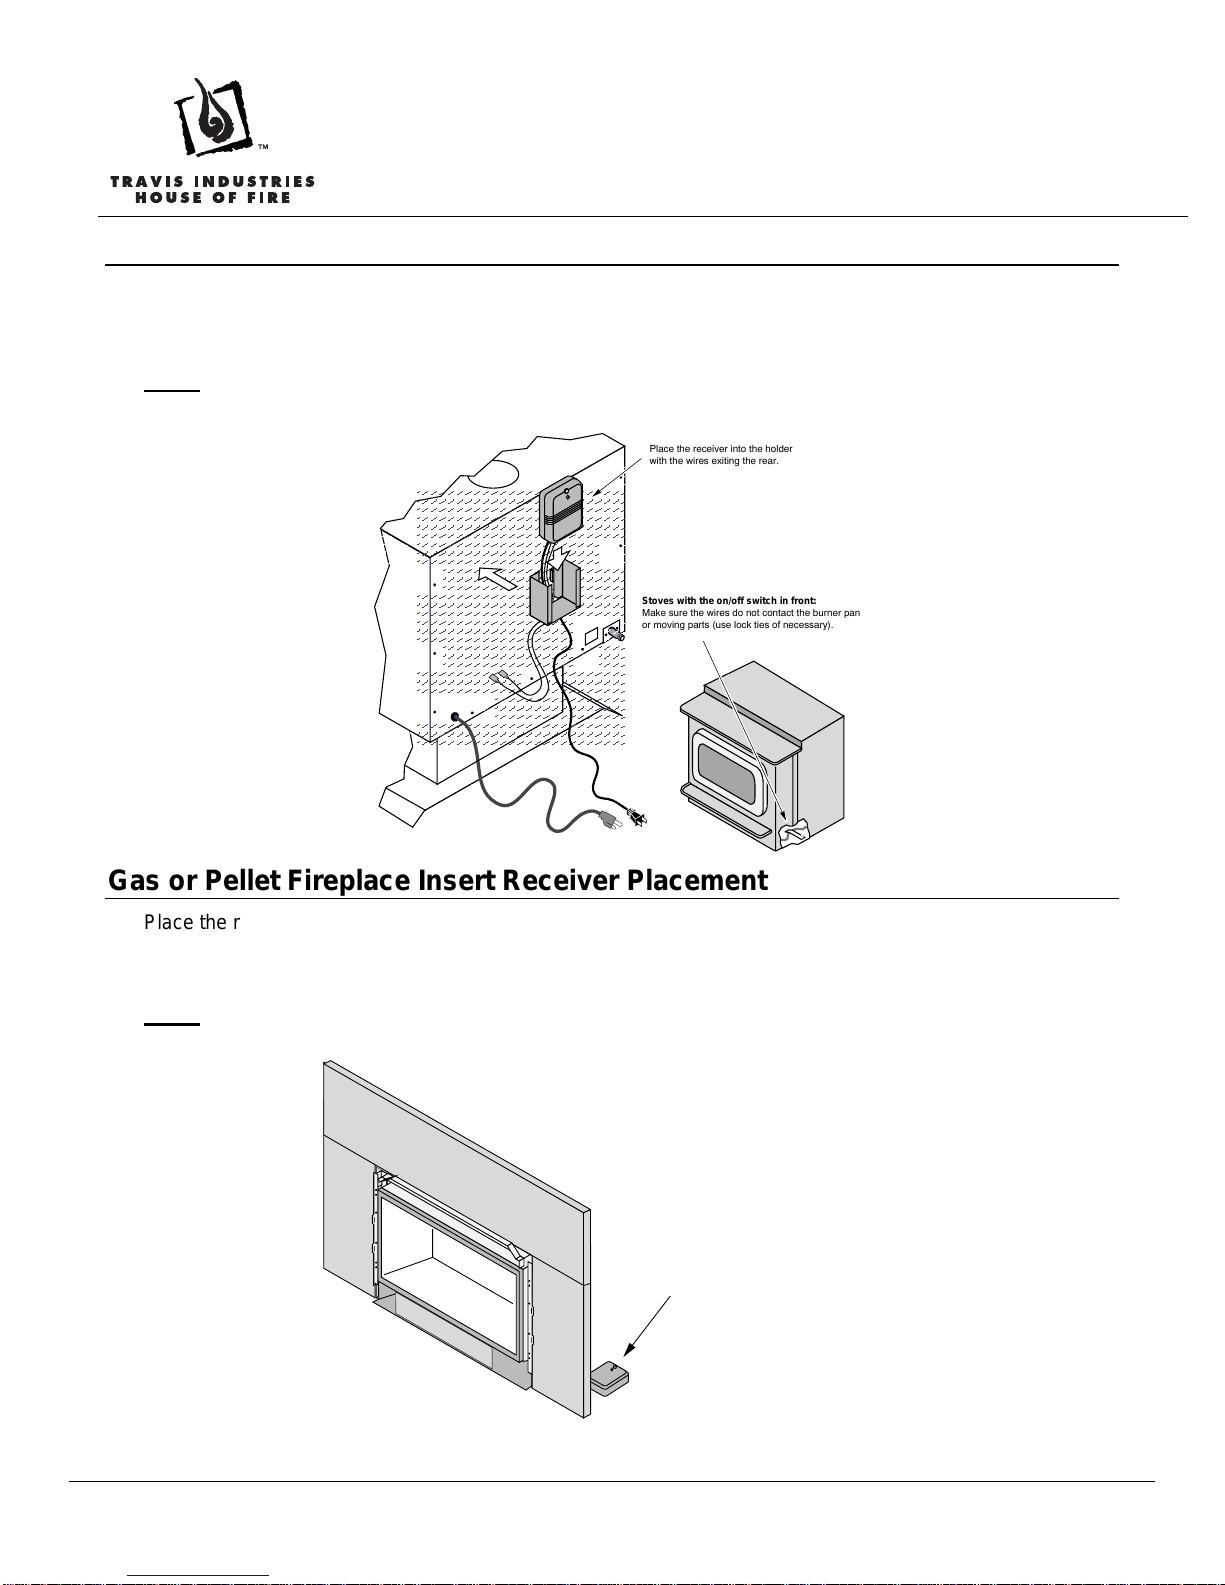
Follow the instructions on the following pages for the type of model being addressed.