manuals.online logo
Brands
  1. Home
  2. •
  3. Brands
  4. •
  5. Trendway
  6. •
  7. Indoor Furnishing
  8. •
  9. Trendway Rexxi 2 User manual

Trendway Rexxi 2 User manual

Questions? Call 877-301-5785
07/18/2016 INS653, REV APage 1 of 2
Back Angle
Paddle
Tilt
Tension
Control
Seat
Height
Paddle
Seat Height Adjustment
While sitting, twist the paddle
up to lower seat height. Stand
and twist the paddle to raise.
Seat Depth Adjustment
Lift handle to activate seat
slider. When handle is lifted,
push the seat forward to
extend the seat depth while
seated. To return seat to re-
tracted position, stand and lift
the handle.
Tilt Tension Adjustment
Twist to loosen or tighten tilt
tension.
Congratulations on the purchase of your new Rexxi 2 Chair.
Please see the reverse of this sheet for simple assembly instructions.
Use and Care Guide
Operation Instructions
Care and Maintenance
Plastic Parts: Clean plastic parts with warm,
soapy water, do not use abrasive cleaning
agents.
Mesh: Wipe the Mesh Upholstery
gently with a damp soft cloth, moistened
with water, to remove dust and dirt. Dry with
a soft cloth. Never use furniture polish,
oils, varnishes, ammonia, or any type of
harsh cleaner.
Maintenance: Tighten all the screws every
90 days.
Rexxi 2 Chair
Rexxi 2 Chair Assembly Instructions
Questions? Call 877-301-5785
07/18/2016 Page 2 of 2 INS653, REV A, ECN 15152 ©Trendway Corporation, 2016.
Step 1
Caster Assembly: Holding one leg of
the Base (4) in one hand and the
Caster (7) in the other, push the
Caster stem into the hole at the end
of the Chair base leg. You may need
to wiggle the stem while pushing to
achieve full insertion. Repeat this
operation for the four remaining Casters.
Step 2
Insert the Pneumatic Cylinder (5)
into the Base (4) by placing the
Cylinder through the large hole in the
Base.
Step 3
Flip the packaging box over to use
as a work table and place the seat Front
assembly (1) upside down on top.
Attach the T Arms (3) to the
bottom of the Seat Assembly (1)
using the Allen Wrench (H) and Six
Flat Washers (G) and two Screws
(D) and four Screws (C).
The arms and the bottom of the
seat will be labeled to identify “R”
and “L” sides
Tighten all arm screws.
Step 4
Attach the Mechanism (6) to the
Bottom of the Seat Assembly (1)
using the Allen Wrench (H) and Four
Screws (A). Make sure the Mechanism
is aligned straight before tightening the
screws completely.
Step 5
Attach Back Assembly (2) to the
bottom of the Seat Assembly (1) Front
using the Allen Wrench (H) and the
three Screws (B) and the three
Spring Washers (E) and three Flat
Washers (F). Start each of the
Screws and make sure the back is
straight before tightening them
completely.
Step 6
Align the hole in the bottom of the
mechanism with the top of the
Pneumatic Cylinder (5) and set the
Chair in place.
NOTE:
The assembled chair
weighs approximately 35 lb. and
may require 2 people to lift the chair
off the box and ip it over so it is in
the upright position on the oor. Sit
in the chair to fully seat the Chair into
the Pneumatic Cylinder (5).
Step 7
Ensure that all adjustments on your
Chair operate properly.

D
  

7
Inspect the contents of the box for shipping / handling damage. Make sure you have all the
parts before proceeding. Parts included in this package (quantity in parentheses):
Seat
Assembly (Qty 1)
Back
Assembly (Qty 1)
T
Arms (pair)
Base
(Qty 1)
Pneumatic
Cylinder (Qty 1) Mechanism
(Qty 1)
Casters
(Qty 5)
Screw 1/4”x7/8” (Qty 4) Flat Washers 18x8.5x2mmT (Qty 3)
Allen Wrench (Qty 1)
Screw 5/16”x7/8” (Qty 3)
Screw 1/4”x1-1/4” (Qty 4)
Screw 1/4”x1-1/2” (Qty 2)
E
Spring Washers 8.5x13.5x2.5mmT (Qty 3)
F
G
H
Flat Washers 6.5x13x1mmT (Qty 6)
Front
(7)
(4)
(5)
(D)
(C)
(3)
(G)
(1)
(B)
(6)
(E)
(A)
(F)
(2)

Other Trendway Indoor Furnishing manuals

Trendway Quincy Table User manual

Trendway

Trendway Quincy Table User manual

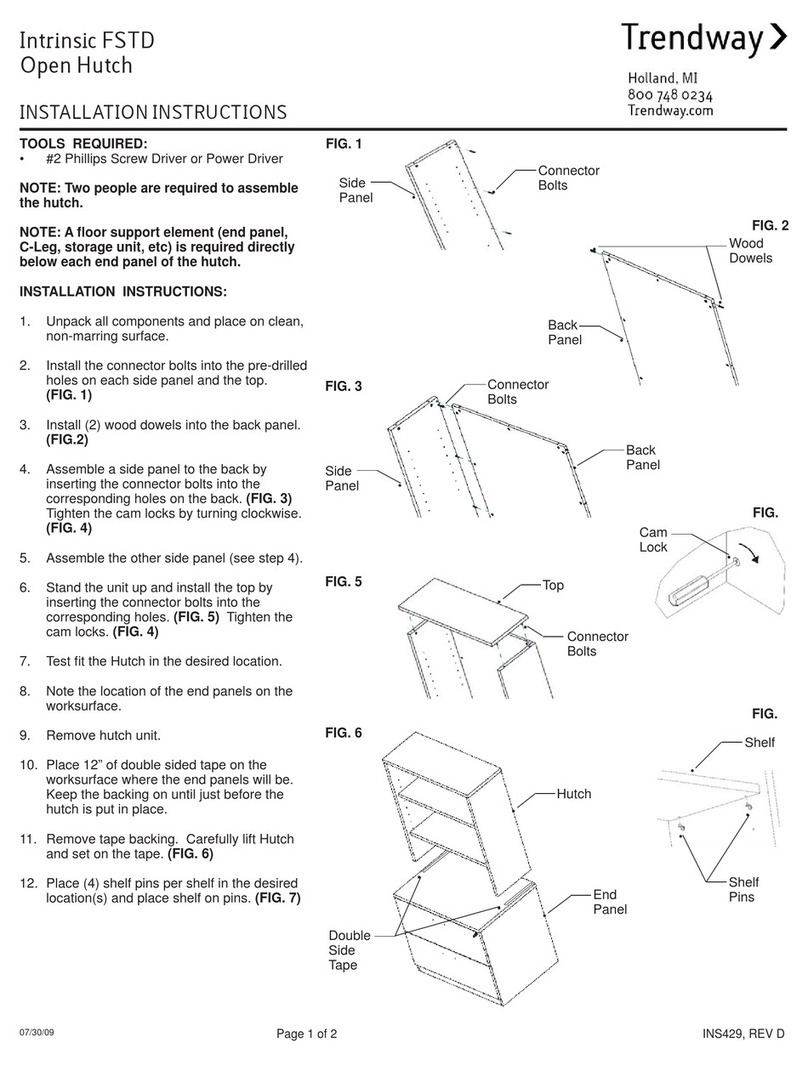
Trendway Intrinsic FSTD Open Hutch User manual

Trendway

Trendway Intrinsic FSTD Open Hutch User manual

Popular Indoor Furnishing manuals by other brands

Regency LWMS3015 Assembly instructions

Regency

Regency LWMS3015 Assembly instructions

Furniture of America CM7751C Assembly instructions

Furniture of America

Furniture of America CM7751C Assembly instructions

Safavieh Furniture Estella CNS5731 manual

Safavieh Furniture

Safavieh Furniture Estella CNS5731 manual

PLACES OF STYLE Ovalfuss Assembly instruction

PLACES OF STYLE

PLACES OF STYLE Ovalfuss Assembly instruction

Trasman 1138 Bo1 Assembly manual

Trasman

Trasman 1138 Bo1 Assembly manual

Costway JV10856 manual

Costway

Costway JV10856 manual

moss DESIGN Caisson Credenza Assembly instructions

moss DESIGN

moss DESIGN Caisson Credenza Assembly instructions

Aquaglide FULL DECK 15.0 owner's manual

Aquaglide

Aquaglide FULL DECK 15.0 owner's manual

AREBOS AR-HE-SW30 user manual

AREBOS

AREBOS AR-HE-SW30 user manual

Till-Hilft Fulda 87005.330 Assembly instructions

Till-Hilft

Till-Hilft Fulda 87005.330 Assembly instructions

Twoey Outside 2010 quick start guide

Twoey Outside

Twoey Outside 2010 quick start guide

Hettich Easys 200 operating instructions

Hettich

Hettich Easys 200 operating instructions

The bedboss RELAX 404 Series owner's manual

The bedboss

The bedboss RELAX 404 Series owner's manual

Oeseder Möbelindustrie Bern 991 720 Assembly instructions

Oeseder Möbelindustrie

Oeseder Möbelindustrie Bern 991 720 Assembly instructions

Costway HW68469 user manual

Costway

Costway HW68469 user manual

Next ALIX A27743 Assembly instructions

Next

Next ALIX A27743 Assembly instructions

BROSA Hans Assembly guide

BROSA

BROSA Hans Assembly guide

Prodigg MINIKA PBA015T-FUR installation manual

Prodigg

Prodigg MINIKA PBA015T-FUR installation manual

manuals.online logo
manuals.online logoBrands
  • About & Mission
  • Contact us
  • Privacy Policy
  • Terms and Conditions

Copyright 2025 Manuals.Online. All Rights Reserved.