manuals.online logo
Brands
  1. Home
  2. •
  3. Brands
  4. •
  5. Trevi
  6. •
  7. Garden House
  8. •
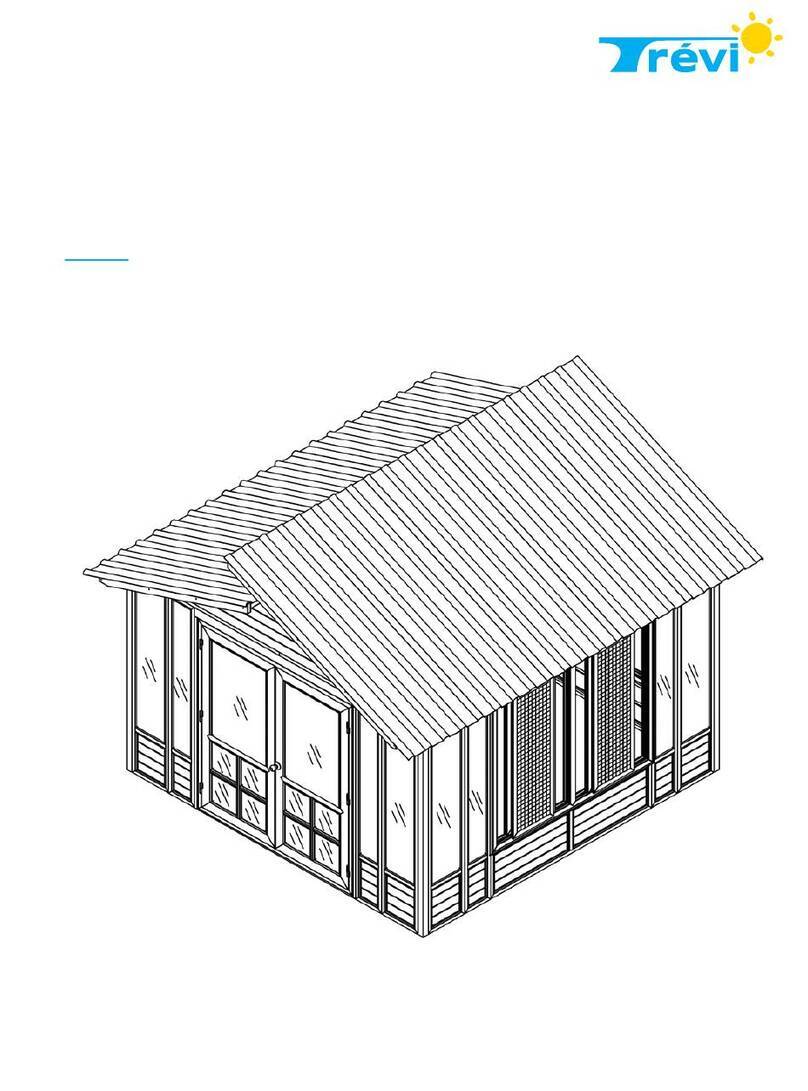
  9. Trevi Richmond User manual

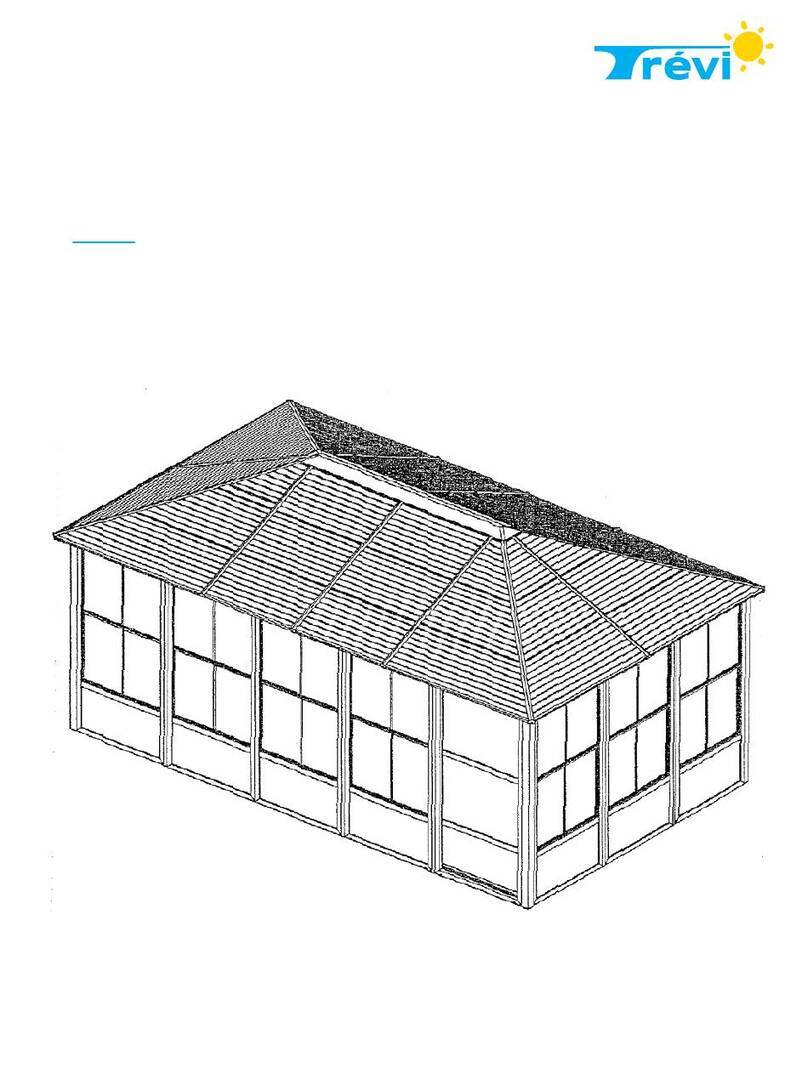
Trevi Richmond User manual

POUR TOUTE ASSISTANCE,
CONTACTEZ VOTRE DÉTAILLANT.
For assistance, contact your retailer.
Fabriqué en Chine / Made in China
PAVILLON
RICHMOND 12'X 12'
Toit en Alu-Plasti
12′ x 12′ Richmond Pavilion / Alu-Plasti Roof
Modèle / Model: LGFP9853
GUIDE D’ASSEMBLAGE
Assembly Instructions
Guide d’assemblage pavillon Richmond 12′ X 12′ / 12′ X 12′ Richmond Pavilion Assembly Instructions 2
PRÉASSEMBLAGE  PREASSEMBLY
Outils requis (non inclus à l’intérieur des boîtes) / Tools required (not included in boxes)
Niveau
Level
Tournevis étoile
Phillips screw driver
Maillet en caoutchouc
Rubber mallet
Perceuse
Drill
Casque de sécurité
Safety hat
Gants
Gloves
Lunettes de sécurité
Safety goggles
Escabeau
Step ladder
Trousse de quincaillerie incluse / Hardware package included
E1 x 8 K1 x 4
M6 x 50 M5 x 10
I1 x 145 L1 x 40
M6 x 16 ST4.8 x 10
J1 x 8 M1 x 1
M6 x 25 Clé Allen / Allen Key
Guide d’assemblage pavillon Richmond 12′ X 12′ / 12′ X 12′ Richmond Pavilion Assembly Instructions 3
A
Montant / Column
x 4 B
Base
x 4
C
Moulure / Crossbeam
x 4 D
Moulure / Crossbeam
x 4
E
Renfort de coin / Corner Bracket
x 4 F
Renfort de coin / Corner Bracket
x 4
G
Couvre-coin / Corner Gap Cover
x 4 H
Cache-joint / Cover Plate
x 4
I
Connecteur de toit / Roof Connector
x 1 J
Connecteur de toit / Roof Connector
x 1
K
Baguette de toit / Roof Bar
x 4 L
Baguette de toit / Roof Bar
x 4
M
Angle connecteur / Connector Angle
x 4 N
Baguette de toit / Roof Bar
x 4
O
Baguette de toit / Roof Bar
x 4 P
Baguette de toit / Roof Bar
x 4
Q
Baguette de toit / Roof Bar
x 4 R
Barre de renfort / Support bar
x 4
S
Barre de renfort / Support bar
x 4 T
Barre de renfort / Support bar
x 4
U
Barre de renfort / Support bar
x 4 V
Baguette de nition / Finishing End Bar
x 2
W
Baguette de nition / Finishing End Bar
x 4
PRÉASSEMBLAGE  PREASSEMBLY
Liste des pièces (1) / Parts list (1)
Guide d’assemblage pavillon Richmond 12′ X 12′ / 12′ X 12′ Richmond Pavilion Assembly Instructions 4
X
Panneau de toit / Roof panel
x 4 Y
Panneau de toit / Roof panel
x 4
Z
Panneau de toit / Roof panel
x 4 A1
Panneau de toit / Roof panel
x 4
B1
Panneau de toit / Roof panel
x 4 C1
Panneau de toit / Roof panel
x 4
D1
Moustiquaire / Mosquito Net
x 4 D2
Rideau / Curtain
x 4
F1
Embout de nition / End Plate
x 4 G1
Embout de nition / End Plate
x 4
H1
Crochet / Hook
x 112 N1
Insert en caoutchouc / Rubber Insert
x 1
PRÉASSEMBLAGE  PREASSEMBLY
Liste des pièces (2) / Parts list (2)
Guide d’assemblage pavillon Richmond 12′ X 12′ / 12′ X 12′ Richmond Pavilion Assembly Instructions 5
ASSEMBLAGE  ASSEMBLY
Étape 1 : Connexion des bases / Step 1: Connecting the Bases
Guide d’assemblage pavillon Richmond 12′ X 12′ / 12′ X 12′ Richmond Pavilion Assembly Instructions 6
ASSEMBLAGE  ASSEMBLY
Étape 2 : Assemblage des moulures / Step 2: Assembling the Crossbeams
Insérez 14 crochets (H1) dans les rails de l’intérieur des moulures (C+D) vers l’intérieur tel qu’illustré.
*NOTE : Si vous envisagez l’achat d’un ensemble de rideaux, suivez les instructions à la page 15.
Insert 14 hooks (H1) into the inside track of each crossbeam (C+D) facing inward as illustrated.
*NOTE: If you intend on purchasing a set of curtains, follow the instructions on page 15.
Guide d’assemblage pavillon Richmond 12′ X 12′ / 12′ X 12′ Richmond Pavilion Assembly Instructions 7
ASSEMBLAGE  ASSEMBLY
Étape 3 : Assemblage des moulures (2) / Step 3: Assembling the Crossbeams (2)
Guide d’assemblage pavillon Richmond 12′ X 12′ / 12′ X 12′ Richmond Pavilion Assembly Instructions 8
ASSEMBLAGE  ASSEMBLY
Étape 4 : Connexion des renforts de coin / Step 4: Connecting the Corner Brackets
Étape 5 : Connexion des cache-joints et des couvre-coins
Step 5: Connecting the Gap Covers and Corner Covers
Guide d’assemblage pavillon Richmond 12′ X 12′ / 12′ X 12′ Richmond Pavilion Assembly Instructions 9
ASSEMBLAGE  ASSEMBLY
Étape 6 : Assemblage des baguettes de toit / Step 6: Assembling the Roof Bars
Étape 7 : Assemblage de la structure du toit / Step 7: Assembling the Roof Structure
Guide d’assemblage pavillon Richmond 12′ X 12′ / 12′ X 12′ Richmond Pavilion Assembly Instructions 10
ASSEMBLAGE  ASSEMBLY
Étape 8 : Connexion du connecteur de toit supérieur / Step 1: Attaching the Upper Roof Connector
Guide d’assemblage pavillon Richmond 12′ X 12′ / 12′ X 12′ Richmond Pavilion Assembly Instructions 11
ASSEMBLAGE  ASSEMBLY
Étape 9 : Installation des barres de renfort / Step 9: Installing the Support Bars
Guide d’assemblage pavillon Richmond 12′ X 12′ / 12′ X 12′ Richmond Pavilion Assembly Instructions 12
ASSEMBLAGE  ASSEMBLY
Étape 10 : Installation des panneaux du toit / Step 10: Installing of the Finishing End Bars
Guide d’assemblage pavillon Richmond 12′ X 12′ / 12′ X 12′ Richmond Pavilion Assembly Instructions 13
ASSEMBLAGE  ASSEMBLY
Étape 11 : Installation des baguettes de finition / Step 11: Installing of the finishing end bars
Guide d’assemblage pavillon Richmond 12′ X 12′ / 12′ X 12′ Richmond Pavilion Assembly Instructions 14
ASSEMBLAGE  ASSEMBLY
Étape 12 : Installation des inserts en caoutchouc / Step 12: Installing the Rubber Inserts
Guide d’assemblage pavillon Richmond 12′ X 12′ / 12′ X 12′ Richmond Pavilion Assembly Instructions 15
ASSEMBLAGE  ASSEMBLY
Étape 12 : Installation des moustiquaires et rideaux
Step 12: Installing the Mosquito Netting and Curtains
Installez les moustiquaires sur les rails en insérant les crochets dans chacun des oeillets. Assurez-vous que les
fermetures éclair se rencontrent au centre tel qu’illustré. Chaque section de moustiquaire et rideau comporte
une étiquette numérotée dans les coins supérieurs [1]. Assurezvous que les numéros se suivent en séquence
(1-1; 2-2; 3-3; 4-4). Les moustiquaires et rideaux doivent être installés selon l’illustration cidessous.
lnstall the mosquito netting by inserting the hooks into each eyelet. Make sure that the zippers meet at the
center as illustrated. Every mosquito netting and curtain section has a numbered tag at the top [1].
Ensure the numbers at the top align in sequence (1-1; 2-2; 3-3; 4-4) as per the illustration below.
IMPORTANT : Le pavillon doit être ancré à un placher de bois ou de béton en utilisant les vis appropriées à
chaque type de plancher. Les clous de camping ne peuvent pas être utilisés comme ancrage permanent, sinon,
la garantie sera alors annulée. INSTALLATION DES RIDEAUX / Rails extérieurs : Suivez ces diagrammes si vous
avez acheté un ensemble de rideaux.
IMPORTANT: The pavilion must be anchored to either wood, stone tiles, or concrete using appropriate anchors
to the type of floor on which it will be installed. Camp nails cannot be used for permanent anchoring. Failure to
do so will nullify the warranty. INSTALLATION OF THE CURTAINS / Outer tracks: Follow these diagrams if you
bought a set of curtains.

This manual suits for next models

1

Other Trevi Garden House manuals

Trevi ROMY User manual

Trevi

Trevi ROMY User manual

Trevi Zen User manual

Trevi

Trevi Zen User manual

Trevi TREVISO User manual

Trevi

Trevi TREVISO User manual

Popular Garden House manuals by other brands

ALLAN'S Christie Junior Workshop Instructions for assembly

ALLAN'S

ALLAN'S Christie Junior Workshop Instructions for assembly

Mercia Garden Products 10DTBARK0804-V1 manual

Mercia Garden Products

Mercia Garden Products 10DTBARK0804-V1 manual

Karibu ASKOLA 3 manual

Karibu

Karibu ASKOLA 3 manual

Solid S8982 Assembly instructions

Solid

Solid S8982 Assembly instructions

Keter OAKLAND 1175SD user manual

Keter

Keter OAKLAND 1175SD user manual

Mercia Garden Products 03WES1208-V2 General instructions

Mercia Garden Products

Mercia Garden Products 03WES1208-V2 General instructions

GARDIVAL Vintage manual

GARDIVAL

GARDIVAL Vintage manual

Pacific Casual 5LGZ1159-NN Use and care guide

Pacific Casual

Pacific Casual 5LGZ1159-NN Use and care guide

Dunster House E3-2515SS installation manual

Dunster House

Dunster House E3-2515SS installation manual

USP DURAMAX Apex Pro 10.5 x 8 Owner's manual/ instructions for assembly

USP

USP DURAMAX Apex Pro 10.5 x 8 Owner's manual/ instructions for assembly

Palmako PA28-4530 installation instructions

Palmako

Palmako PA28-4530 installation instructions

Tiger GARDEN STUDIO General assembly instructions

Tiger

Tiger GARDEN STUDIO General assembly instructions

Mercia Garden Products 03TGCORSE0409-V1 General instructions

Mercia Garden Products

Mercia Garden Products 03TGCORSE0409-V1 General instructions

Palmako Mary FRB28-2722-1 installation manual

Palmako

Palmako Mary FRB28-2722-1 installation manual

Mercia Garden Products OSB APEX General instructions

Mercia Garden Products

Mercia Garden Products OSB APEX General instructions

WoodLife Garden 17344 installation instructions

WoodLife Garden

WoodLife Garden 17344 installation instructions

Lemeks Palmako Britta FRI40-4545 installation manual

Lemeks

Lemeks Palmako Britta FRI40-4545 installation manual

Palmako FRJ34-5040 installation manual

Palmako

Palmako FRJ34-5040 installation manual

manuals.online logo
manuals.online logoBrands
  • About & Mission
  • Contact us
  • Privacy Policy
  • Terms and Conditions

Copyright 2025 Manuals.Online. All Rights Reserved.