manuals.online logo
Brands
  1. Home
  2. •
  3. Brands
  4. •
  5. Tricity Bendix
  6. •
  7. Dishwasher
  8. •
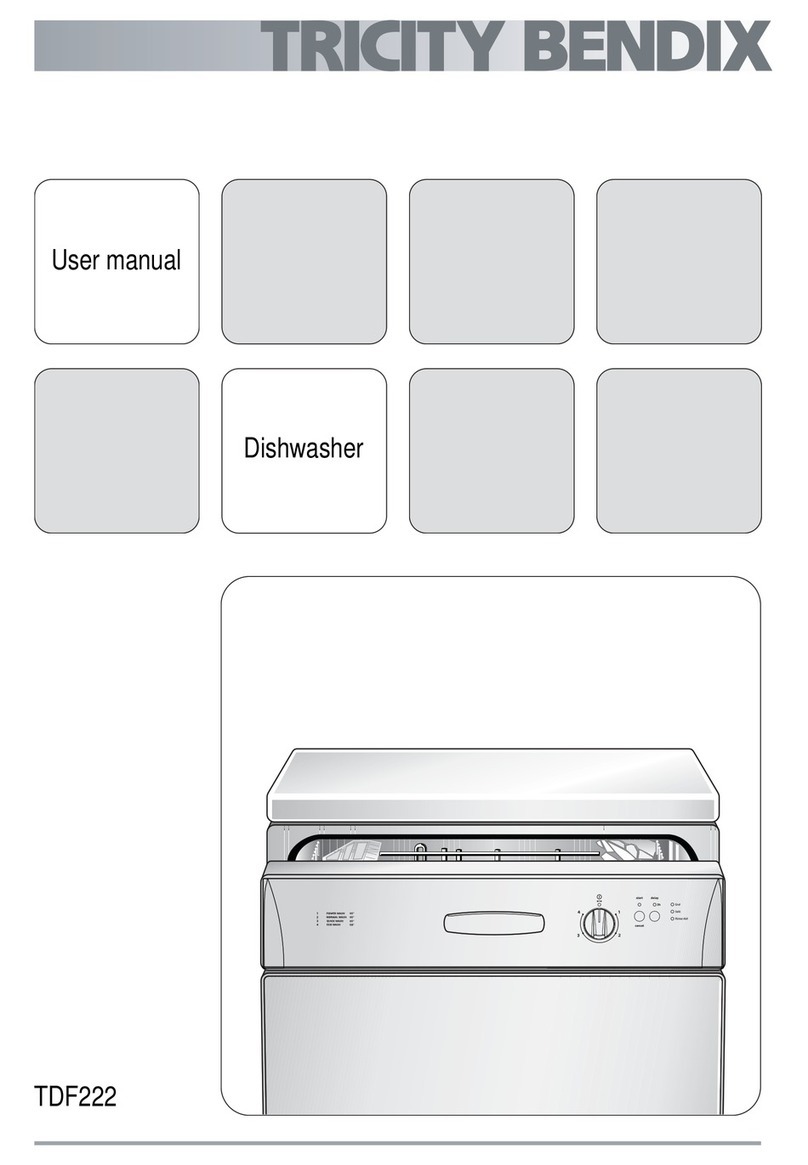
  9. Tricity Bendix TDF 221 User manual

Tricity Bendix TDF 221 User manual

Other Tricity Bendix Dishwasher manuals

Tricity Bendix DH 800 Assembly instructions

Tricity Bendix

Tricity Bendix DH 800 Assembly instructions

Tricity Bendix DH085 User manual

Tricity Bendix

Tricity Bendix DH085 User manual

Tricity Bendix BK280 User manual

Tricity Bendix

Tricity Bendix BK280 User manual

Tricity Bendix DH 100 Specification sheet

Tricity Bendix

Tricity Bendix DH 100 Specification sheet

Tricity Bendix DH 100 User manual

Tricity Bendix

Tricity Bendix DH 100 User manual

Tricity Bendix TBDW 41 User manual

Tricity Bendix

Tricity Bendix TBDW 41 User manual

Tricity Bendix DH 101 User manual

Tricity Bendix

Tricity Bendix DH 101 User manual

Tricity Bendix DH 102 D User manual

Tricity Bendix

Tricity Bendix DH 102 D User manual

Tricity Bendix DH 102 User manual

Tricity Bendix

Tricity Bendix DH 102 User manual

Tricity Bendix TBDW 42 User manual

Tricity Bendix

Tricity Bendix TBDW 42 User manual

Tricity Bendix CDW012 Specification sheet

Tricity Bendix

Tricity Bendix CDW012 Specification sheet

Tricity Bendix DH 088 User manual

Tricity Bendix

Tricity Bendix DH 088 User manual

Tricity Bendix DH 101 User manual

Tricity Bendix

Tricity Bendix DH 101 User manual

Tricity Bendix TDF222 User manual

Tricity Bendix

Tricity Bendix TDF222 User manual

Tricity Bendix DH 105 Product guide

Tricity Bendix

Tricity Bendix DH 105 Product guide

Tricity Bendix DH041 User manual

Tricity Bendix

Tricity Bendix DH041 User manual

Tricity Bendix DH 103 User manual

Tricity Bendix

Tricity Bendix DH 103 User manual

Tricity Bendix BK 110 Operating instructions

Tricity Bendix

Tricity Bendix BK 110 Operating instructions

Tricity Bendix CDW 101 User manual

Tricity Bendix

Tricity Bendix CDW 101 User manual

Tricity Bendix CDW 086 User manual

Tricity Bendix

Tricity Bendix CDW 086 User manual

Tricity Bendix BK 200 Specification sheet

Tricity Bendix

Tricity Bendix BK 200 Specification sheet

Tricity Bendix TBDW 41 User manual

Tricity Bendix

Tricity Bendix TBDW 41 User manual

Tricity Bendix DH040 User manual

Tricity Bendix

Tricity Bendix DH040 User manual

Tricity Bendix BK280 Specification sheet

Tricity Bendix

Tricity Bendix BK280 Specification sheet

Popular Dishwasher manuals by other brands

Samsung DW-FN320T user manual

Samsung

Samsung DW-FN320T user manual

LG LDS 5811WW Service manual

LG

LG LDS 5811WW Service manual

Elba EDW-B1462D owner's manual

Elba

Elba EDW-B1462D owner's manual

VESTEL NOVUS Series Service manual

VESTEL

VESTEL NOVUS Series Service manual

Bosch SMS4EMW00E Instructions for use

Bosch

Bosch SMS4EMW00E Instructions for use

Global-Tek GT-CR 2 manual

Global-Tek

Global-Tek GT-CR 2 manual

Smeg Dishwasher 85028 Instructions for installation and use

Smeg

Smeg Dishwasher 85028 Instructions for installation and use

LG LD-4080W Service manual

LG

LG LD-4080W Service manual

Bauknecht GCF 625 operating instructions

Bauknecht

Bauknecht GCF 625 operating instructions

Sharp QW-HX13F47EI-EU user manual

Sharp

Sharp QW-HX13F47EI-EU user manual

Asko D5536XLFI operating instructions

Asko

Asko D5536XLFI operating instructions

Modena WP 7134 WVM User manual book

Modena

Modena WP 7134 WVM User manual book

Beko DFN39340X instruction manual

Beko

Beko DFN39340X instruction manual

AEG FAVORIT 65050 VI1P user manual

AEG

AEG FAVORIT 65050 VI1P user manual

Siemens SN23HI37VE user manual

Siemens

Siemens SN23HI37VE user manual

Maytag MDB4651AWB - Tall Tub Dishwasher User instructions

Maytag

Maytag MDB4651AWB - Tall Tub Dishwasher User instructions

Hotpoint Ariston LL 42 Instruction book

Hotpoint Ariston

Hotpoint Ariston LL 42 Instruction book

Siemens SN45ZW56CS user manual

Siemens

Siemens SN45ZW56CS user manual

manuals.online logo
manuals.online logoBrands
  • About & Mission
  • Contact us
  • Privacy Policy
  • Terms and Conditions

Copyright 2025 Manuals.Online. All Rights Reserved.

User
manual
Dishwasher
TDF 221
156998 37/0en 7-10-2006 12:20 Pagina 1
2
Content
Safety information - - - - - - - - - - - - - - - - - -3
Control panel and functions - - - - - - - - - - -4
Programme table - - - - - - - - - - - - - - - - - - -6
efore the first use - - - - - - - - - - - - - - - - -7
Setting the water softener - - - - - - - - - - - - -7
Filling with dishwasher salt - - - - - - - - - - -10
Filling with rinse aid - - - - - - - - - - - - - - - -11
Adjusting the dosage of rinse aid - - - - - - -11
Loading cutlery and dishes - - - - - - - - - - -12
Filling with detergent - - - - - - - - - - - - - - -14
Unloading the dishwasher - - - - - - - - - - - -14
Cleaning and care - - - - - - - - - - - - - - - - - 15
Environmental concerns - - - - - - - - - - - - - 16
Something not working- - - - - - - - - - - - - - 17
Technical data- - - - - - - - - - - - - - - - - - - - 19
Consumption values - - - - - - - - - - - - - - - 19
Hints for test institutes - - - - - - - - - - - - - - 20
Installation - - - - - - - - - - - - - - - - - - - - - - 21
Service and spare parts - - - - - - - - - - - - - 24
Guarantee conditions- - - - - - - - - - - - - - - 25
156998 37/0en 7-10-2006 12:20 Pagina 2
3
Safety information
Correct use
●This dishwasher is only intended for washing
household utensils suitable for machine
washing.
●Do not put any solvents in the dishwasher.
This could cause an explosion.
●Knives and other items with sharp points
must be loaded in the cutlery basket with
their points down or placed in a horizontal
position in the upper basket.
●Only use products (detergent, salt and rinse
aid) suitable for dishwashers.
●Avoid opening the door whilst the appliance
is in operation, hot steam may escape.
●Do not take any dishes out of the dishwasher
before the end of the dishwashing cycle.
●After use, isolate the appliance from the
power supply and turn off the water supply.
●This product should be serviced only by an
authorised service engineer, and only
genuine spare parts should be used.
General safety
●Dishwasher detergents can cause chemical
burns to eyes, mouth and throat. Could
endanger life! Comply with the safety
instructions of the dishwasher detergent
manufacturer.
●The water in your dishwasher is not for
drinking. Detergent residues may still be
present in your machine.
●Ensure that the door of the dishwasher is
always closed when it is not being loaded or
unloaded. In this way you will avoid anybody
tripping over the open door and hurting
themselves.
●Do not sit or stand on the open door.
Child safety
●This appliance is designed to be operated by
adults. Don’t allow children to use the
dishwasher unsupervised.
●Keep all packaging well away from children.
There is risk of suffocation.
●Keep all detergents in a safe place out of
children’s reach.
●Keep children well away from the dishwasher
when the door is open.
Installation
●Check your dishwasher for any transport
damage. Never connect a damaged
machine. If your dishwasher is damaged
contact your supplier.
●All packaging must be removed before use.
●Any electrical and plumbing work required to
install this appliance must be carried out by
a qualified and competent person.
●For safety reasons it is dangerous to alter
the specifications or attempt to modify this
product in any way.
In the interest of your safety and to ensure the correct use, before installing and first using the
appliance, read this user manual carefully, including its hints and warnings. To avoid unnecessary
mistakes and accidents, it is important to ensure that all people using the appliance are thoroughly
familiar with its operation and safety features. Save these instructions and make sure that they
remain with the appliance if it is moved or sold, so that everyone using it through its life will be
properly informed on appliance use and safety.
156998 37/0en 7-10-2006 12:20 Pagina 3
4
●Never use the dishwasher if the electrical
supply cable and water hoses are damaged;
or if the control panel, work top or plinth area
are damaged such that the inside of the
appliance is freely accessible. Contact your
local Service Force centre, in order to avoid
hazard.
●All sides of the dishwasher must never be
drilled to prevent damage to hydraulic and
electric components.
WARNING!
For electrical and water connection carefully
follow the instructions given in specific
paragraphs.
Control panel and functions
1
2
3
4
5
Pro ramme phase indicator lights
Programme selector dial and On/Off switch
Programme guide Start/Cancel button
Delay start button
Pro ramme selector
dial and On/Off switch
●when in this position, the machine is switched off (corresponding light off),
●when the marker on the dial corresponds with a programme, the machine
is switched on and a programme is selected (corresponding light on)
Salt and rinse aid refillin lights
156998 37/0en 7-10-2006 12:20 Pagina 4
5
Start / cancel button
●Startin the washin pro ramme:
1. Select a washing programme.
2. Press the start / cancel button (corresponding light on).
IMPORTANT!
Once the programme has started, if you want to change the selection made
you must cancel the washing programme in progress.
●Cancel the washin pro ramme in pro ress:
1. Press and hold the start / cancel button until the corresponding light
turns off.
2. Release the start / cancel button.
3. Turn the programme selector dial to the Off position or select a new
washing programme (check that there is detergent in the detergent
dispenser.
End light
Illuminates when the washing programme has ended. Switch off the
dishwasher by returning the programme selector dial to the Off position. The
On/Off light turns off.
It also has added functions of visual signalling as:
- the setting of the water softener,
- intervention of an alarm due to the malfunction of the machine.
Wash light Illuminates when the washing and rinsing phases are running.
Dryin light Illuminates when the drying phase is running.
Delay start button
This option allows the start of the programme to be delayed by 3 hours.
Once the washing programme has been set, press the delay start button.
The corresponding indicator light illuminates.
Press the start / cancel button, the countdown of the delay start begins
automatically.
Once the countdown has elapsed the washing programme will start
automatically. The delay start indicator light turns off.
Cancel the delay start in pro ress:
press and hold the start / cancel button until the start / cancel and delay start
indicator lights turn off.
To start the washing programme press the start / cancel button.
156998 37/0en 7-10-2006 12:20 Pagina 5
6
Pro ramme Use Cycle description
Pro ramme table
POWER WASH 70° Heavy soil. Prewash - Main wash
1Crockery, cutlery, 2 intermediate rinses -
pots and pans Final rinse - Dry
RINSE & HOLD Any. Prewash
5Partial load (to be completed later in the
day). This programme does not require the
use of detergent.
QUICK WASH 65° Light soil. Main wash-
3Crockery and cutlery Final rinse
NORMAL WASH 65° Normal soil. Prewash - Main wash
2Crockery and cutlery 2 intermediate rinses -
Final rinse - Dry
ECO WASH 50° Normal soil. Prewash - Main wash
4Crockery and cutlery 1 intermediate rinse -
Final rinse - Dry
Salt refillin light Illuminates when special salt needs to be filled.
It can remain illuminated several hours after the salt has been filled.
Rinse aid refillin
light Illuminates when rinse aid needs to be filled.
156998 37/0en 7-10-2006 12:20 Pagina 6
7
Before the first use
When usin separate special
(dishwasher) salt, rinse aid and
deter ent:
- set the water softener
- add special (dishwasher) salt
- fill up with rinse aid
When usin tablets that inte rate
rinse aid and deter ent:
there is no need to fill up with rinse aid
- set the water softener
- add special (dishwasher) salt
When usin tablets that inte rate
rinse aid, deter ent, salt function
and other additives:
there is no need to fill up with special salt or
rinse aid.
Check whether these detergents are suitable
for your water hardness. Follow the
manufacturers instructions.
- Set the water hardness to level 1.
IMPORTANT!
If the drying results are not satisfactory we
recommend that you:
1. Fill up the rinse aid dispenser with rinse aid.
2. Set the rinse aid dosage to position 2.
If you decide in future to use separated
detergents, we advise that you:
- Fill up the salt and rinse aid container.
- Adjust the water hardness setting to the
highest level and perform 1 normal washing
programme without loading any dishes.
- Adjust the water hardness setting according
to the hardness of the water in your area.
- Adjust the rinse aid dosage
Settin the water softener
The dishwasher is equipped with a water
softener designed to remove minerals and salts
from the water supply, which would have a
detrimental or adverse effect on the operation
of the appliance.
The softener should be adjusted according to
the hardness of the water in your area. Your
local Water Authority can advise you on the
hardness of the water in your area.
IMPORTANT!
The water softener must be set in both ways:
manually and electronically.
156998 37/0en 7-10-2006 12:20 Pagina 7
8
Water hardness Number of flashes of the Adjustment of the water
“end of pro ramme” li ht hardness settin
in Clarke1) in °TH2) in mmol/l3) manually electronically
64 - 88 91 - 125 9,0 - 12,5 10 2 level 10
53 - 63 76 - 90 7,6 - 8,9 9 2 level 9
46 - 52 65 - 75 6,5 - 7,5 8 2 level 8
36 - 45 51 - 64 5,1 - 6,4 7 2 level 7
28 - 35 40 - 50 4,0 - 5,0 6 2 level 6
18 - 22 26 - 32 2,6 - 3,2 4 1 level 4
5 - 12 7 - 18 0,7 - 1,8 2 1 level 2
23 - 27 33 - 39 3,3 - 3,9 5 2 level 5
13 - 17 19 - 25 1,9 - 2,5 3 1 level 3
< 5 < 7 < 0,7 1 1 level 1
no salt necessary
1) Clarke degree, measure of the water hardness.
2) (°TH) French degree, measure of the water hardness.
3) (mmol/l) millimol per litre, international unit for water hardness
factory
setting
The water softener is factory set at position 2.
Settin the water softener manually (see table)
Set switch to position 1
or 2
156998 37/0en 7-10-2006 12:20 Pagina 8
9
Settin the water softener electronically (see table)
The dishwasher must
be switched off Release the button. The
End light will flash. The
number of flashes
corresponds to current
level set.
The End light might
flash 5 times, for
example. The flashing is
repeated every 5
seconds.
To change the level,
press the start / cancel
button. Each time the
button is pressed the
level increases. (Level 1
follows level 10).
The End light indicates
the new setting. To memorise the
operation, turn the
programme selector dial
to position off.
Press and hold the start / cancel button and turn
the programme selector dial clockwise till the first
programme. Keep the button pressed until the
programme selector light and the start / cancel light
start flashing.
The water softener is factory set at position 5.
156998 37/0en 7-10-2006 12:20 Pagina 9
10
Fillin with dishwasher salt
Only before fillin with
salt for the first time,
fill the salt container
with water
Using the funnel
provided, pour in the
salt until the container is
filled with salt.
Remove any trace of
salt. Replace the cap tightly
turning it clockwise until
it stops with a click.
CAUTION!
Use only special salt suitable for dishwashers
IMPORTANT!
Immediately start a complete programme.
IMPORTANT!
Water will overflow from the container as salt is
added.
IMPORTANT!
Top up the special salt when the light on the
control panel illuminates.
156998 37/0en 7-10-2006 12:20 Pagina 10