TRIUMPH BOARD PJ1000 ST DLP User manual

User Manual v 1.0
November 2013
ENGLISH
TRIUMPH BOARD PROJECTOR SERIES
TRIUMPH BOARD PJ1000 ST DLP
TRIUMPH BOARD a.s. , Neklanova 122/15, 128 00 Prague 2, Czech Republic, European Union, www.triumphboard.com

1
Safety ..........................................................................2
Product Specications..................................................5
Product Description ......................................................6
Installation ..................................................................11
Settings ......................................................................18
Troubleshooting .........................................................44
Replacing the Lamp ...................................................49
Compatibility Modes ...................................................51
RS232 Remote Control ..............................................54
Regulatory ..................................................................58
Table of Contents

2
Safety Information
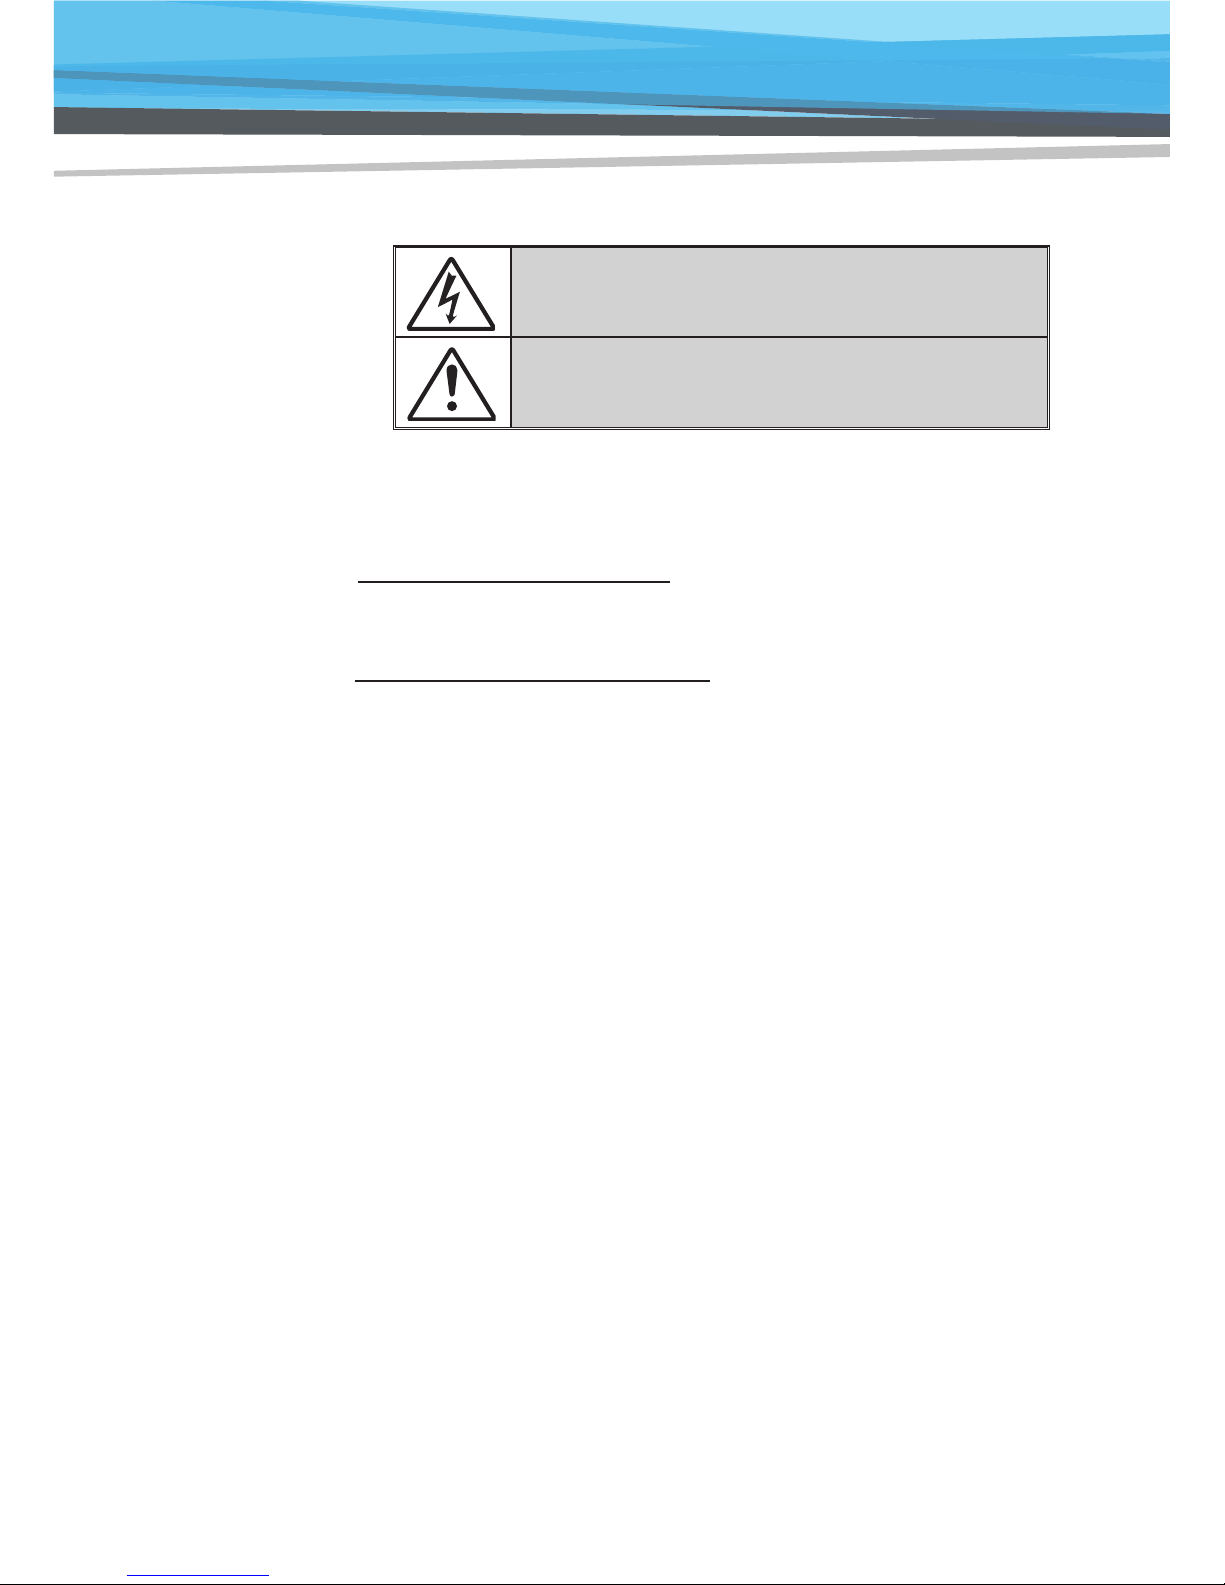
The lightning ash with arrow head within an equilateral triangle is
intended to alert the user to the presence of uninsulated “dangerous
voltage” within the product’s enclosure that may be of suf cient
magnitude to constitute a risk of electric shock to persons.
The exclamation point within an equilateral triangle is intended to alert
the user to the presence of important operating and maintenance
(servicing) instructions in the literature accompanying the appliance.
WARNING: TO REDUCE THE RISK OF FIRE OR ELECTRIC SHOCK, DO NOT
EXPOSE THIS APPLIANCE TO RAIN OR MOISTURE. DANGEROUS HIGH
VOLTAGES ARE PRESENT INSIDE THE ENCLOSURE. DO NOT OPEN THE
CABINET. REFER SERVICING TO QUALIFIED PERSONNEL ONLY.
Class B emissions limits
This Class B digital apparatus meets all requirements of the Canadian
ICES-003.
Important Safety Instruction
1. Do not block any ventilation openings. To ensure reliable operation of
the projector and to protect from over heating, it is recommended to
install the projector in a location that does not block ventilation. As an
example, do not place the projector on a crowded coffee table, sofa,
bed, etc. Do not put the projector in an enclosure such as a book case
or a cabinet that restricts air ow.
2. Do not use the projector near water or moisture. To reduce the risk
of re and/or electric shock, do not expose the projector to rain or
moisture.
3. Do not install near heat sources such as radiators, heaters, stoves or
any other apparatus such as ampli ers that emits heat.
4. Clean only with dry cloth.
5. Only use attachments/accessories speci ed by the manufacturer.
6. Do not use the unit if it has been physically damaged or abused.
Physical damage/abuse would be (but not limited to):
Unit has been dropped.
Power supply cord or plug has been damaged.
Liquid has been spilled on to the projector.
Projector has been exposed to rain or moisture.
Something has fallen in the projector or something is loose inside.
Do not attempt to service the unit yourself. Opening or removing covers
may expose you to dangerous voltages or other hazards.
7. Do not let objects or liquids enter the projector. They may touch danger-
ous voltage points and short out parts that could result in re or electric
shock.
8. See projector enclosure for safety related markings.
9. The unit should only be repaired by appropriate service personnel.
Safety

3
Precautions
Please follow all warnings, precautions and
maintenance as recommended in this user’s
guide.
▀■Warning- Do not look into the projector’s lens when the lamp is
on. The bright light may hurt and damage your eyes.
▀■Warning- To reduce the risk of re or electric shock, do not
expose this projector to rain or moisture.
▀■Warning- Please do not open or disassemble the projector as
this may cause electric shock.
▀■Warning- When replacing the lamp, please allow the unit to
cool down. Follow instructions as described on pages
54-55.
▀■Warning- This projector will detect the life of the lamp itself.
Please be sure to change the lamp when it shows
warning messages.
▀■Warning- Reset the “Lamp Reset” function from the on-screen
display “OPTIONS | Lamp Settings” menu after
replacing the lamp module (refer to page 47).
▀■Warning- When switching the projector off, please ensure
the cooling cycle has been completed before
disconnecting power. Allow 90 seconds for the
projector to cool down.
▀■Warning- Do not use lens cap when projector is in operation.
▀■Warning- When the lamp is approaching the end of its lifetime,
the message “Lamp Warning: Lamp life exceeded.”
will show on the screen. Please contact your local
reseller or service center to change the lamp as soon
as possible.
▀■Warning- Do not look into or point the laser pointer on your
remote control into your or someone’s eyes. Laser
pointer can cause permanent damage to eyesight.
When the lamp
reaches the end
of its life, the pro-
jector will not turn
back on until the
lamp module has
been replaced.
To replace the
lamp, follow the
procedures listed
under “Replacing
the Lamp” section
on pages 54-55.
Safety

4
Do:
Turn off and unplug the power plug from the AC outlet before
cleaning the product.
Use a soft dry cloth with mild detergent to clean the display
housing.
Disconnect the power plug from AC outlet if the product is
not being used for a long period of time.
Do not:
Block the slots and openings on the unit provided for
ventilation.
Use abrasive cleaners, waxes or solvents to clean the unit.
Use under the following conditions:
- In extremely hot, cold or humid environments.
Ensure that the ambient room temperature is within
5 - 40°C.
Relative Humidity is 5 - 40°C, 80% (Max.),
non-condensing.
- In areas susceptible to excessive dust and dirt.
- Near any appliance generating a strong magnetic eld.
- In direct sunlight.
Safety

5
Product specication
▀■XGA (1024x768) Native resolution
▀■HD compatible – 720p and 1080p supported
▀■VGA monitor loop through
(works on standby mode > 0.5W)
▀■BrilliantColorTM Technology
▀■Security Bar and Kensington Lock
▀■RS232 control
▀■Rapid shutdown
▀■Built-in speakers
▀■Quick Resume and Eco+ mode
▀■Support HDMI and RJ45 interface
Monitor loop
through only
supported in
VGA1-In/YPbPr.
Product specication

6
3x Power Cord
(UK,EU,US)
Contents
Unpack and inspect the box contents to ensure all
parts listed below are in the box. If something is
missing, please contact your supplier.
Batteries
Projector VGA Cable
IR Remote Control
Documentation :
User’s Manual (CD)
CR2025
3V
Product description

7
Product Overview
1. Control Panel
2. Focus Ring
3. Speaker
4. Lens
5. IR Receiver
6. Input / Output
Connections
7. Power Socket
8. Ventilation (inlet)
9. Ventilation (outlet)
3
8
4
5
2
8
9
1
7
6
Product description

8
/
/
Control Panel
2 31
7
1. Power LED
2. Lamp LED
3. Temp LED
4. Enter / Help
5. Menu
6. Re-Sync
7. Keystone Correction
8. Four Directional Select Keys
9. Source
10. Power/Standby button
510
69
8
4
Product description

9
Input/Output Connections
Monitor loop
through only
supported in
VGA1-In/YPbPr.
1. USB Connector (Connect to PC for Remote Mouse func-
tion)
2. HDMI Connector
3. Composite Video Input Connector
4. S-Video Input Connector
5. VGA-Out Connector (Monitor Loop-through Output)
6. VGA1-In/YPbPr Connector
(PC Analog Signal/Component Video Input/HDTV/YPbPr)
7. RS-232 Connector (9-pin DIN Type)
8. Audio Input connector (3.5mm mini jack)
9. Audio Output Connector (3.5mm mini jack)
10. KensingtonTM Lock Port
11. VGA2-In/YPbPr Connector
(PC Analog Signal/Component Video Input/HDTV/YPbPr)
12. Power Socket
13. RJ45
The interface
is subject
to model’s
specications.
AUDIO-IN
AUDIO OUT
VGA1-IN / YPbPr RS-232C
VGA-OUT
VGA2-IN / YPbPr
HDMI
S-VIDEO
VIDEO
USB
RJ-45
542
12
1
10
3 8
11
6 7
913
Product description

10
Remote Control
The interface
is subject
to model’s
speci cations.
1. Source
2. ReSync
3. HDMI
4. Video
5. Menu
6. Enter
7. Four Directional Select
Keys
8. Freeze
9. Blank
10. Aspect
11. Power
12. PC
13. Keystone
14. Exit
15. Volume +/-
2
5
6
7
14
11
4 12
1
3
8
9
15
10
13
13
Product description

11
Optional
accessories
Installation
AUDIO-IN
AUDIO OUT
VGA1-IN / YPbPr RS-232C
VGA-OUT
VGA2-IN / YPbPr
HDMI
S-VIDEO
VIDEO
USB
RJ-45
molex
MOLEX
E62405SP
R
1
2
4 5 6
3
8
7
Audio Output
9
PJ1000
Connecting the Projector to
Computer/Notebook
1....................................................................................................Power Cord
2....................................................................................................*USB Cable
3...........................................................................................*DVI/HDMI Cable
4.....................................................................................................VGA Cable
5................................................................................................*RS232 Cable
6.........................................................................................*Audio Input Cable
7......................................................................................*Audio Output Cable
8........................................................................................*VGA Output Cable
9..............................................................................................*Network Cable

12
Installation
Connecting the projector to Video Sources
AUDIO-IN
AUDIO OUT
VGA1-IN / YPbPr RS-232C
VGA-OUT
VGA2-IN / YPbPr
HDMI
S-VIDEO
VIDEO
USB
RJ-45
E62405SP
R
1....................................................................................................Power Cord
2..................................................................................................*HDMI Cable
3................................................*15-Pin to 3 RCA Component/HDTV Adaptor
4.............................................................................*3 RCA Component Cable
5.................................................................................*Audio Cable Jack/RCA
6.............................................................................................. *S-Video Cable
7................................................................................*Composite Video Cable
Composite Video Output
DVD Player, Set-top Box,
HDTV receiver
S-Video Output
1
2 5
6
Audio Output
4
5
3
7
PJ1000
Optional
accessories

13
Installation
Powering the projector On / Off
Turn on the
projector rst and
then select the
signal sources.
Power On
1. Remove the lens cap. (optional)
2. Securely connect the power cord and signal cable. When
connected, the POWER/STANDBY LED will turn Amber.
3. Turn on the lamp by pressing “ ” button either on the top of
the projector or on the remote. The POWER/STANDBY LED
will now turn Green.
The startup screen will display in approximately 10 seconds.
The rst time you use the projector, you will be asked to
select the preferred language and power saving mode.
4. Turn on and connect the source that you want to display
on the screen (computer, notebook, video player, etc). The
projector will detect the source automatically. If not, push
menu button and go to “OPTIONS”.
Make sure that the “Source Lock” has been set to “Off”.
If you connect multiple sources at the same time, press the
“SOURCE” button on the control panel or direct source keys
on the remote control to switch between inputs.
When Power mode
(Standby) is set
to Eco (<0.5W),
the VGA output
and Audio pass-
through will be
deactivated when
the projector is in
standby.
/
/
Lens Cap
POWER/STANDBY
2
1

14
Installation
Contact the
nearest service
center if the
projector displays
these symptoms.
Warning Indicator
When the warning indicators (see below) come on,
the projector will automatically shutdown:
“LAMP” LED indicator is lit red and if “POWER/STANDBY”
indicator ashes amber.
“TEMP” LED indicator is lit red and if “POWER/STANDBY”
indicator ashes amber. This indicates the projector has
overheated. Under normal conditions, the projector can be
switched back on.
“TEMP” LED indicator ashes red and if “POWER/STAND-
BY” indicator ashes amber.
Unplug the power cord from the projector, wait for 30 seconds
and try again. If the warning indicator light up again, please
contact your nearest service center for assistance.
Power Off
1. Press the “ ” button on the remote control or
on the control panel to turn off the projector.
The following message will be displayed on the screen.
Press the “ ” button again to conrm otherwise the
message will disappear after 15 seconds. When you press
the “ ” button for the second time, the fan will start cool-
ing the system and will shut down.
2. The cooling fans continue to operate for about 10 seconds
for cooling cycle and the POWER/STANDBY LED will
Flash Green. When the POWER/STANDBY LED lights
solid Amber, the projector has entered standby mode.
If you wish to turn the projector back on, you must wait
until the projector has completed the cooling cycle and
has entered standby mode. Once in standby mode, simply
press “ ” button to restart the projector.
3. Disconnect the power cord from the electrical outlet and
the projector.
4. Do not turn on the projector immediately following a power
off procedure.
!

15
Installation
Projected Image Setting
Height Setting
The projector is equipped with elevator feet for adjusting
the image height.
1. Locate the adjustable foot you wish to modify on the
underside of the projector.
2. Rotate the adjustable ring clockwise to raise the projector
or counter clockwise to lower it. Repeat with the remaining
feet as needed.
Tilt-Adjustment Feet
Tilt-Adjustment Ring

16
Installation
Focus Setting
To focus the image, rotate the focus ring until the image is clear.
XGA series: The projector will focus at distances from 1.31
to 12.53 feet (0.40 to 3.82 meters).
Image Size Setting
XGA series: Projection Image Size from 31.0” to 300.0” (0.8
to 7.6 meters).
Width
Height
Diagonal
Top View
Side View
Projection Distance (D)
Screen
Screen
Screen (W)
Screen (H)
Offset (Hd)
Focus Ring

17
Installation
XGA
This table is for user’s reference only.
Diagonal length
(inch) size of
4:3 Screen
Screen Size W x H Projection Distance (D)
Offset (Hd)
(m) (inch) (m) (feet)
Width Height Width Height wide tele wide tele (m) (feet)
40.00 0.81 0.61 31.89 24.02 0.50 0.50 1.64 1.64 0.09 0.30
60.00 1.22 0.91 48.03 35.83 0.80 0.80 2.62 2.62 0.14 0.45
70.00 1.42 1.07 55.91 42.13 0.90 0.90 2.95 2.95 0.16 0.53
80.00 1.63 1.22 64.17 48.03 1.00 1.00 3.28 3.28 0.18 0.60
90.00 1.83 1.37 72.05 53.94 1.10 1.10 3.61 3.61 0.21 0.67
100.00 2.03 1.52 79.92 59.84 1.30 1.30 4.26 4.26 0.23 0.75
120.00 2.44 1.83 96.06 72.05 1.50 1.50 4.92 4.92 0.27 0.90
150.00 3.05 2.29 120.08 90.16 1.90 1.90 6.23 6.23 0.34 1.13
180.00 3.66 2.74 144.09 107.87 2.30 2.30 7.54 7.54 0.41 1.35
250.00 5.08 3.81 200.00 150.00 3.20 3.20 10.50 10.50 0.57 1.87
300.00 6.10 4.57 240.16 179.92 3.66 3.66 12.01 12.01 0.69 2.25

18
Control Panel
/
/
Using the Control Panel
POWER Refer to the “Power On/Off the Projector” section on
pages 15-16.
RE-SYNC Automatically synchronize the projector to the input
source.
Enter / Help /
Con rm your item selection.
Help Menu (only available when OSD menu is not
shown).
SOURCE Press “SOURCE” to select an input signal.
Menu Press “Menu” to launch the on-screen display
(OSD) menu. To exit OSD, Press “Menu” again.
Four Directional
Select Keys
Use to select items or make adjust-
ments to your selection.
Keystone Use to adjust image distortion caused
by tilting the projector. (±40 degrees)
Lamp LED Indicate the projector’s lamp status.
Temp LED Indicate the projector’s temperature status.
POWER/
STANDBY
LED
Indicate the projector’s status.
Settings

19
Remote Control
Using the Remote Control
Exit Press “Exit” to close the OSD menu.
Source Select an input signal.
ReSync Automatically synchronize the PC analog
timing to its optimized condition.
HDMI Switch to HDMI source.
Video Switch to Composite Video or S-Video
source.
Enter Conrm your item selection.
Menu Launch or Exit the on-screen display(OSD).
Four Directional Se-
lect Keys
Press ▲▼◄► direction buttons to select
items or make adjustments.
Freeze Press to freeze the image. Press it again to
un-freeze the image.
Blank Hide the screen picture. Press again to
display screen picture.
Power Power on/off the projector.
PC Switch to VGA 1/VGA2 source.
Keystone Adjust image until the sides are vertical.
Aspect Use this function to choose your desired
aspect ratio.
Volume +/- Increase / decrease audio volume.
Settings
Other manuals for PJ1000 ST DLP
1
Table of contents
Other TRIUMPH BOARD Projector manuals
Popular Projector manuals by other brands

Delta Associate
Delta Associate DIGITAL PROJECTION E-VISION LASER 5900... INSTALLATION & QUICK START GUIDE, CONNECTION GUIDE, OPERATING GUIDE, REFERENCE GUIDE

NEC
NEC NC1700L installation manual

Optoma
Optoma Projector with lens cap user guide

NEC
NEC WS-Spalluto user manual

Acer
Acer TravelMate C110 Series User Quick Manual

AAXA Technologies
AAXA Technologies P300 Neo user guide