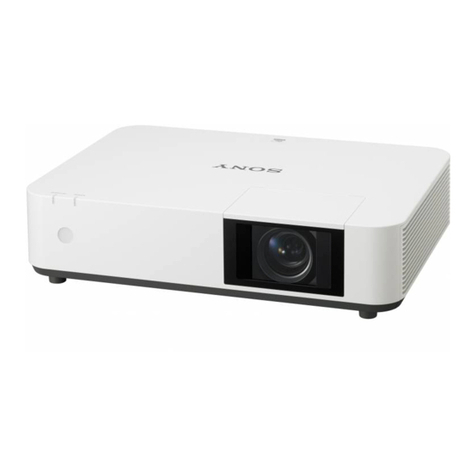
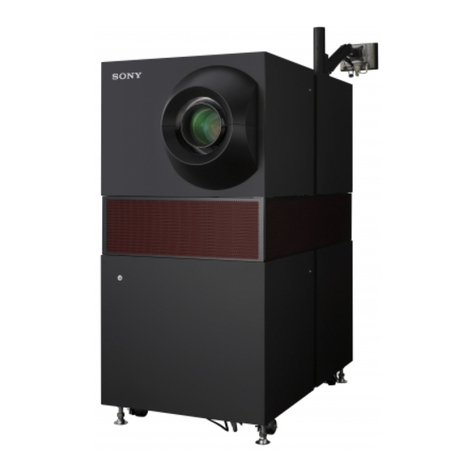
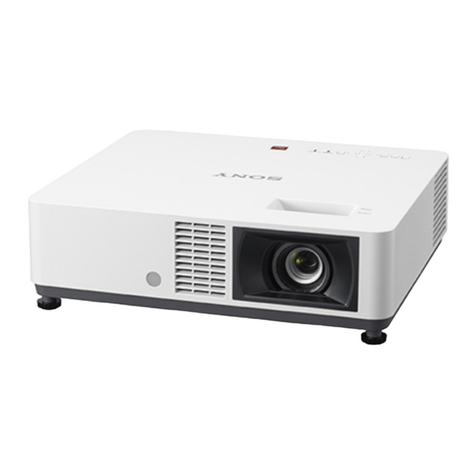
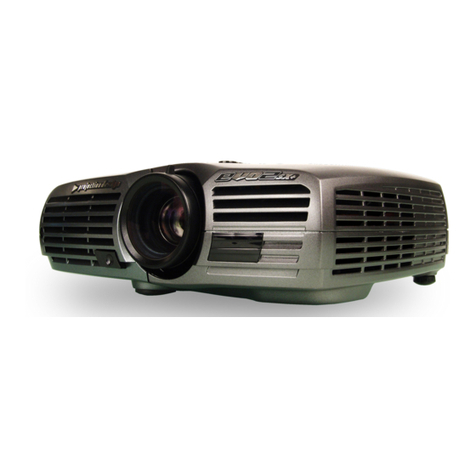
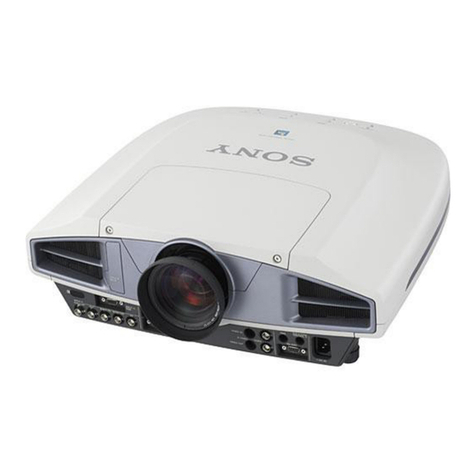
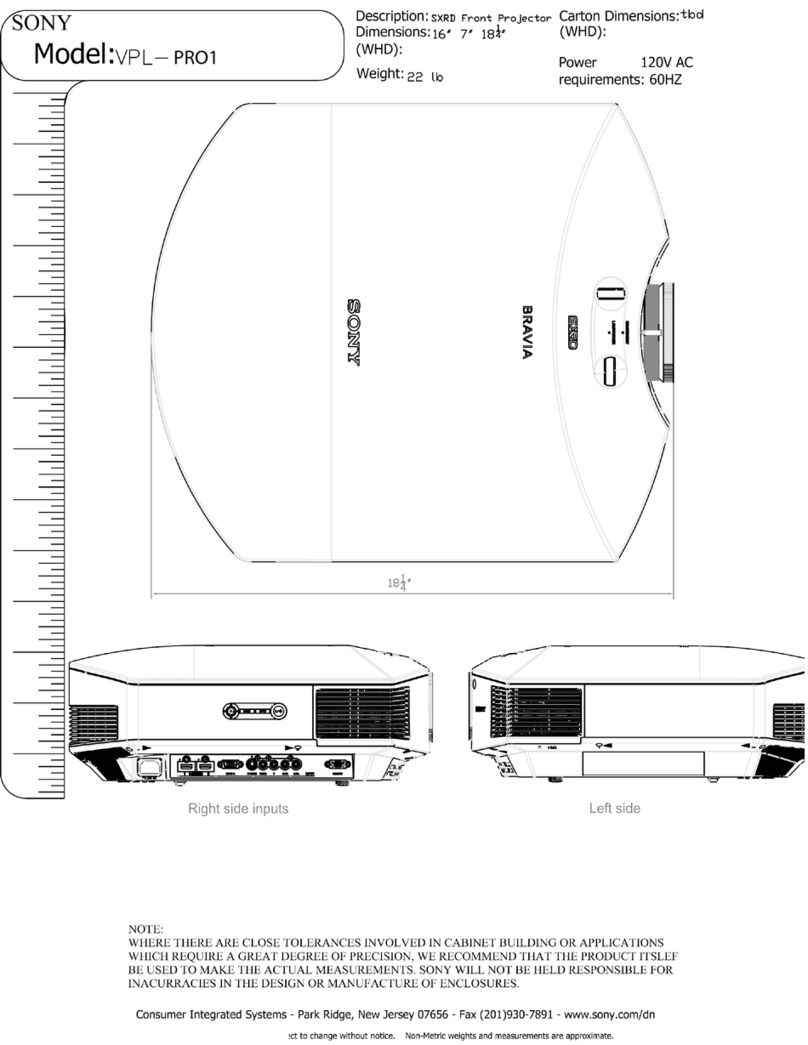
Sony VPL-CX20 User manual

DATA PROJECTOR
VPL-CX20
VPL-CS20
REMOTE COMMANDER
RM-PJ3
SERVICE MANUAL
1st Edition

VPL-CX20/CS20
!WARNING
This manual is intended for qualified service personnel only.
To reduce the risk of electric shock, fire or injury, do not perform any servicing other than that
contained in the operating instructions unless you are qualified to do so. Refer all servicing to
qualified service personnel.
!WARNUNG
Die Anleitung ist nur für qualifiziertes Fachpersonal bestimmt.
Alle Wartungsarbeiten dürfen nur von qualifiziertem Fachpersonal ausgeführt werden. Um die
Gefahr eines elektrischen Schlages, Feuergefahr und Verletzungen zu vermeiden, sind bei
Wartungsarbeiten strikt die Angaben in der Anleitung zu befolgen. Andere als die angegeben
Wartungsarbeiten dürfen nur von Personen ausgeführt werden, die eine spezielle Befähigung
dazu besitzen.
!AVERTISSEMENT
Ce manual est destiné uniquement aux personnes compétentes en charge de l’entretien. Afin
de réduire les risques de décharge électrique, d’incendie ou de blessure n’effectuer que les
réparations indiquées dans le mode d’emploi à moins d’être qualifié pour en effectuer d’autres.
Pour toute réparation faire appel à une personne compétente uniquement.
CAUTION
RISK OF EXPLOSION IF BATTERY IS REPLACED BY INCORRECT TYPE.
DISPOSE OF USED BATTERIES ACCORDING TO THE RULE IN REGION.

1
VPL-CX20/CS20
Table of Contents
1. Service Overview
1-1. Appearance Figure .......................................................... 1-1
1-2. Board Locations .............................................................. 1-1
1-3. Disassembly .................................................................... 1-2
1-3-1. Top Panel ............................................................... 1-5
1-3-2. C Board ................................................................. 1-6
1-3-3. Optics Unit ............................................................ 1-7
1-3-4. Prism Block Assembly ..........................................1-8
1-3-5. Incidence Polarizer Assembly ............................... 1-9
1-3-6. PS Assembly ......................................................... 1-9
1-3-7. Adjustor Unit ....................................................... 1-10
1-3-8. D.C. Fan (For Lamp) ...........................................1-10
1-3-9. Lamp Power Supply ............................................ 1-11
1-3-10. H Board ............................................................... 1-12
1-3-11. Side Panel Assembly ........................................... 1-12
1-3-12. GB Board ............................................................. 1-13
1-3-13. D.C. Fan (For Exhaust) ....................................... 1-13
1-3-14. F Board ................................................................ 1-14
1-3-15. GA Board ............................................................ 1-14
1-3-16. D.C. Fan (For Prism), V Board ........................... 1-15
1-3-17. Lamp and Concave Lens-1 .................................. 1-16
1-3-18. Lamp and Concave Lens-2 .................................. 1-17
1-3-19. Lamp .................................................................... 1-18
1-3-20. Precaution During Lamp and Concave Lens ....... 1-18
1-3-21. How to Route the Lamp Lead and the Harness ... 1-19
1-3-22. 3D GAMMA Quick Access Application
Software .............................................................. 1-20
1-4. Warning on Power Connection ..................................... 1-20
2. Electrical Adjustments
2-1. Preparation ...................................................................... 2-1
2-1-1. Required Equipment .............................................. 2-1
2-1-2. How to Enter the Factory Mode ............................ 2-1
2-2. V COM Adjustment ........................................................ 2-1
2-3. Initial Values of Adjustment Items ................................. 2-2
2-4. Service Know-How ...................................................... 2-12
2-4-1. When the Prism Block is Replaced ..................... 2-12
2-4-2. When the Lens is Replaced ................................. 2-12
2-4-3. When the Board is Replaced ............................... 2-12
2-5. White Balance Adjustment ........................................... 2-13
2-5-1. HIGH Mode of INPUT-A ................................... 2-13
2-5-2. LOW Mode of INPUT-A .................................... 2-13
2-5-3. HIGH Mode of VIDEO ....................................... 2-13
2-5-4. LOW Mode of VIDEO ........................................ 2-13
2-6. Auto Focus (AF) Adjustment ....................................... 2-14
2-7. Memory Structure ......................................................... 2-15
3. Semiconductors
4. Spare Parts
4-1. Notes on Repair Parts ..................................................... 4-1
4-2. Exploded Views .............................................................. 4-2
4-3. Electrical Parts List ....................................................... 4-12
5. Block Diagrams
Overall ............................................................................ 5-1
6. Diagrams
6-1. Frame Schematic Diagrams ............................................ 6-2
6-2. Schematic Diagrams and Board Layouts ........................ 6-3
Schematic Diagrams
C (1/12) ........................................................................... 6-3
C (2/12) ........................................................................... 6-4
C (3/12) ........................................................................... 6-5
C (4/12) ........................................................................... 6-6
C (5/12) ........................................................................... 6-7
C (6/12) ........................................................................... 6-8
C (7/12) ........................................................................... 6-9
C (8/12) ......................................................................... 6-10
C (9/12) ......................................................................... 6-11
C (10/12) ....................................................................... 6-12
C (11/12) ....................................................................... 6-13
C (12/12) ....................................................................... 6-14
H ................................................................................... 6-17
L .................................................................................... 6-18
NF ................................................................................. 6-18
NR ................................................................................. 6-18
U ................................................................................... 6-18

2VPL-CX20/CS20
V ................................................................................... 6-18
F .................................................................................... 6-18
GA (1/2) ........................................................................ 6-20
GA (2/2) ........................................................................ 6-21
GB (1/2) ........................................................................ 6-23
GB (2/2) ........................................................................ 6-24
Board Layouts
H ................................................................................... 6-17
L .................................................................................... 6-18
NF ................................................................................. 6-18
NR ................................................................................. 6-18
U ................................................................................... 6-18
V ................................................................................... 6-18
F .................................................................................... 6-19
GA ................................................................................. 6-22
GB ................................................................................. 6-25

VPL-CX20/CS20 1-1
Section 1
Service Overview
1-1. Appearance Figure
1-2. Board Locations
Lamp power
supply
U
GA
NR
L
GB
F
NF
H
C
V

1-2 VPL-CX20/CS20
1-3. Disassembly
1-3-1. Top Panel
1-3-2. C Board
How to Replace the Parts
When the Lamp Exploded
1-3-3. Optics Unit
1-3-4. Prism Black Assembly 1-3-5. Incidence Polarizer Assembly 1-3-6. PS Assembly
1-3-9. Lamp Power Supply
1-3-7. Adjustor Unit
D
B
C
A
1-3-8. D.C. Fan (For Lamp)

VPL-CX20/CS20 1-3
1-3-14. F Board
1-3-12. GB Board
1-3-10. H Board 1-3-11. Side Panel Assembly
1-3-13. D.C. Fan (For Exhaust)
1-3-15. GA Board
1-3-16. D.C. Fan (For Prism) and V Board
C
D
B

1-4 VPL-CX20/CS20
How to Replace the Parts When the Lamp Exploded
A
1-3-17. Lamp and Concave Lens-1
1-3-18. Lamp and Concave Lens-2
1-3-19. Lamp
1-3-20. Precaution During Lamp and Concave Lens
1-3-21. How to Route the Lamp
Lead and the Harness

VPL-CX20/CS20 1-5
1
Loosen three screws
4
Sever screws
(Shaft 45)
5
Three screws
(+P M2.6 x 8)
2
Lamp door
3
Filter cover
0Filter (NR) !- NR board
8
L board
7
Top panel
6
Lens cover
9
Nylon rivet
Cushion
CN104
CN2300
CN2100
1-3-1. Top Panel

1-6 VPL-CX20/CS20
1-3-2. C Board
CN106
CN102
CN1101
CN1102
CN105
CN1000
CN800
CN900
CN101
CN103
CN112
CN100
CN115 CN114
CN113
CN110
1
Four screws
(+PSW 2.6 x 5)
3
Remove the C board in the
direction of the arrow.
2
Two
hexagon
screws
C board

VPL-CX20/CS20 1-7
1-3-3. Optics Unit
1
Three screws
(+PSW 2.6 x 5)
6
Two screws
(+BV 3 x 8)
3
Two screws
(+PSW 2.6 x 5)
9
Optics unit
5
Six screws
(+P M2.6 x 8)
4Lamp
duct assembly
2
Lamp plate
7Lamp power
supply
0
Four screws
(+P M2.6 x 8)
!=
Projection lens assembly
!- Two claws
8
Remove the optics unit
in the direction of the arrow.
CN2500
V board

1-8 VPL-CX20/CS20
1-3-4. Prism Block Assembly
Out
Assembly
3
Two screws
(+B 2 x 4)
1
Two screws
(+B 2 x 4)
2
Prism block holder
4
Screw
(+P 2 x 5)
5
Spring
6
Out
(R) assembly
7
Out
(G) assembly
8
Out
(B) assembly

VPL-CX20/CS20 1-9
1-3-5. Incidence Polarizer Assembly
1-3-6. PS Assembly
5
Screw
(+B 2 x 4)
3
Screw
(+B 2 x 4)
1
Screw
(+B 2 x 4)
3
Incidence polarizer
(B) assembly
4
Incidence polarizer
(G) assembly
2
Incidence polarizer
(R) assembly
1
Five screws
(+BV 3 x 12)
2
Unit cover
3
PS assembly
Marking side

1-10 VPL-CX20/CS20
1-3-7. Adjustor Unit
1-3-8. D.C. Fan (For Lamp)
3
Two screws
(+PSW 2.6 x 5)
4
Adjustor unit
1
Flat connector assembly
CN1102
CN1102
CN105
CN105
2
Harnesses
C board
C board
1
Two screws
(+BV 3 x 12)
4
Two screws
(+P M2.6
x
8)
3
D.C. Fan
5
Holder (BSF)
6
D.C. Fan
2
Harnesses

VPL-CX20/CS20 1-11
1-3-9. Lamp Power Supply
3
Harnesses
1Two
D.C. Fans (Fou lamp)
4
Shield (BS)
8
Lamp power
supply
7
Holder (BSL)
5
Sheet (BS)
6
Holder (BSR)
2Two s
crews
(+PSW 2.6 x 5)
For removal procedure, refer to D.C. Fan (Fou lamp).

1-12 VPL-CX20/CS20
1-3-10. H Board
1-3-11. Side Panel Assembly
CN1101
CN103
CN100
CN2000
1Two s
crews
(+PSW 2.6 x 5)
2Two hexagon
s
crews
3
Side panel assembly. etc.
!-
LED
guide
(H)
9
Button
(H)
7
Button
(J)
0
LED
guide
(PW)
4Four claws
6H board
5
Cover
(H)
8
Button
(H2)
C board
CN2202
5
LED
guide
(CC)
7
Holder
(SP)
8
Speaker assembly
1
Connector name label
(M),
LED
guide
(CC),
Magnet
(M)
3
Connector name label
(M)
2
Connector cover
(M)
4
Magnet
(M)
6
NF board
9
Side panel assembly

VPL-CX20/CS20 1-13
1-3-12. GB Board
1-3-13. D.C. Fan (For Exhaust)
7
GB
board
C board
3Flat connector assembly
6
Fuse connector
assembly
4
Screw
(+PSW 2.6 x 5)
1Three s
crews
(+PSW 2.6 x 5)
CN102
CN102
CN105
CN1101
CN1101
CN703
CN702
CN804
CN803
CN1101
CN701
CN802
CN105
5
Remove the fuse connector
assembly in the direction
of the arrow.
2Lamp plate
GB board
C board
CN803
1Two s
crews
(+PSW 2.6 x 5)
3
Fan bracket
4Two
D.C. Fans
2Harnesses
CN113
CN113

1-14 VPL-CX20/CS20
1-3-15. GA Board
1-3-14. F Board
2Remove the side panel frame
in the direction of the arrow.
3Three s
crews
(+P M2.6 x 8)
1
Screw
(+PSW 2.6 x 5)
4
F
board
, Shield (F),
Holder
(FBS)
5Shield
(F)
6Holder
(FBS)
F
board
CN02
CN02
1
D.C. fan
For removal procedure,
refer to D.C. fan (For Exhaust). CN2400
CN202
CN201
CN301
CN301
7
U
board
8
GA
board
2Four s
crews
(+P M2.6 x 8)
6Shield
(GA), Holder (GA)
5Sheet
(G)
4Sheet
(ADJ)
Precaution during Sheet (ADJ) installation
Attach the sheet (ADJ) on this side.
3
Harnesses
GA
board
Holder (GA)
Shield
(GA)

VPL-CX20/CS20 1-15
1-3-16. D.C. Fan (For Prism) and V Board
6Two s
crews
(+PSW 2.6 x 5)
7
Screw
(+PSW 2.6 x 5)
![
Two s
crews
(+BV 3 x 12)
!-
Two s
crews
(+BV 3 x 12)
8Prism duct
!\
Duct (IN)
0V board
9Two D.C. fans,
V board, Duct (IN)
!]
D.C. fan
!=
D.C. fan
CN2500
For removal procedure, refer to
GA board.
1Shield
(GA),
Holder
(GA)
3
GA board
4Sheet
(GU)
5Holder
(G)
Base
Holder
(G)
base
The claw of the prism duct should be
driven under the base of the holder (G).
Prism duct
Precaution during prism duct and holder
(G)
base installation
2Sheet
(G)

1-16 VPL-CX20/CS20
1-3-17. Lamp and Concave Lens-1
7
Europe lens spring
8
Europe lens spring
4
Screw
(+P 2.6 x 6) QTY2
3-253-143-01
5
Screw
(+P 2.6 x 6) QTY2
3-253-143-01
1
Two s
crews
(+PSW 3 x 5) QTY2
2-580-591-01
3
Louver
6
Lamp handle
2
Two s
crews
(+BV 3 x 10) QTY2
7-685-647-79
How to Replace the Parts When the Lamp Exploded
Other manuals for VPL-CX20
1
This manual suits for next models
1
Table of contents
Other Sony Projector manuals

Sony
Sony VPL-EW5 User manual

Sony
Sony VPL-CWZ10 User manual

Sony
Sony VPL-DX15 User manual

Sony
Sony VPL VPL-HW15 User manual

Sony
Sony VPL-PX32 - Video Projector User manual

Sony
Sony VPL-CX20A User manual

Sony
Sony Xperia Touch G1109 User manual

Sony
Sony SRX-T110 Reference manual

Sony
Sony VPL-PX1 User manual

Sony
Sony KP 53HS10 User manual

Sony
Sony VPL-MX20 User manual

Sony
Sony 338 User manual

Sony
Sony VPL VW50 - SXRD - Projector User manual

Sony
Sony VPL-CW275 User manual

Sony
Sony KPR-53CX35 User manual

Sony
Sony VPL-HW30AES User manual

Sony
Sony VPL-FH36 User manual

Sony
Sony VPL-VW12HT User manual

Sony
Sony VPL-DW125 User manual

Sony
Sony VPL-DX140 User manual