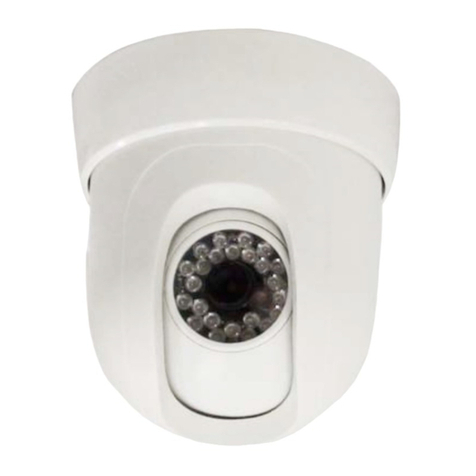
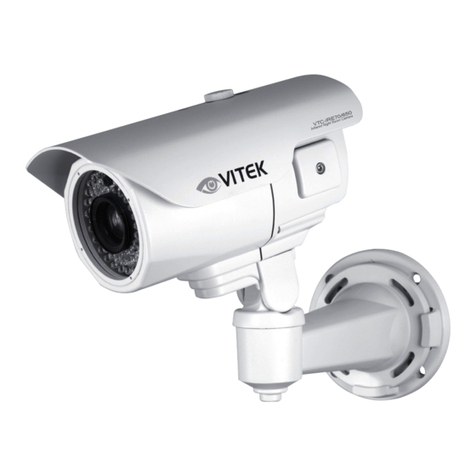
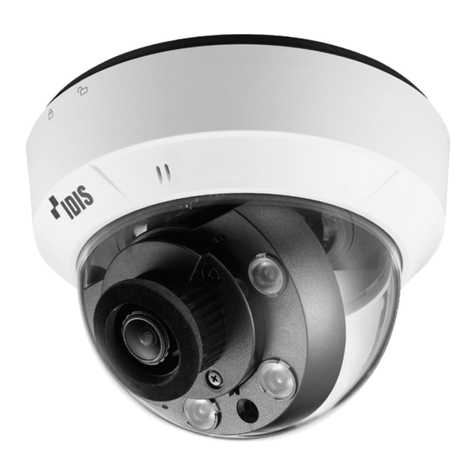
Tru Vue 70140WN User manual

TruVue Sony EFFIO-E CCD
700TVL Colour Camera
SPECIFICATION
PACKING LIST
No
Name
Model
Number
2.
User Guide
NA
1
1.
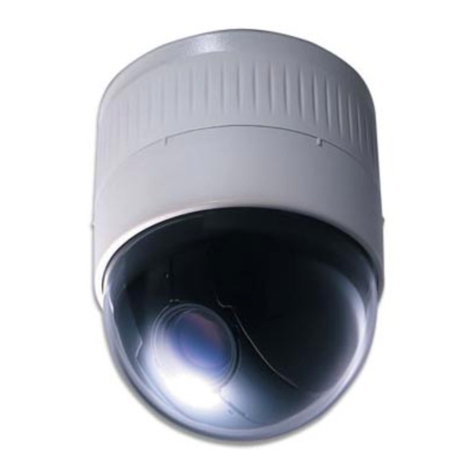
700TVL Vandal proof IR Dome
olour amera
70140WN
1
3
Mounting Hardware
NA
1
Notes: Before attempting to connect or
operate this product, please read these
instructions carefully and save this manual
for future reference.
Do not attempt to disassemble the
camera. If the camera fails to work,
please contact your local Security
Merchants branch
Model
70140WN
Pick up Sensor
1/3" SONY EFFIO-E Exview HAD CCD II
Effe tive Pi ture Elements
(H×V) PAL:1020(H x596(V
Horizontal Resolution 700 TV Line
Minimum Lux
0.001 Lux
0Lux (with IR LED ON)
S/N Ratio 52dB
S anning System PAL 2:1 interface
Syn hronous System Internal, Negative sync.
Auto Ele troni Shutter PAL: 1/50s~1/100,000s
Gama Chara teristi 0.45
IR Distan e
30 Meters (with
¢
5X36 P S Infrared LED)
Video Output 1Vpp, 75Ω
Auto Gain Control Auto (adjustable)
Power
/
//
/
Current D 12V(+/-10%)
/
500mA
Lens/Angle 2.8~12mm Fixed Iris Manual Zoom Lens
/90~30 Degree
Dimension (mm) 131(Dia) x 93(H) (mm)
Weight (g) 800
IP Rating
IP66
Operating Temperature -10~+45
℃
RH95% MAX
OSD Menu Joystick control
Min Illumination
CAUTIONS, WARRANTY T RMS & CONDITIONS
Thank you for purchasing this quality product. Before operating the product
please read the instruction manual carefully to ensure proper use of the
product. Please store this instruction manual in a safe place for future
reference. Camera will not be covered under warranty if the following is not
adhered to.
1. Power supply for camera
(1 Use recommended 12VDC regulated power supply only
(2 Be sure to connect each power lead from the 12VDC power
supply to the appropriate terminal marked with “+” and “-“. “+” is for
+12VDC and “-“is for -12VDC. Wrong connection will cause malfunction
and damage to the video camera and will not be covered under manufacturers
warranty
2. Operating conditions and locations
1 Do not attempt to aim the camera at the sun or any other extremely
bright objects. This will cause smearing to appear irrespective of whether the
camera is operating or not. This can and will damage the CCD (Charge
Coupled Device sensor.
(2 Do not mount the camera in the following locations.
i Subjected to extremely high or low temperatures. Make sure the
cameras’ operating temperature range does not exceed -10
℃
~ +45
℃
ii Subjected to high levels of humidity and dust. (Operating humidity
range: maximum 95 % (non condensation
iii Where there are large amounts of water vapours and steam.
iv Subjected to excessive vibrations.
v Avoid installing near wireless communication devices which emit
strong electromagnetic fields, some irregularity such as noise on video image
may occur.
3. Do not allow the camera to be subjected to strong impacts or shocks. The
camera could be damaged by improper handling or storage.
If any of the above should occur, immediately turn off the camera power
supply and consult your dealer/installer.
NB: Never attempt to disassemble or modify the camera.
Alexandria Tel 02 9693 5144,
Northmead Tel 02 9890 5300
Mt Waverley Tel 03 9558 8455,
Tullamarine Tel 03 9338 2427
WA: Tel 08 6462 8080
QLD: Tel 07 3552 5966
SA: Tel 08 8297 5555
Vandal Proof Weather Proof Indoor/
Outdoor IR Colour/BW Dome
Camera with OSD menu

INTRODUCTION
ongratulations on your purchase. This User Guide
will help you setup up and look after your investment. This
Dome camera adopts the latest SONY EFFIO-E D
sensor and DSP technology. Some of the main features
include attractive design, small foot print, 700TVL
Resolution, built-in IR illuminator, true to life colour images
and easy to install in any indoor/outdoor application
making it a truly perfect camera for adding to any new or
existing TV system.
Please read this instruction manual carefully to
ensure proper operation of the product.
CAMERA CONNECTION
PRODUCT BRIEF
*
* *
*
Sensor (CCD) Adopt 700TVL SONY EFFIO-E 1/3" D
*
* *
*
(AGC) Built-in Auto Gain ontrol (AG ) circuitry.
*
* *
*
S anning Mode- PAL
format
*
* *
*
OSD SETTING- Joystick control
OSD(On Screen Display Menu settings FOR DETAILED DESCRIPTION REFER
TO CD SUPPLIED
DC12V
Power Supply
Monitor/ DVR
TruVue amera
TROUBLE SHOOTING
Note
:
: :
:
●
Please note the cameras' operating environment requirements.
Avoid using the camera at too high or too low temperatures.
●
Do not exceed operating temperature -10~+45
℃
.
●
Never install the camera facing directly at the sun or bright (sun
reflected) object. Otherwise, it will damage the D Sensor
●
Do not mount the camera near by heating elements or any form
of radiant heat, this will cause cameras components to fail.
1. No Pi ture after onne ting power
* Power supply may be incorrect, please check the power supply voltage and
polarity is correct, confirm 12VD , 1Amp regulated output.
* Please check all connecting cables are correctly connected and cables are
in perfect condition.
* Please check all monitors/DVRS are connected correctly to the camera's
BN .
2. The image displaying dire tion flowing interferen e ripples and lines
* Possibly caused by the power supply A ripples (common in unregulated
Power supplies) replace with Regulated power supply.
* 50Hz interference from other A circuits, install a 50Hz filter (Video Isolation
transformer) to eliminate the 50Hz A interference (50Hz Hum).
* heck the monitor/DVR and peripheral equipments used are not causing
the issue.
3. The pi ture ba kground olour hanges ontinuously
* Fluorescent lamp electromagnetic fields cause colour roll. This is a
phenomenon of TV cameras.
* Increase the distance between the camera and the fluorescent lamps will
improve the colour changes
4. The pi ture is washed out, ghosting or flu tuating
* Power supply voltage may be unstable.
* Replace power supply with 12VD 1AMP Regulated type
* onnecting cables not connect correctly or high impedance not terminated
* onfirm cables are 100% and the end of line is terminated to 75ohm impedance
To prevent fire or shock hazarded. Do not expose the unit
The symbol is intended to alert the user to the presence of
The symbol is intended to alert the user to the presence of
to rain
or moisture.
important operating and maintenance (servicing)
Instructions in the literature accompanying the appliance.
uninsulated ‘dangerous voltage’ within the product’s
enclosure
that may be of sufficient Magnitude to
constitute
a risk of electric shock to persons.
Video
D 12V
CAUTION:
CAUTION: TO REDUCE THE RISK OF ELECTRIC SHOCK
DO NOT REMOVE COVER OR BACK NO USER
SERVICEABLE PARTS INSIDE. REFER SERVICING
TO OUALIFIED SERVICE PERSONNEL.
RISK OF ELECTRIC. DO NOT OPEN
CAUTION: TO PREVENT ELECTRIC SHOCKS AND RISK OF
FIRE HAZARDS, DO NOT USE OTHER THAN
SPECIFIED POWER SOURCE.
Notes
:
::
:
●The power supply output voltage, current, voltage polarity and
operating temperature must match the camera’s requirement.
●When using the camera in the prone lightning areas, please note to
install lightning protection device to avoid damage to camera and
periherial devices.
●In order to manitain high quality video images, the power supply’s
cable and RG59 coax cable should not exceed cable manufactures
specifications
MENU
UP
DOWN
RIGHT
LEFT
PRESS TO ENTER
OSD Joystick Control
OSD SET
LENS
MANUAL
AUTO
TYPE:D /VIDEO
MODE: LOSE/AUTO/OPEN SPEED:0-255
SHUTTER/
AG
AUTO
HIGH LUMINAN E MODE:SHUT+AUTO IRIS/AUTO
IRIS
BRIGHTNESS:0-255
LOW LUMINAN E MODE:OFF/AG
BRIGHTNESS: ×0.25, ×0.5, ×0.75, ×1
MANUAL
MODE:SHUT+AG
SHUTTER:1/50,1/120,1/250,1/500,1/1000,1/2000,
1/4000,1/10000
AG :6,12,18,24,30,36,42,44.8
WHITE BAL
ATW SPEED/DELAY NT/ATW FRAME/ENVIRONMENT
PUSH/ANTI R/PUSH LO K/USER1/USER2/MANUL
BA K LIGHT OFF/BL /HL
PI T
ADJUST MORROR/BRIGHTNESS/ ONTRAST/SHARPNESS/HUE/GAIN
ATR
OFF
ON LUMINAN E/ ONTRAST
MOTION
DET
OFF
ON DETE T SEN E/BLO K DISP/MONITOR AREA/
AREA SEL/TOP/BOTTOM/LEFT/RIGHT
PRIVA Y
OFF
ON AREA SEL/TOP/BOTTOM/ LEFT/RIGHT/
OLOR/TRANSP/MOSAI
DAY/NIGHT
OLOR
B/W BURST:OFF/ON
AUTO
BURST:OFF/ON
DELAY NT/DAY-NIGHT/NIGHT-DAY
NR NR MODE:Y/ ,OFF,Y,
AMERA ID OFF/ON
SYN INT
LANGUAGE
AMERA RESET/BA K/EXIT/SAVE ALL
ENGLISH/ HINESS/JAPANESS/ESPANOL/PORTUGUES/
PY KNN/FRAN AIS/DEUIS H
For detail OSD instructions refer to the user manual on the CD
NB: Specifications may change without notice
Table of contents
