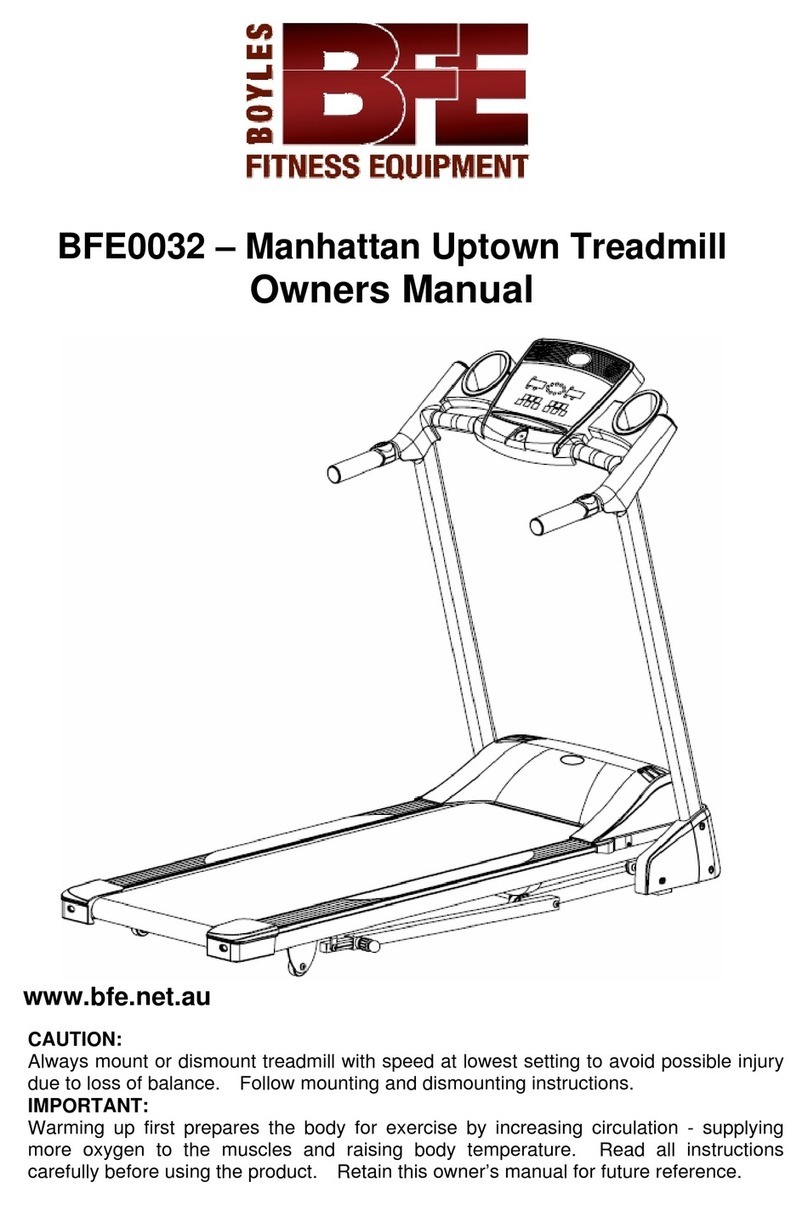
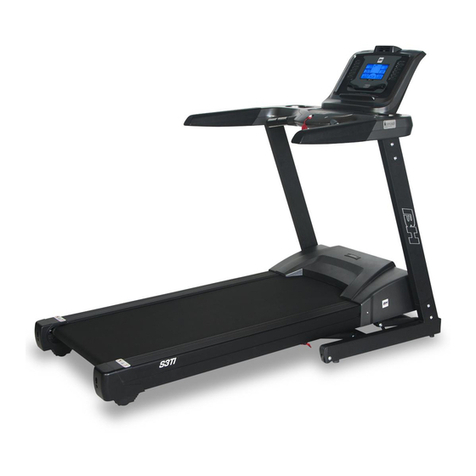
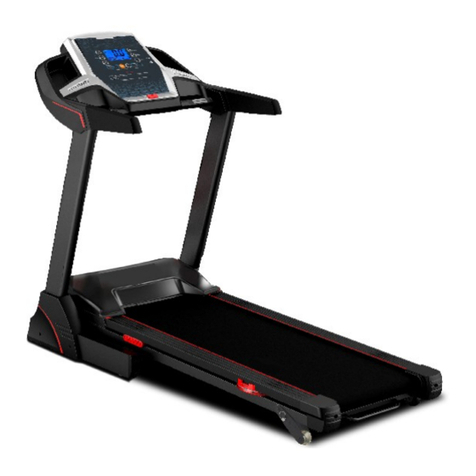
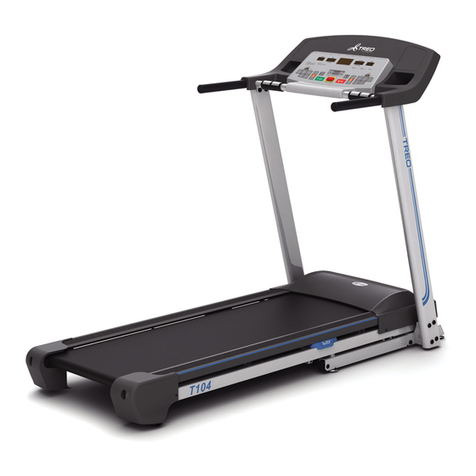
TruPace M120 User manual

Motorized Treadmill
M120 Owner’s Manual
Retain this owner’s manual for future reference
Read and follow all instructions in this owner’s manual
Version A

INTRODUCTION
Owner’s Manual 1
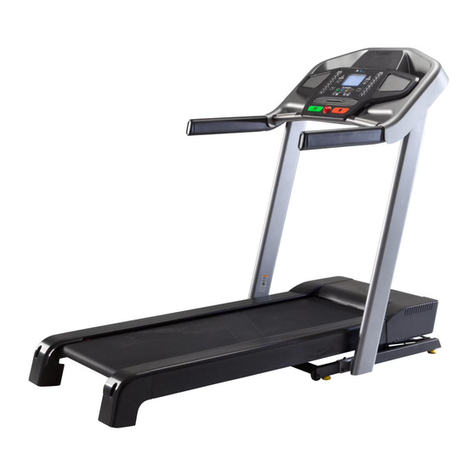
Console
Speed buttons
Handle bar
Motor cover
Running belt
Right End cap
Left end cap
Treadmill frame
Base frame
Upright post

Thank you for choosing this treadmill.
You have taken the first step to a healthier and more rewarding lifestyle.
This treadmill is especially designed to give you reliable performance and enjoyable workouts in
the comforts of your home. Below you find below the features and benefits of your new
treadmill.
◇Multiple level electronic incline system.
◇Low impact cushioning system
◇Foldable design for convenient storage.
◇Mobility wheels for easy moving and relocation.
◇Hand contact heart-rate system to monitor cardio performance.
◇Emergency safety key for quick motor shut-off.
TECHNOLOGY DATA
Voltage
AC-110V 50/60Hz
Max weight
275 LBS.
Dimension
Folding: 43”L x 37”W x 61”H
Unfolding: 72”L x 37”W x 51”H
Running belt
55”L x 20”W
Horsepower
2.0 HP
Speed
0.6-10 MPH
Incline
0-12 Levels
Owner’s Manual 2
CAUTION:
Before beginning any exercise program always consult your physician. If you experience chest
pain, nausea, dizziness or shortness of breath, stop exercising and consult your physician before
continuing.
KEY FEATURES

WARNING: To reduce the risk of burns, fire, electric shock, or injury to persons, read the
following important precautions and information before operating the treadmill. It is the
responsibility of the owner to ensure that all users of this treadmill are adequately informed of all
warnings and precautions.
●Use the treadmill only as described in this manual.
●Place the equipment on a level surface, with 6 feet (2 m) of clearance behind it. Do not place
the treadmill on any surface that blocks air openings. To protect the floor or carpet from
damage, place a mat under the treadmill.
●When choosing a location for the treadmill be sure that the location and position permit access
to a plug.
●Keep the treadmill indoors, away from moisture and dust. Do not put the treadmill in a garage
or covered patio, or near water.
●Do not operate the treadmill where aerosol products are used or where oxygen is being
administered.
●Keep children under the age of 12 and pets away from the treadmill at all times.
●The treadmill should not be used by persons weighing more than 275LBS.
●Never allow more than one person on the treadmill at a time. Wear appropriate exercise
clothing when using the treadmill. Do not wear loose clothing that could become caught in the
treadmill. Athletic support clothes are recommended for both men and women. Always wear
athletic shoes. Never use the treadmill with bare feet, wearing only stockings, or in sandals.
●When connecting the power cord, plug the power cord into a grounded circuit. No other
appliance should be on the same circuit.
●Always straddle the belt and allow it to start moving before stepping onto the belt.
●Always examine your treadmill before using to ensure all parts are in working order.
●Allow the belt to fully stop before dismounting.
●Never insert any object or body parts into any opening.
●Follow the safety information in regards to plugging in your treadmill.
●Keep the power cord away from the incline wheels and do not run the power cord underneath
your treadmill. Do not operate the treadmill with a damaged or frayed power cord.
●Always unplug the treadmill before cleaning and/or servicing. Service to your treadmill
should only be performed by an authorized service representative, unless authorized and/or
instructed by the manufacturer. Failure to follow these instructions will void the treadmill
warranty.
●Never leave the treadmill unattended while it is running.
●Use “safety key” when operating the treadmill and make sure the “safety key” is clipped to the
users clothing.
Remove the “safety key” and store it in a safe place when the treadmill is not in use. Keep the
“safety key” away from children.
Owner’s Manual 3

Power Requirements:
IMPROPER CONNECTION OF THE EQUIPMENT GROUNDING CONNECTOR CAN
RESULT IN THE RISK OF AN ELECTRIC SHOCK. CHECK WITH A QUALIFIED
ELECTRICIAN OR SERVICE MAN IF YOU ARE IN DOUBT AS TO WHETHER THE
PRODUCT IS PROPERLY GROUNDED. DO NOT MODIFY THE PLUG PROVIDED WITH
THE PRODUCT, IF IT WILL NOT FIT THE OUTLET; HAVE A PROPER OUTLET INSTALLED
BY A QUALIFIED ELECTRICIAN.
This treadmill can be seriously damaged by sudden voltage changes in your home’s electrical
power. Voltage spikes, surges and noise interference can result from weather conditions or
from other appliances being turned on or off. To reduce the possibility of treadmill damage,
always use a surge protector (not included) with your treadmill.
Surge protectors can be purchased at most hardware stores. The manufacturer recommends
a single outlet surge protector with a UL 1449 rating as a Transient Voltage Surge Suppressor
(TVSS) with a UL suppressed voltage rating of 400V or less and an electrical rating 110VAC, 15
amps.
This treadmill must be grounded to reduce the risk of electrical shock. Grounding provides a
path of least resistance for electric current, should the treadmill malfunction. This treadmill is
equipped with an electrical cord that has an equipment-grounding conductor and a grounding
plug. Always plug the power cord into a surge protector, and plug the surge protector into an
appropriate outlet that is properly installed and grounded in accordance with all local codes and
ordinances.
This product is for use on a nominal 110-volt circuit, and has a grounding plug that looks like the
plug illustrated in the drawing below.
GFCI outlets and GFCI Circuit Breakers are NOT recommended for use on this product. GFCI
outlets and GFCI Circuit Breakers may cause this equipment to function improperly.
Owner’s Manual 4

ASSEMBLY INSTRUCTIONS
Step 1: Unpacking the Equipment
A.Place the product in the area it will be used.
Note: Treadmill must be placed on a level surface
B.Remove the treadmill from the packaging
Step 2: Upright Assembly
Caution: Do not pinch the computer wire between the treadmill frame and the upright post
A.Attach the middle computer cable in the left upright, to the lower computer cable in the left
side of the treadmill frame. Put the excess cable into the upright post.
B.Attach the left upright post to the left side of the treadmill frame with 2 x M8*15 Allen head
bolts (64) and 2 x M8*50Allen head bolt (65)
C. Attach the right upright post to the right side of the treadmill frame with 2 x M8*15 Allen head
bolts (64) and 2 x M8*50Allen head bolt (65)
D. Do not fully tighten the bolts until the end of step 3
Owner’s Manual 5
Caution Pinch point. Do not
pinch the wire between the
frame components
64
65

Step 3: Console Assembly
A.Slide the console assembly onto the left and right uprights.
B.Secure the console assembly to the upright post with 2pcs M6*15 Phillips screw (74)
C.Tighten all bolts now
Step 4:
A.Attach the handlebar covers to the upright masts and handlebar rail using 6 x ST4x15 screws
(76)
Owner’s Manual 6
Caution Pinch point. Do not
pinch the wire between the
frame components
74
76

PLACEMENT IN YOUR HOME
·Do not place the treadmill outdoors.
·Do not place the treadmill near water or in high moisture content environment.
·If your room is carpeted, check the clearance to make sure there is enough space
between the carpet fiber and the treadmill deck. If you are uncertain, it is best to place
mat beneath your treadmill.
·Place the treadmill at least 4 feet from walls or furniture.
·Allow the safety area of 3’ x 2’ behind the treadmill so that you can easily get on and
off the treadmill especially if there is an emergency.
Occasionally after extended use you will find a black dust below your treadmill. This is normal
wear and does not mean there is anything wrong with your treadmill. This dust can be easily
removed with a vacuum cleaner. If you wish to prevent this dust from getting on your floor or
carpet, place a mat beneath your treadmill.
LEVELING THE BASE
It is important that you place the treadmill on a firm level surface.
Check the treadmill to ensure the frame is level once you have moved the treadmill into the
place of your choice.
SETTING UP YOUR TREADMILL
CAUTION!
Make sure the running deck is level. If the deck is positioned on an uneven surface,it may cause
damage to the electronics system.
Owner’s Manual 7

TURN POWER ON
The On/Off switch for the treadmill is located next to the power supply cord at the front of the
motor cover. Flip this switch to the “ON”position.
SAFETY TETHER KEY AND CLIP
The safety key is designed to cut the main power to the treadmill should your fall. Therefore, the
safety key is designed to bring the treadmill to an immediate stop. At high speeds, it may be
uncomfortable and somewhat dangerous to come to a complete stop immediately. So, use the
safety key as emergency top only. Under normal use, to bring the treadmill to a safe and
comfortable stop, use the red stop button.
Your treadmill will not start unless the safety key is properly inserted into the key holder on the
middle of the console. The other end of the safety key should be securely clipped to your
clothing so that if there is an emergency the key will pull off and the treadmill will stop the risk of
injury. For your safety, never use the treadmill without securing the safety key clipped to your
clothing. Pull on the safety key clip to make sure it is firmly secured to your clothing.
GETTING ON AND OFF THE TREADMILL
Take care when getting on or off the treadmill. Use the handlebars while getting on or off. Do not
stand on the running belt when starting the treadmill. Straddle the running belt by placing your
feet on both side rails of the treadmill deck. Place your foot on the belt only after the belt has
begun to move at a slow and consistent speed.
During your exercise, keep your body and head facing forward at all times. Never attempt to
turn around on the treadmill when the running belt is still moving. When you have finished
exercising, stop the treadmill by pressing the red stop button. Wait until the treadmill comes to a
complete stop before attempting to get off the treadmill.
Owner’s Manual 8
GETTING STARTED
WARNING!
Never use this treadmill without first securing the safety tether clip to our clothing.
CAUTION!
For your safety, step onto the belt when the speed is no more than 3km/h.

FOLDING THE TREADMILL
1. Before folding the treadmill, turn the power off.
2. The treadmill incline must be set at its lowest incline level
3. Lift the treadmill deck until it is parallel to the upright, the locking knob will lock automatically
4. Carefully pull down on the frame to verify the folding lock has engaged.
UNFOLDING THE TREADMILL
1.Be sure there is enough space behind the treadmill so the main frame can fully unfold without
hitting any obstructions.
2.Hold the deck frame and press the folding latch with your foot.
3.While pressing the folding latch gently pull down on the main frame.
4.The treadmill frame will slowly drop to the floor.
MOVING THE TREADMILL
This treadmill is easy to move.
To move the treadmill
Caution: Make sure the folding system is locked before moving the treadmill.
1.Switch off the power
2.Unplug the power cord;
3.Tilt the treadmill back approx. 30 –40 degrees on to the transport wheels. You can now wheel
the treadmill to a new location.
Owner’s Manual 9
HANDLING YOUR TREADMILL
Cylinder
Knob
Transport wheels
Caution: This equipment is heavy and, if it is not handled properly, may cause injury

Window and button instructions
Program
Displays program selection.
Time
Displays time remaining or total time.
Calories
Displays calories burned
Heart Rate
Displays hand grip Heart Rate reading.
Distance
Displays total distance KM/Mi.
Incline
Displays current incline level 1-15.
Speed
Displays the running speed.
Dot Matrix
Displays program profile.
Owner’s Manual 10
OPERATING THE CONSOLE
Incline
Down
Incline Up
Program
selection
Speed
Down
Speed Up
Mode
Quick Incline Keys
Quick Speed Keys
Stop
Start

Buttons Functions:
Incline ▲ / ▼
Adjusts the incline while in use.
Speed ─ / ┼
Adjusts the speed while in use.
Adjusts program values
Quick Incline Keys
Adjusts incline to a predetermined value
There are 4 incline quick keys.
Quick Speed Keys
Adjusts speed to a predetermined value
There are 4 speed quick keys
Start
Quick start or program start
Stop
To stop the treadmill while exercising.
Mode
To select the programs. Confirm value entered and reset the program
Note: to reset the computer follow the following
1.Turn off the treadmill
2.Remove and replace the safety key
Activating the treadmill:
1.Place the safety key on the console in the safety key holder
2.Turn on the treadmill
Quick START:
1.Press START, the speed will start from lowest speed and the incline starts from 0, all data will
count up.
2.The treadmill will count down to 0 and the belt will begin to move
3.Use any speed or incline adjustment keys to change the speed or incline.
Target Program:
1.Reset the computer
2.Press the Program button until the manual program is displayed.
3.Press mode
4.Press the speed + and speed –to adjust the Target Program (time, distance, calories)
5.Press mode
6.Press the speed + and speed –to adjust the goal value.
7.Press start to begin
8.Use any speed or incline adjustment keys to change the speed or incline.
Owner’s Manual 11

Course Programs:
1.Reset the computer
2.Press the program button until the preferred program number is displayed
3.Press mode
4.Press the speed + and speed –key to adjust the time. (the default time is 30min)
5.After the time is set press start
6.This program will run on a preset course (see profiles below)
7.The speed can be overridden by pressing the speed + and Speed –keys
8.Once the time reaches 0 the program will end
9.Note: there are 10 segments in each program. The time is averaged over each of the 10
segments. The time setting ranges from 5min to 99min
Program value table:
PO
1
2
3
4
5
6
7
8
9
10
P01
speed
1.2
2.5
1.8
2.5
1.8
3.1
2.5
1.2
3.1
1.8
incline
0
2
3
3
1
2
2
3
2
0
P02
speed
1.2
3.1
2.5
3.7
2.5
3.7
2.5
1.2
2.5
1.2
incline
0
2
3
3
2
2
3
4
2
0
P03
speed
1.2
3.1
2.5
3.1
2.5
3.1
2.5
1.2
1.8
1.2
incline
0
2
2
3
1
2
2
2
2
0
P04
speed
1.8
3.7
4.3
3.1
5
3.1
5.6
3.7
2.5
1.8
incline
0
2
3
3
2
2
4
6
2
0
P05
speed
1.8
3.7
4.3
3.1
5
3.7
4.3
3.7
2.5
1.8
incline
0
2
4
3
2
2
4
5
2
0
P06
speed
1.2
5.0
3.7
2.5
3.1
5.6
4.3
3.1
2.5
1.8
incline
0
2
6
2
3
4
2
2
2
0
P07
speed
1.2
3.7
4.3
2.5
2.5
4.3
2.5
1.2
2.5
1.2
incline
0
5
6
6
9
9
10
12
6
0
P08
speed
1.2
2.5
3.7
5
4.3
5
3.7
1.2
1.8
1.2
incline
0
5
4
4
3
4
4
3
3
0
P09
speed
1.2
2.5
3.1
3.1
3.7
3.1
3.7
1.8
1.8
1.2
incline
0
5
3
4
2
3
4
2
3
0
P10
speed
1.2
1.8
3.1
1.8
1.8
3.1
1.8
3.7
1.8
1.8
incline
0
4
3
6
7
8
8
6
3
0
P11
speed
1.8
4.3
5.0
3.1
3.1
5.0
3.1
1.8
3.1
1.8
incline
0
5
6
6
9
9
10
12
6
0
P12
speed
1.2
3.1
3.1
2.5
2.5
3.7
2.5
1.2
1.8
2.5
incline
0
5
6
7
12
9
11
11
6
0
Owner’s Manual 12

Body Fat Test:
1.Stop the treadmill
2.Press the program button to select the body fat program
3.Press mode to select
4.Enter your gender in the program window by pressing the speed + and Speed –keys (male=1,
Female = 2)
5.Press mode to select
6.Enter your age in the program window by pressing the speed + and Speed –keys (age range
from 1-99)
7.Press mode to select
8.Enter your height in the program window by pressing the speed + and Speed –keys
9.Press mode to select
10.Enter your weight in the program window by pressing the speed + and Speed –keys
11.Press enter to begin the body fat program
12.Immediately place your hands on the contact heart rate sensor for at least 10 seconds
13.Your body fat score will be displayed (this test is only for reference to track personal
improvement and is not meant to be an accurate reading or medical advice. See you physician
for accurate testing)
a.Results key
i. Below 18 = below normal
ii. 18-25 = Normal
iii. 26- 29 = Above normal
iv. 30 and above= overweight
Owner’s Manual 13

HOW TO MAINTAIN YOUR TREADMILL:
Proper maintenance is very important to ensure your treadmill is always in top working
condition. Improper maintenance could cause damage or shorten the life of your treadmill and
exceed the LIMITED WARRANTY coverage.
●Important: DO NOT use abrasives or solvents to clean the treadmill. To prevent damage to
the computer, keep liquids away and keep it out of direct sunlight.
●Inspect and tighten all parts of the treadmill regularly. Replace any damaged or worn parts
immediately.
BELT ADJUSTMENT:
The running belt has been properly adjusted at the factory. However transportation, uneven
flooring or other unpredicted reasons could cause the belt to shift off center resulting in the belt
rubbing with the plastic side rail or end caps and possibly causing damage. To adjust the belt
back to its proper position please follow the directions below:
1.If your belt tends to walk to the right, rotate the right tension bolt clockwise. We recommend
adjustments of 1/4 turn at a time, and follow with a test. If your belt continues to walk to the right,
simply adjust the left belt tension bolt by turning it 1/4 turn counterclockwise, and follow with a
test.
2.If your belt tends to walk to the left, rotate the left tension bolt clockwise 1/4 turn at a time, and
follow with a test. If the belt continues to walk to the left, simply adjust the right tension bolt
counterclockwise.
3.If your belt appears to be loose, simply tighten both bolts evenly 1/4 turn. If it appears tight,
simply loosen both bolts evenly 1/4 turn.
Right and left tension bolts are located at the rear of the treadmill.
MAINTENANCE
Owner’s Manual 14

DECK LUBRICATION:
The walking belt has been pre-lubricated at the factory. However, it is recommended that
the walking board be checked periodically for lubrication to ensure optimal treadmill
performance. Your treadmill should not have to be lubricated usually within 3 months.
We recommend lubricating the walking deck a minimum of twice a year for light use (2 days
a week) and four times a year for heavier use(3 times a week multiple users)
Please contact your distributer for approved maintenance supplies
To apply lubricant under the walking belt:
1.Position the walking belt so that the seam is located on top and in center of the walking board.
2.Insert the nozzle of the lubricant container under the belt
3.While lifting the side of the walking belt, position the nozzle between the walking belt and the
board approximately 15 cm (6 inches) from the front of the treadmill. Apply the silicone lubricant
to the walking board, moving from the front of the treadmill to the rear. Repeat this on the other
side of the belt. Note: it is important to get the lubricant as far to the center of the walking board
as possible.
4.Allow the silicone to "set" for 1 minute before using the treadmill.
Apply lubricant from front to back.
Owner’s Manual 15
CAUTION!
Over tightening of the belt will severely shorten the life of the belt andmay cause
further damage to other components.
NOTE:
A well lubricated deck will ensure longevity of your treadmill in addition to
providing you with the optimal performance.
DANGER!
To reduce the risk of electrical shock, always unplug the treadmill from the
electrical outlet immediately after use and before cleaning.

CLEANING:
Routine cleaning of your treadmill will extend the product's life.
Warning: To prevent electrical shock, be sure the power to the treadmill is OFF and the
power cord is unplugged from the wall electrical outlet before attempting any cleaning
or maintenance.
Important: DO NOT use abrasives or solvents to clean the treadmill. To prevent
damage to the computer, keep liquids away and keep it out of direct sunlight.
After each workout: Wipe off the console and other treadmill surfaces with a clean,
water dampened soft cloth to remove excess perspiration.
Weekly: Use of a treadmill mat is recommended for ease of cleaning. Dirt from your
shoes contacts the belt and eventually makes it to underneath the treadmill. Vacuum
underneath treadmill once a week.
Note: when lubricating the belt, make sure the treadmill is located on a surface that can
be easily cleaned. After lubricating your treadmill running belt, clean any excess
silicone off the belt and frame.
.
Owner’s Manual 16

Problem
Reason
Fix
Treadmill
stops
suddenly
Safety key fell off
Replace the safety key.
Blown fuse
Change fuse
Power cord not plugged in
Plug into outlet
Electronic problem
Call an authorized service
technician
E01
Data cable loose or defective
Reconnect or Change the wire
Computer could be defective
Call an authorized service
technician
Transformer could be defective
Controller could be defective
E02
Motor wire connection is loose or
motor is defective
Reconnect the wire or Call an
authorized service technician
The connection wire between the
motor and controller is loose or
controller defective
E 03
Incorrect speed sensor position
Adjust the speed sensor
Improper speed sensor wire
connection
Reconnect the wire.
Speed sensor could be defective
Replace the speed sensor
Controller could be defective
Call an authorized service
technician
E05
Controller could be defective
Call an authorized service
technician
Motor could be defective
Call an authorized service
technician
----------
Computer cannot sense the safety
key signal
Check and reset the safety key.
No belt
movement
Motor is not receiving power
Call an authorized service
technician
Erratic display
function
Computer memory loss
Turn off and unplug the treadmill
for 5 minutes and retry.
Owner’s Manual 17
TROUBLE SHOOTING

Owner’s Manual 18
EXPLODED DIAGRAM

NO
Description
QTY
1
Base frame
1
2
Platform frame
1
3
Upright post (left)
1
4
Upright post (right)
1
5
Incline frame
1
6
Computer frame
1
7
Cross tube
1
8
External extension tube frame
1
9
Internal extension tube frame
1
10
Motor frame
1
11
Metal tube
1
12
Incline motor
1
13
motor
1
14
Motor belt190J
1
15
Front roller
1
16
Motor cover middle part
1
17
Rear roller
1
18
Left end cap
1
19
Right end cap
1
20
Running board
1
21
Running belt
1
22
Central part of side rail
2
23
Side rail
2
24
Frame back cover
1
25
feet padΦ35×30×M8
4
26
Circle end ca40*80
2
27
wheelΦ62
4
28
cylinder
1
29
Foam grip
2
30
Tube end cap 30*60
2
31
Handle pulse ( with easy button for incline)
1
Parts List
Owner’s Manual 19
Table of contents

