8200-1031-06 B0
© 2018 Tyco Security Products. All Rights Reserved
NOTE:
Illustra Connect will only discover devices on the same subnet as its host computer.
Therefore the camera and the computer being used to congure it must be on the
same subnet.
Procedure
1. Using a computer which is connected to the same network and subnet, install
the Illustra Connect software. Refer to the Illustra Connect manual for more
information. The Illustra Connect Software and manual can be found on the
illustracameras.com website.
2. When the installation is complete, run Illustra Connect. It will search the network
and display all compliant devices, including the sheye camera.
3. Select the camera you wish to congure, locating it by its unique MAC address.
Illustra Connect allows basic conguration of the camera. Refer to the Illustra
Connect manual for more information.
4. Right-click the camera and select Launch Web GUI Conguration.
5. Refer to Logging in to the camera for details on how to log in to the camera and
view the live feed.
Installation using Illustra Connect Procedure
1. Select 1. Camera from the Basic Conguration menu. The mounting tab
displays.
2. Select the required mounting option by selecting the radio buttons:
• Wall
• Ceiling
The default option is ‘Ceiling’.
Logging in to the Camera
Procedure
1. Use the live view page to view the output from the camera.
2. SLOWLY rotate the focus control wheel (using the tool provided) left or right by up
to 45° to adjust the focus if required.
Procedure
1. When the camera is selected the sign in page will be displayed.
2. Select your preferred language from the drop down menu.
3. Enter the username in the Username text box. The default username is admin.
4. Enter the password in the Password text box. The default password is admin.
5. Select Log in.
6. The live view page will be displayed. This shows the cameras current view.
1. Camera
Procedure
1. The camera will attempt to obtain an IP Address from the DHCP Server. When
no DHCP Server is available the camera will be assigned a Static IP address of
192.168.1.168.
2. Open Microsoft Internet Explorer and enter the URL of the camera as
192.168.1.168.
NOTE:
The computer being used to congure the camera must have an IP address on
the same subnet.
3. Refer to Logging in to the camera for details on how to log in to the camera and
view the live feed.
Installation using Static IP Address
Procedure
1. Select 1. Camera from the Basic Conguration menu.
2. Select the Camera Name tab. The Camera Name tab displays.
3. Enter the name of the camera in the Camera Friendly Name text box.
4. Select Apply to save the changes.
Assign Camera Name
Basic Conguration
The Basic Conguration menu provides access to the most common features
required when setting up a camera for the rst time and can be accessed by an
‘admin’ user only:
1. Camera
2. Users
3. Date Time
4. TCP/IP
5. Streams
Set Mounting Option for camera wall or ceiling
Procedure
1. Select 2. User from the Basic Conguration menu.
2. Select Add User. The Add User tab displays.
3. Enter a User Name in the Name text box.
4. Select a Role: admin, operator or user. Refer to Appendix A: User Account
Access in the Conguration and User Guide for further details.
5. Enter a password in the Password text box.
6. Enter the same password in the Conrm Password text box.
7. Select Apply to save the settings.
2. Users
Add new user
Procedure
1. Select 3. Date Time from the Basic Conguration menu. The Date Time tab
displays.
2. Select or Deselect the Time 24-hour check box to enable or disable the 24-hour
clock.
3. Select the Date Display Format.
4. Select the Time Zone from the drop-down menu.
5. Select the Set Time setting by selecting the radio buttons, Manually or via NTP.
6. If you select Manually:
• Select the Date (YYYY/MM/DD) using the drop-down menus.
• Select the Time (HH:MM:SS) using the drop-down menus.
7. If you select via NTP:
• Enter the NTP Server Name in the text box.
8. Select Apply to save the settings.
3. Date Time
Set the Date and Time for the camera
Procedure
1. Select 4. TCP/IP from the Basic Conguration menu. The IPv4 tab displays.
2. Select/Deselect the Enable DHCP check box to enable/disable DHCP. If DHCP is
disabled manual settings can be entered.
3. If Enable DHCP has been disabled:
• Enter the IPv4 Address in the IPv4 Address text box.
• Enter the Network Mask in the Network Mask text box.
• Enter the Gateway IP address in Gateway text box.
• Enter the Primary DNS Server in the Primary DNS Server text box.
• Enter the Secondary DNS Server in the Secondary DNS Server text box.
4. Select Apply to save the settings.
4. TCP/IP
Congure the IPv4 Network Details
Procedure
1. Select 4. TCP/IP from the Basic Conguration menu.
2. Select the IPv6 tab. The IPv6 tab displays.
3. Select/Deselect the IPv6 Enable check box to enable/disable IPv6 on the
camera.
4. If IPv6 is enabled you will be prompted to restart the camera. Upon restart,
logging in and displaying the IPv6 tab, the IPv6 Link Local and DHCP address will
be displayed if available.
Congure the IPv6 Network Details
5. Streams
Congure Video Streams
For detailed information on the installation and conguration procedures included
within this QSG please refer to the 8200-1031-01 Conguration and User Guide or to
the Help le on the Illustra 825 Fisheye Camera GUI.
1st: DHCP (enabled)
2nd: 192.168.1.168
Default Username: admin
Default Password: admin
Additional Conguration Options
Manually Adjust Focus Focus should only be adjusted if required
Illustra Pro 5MP / Pro LT 5MP Fisheye Camera Details
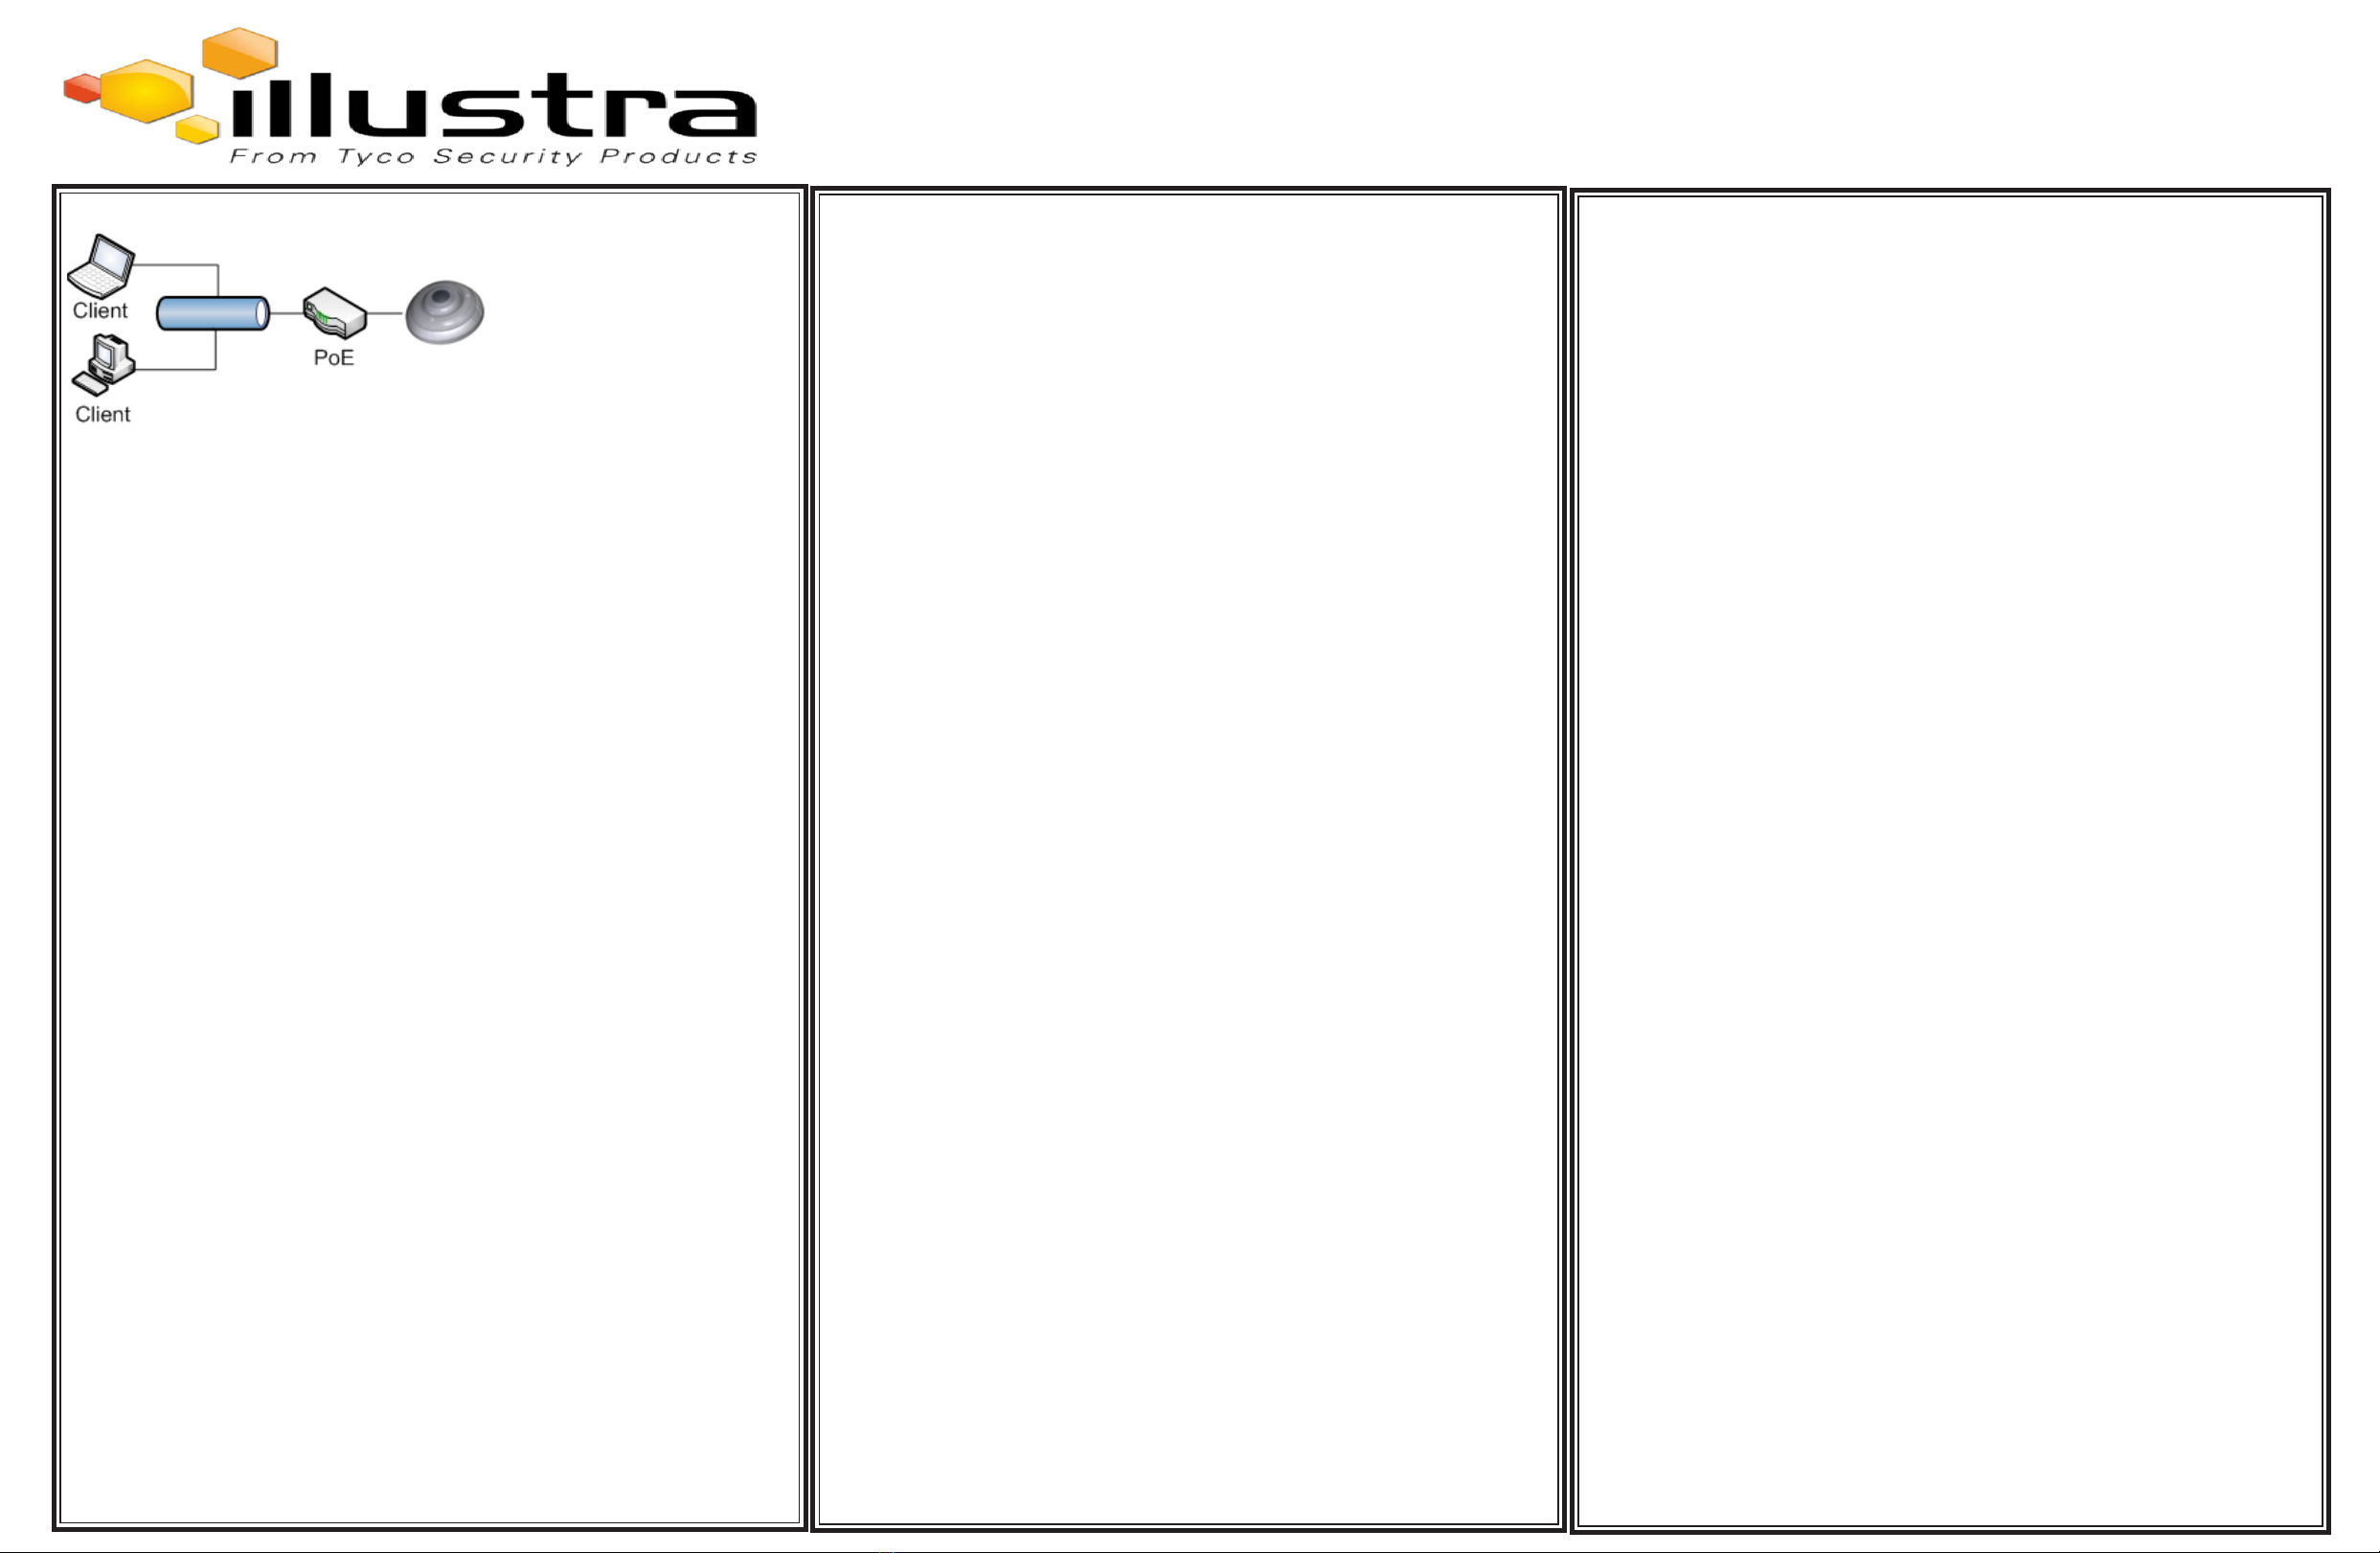
Network
NOTE:
We recommend that once you are logged into the Web Conguration pages you
change the Static IP Address of the camera so that conicts can be avoided when
using the same Static IP Address to setup additional cameras.
Procedure
1. Select 5. Streams from the Basic Conguration menu. The Stream 1 tab
displays.
2. Select Stream 1, Stream 2, Stream 3, Stream 4 or Stream 5 tab to congure the
settings. (Note: Streams 3,4 and 5 are not applicable to the LT 5MP models).
3. Select the required Image Source from the drop-down menu: Fisheye, Ceiling/
Wall Panorama or active image 1, 2, 3, 4 or 5. (Note: Ceiling/Wall Panorama and
active image 1, 2, 3, 4 or 5 are not applicable to the LT 5MP models).
4. Select the required Codec by selecting the radio buttons: H264 or MJPEG.
5. Select the required Resolution from the drop-down menu.
6. Use the slider bar to select the Frame Rate (ips).
7. If MJPEG has been selected in step 4, MJPEG Quality will be enabled. Use the
slider bar to select the MJPEG Quality.
8. If H264 has been selected in step 4, Rate Control will be enabled. Select the
required Rate Control by selecting the radio buttons: VBR or CBR.
9. If VBR has been selected, VBR Quality will be enabled. Select the required VBR
Quality from the drop-down menu.
10. If CBR has been selected, CBR Bit Rate will be enabled. Use the slider bar to
select the CBR Bit Rate.
Illustra Pro 5MP Fisheye Camera / Illustra Pro LT 5MP Fisheye Camera
Quick Installation Guide


