SKU 67418 For technical questions please call 1-800-444-3353. Page 2
Always wear ANSI-approved safety3.
goggles when working with tools and
equipment.
Do not stand or climb upon this Cabinet.4.
Keep children away; never let children5.
play on or near the Cabinet.
The warnings, precautions and6.
instructions discussed in this instruction
manual cannot cover all possible
conditions and situations that may occur.
It must be understood by the operator
that common sense and caution are
factors which cannot be built into this
product, but must be supplied by the
operator.
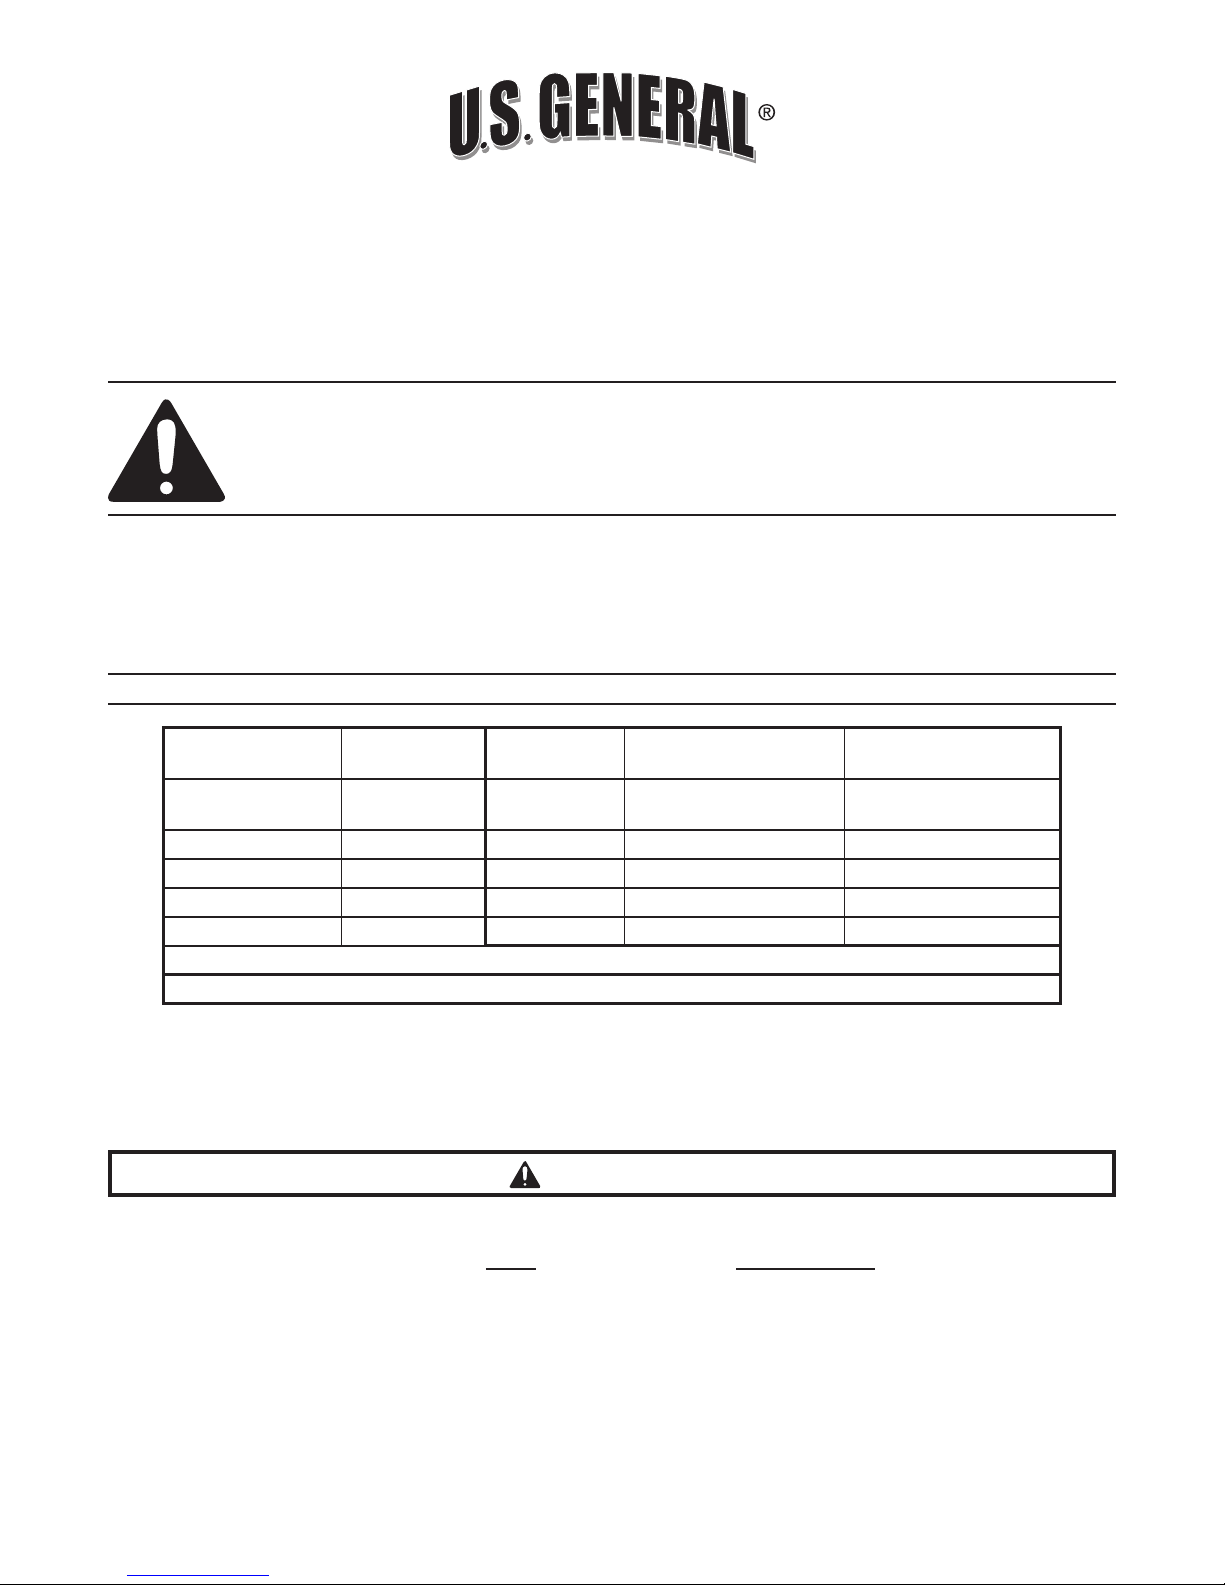
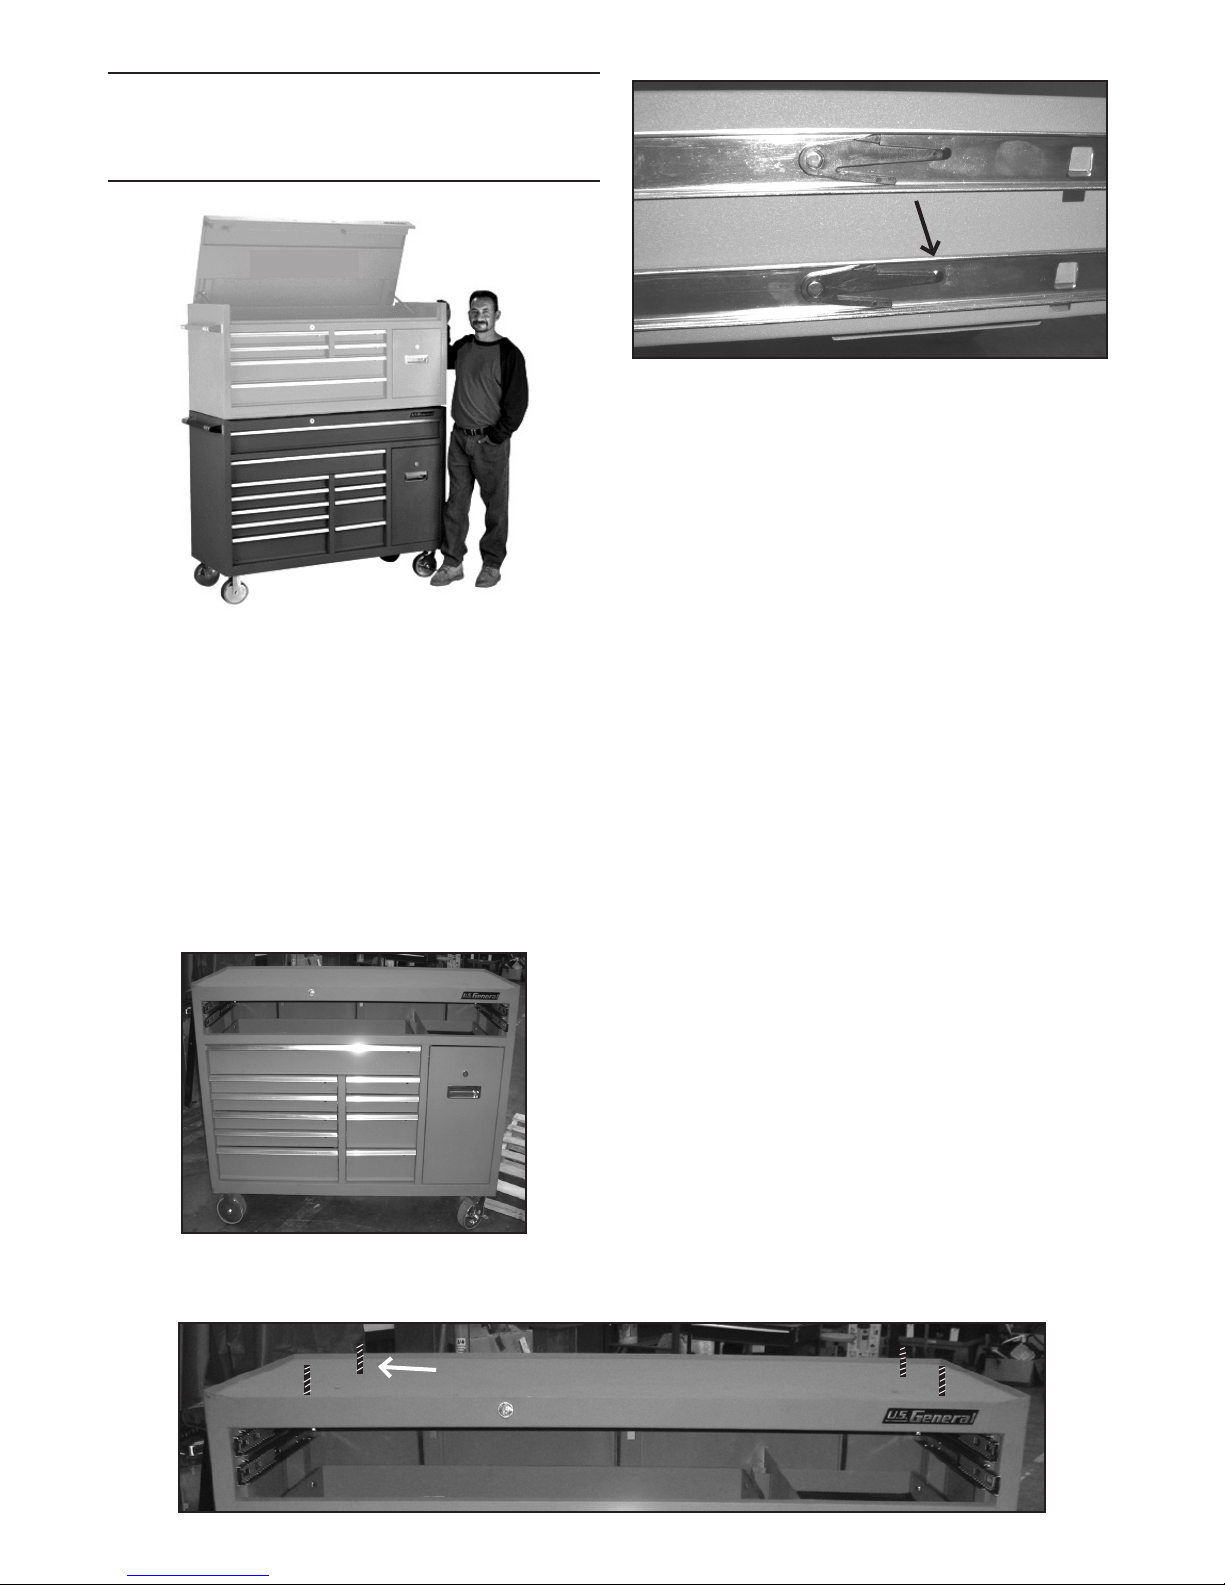
ASSEMBLY
All of the nuts required for assembly1.
come pre-mounted in their holes.
To Install the Handles: Hardware
Required: 2 Bolts each Handle, 4
Bolts total.
Assemble both side Handles, one on2.
each end of the Cabinet, using the
included Bolts. Then tighten securely.
NOTE: ALL DRAWERS MUST BE PUSHED
IN FULLY BEFORE CABINET WILL
LOCK.
MAINTENANCE
Store this product in a dry indoor area to1.
extend it’s usable life and maintain it’s
condition.
Periodically lubricate the Drawer Slides2.
and Caster Bearings.
Check the overall condition of the3.
Cabinet periodically, and tighten any
loose bolts and repair/replace any
broken or damaged parts.
INSTRUCTIONS
1.
unlock all of them using the keys that are
taped onto the outside of each drawer.
The large Door (28) has a handle with an2.
inside latch. To open the door place your
hand inside of the Door Handle Base
squeeze the latch while pulling the door
toward you.
LIMITED 90 DAY WARRANTY
Harbor Freight Tools Co. makes every effort to
assure that its products meet high quality and durability
standards, and warrants to the original purchaser
that this product is free from defects in materials and
workmanship for the period of 90 days from the date
of purchase. This warranty does not apply to damage
due directly or indirectly, to misuse, abuse, negligence
or accidents, repairs or alterations outside our facilities,
criminal activity, improper installation, normal wear and
tear, or to lack of maintenance. We shall in no event
be liable for death, injuries to persons or property, or
for incidental, contingent, special or consequential
damages arising from the use of our product. Some
states do not allow the exclusion or limitation of
incidental or consequential damages, so the above
limitation of exclusion may not apply to you. THIS
To take advantage of this warranty, the product or
part must be returned to us with transportation charges
prepaid. Proof of purchase date and an explanation
of the complaint must accompany the merchandise. If
or replace the product at our election or we may elect
to refund the purchase price if we cannot readily and
quickly provide you with a replacement. We will return
repaired products at our expense, but if we determine
there is no defect, or that the defect resulted from
causes not within the scope of our warranty, then you
must bear the cost of returning the product.
you may also have other rights which vary from state to
state.
3491 Mission Oaks Blvd. • PO Box 6009 •
Camarillo, CA 93011 • (800) 444-3353