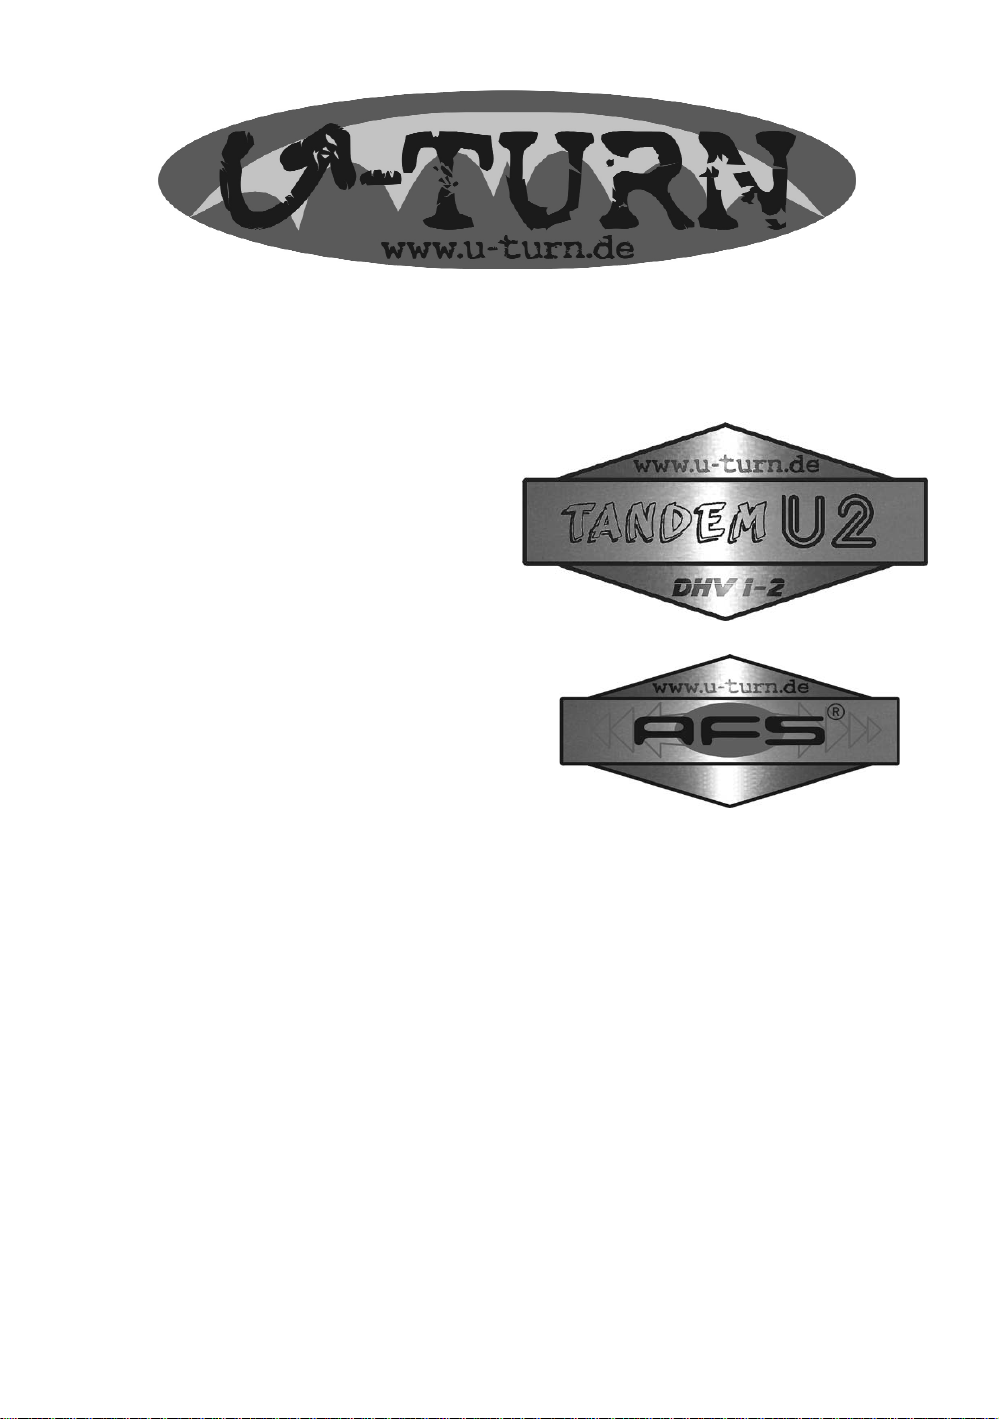
AFS system and new features
To paraglide with lots of fun and have the highest level of security pos-
sible, this is the promise of the revolutionary AFS-System (Automatic
Flight Stabilisation). It intervenes for the benefit of safety when an inex-
perienced pilot, or a pilot in trouble, enters turbulence and is unable to
fly actively. AFS works like the Electronic Stability Programs known in
the automotive industry, you could call it an “ESP for the air”.
By implementing many technical innovations, designer Ernst Strobl
entered a new dimension in glider design, having invented both the
Improved Stabilisation System (IST) and the Multiple Speed System
(MSS). Strobl now presents a paradigm shift: For the first time a desi-
gner has managed to allow safety to happen automatically to a certain
extent.
The core innovation of the AFS-system is based on the principle of pre-
tensioning the undersurface at the trailing edge. “This idea I had during
a flight”, Strobl recalls his sudden inspiration, “It must be possible to pre-
tension the under-surface by making sure of an exactly calculated cut –
so that on the one hand the canopy is neutral while there is enough
pressure inside, but on the other hand any drop of pressure causes the
system to react”.
Dozens of computer-based calculations with high-end software from the
aviation industry allowed the break-through to be achieved. A special
production process around the brake attachment points leads to the
desired effect. Whilst the canopy is gliding through smooth air and there
is enough pressure inside, the pre-tensioning is neutralised and the trai-
ling edge stays aerodynamically perfect like a conventional glider.
When entering turbulent air with the U2 the system adjusts immediate-
ly, even the slightest drop of internal pressure allows the system to
react. The pre-tensioning at the trailing edge is effectively like pulling
the brakes.
A canopy featuring the AFS-system reacts without any steering or bra-
king action from the pilot exactly in the way that the safety experts of the
DHV recommend: It flies actively and therefore safely. Ernst Strobl
recalls the fine-tuning, “Our computer-based calculations were impres-
sively confirmed during our tests”.
The system is extremely responsive and top-quality manufacturing is
necessary. U-Turn Co-founder Thomas Vosseler adds, “We will guaran-
tee a strongly supervised manufacturing process”.
Andreas Schubert, of the “Rhöner Gleitschirmschulen”, who has taught
10 % of all new pilots in Germany over the last ten years confirms, “This
is a major step as far as safety is concerned. The main reason for acci-
dents, the full collapse of the canopy, is minimized dramatically”.