2. Set the speedbag length
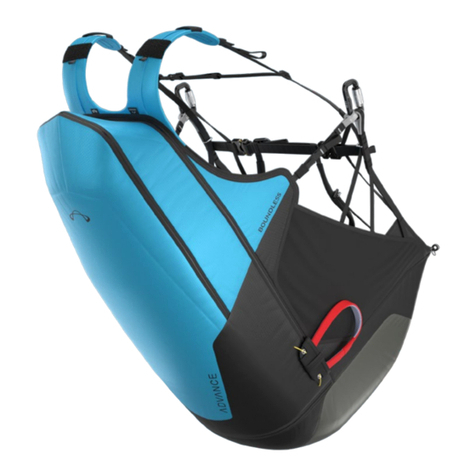
Now you can adjust the speedbag length to suit your leg length.
This setting positions your centre of gravity on the harness, and
sets the speedbag ying angle. For best aerodynamic results the
underside of the speedbag should be horizontal. To set the length
rst loosen the upper speedbag lines completely, then adjust
the lower speedbag lines – which carry most of the leg load –
to your perfect speedbag length. Now pull in the upper speedbag
lines as far as you need for a comfortable foot angle.
A good speedbag length will support the legs lightly on the foot-
board, without eort or strain. Upper and lower speedbag lines
should both be under light tension, and symmetrical (same left and
right ).
Important: A well tting and adjusted speedbag is the basis
of comfortable LIGHTNESS 2 ying. When this adjustment is
correct the harness seat shell ts like a second skin; there’s
no sliding around – the foundation for the highest level of
comfort on long ights has been laid.
More adjustments:
The angle of the footboard itself can be adjusted by slightly altering
the top to bottom relationship of the speedbag lines.
Tip: Foot support is part of the speedbag and this is what
supports you in your reclining position. The speedbag is re-
movable, but only for repair or replacement (see section
“Replacing parts“ ). The LIGHTNESS 2 harness only works wi-
th its speedbag.
Tip: Compared with the original LIGHTNESS the LIGHTNESS
2 calls for noticeably less force on the footboard to keep
the legs horizontal. This has been achieved by improved li-
ne geometry.
3. Setting the upper body angle
Now you can alter your upper body recline angle using the back
straps The back straps are mounted relatively high at the sides.
This gives good back support and takes pressure o the shoulders.
Finally you can tighten or loosen the shoulder straps as you
wish – quite loose, or providing light support – but without putting
pressure on the shoulders.
4. Checking the settings
Run through the following points to check your perfect position:
§Is the underside of the speedbag still horizontal? If not you can
move your centre of gravity by changing the length of the upper
and lower speedbag straps. It’s best to get an observer to check
the speedbag angle.
§Are the back straps low enough so that they don’t cut into your
armpits?
§The front edge of the harness should not be pressing the backs
of your knees.
§The speedbag should not have any obvious wrinkles.
Repeat the procedure as often as necessary – after every ight
( if you like ). Perfect is best: it works well.
5. Fine adjustment
Supporting the lower back
The lower back strap does the following two things:
§Improves comfort (the harness conforms to the small of your
back, like a good car seat )
§Pushes the body centre of gravity forward if the lower surface of
the speedbag is not horizontal, and points uphill. It can help to
nd the ideal position
Upper thigh strap
You can extend the support line of the seat shell under your thighs
with the help of the upper thigh straps. Fine adjustment here can
increase your comfort.
Setting the leg straps
Leg straps are not adjustable.
16 17

