Umwelt-Geräte-Technik GmbH | Eberswalder Str. 58 | D-15374 Müncheberg | Tel.: +49 (0) 33 43 2 - 89 575 | www.ugt-online.de Page 7 of
11
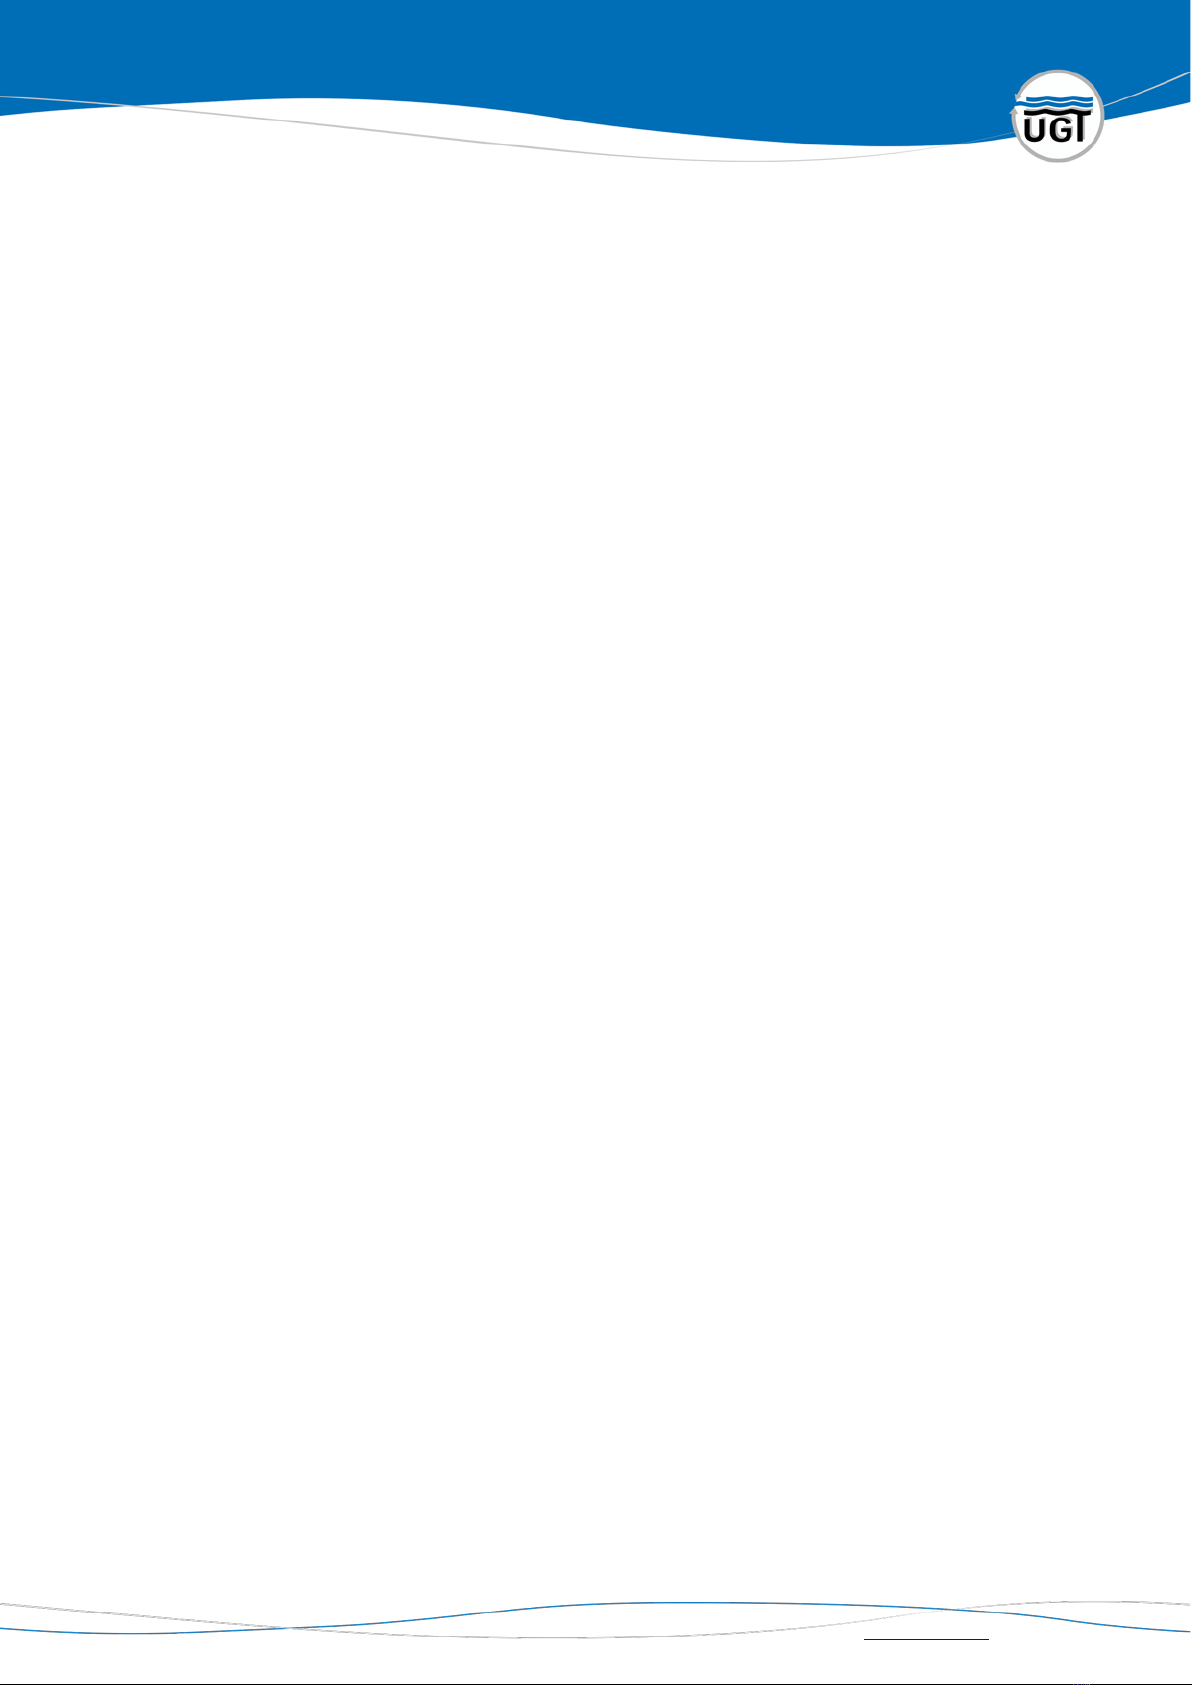
2.2 Filling and Degassing of the Tensiometer
Normally the Tensiometer must only be degassed to remove air bubbles before use. If the tensiometer fell
dry (no water visible in the tensiometer head) due to wrong storage, repair or very dry soil it needs to be
completely refilled to restore functionality.
The process is the same for both cases, but must be repeated more often for a complete filling. Therefore,
the work sequence described below applies to both processes.
Deviating for refilling very long tensiometers a hand pump can be connected in place of the screw to apply
the necessary negative pressure more easily.
Approximately 1 L of distilled water is needed. To avoid the occurrence of air bubbles at strong negative
pressures the water may additionally be degassed.
Preparation:
If the ceramic part was completely dry it should be soaked in distilled water for at least 12 hours before
refilling. If the tensiometer has not been used for a longer period the O-rings and the ceramic should be
checked for damages and replaced if necessary. More information on changing the ceramic and the O-rings
can be found in the according chapter of this manual. The ceramic should be clean. If necessary, clean the
ceramic with a wet sponge or carefully sand the top layer with fine wet sandpaper. Make sure not to touch
the ceramic with bare hands. For sanding, the ceramic should already be soaked.
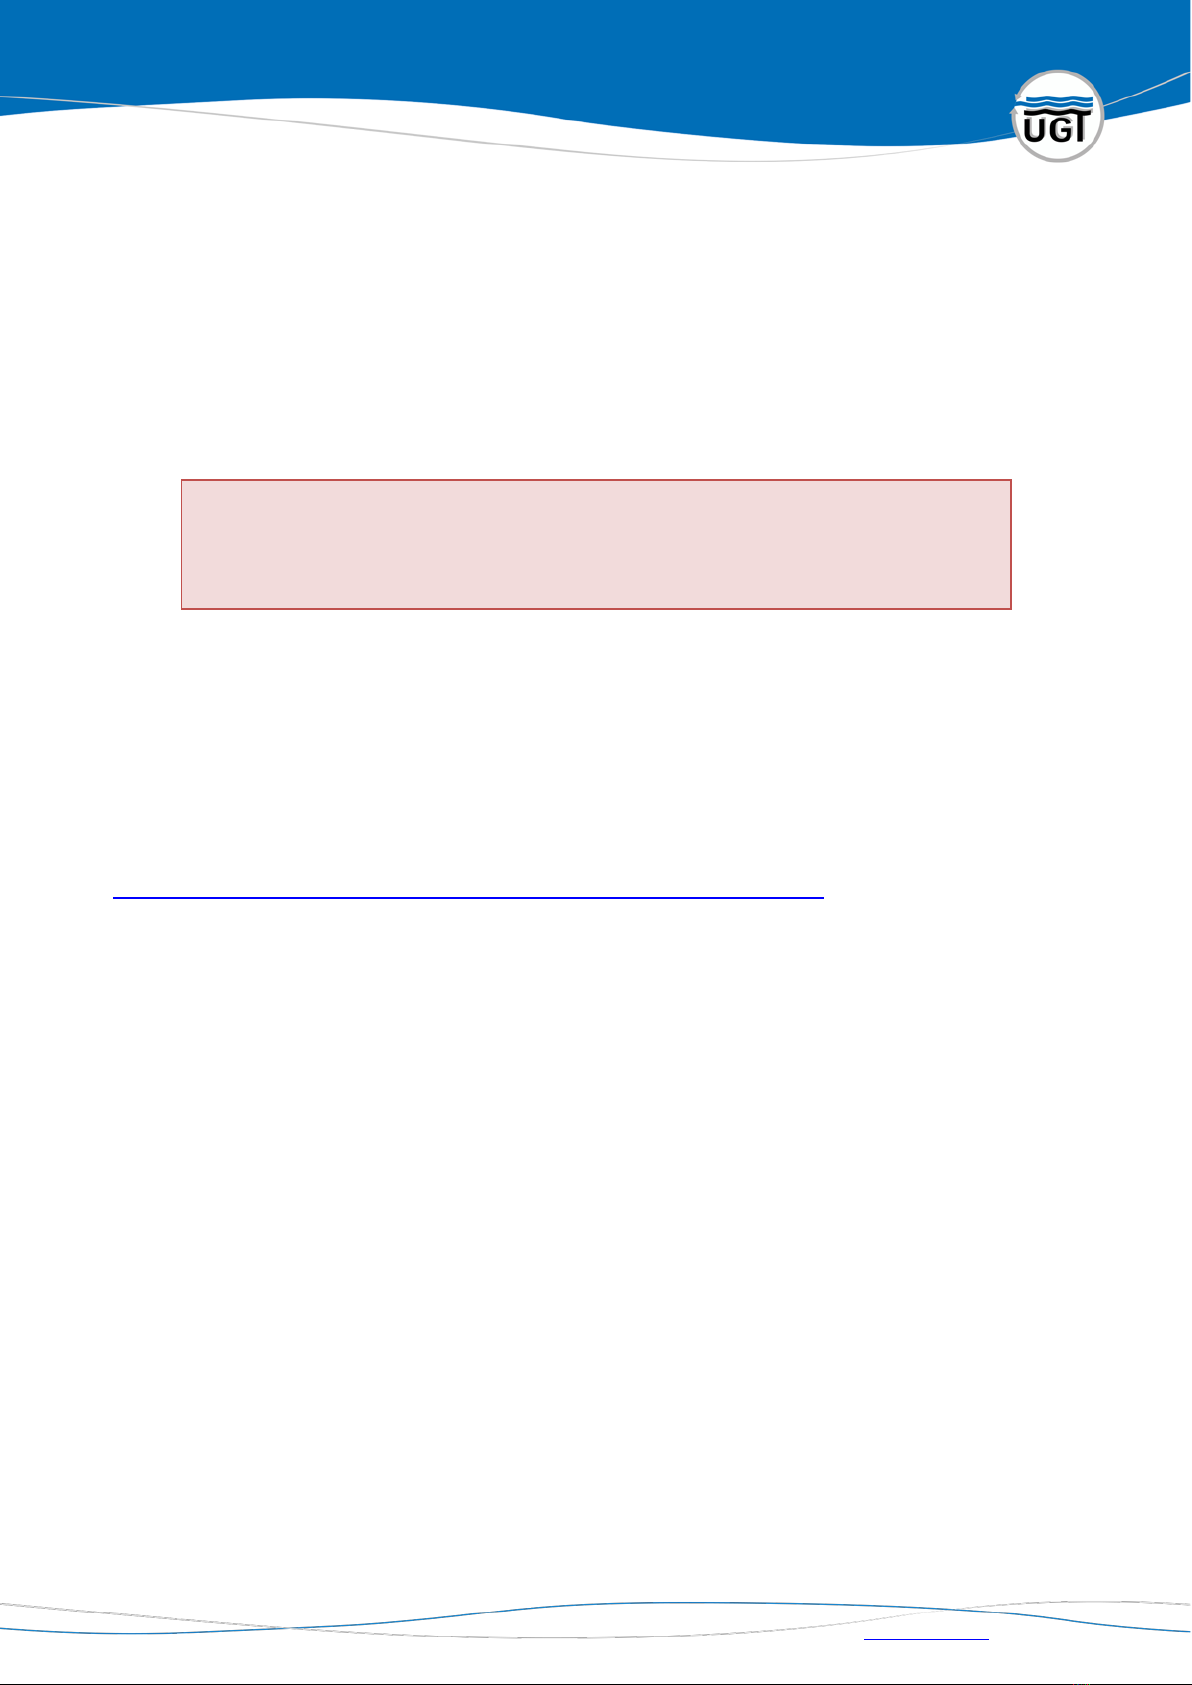
Step 1: Unscrewing the pre-loading screw
Unscrew the pre-loading screw up to a half.
Thereby a negative pressure is created which
is displayed on the manometer/via the pres-
sure transducer. Existing air bubbles inside the
tensiometer expand.
- The ceramic cell has to be dry because otherwise it s not airtight enabling air to be sucked
int
o the tensiometer and precluding the negative pressure. Wipe the ceramic dry with a soft cloth
if necessary.
- If air bubbles enter at the pre-loading screw the sealing ring is either unscrewed too far or
damaged
- If repeatedly air bubbles emerge from t
he standpipe the ceramic cup should be tested for
leaks. Most frequent causes for leaks are wet ceramic cups, loose ceramic cups or damaged ce-
ramic cups. If the ceramic cup is damaged it needs to be exchanged.
The tensiometer should only be filled with distilled water to maintain the functionality of the
ceramic.