UltraLite SMART SPOT100 Series User manual

USER MANUAL
Version 1.0
Be sure to read the USER MANUAL carefully before using this product.
Be sure to keep the USER MANUAL properly for future needs.
Use this product correctly when you can fully understand the User Manual
SMART SPOT100
WHITE 3000°K / 5600°K
ULSSF100CW / ULSSPC100CW / ULSSF100WW / ULSSPC100WW

The manufacturer will not accept liability for any resulting damages caused by the non-observance of this
manual or any unauthorized modification to the device.
Please consider that damages caused by manual modifications to the device are not subject to warranty.
During the operation the housing becomes hot). Allow the fixture to cool approximately 20 minutes prior to
manipulate with it.
Make sure that the available voltage is not higher than stated on the rear panel.
WARNING! This unit does not contain an ON/OFF switch. Always disconnect power input cable to
completely remove power from unit when not in use or before cleaning or servicing the fixture.
Make sure that the power-cord is never crimped or damaged by sharp edges. Check the device and the
power-cord from time to time.
Always disconnect from the mains, when the device is not in use or before cleaning it. Only handle the
power-cord by the plug. Never pull out the plug by tugging the power cord.
This device falls under protection class I. Therefore it is essential to connect the yellow/green conductor to
earth.
The electric connection, repairs and servicing must be carried out by a qualified employee.
Do not connect this device to a dimmer pack.
Do not switch the fixture on and off in short intervals as this would reduce the lamp’s life.
During the initial start-up some smoke or smell may arise. This is a normal process and does not
necessarily mean that the device is defective.
Do not touch the device’s housing bare hands during its operation (housing becomes hot)!
For replacement use lamps and fuses of same type and rating only.
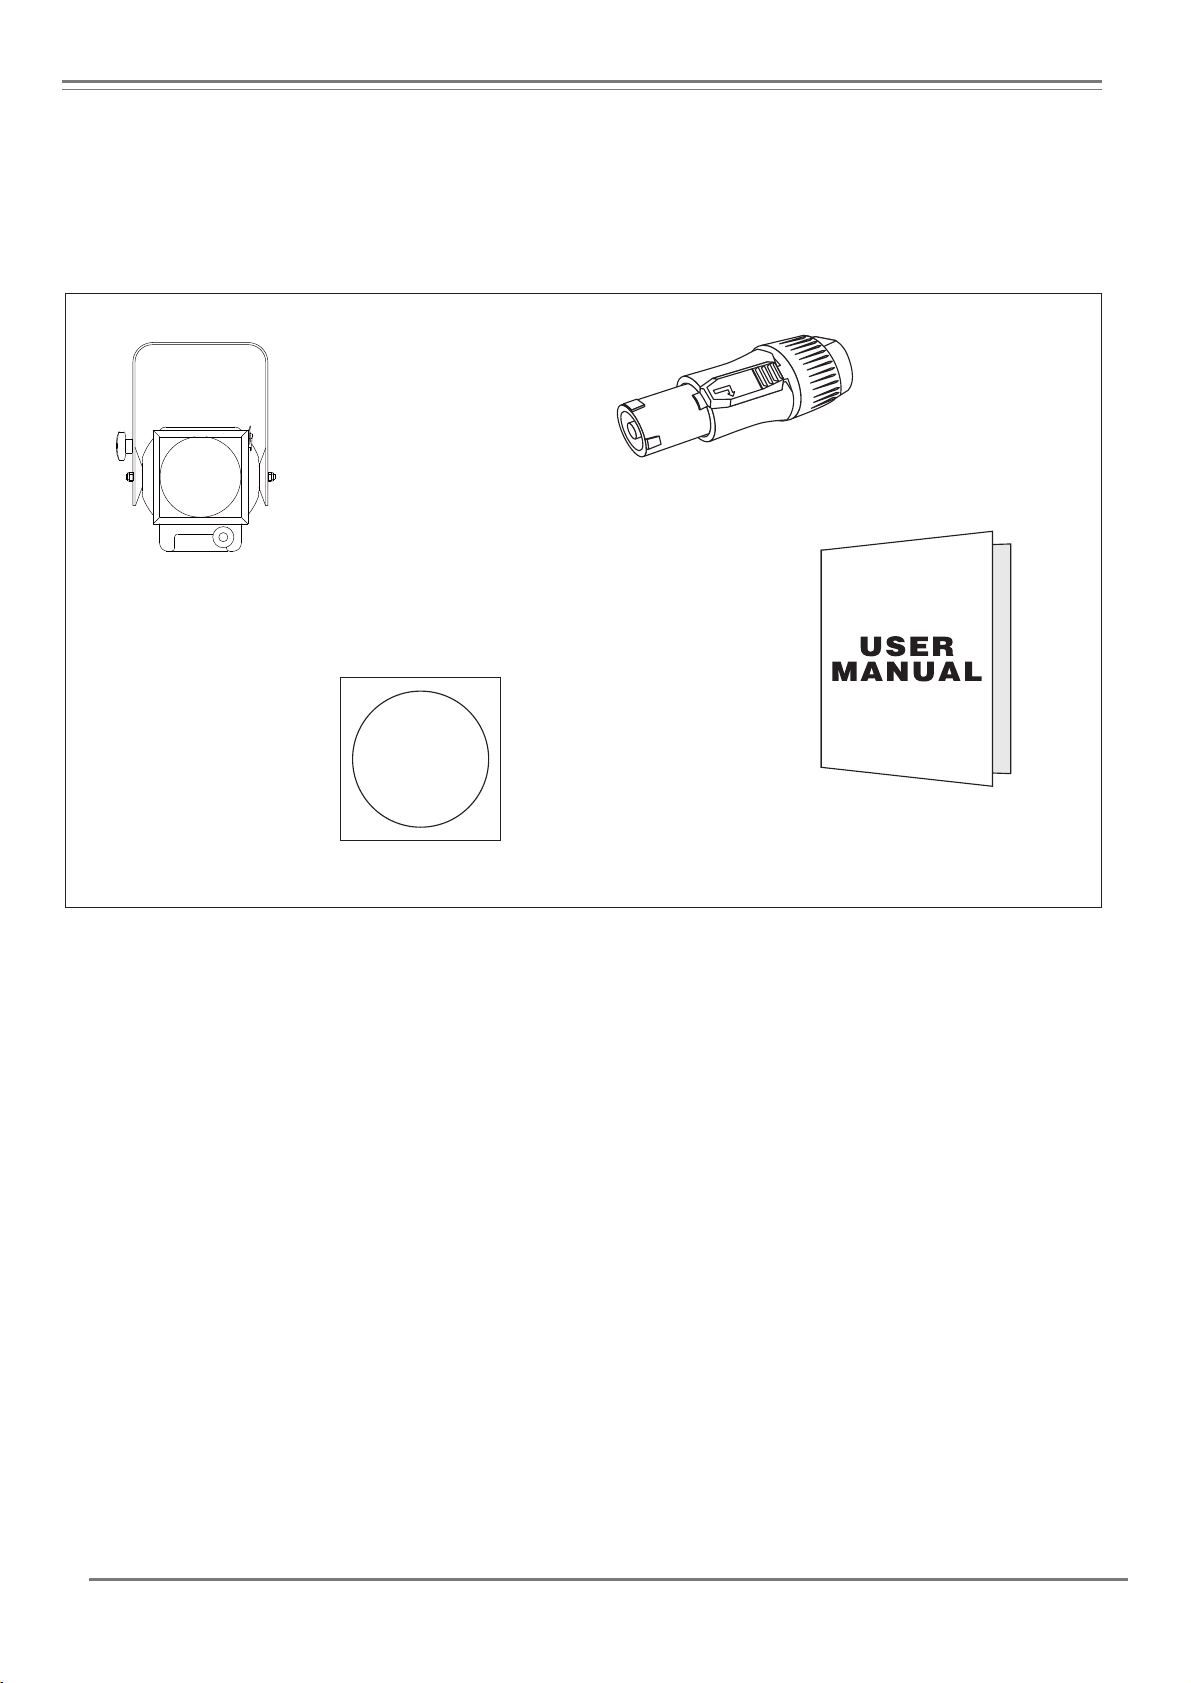
Thank you for choosing our SMART SPOT 100 White
. for your own safety
, please read this user manual
carefully
BEFORE YOU INITIAL START - UP!
This device has left our premises in absolutely perfect condition. In order to maintain this condition and to
ensure a safe operation, it is absolutely necessary for the user to follow the safety instructions and warning
notes written in this manual.
Important:
CAUTION!
Be careful with your operations.
With a high voltage you can suffera dangerous electric shock when touching the wires!
1.Safety instructions
CAUTION!
Keep this device away from rain and moisture!
Unplug mains lead before opening the housing!
CAUTION ! EYE DAMAGES !
Avoid looking directly into the light source
(meant especially for epileptics) !
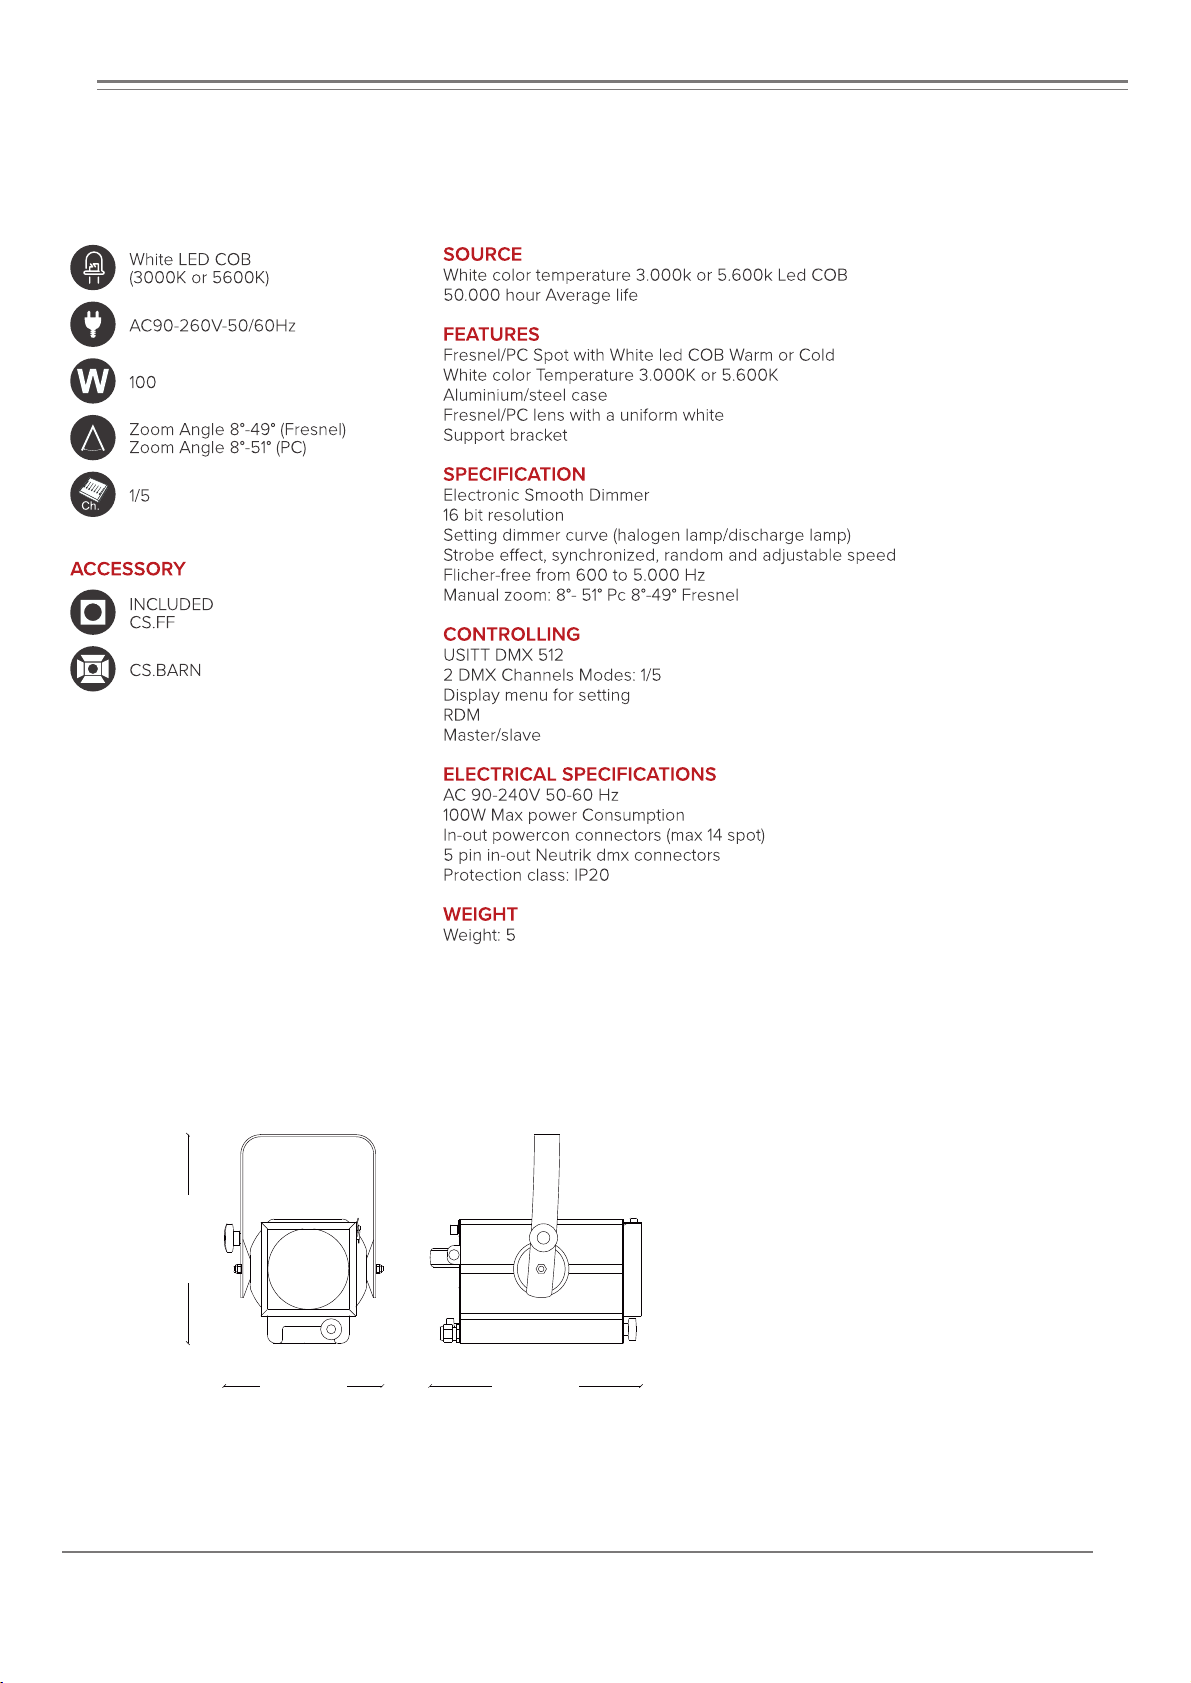
SPOT WHITE
01

▲ SPOT
2.UNPACKING
▲ Power Connector
▲ User Manual*1
The SPOT adopts 100W LED lamp which features high brightness and
stability. Please carefully unpack it when you receive the fixture and check whether it is damaged during
the transportation. And please check whether the following items are included inside the box:
The SMART SPOT 100 is made of a new type of high temperature strength
and cast aluminum casing with nice outlook . The fixture is designed and manufactured strictly following
CE standards, complying with international standard DMX512 protocol. It’s available independently
controlled and linkable with each other for operation. And it is applicable for large-scale live per
formances, theater, studio, nightclubs and discos.
This manual covers the important information on installation and applications. Meanwhile, please keep
this manual well for future needs.
02
SPOT WHITE
▲ FILTERFRAME

3.TECHNICAL INFORMATION
03
SPOT WHITE
297
225 300

04
4.PHOTOMETRICS DIAGRAM
ŸPROFILE is an LED projector,with adjustable shutter,adjustable system and focus.
ŸDo not switch the appliance on if there is a serious temperature difference such as
after transportation
Ÿbecause it could damage the light due to changes in the environment. So be sure to
use the appliance until it is at normal temperature.
ŸThis light should be far from strong shaking during any transport or movement.
ŸDo not expose the appliance to overheating, humidity or the environment with too
much dust during installation. IS do not lay power cables on the floor. Or it may
cause an electronic shock to people. Make sure the installation location is in a safe
condition before installing the equipment.
ŸMake sure to put the safety chain in place and check if the screws are screwed
correctly during device installation.
ŸEnsure that the appliance is operated by qualified personnel who know the
appliance before use.
ŸKeep the original packaging if a second shipment is required.
ŸDo not try to change the projectors without any instruction from the manufacturer or
repair appointed agencies.
ŸIt is not in the warranty interval if there are malfunctions not to follow the user
manual to operate or any illegal operation, such as short circuit, electronic shock,
broken lamp, etc.
SPOT WHITE
FRESNEL PC
Lux center
Diameter cm.
Lux center
Diameter cm.
11463 2865 1273 716 458
36 72 108 144 180
Beam angle 8°
Lux center
Diameter cm.
Lux center
Diameter cm.
1757
439 195 109 70
228 456 684 912 1140
Beam angle 49°
mt 5
mt 2.5
Beam angle 8°
Beam angle 49°
mt 7.5
mt 10
mt 12.5
Lux center
Diameter cm.
Lux center
Diameter cm.
10517 2619 1168 657 420
36 72 108 144 180
Beam angle 8°
Lux center
Diameter cm.
Lux center
Diameter cm.
1222 305 124 76 48
239 477 716 954 1190
Beam angle 51°
mt 5
mt 2.5
Beam angle 8°
Beam angle 51°
mt 7.5
mt 10
mt 12.5

Satety Clamp
6.INSTALLATIONS
Cautions:
For added protection mount the fixtures in areas
outside walking paths, seating areas, or in areas were
the fixture might be reached by unauthorized
personnel.
Before mounting the fixture to any surface, make sure
that the installation area can hold a minimum point
load of 10 times the device’s weight.
Fixture installation must always be secured with a
secondary safety attachment, such as an appropriate
safety cable.
Never stand directly below the device when mounting,
removing, or servicing the fixture.
from a ceiling, or set on a flat level surface (see
illustration below). Be sure this fixture is kept at least
0.5m (1.5 f t) away from any flammable materials
(decoration etc.).
Always use and install the supplied safety cable as a
safety measure to prevent accidental damage and/or
injury in the event the clamp fails.
Mounting points:
Mounting the projector requires extensive experience,
including amongst others calculating working load
limits, a fine knowledge of the installation material
being used, and periodic safety inspection of all
installation material and the fixture. If you lack these
qualifications, do not attempt the installation yourself.
Improper installation can result in bodily injury.
Be sure to complete all rigging and installation
procedures before connecting the main power cord to
the appropriate wall outlet.
Safety Cable
05
260
328
SPOT WHITE

MADE IN ITALY
MADE IN ITALY
MADE IN ITALY
Connect the provided XLR cable to the female 5-pin XLR output of your controller and the other side to the
male 5-pin XLR input of the moving head. You can chain multiple projectors together through serial
linking. The cable needed should be two core, screened cable with XLR input and output connectors.
Please refer to the diagram below. DMX-512 connection with DMX terminator.
For installations where the DMX cable has to run a long distance or is in an electrically noisy environment,
such as in a discotheque, it is recommended to use a DMX terminator. This helps in preventing corruption of
the digital control signal by electrical noise. The DMX terminator is simply an XLR plug with a 3 resistor
connected between pins 2 and 3,which is then plugged into the output XLR socket of the last fixture in the
chain. Please see illustrations below.
9.CONTROL CONNECTION
07
DMX
POWER
MADE IN ITALY
SPOT WHITE

10.MENU OPERA TIONS
Dmx Address A001~AXXX DMX address setting
MENU Description
08
Dmx Address
Xeno
Tungsten
it can simulate dimmer effect with
Tungsten or Xenon lamp
White Tmp
Dimmer
Effect
Store
0-255
0-255
0-255
0-255
OFF Signal Mode (On/Off)
enter
Reverse
Hold
it allows to turn 180°the reading
Press any key for 5" to unlock.
Auto
ON
AUTO allows to turn off the display
after 6 seconds
from 1000 to 5000Hz
it allows to set the flickering frequency
from 1000 to 5000 Hz besides the default
value.(NOTE:DMX signal goes ahead this
setting)
it permits the reset of the unit.Keepin
pressed ENTER and MENU at the
turningon of the unit it allows to
access ALIG features
Sure
it restores all the setting at default
value excepting of led settings and
hour meter.
ID (da 1 a n°)
Disables the adjusting of the leds
settingthem at maximum output.
it allow to set the ID number of the
unit by + and - keis (enter)
TEMP
VOLT
DMIN
RATE
ALRM
LED
FRE
HOUR
VERS
reset the projector’s dmx operation
1 chn
5 chn
1 Channel MODE
5 Channel MODE
MADE IN ITALY
SPOT WHITE

08
5channel type of
c on trol
1proportional 0 - 255 0% - 100%
2step 0 - 255 0% - 100%
step 0 - 9 0% - 4%
proportional 10 - 255 4% - 100%
step 0 - 9 0% - 4%
proportional 10 - 57 4% - 22%
step 58 - 59 23% - 23%
proportional 60 - 108 24% - 42%
step 109 - 110 43% - 43%
proportional 111 - 159 44% - 62%
step 160 - 161 63% - 63%
proportional 162 - 207 64% - 81%
step 208 - 209 82% - 82%
proportional 210 - 255 82% - 100%
0 - 9 0% - 4%
10 - 133 4% - 52%
134 - 185 53% - 73%
186 - 199 73% - 78%
200 - 205 78% - 80%
206 - 211 81% - 83%
212 - 217 83% - 85%
218 - 223 85% - 87%
224 - 229 88% - 90%
230 - 235 90% - 92%
236 - 241 93% - 95%
242 - 247 95% - 97%
248 - 255 97% - 100%
LED control frequency tuning 4500Hz
LED control frequency tuning 5000Hz
LED control frequency tuning 1500Hz
LED control frequency tuning 2000Hz
LED control frequency tuning 2500Hz
LED control frequency tuning 3000Hz
LED control frequency tuning 3500Hz
LED control frequency tuning 4000Hz
stop strobe
random strobe effect with variable speed from slow to fast, non
syncronised colors.
5 spec ial func t ions step
600 Hz
park, no effect
LCD display off
LCD display on
LED control frequency tuning 1000Hz
4 strobe
no effect
variable speed strobing effect, from slow to fast
stop strobe
sequenced pulse effect, slow closing, fast opening( variable speed
pulsing, from slow to fast)
stop strobe
sequenced pulse effect, fast closing, slow opening ( variable speed
pulsing, from slow to fast)
stop strobe
random strobe effect with variable speed from slow to fast, syncronised
colors.
spare c hannel no effect
3 dimmer fine
no effect
fine dimmer control 16 bit.
fun c tion ef fe c t de c imal pe rc entag e
master dimmer adjust luminous output intensity from 0 to 100%
1channel
1
SPOT WHITE

It is absolutely essential that the fixture is kept clean and that dust, dirt and smoke-fluid residues must not
build up on or within the fixture. Otherwise, the fixture‘s light-output will be significantly reduced. Regular
cleaning will not only ensure the maximum light-output, but will also allow the fixture to function reliably
throughout its life.A soft lint-free cloth moistened with any good glass cleaning fluid is recommended,
under no circumstances should alcohol or solvents be used!
The front objective lens will require weekly cleaning as smoke-fluid tends to building up residues, reducing
the light-output very quickly. The cooling-fans should be cleaned monthly.
The interior of the fixture should be cleaned at least annually using a vacuum-cleaner or an air-jet.
Remove dust and dirt from the fans and cooling vents using a soft brush and vacuum-cleaner. .
10.Maintenance and cleaning
DANGER !
Disconnect from the mains before starting any
maintenance work
SPOT WHITE

Information on disposal of the equipment
The equipment at the end of its useful life must be disposed of at an appropriate recycling center for
waste electrical and electronic equipment. The treatment and disposal of environmentally friendly, helps
prevent potential negative environmental and health and promote the reuse and / or recycling of
materials making up the equipment. Illegal disposal by the user includes the application of administrative
sanctions provided by law.
Our equipment has been manufactured and assembled by the rules and the essential requirements of the RoHS directive, so the
materials we use and electronic subassemblies that we receive from our suppliers have been checked and are produced in
compliance with the Directive in question.
Reference Title
2004/108/EC Directive of the European Parliament and of the Council of 15 December 2004 on the
approximation of the laws of the Member States relating to electromagnetic compatibility
and repealing Directive 89/336/EEC (EMC)
2006/95/EC Directive of the European Parliament and the Council of 12 December 2006 on the
approximation of the laws of the Member States relating to electrical equipment designed
for use within certain voltage limits (LVD)
2002/95/EC Directive of the European Parliament and the Council of 27 January 2003 on the restriction
of certain hazardous substances in electrical and electronic equipment (RoHS)
2002/96/EC & 2003/108/EC Equipment Directive of the European Parliament and the Council of 27 January 2003 on
waste electrical and electronic equipment (WEEE)
SPOT WHITE

ULTRALITE DEUTSCHLAND Haerle Lichttechnik GmbH •
Marie-Curie-Str. 4 • 89584 Ehingen Germany •
+49 7391 7747 0 • www ultralite.eu • [email protected]
This manual suits for next models
4
Table of contents
Other UltraLite Dj Equipment manuals